Review:
Ikea Wireless Motion Sensor - the cheapest?

Installation on Home Assistant:
The last Smart Home system where we will add this motion sensor is Home Assistant. You can use this system for free, you just have to buy the hardware. We use an RPI 3 and the Conbee 2 stick for the Zigbee part.
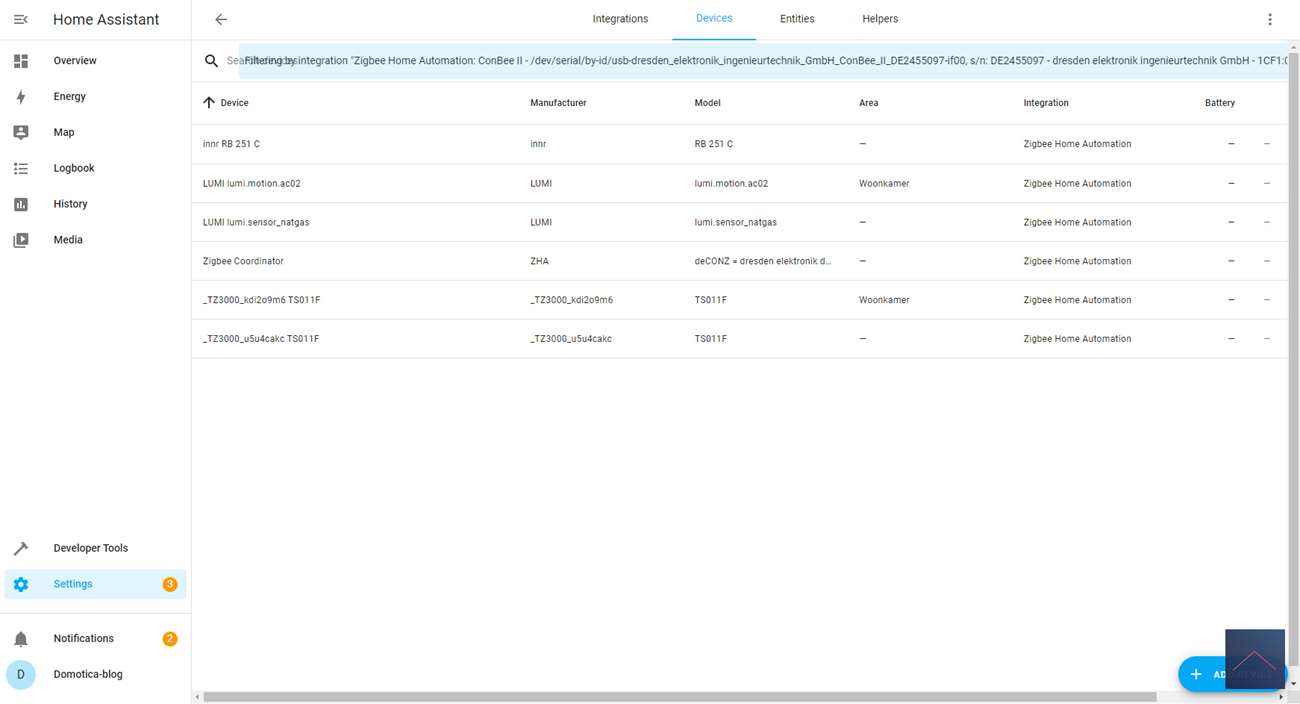
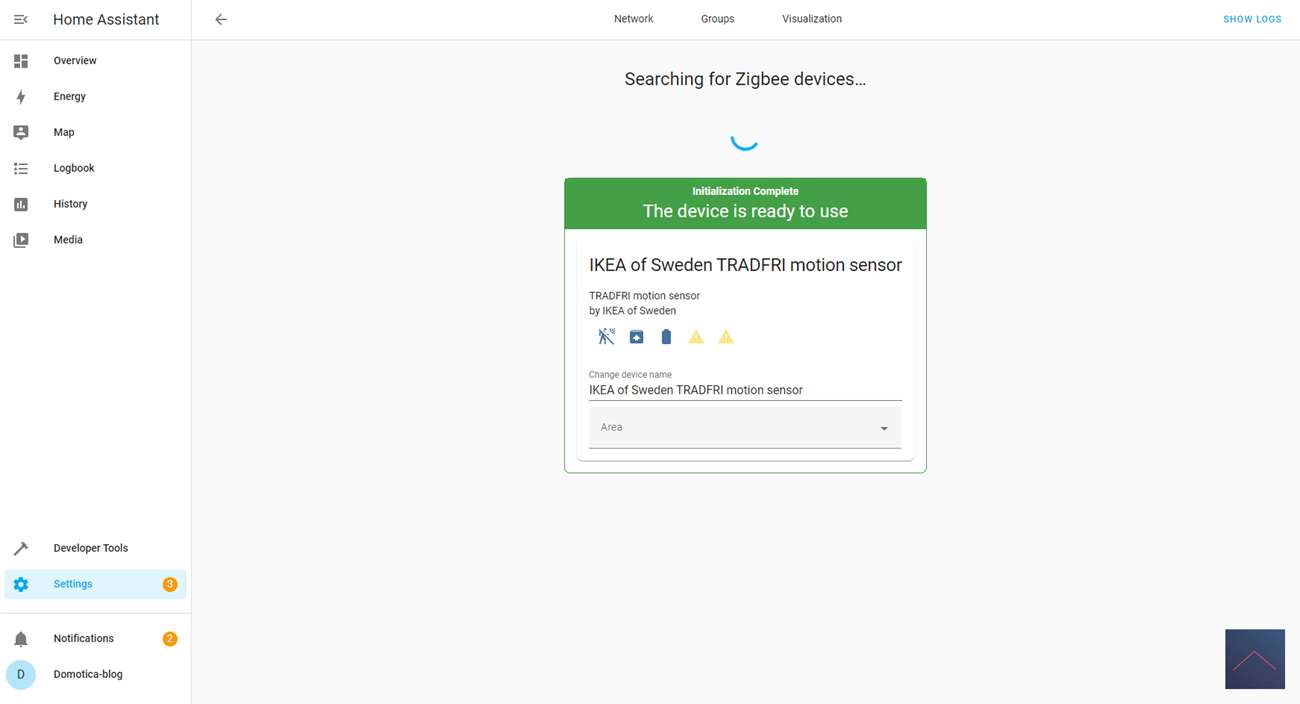
The first step is to login to HASS and go to our devices and click on the "devices". We then click on "devices" and "add device" to add it.
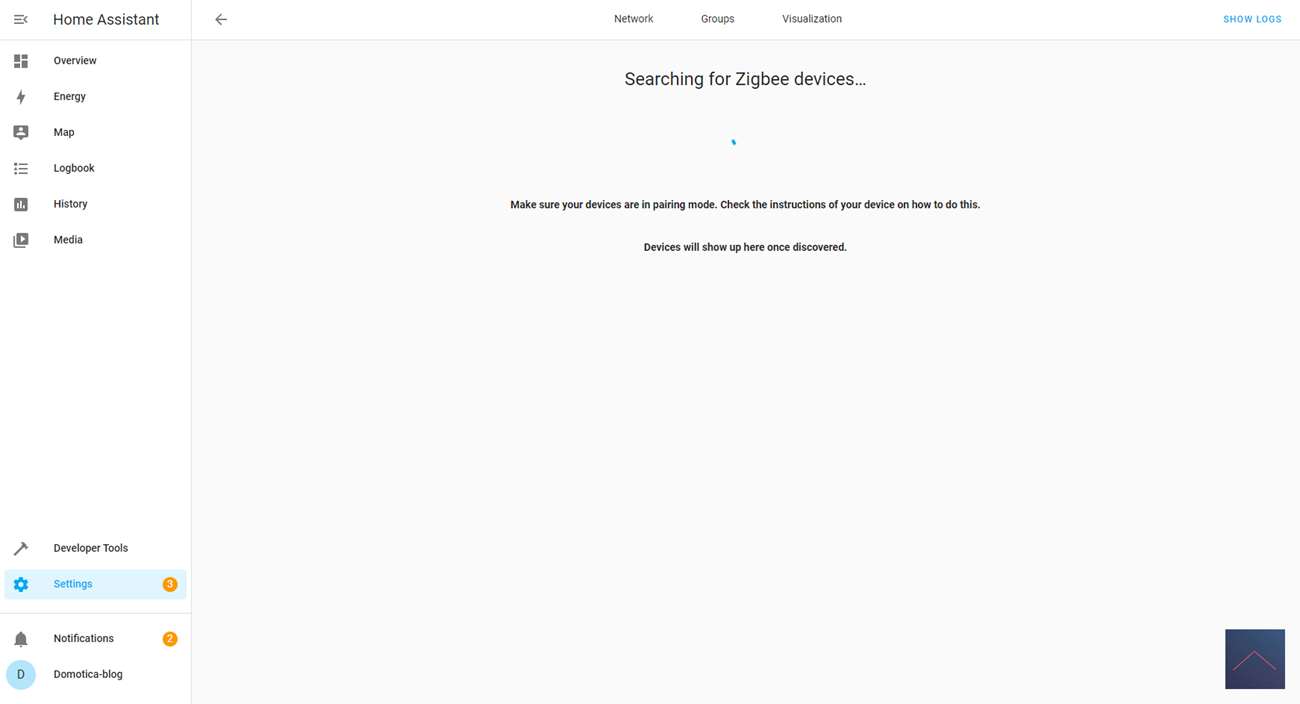
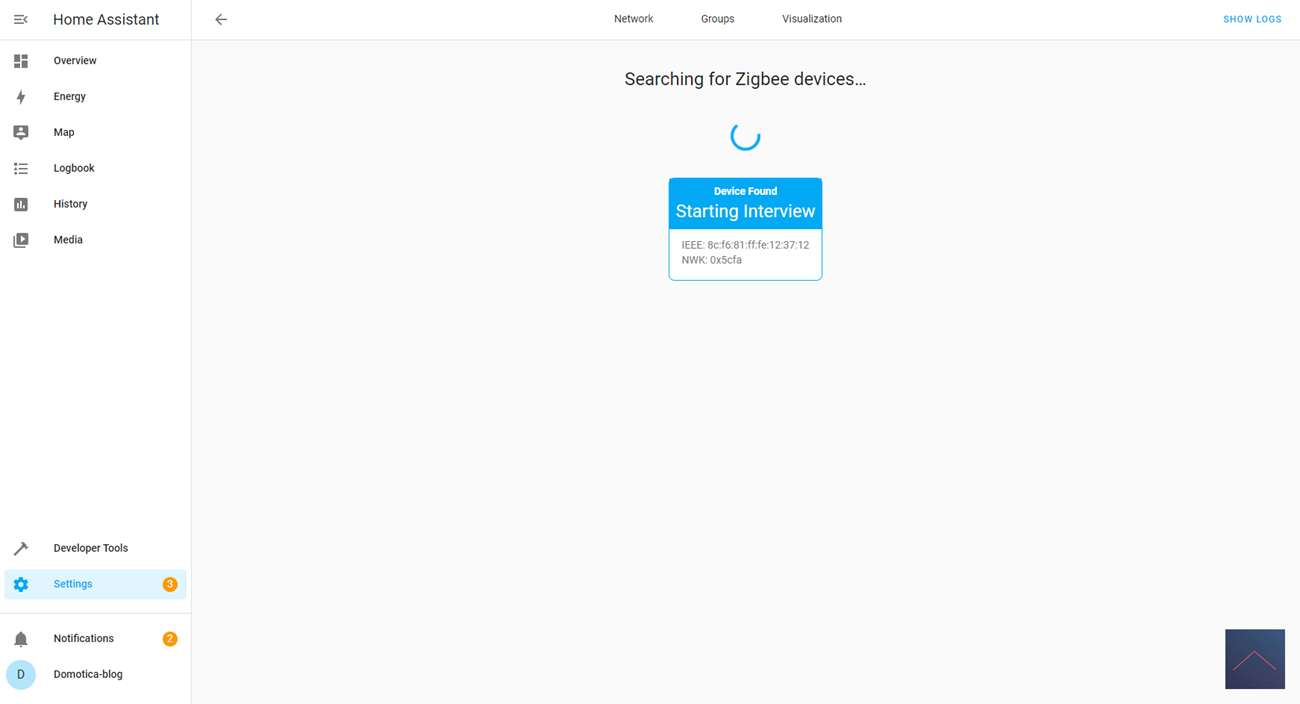
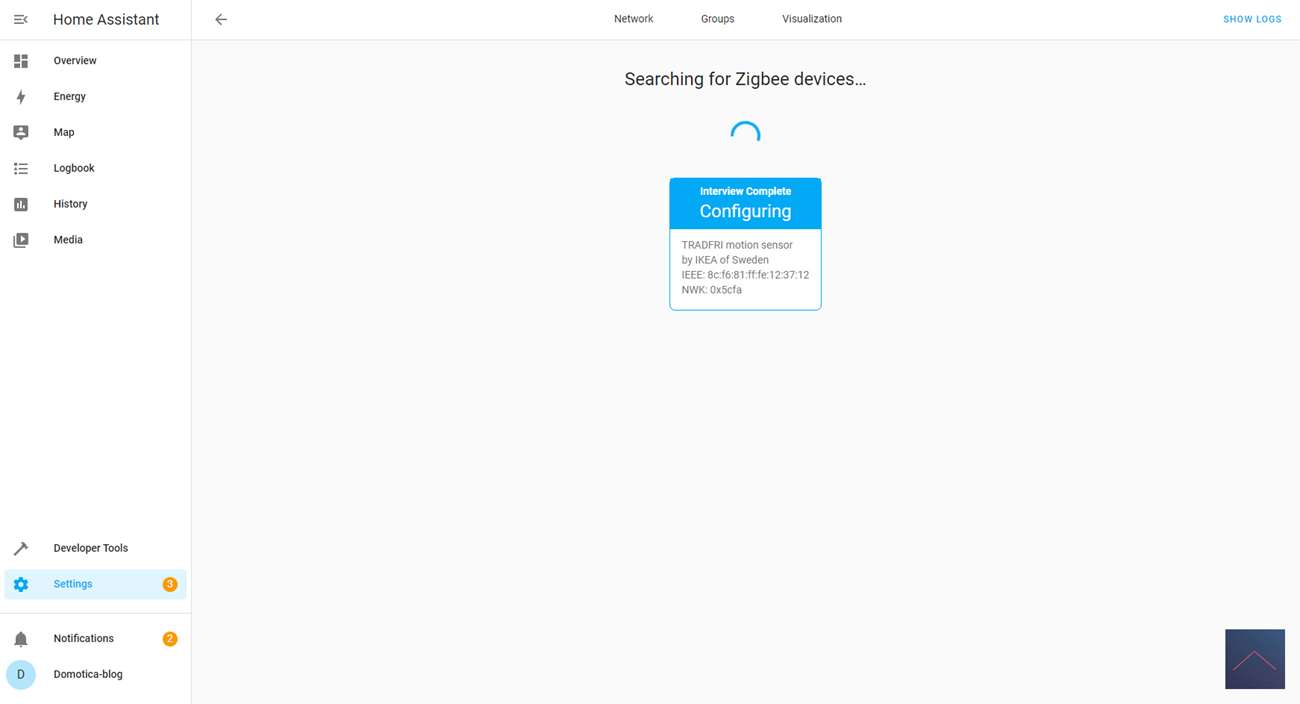
Now we provide the sensor with the 2 supplied batteries (you need a small Phillips screwdriver for this), and press the add button (top) 4 times (within 5 seconds). The LED on the front started flashing and after a few seconds it was found.
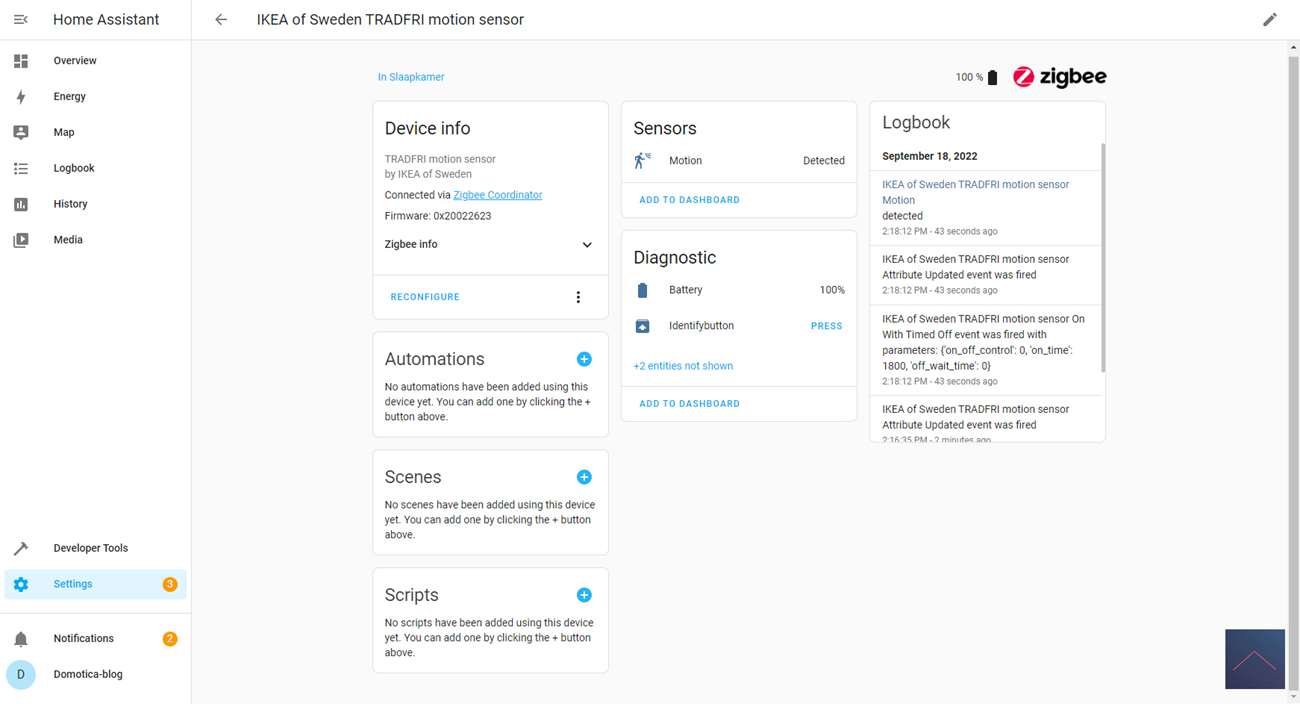
Installation screens:
Operation:
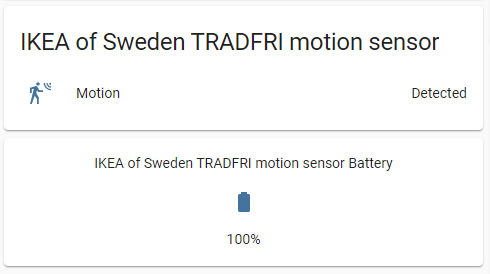
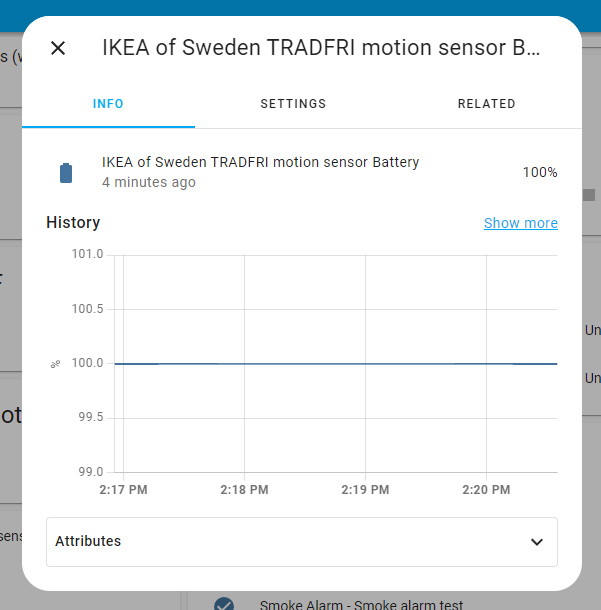
If you pass your hand along the motion sensor, you will see that motion is being detected. The sensor reacts quickly, it takes about 3 minutes until it does not report any movement. You can also see the battery level.

Automation options:
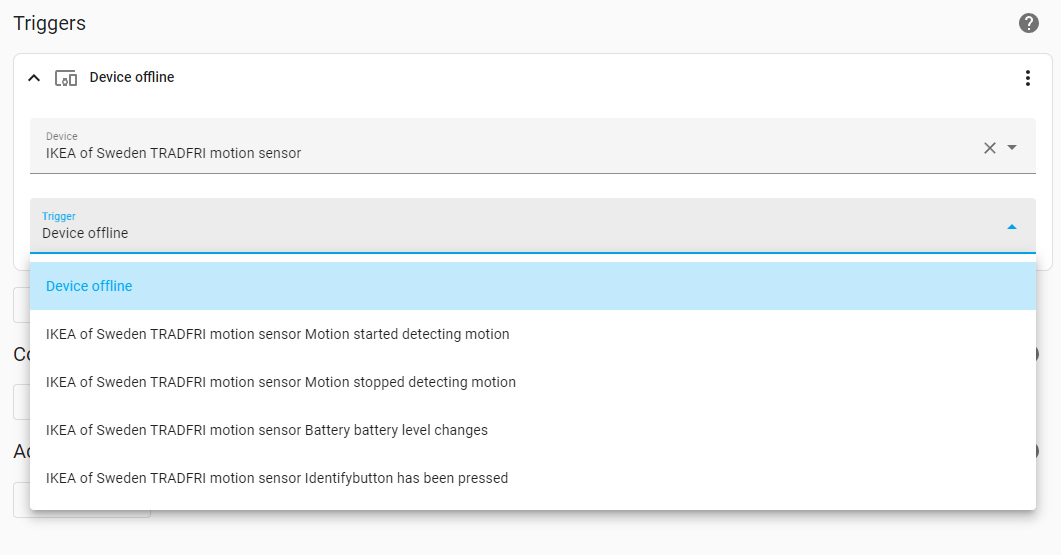
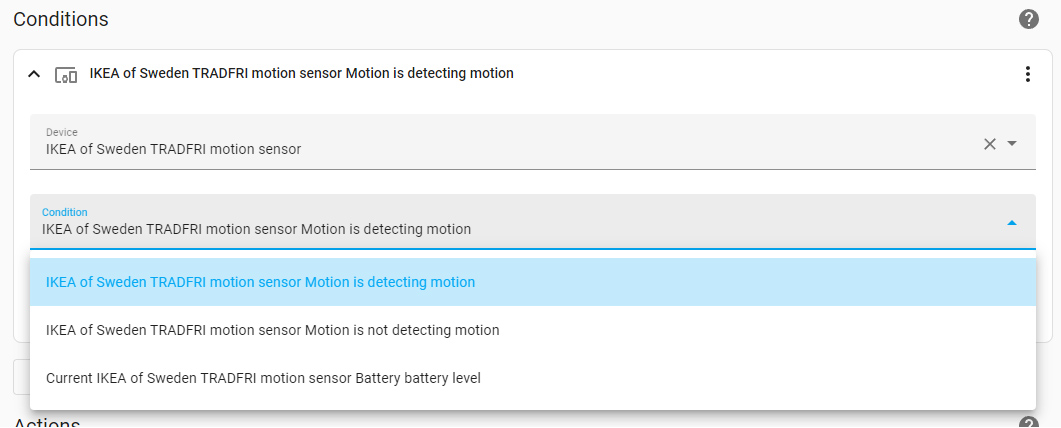
You have the following options to create a rule:
Triggers:
Conditions:
Automation example:
For the automation we use a blue print to ensure that the lights in the bedroom are switched on when there is movement. They also turn off automatically after 5 minutes (3 minutes from the sensor and 2 minutes from the automation).
Index:
- Introduction
- Installation on Ikea Dirigera Hub
- Installation on Homey
- Installation on Philips HUE hub
- Installation on Home Assistant
- Conclusion


