Review:
Aeotec Smart Home Hub - Smartthings
Add device (Basic + Z-Wave):
We will be adding different types of devices to see if they all work. Now in theory this should not cause any problems because Z-Wave devices all follow a certain protocol.

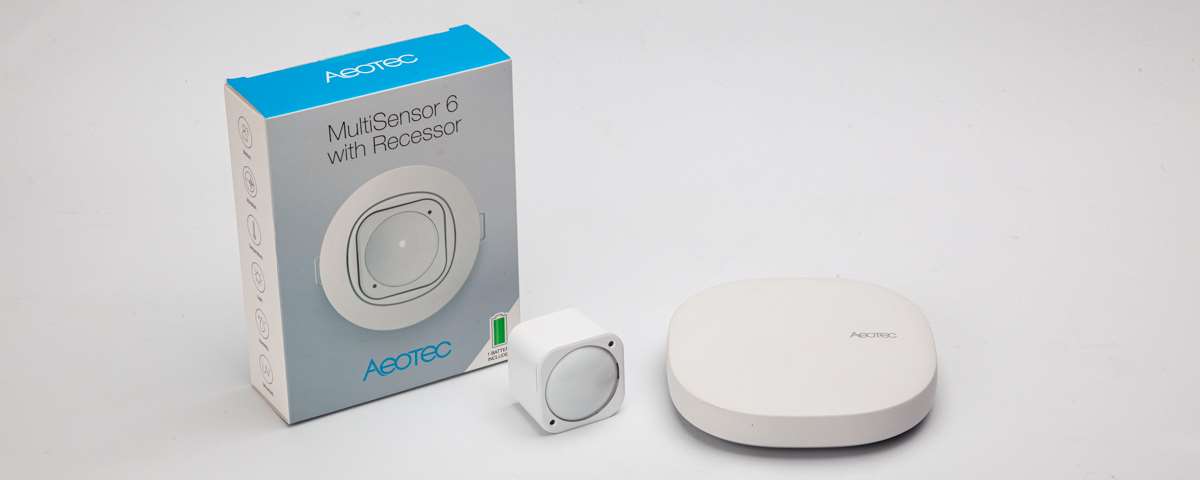
Aeotec Multisensor 6:
It might not be fair to start with this sensor because this hub is made by Aeotec and so is this sensor. So adding it shouldn't be too much of a problem.
This sensor has a motion detector, a temperature sensor, lux meter, humidity meter, shock sensor and it can measure the UV level. A real all-in-one device and a fairly unique sensor. This sensor is especially useful if you want to combine rules with each other. So if there is movement, and it is dark in the room (lux value is low), a lamp must be switched on. Or if your fan in the bathroom has to be switched on at a certain humidity.
Unique to this sensor is that it can also work via batteries and that you can connect it via USB to always provide it with power. In addition, it is also very small, so you can hang it almost invisible.
To start adding, we go to the APP and click on the plus sign at the top right of the start screen. We then press fire, Aeotec and motion sensors. We now receive a selection stating that our Multisensor has not just been certified in the Netherlands. Now we just need to unclip the back of the sensor and remove the tabs near the battery so that the sensor can get power.
Now we need to put the sensor in learning mode. You can do this by pressing the button on the back 3 times in quick succession. We see the LED of the sensor turn yellow, indicating that it is learning/being added. After a few seconds we see it appear in the APP and a message appears that it is not optimally secured.
It also takes a while until he appears in my room and we see the movement come in. If we look at the details of the sensor, we also see the temperature, lux value, humidity, UV value and battery level.
Operation:
This sensor controls everything itself, it ensures that the values of the various sensors are entered automatically. You can, for example, view the temperature. When something comes in you can set it in the parameters of this device.
When someone walks past the sensor, it sends a signal to the hub. This registers that there is movement and you can, for example, switch on a lamp. How exactly does this work? We will deal with that in the next chapter.

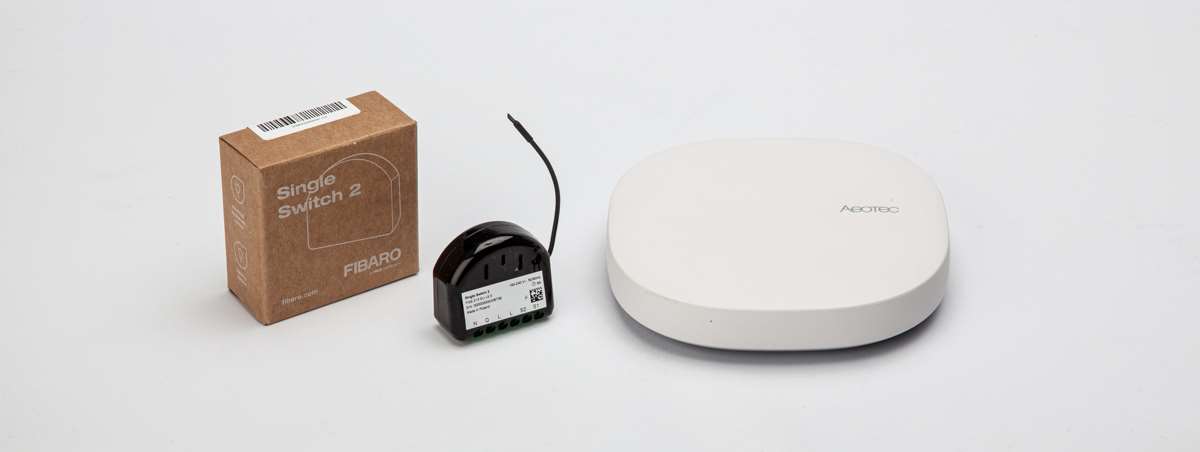
Fibaro Single Switch 2:
The next device we are going to add is the Single Switch 2 from Fibaro. Fibaro is a very large manufacturer in the Z-Wave Smart Home market. They have been making products for years and are one of the first manufacturers to make Z-Wave big. So you can expect this switch to work properly!
You can install this switch behind an existing wall switch. This allows you to make this switch smart and remotely switch the connected lamp on/off. The advantage of this solution is that you can continue to use your existing switchgear and therefore do not have to replace it. Another advantage is that the connected lamp does not have to be replaced.
Fibaro has more of this type of built-in products, such as a dimmer, double switch and RGBW switch. A maximum load of 8A can be connected. Which should be sufficient for most applications. The wall switch can be either bi-stable or mono-stable (pulse). So no special wall switch needs to be used.
We start by connecting this switch according to the supplied diagram. Be sure to disconnect the power before pulling on the wires.
Now we restart the APP and go to our devices and find the Single Switch 2. Just like last time, we have to put it in learning mode. This time we have to press the connected switch 3x. It is found almost immediately, but when we try to operate it we get a time out and nothing happens to the lamp.
We've re-added it a few times after that, but unfortunately the problem persists. After some google work we find out that the Single Switch 2 is not working properly. There is also a variant of this module with a double switch (you can connect 2 lamps to it) and this one does work.
Operation:
You get a switch and you can see the total consumption and current consumption. With the setting you get extra configuration options, for example to set the type of switch.

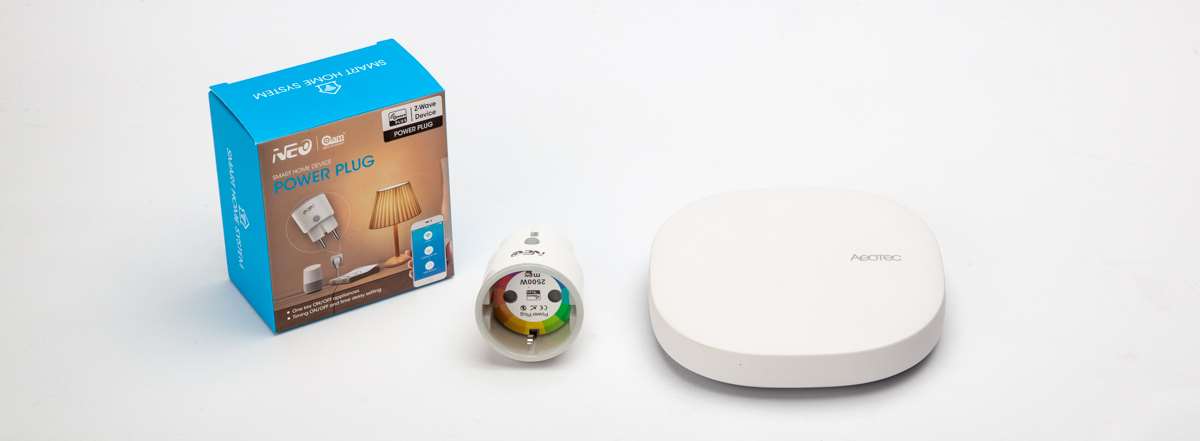
Neo Coolcam Power Plug (v3):
Next device is the Neo Coolcam Power Plug. This is a plug that you place between your device and the socket. In this way you can switch the connected device on or off. This plug is quite new and uses the new z-wave plus 700 series protocol/chip. The hub should support this. The advantages of this new chip are that they have a better range, react faster and the battery consumption is better. In addition, the security is also better in order. So all benefits.
Because this plug has this new chip, we can also use the smart connect function. With this you only have to scan the QR code and the device will be added. So you don't have to press any buttons anymore.
You can do this scanning by pressing the plus sign again and then using the scan QR code option. You will then be asked to scan in a code, which you can find on the bottom of the plug or on the side of the packaging.
He was found immediately and we can serve him.
Operation:
You get a switch (on/off) and you can see the total consumption and the current consumption. We do not see any additional configuration options in the Get setting.
We have now added some Z-Wave devices and continue with the Zigbee devices.


