Review:
Fibaro Heat Controller Radiator Thermostat

Installation on the Fibaro Home Center 2:
The first step is to remove the old thermostatic valve and install the new Heat Controller. Gently turn the faucet to unscrew it. If this does not work, you can use water pump pliers. When you have it loose, screw on the Fibaro tap. Adapters are included if it doesn't fit. Then press the button.
Now we need to pair the supplied temperature sensor. You can do this by pushing the supplied pin into the hole. The LED will flash green 5x. If this does not work, keep the button on the thermostat pressed until the LED turns blue and then press again to select. Now we wait for a while and press again with the pin in the sensor. You will then see the tap's LED ring flash green 5x to indicate that the pairing has been successful.
Now everything is ready to be connected to the HC2. Log in to the dashboard and go to your devices and press "add or remove device" and then "add". Now the HC2 is in learning mode. The next step is to press the button on the tap 3 times in a row, the LED will first turn white and then green to indicate that the pairing was successful.
We do indeed see it appear after one on my devices. As soon as you turn on the tap, a one-time calibration will take place to determine what the open/close position is. Give the whole thing 10 minutes to get the right temperature. So be patient.
Installation screens:
Configuration:
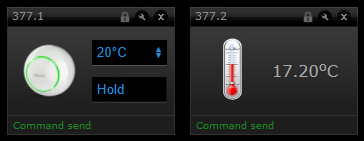
Control:
We see the temperature of the sensor, we can set the temperature of the tap, we can change the mode (off, heating and protected) and to top it all off we also see the battery level.

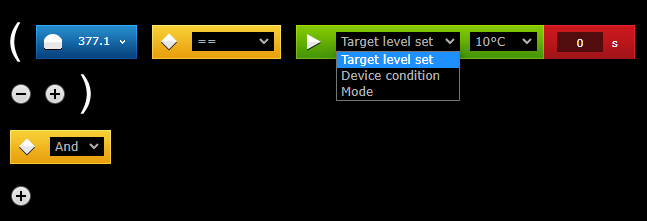
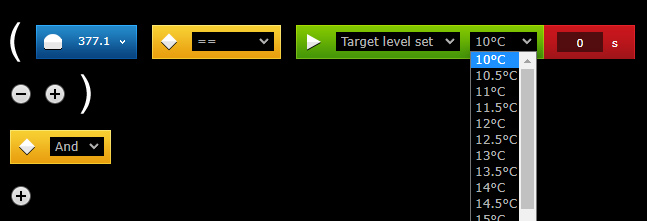
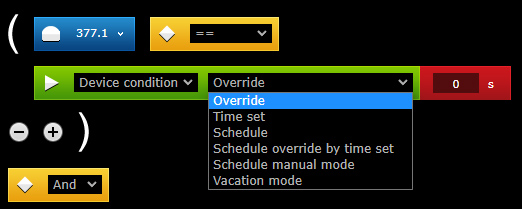
Scene options:
You get the following options to create a scene:


Example scene:
The beauty of the HC2 is that it has a Heat Panel. This allows you to control the heating in your house. You can create a heating schedule for each specific room. The tap is then automatically set to the correct temperature.


