Review:
Fibaro Heat Controller Radiator Thermostat

Installation on Smartthings (Aeotec Smart Home Hub):
We are also going to install this crane on the Smartthings/Aeotec hub. This is a simple and cheap hub with which you can control smart devices. You can see a full review of this hub here.
We start by removing the old thermostatic valve. You do not need any tools for this, but water pump pliers can be useful if your tap is a bit stuck. Once you have removed the tap, screw the Fibaro Heat Controller back on. Various adapters are included, so if the tap does not fit with the standard connection, you can use these to get it to fit. When it is stuck, we press the button at the bottom for 1 second. The LED on the front will light up.
A separate temperature sensor is included with this tap. To connect it, we remove the cover on the back and remove the sticker from the battery. Then we press into the hole with the supplied pin. Now the LED will flash green 5x to indicate that it is paired. If this does not work, press and hold the button on the thermostat until the LED turns blue and then press again to select. Then take the pin and press it into the hole near the sensor. You will then see the tap's LED ring flash green 5x to indicate that the pairing has been successful.
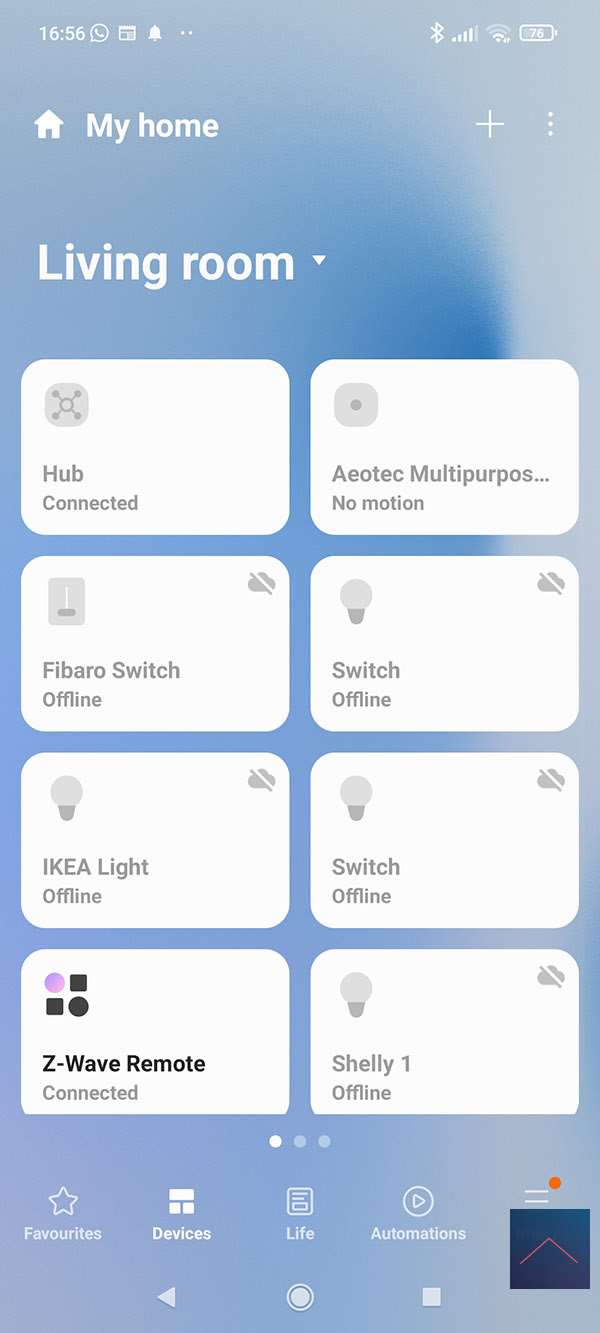
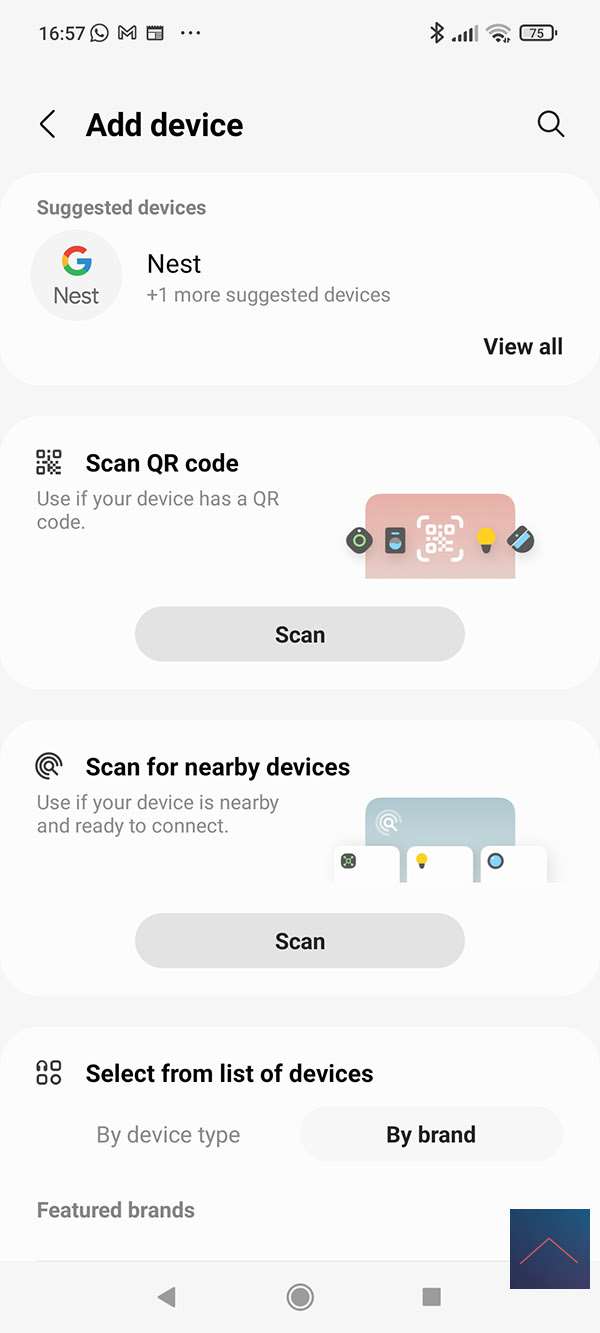
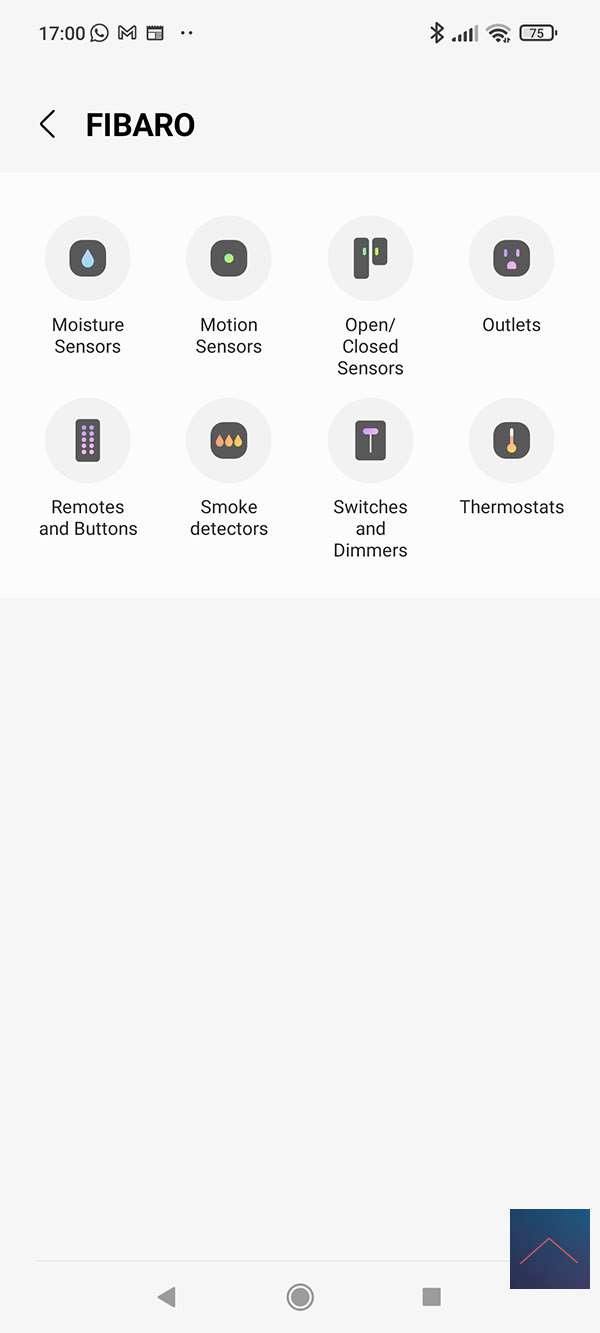
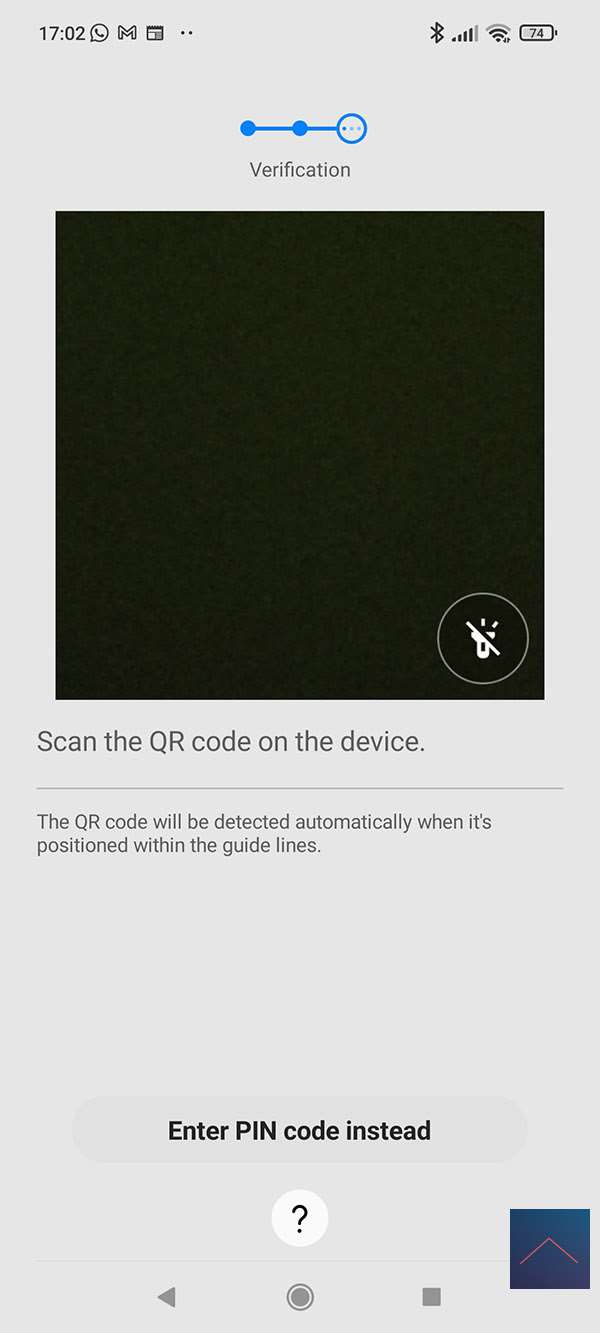
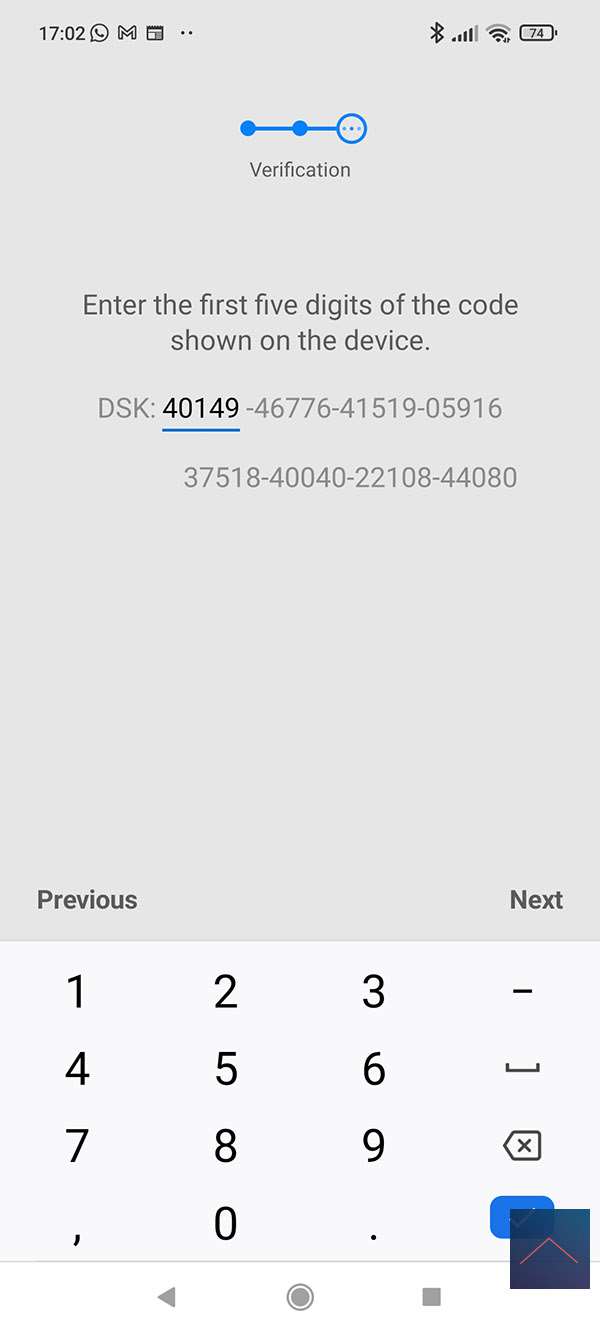
Now the faucet is ready to be added. We start the Smartthings APP and go to our devices and press the plus sign at the top right. We then select and press "add device". Unfortunately there is no QR code on the packaging of the Fibaro so we have to add it manually. You can do this by looking up and selecting FIbaro in the list with "select from list of devices". We then select thermostats and the APP indicates to click 3x on the add button at the bottom of the tap. We immediately see the LED of the tap light up and a scan of the DSK code is requested. Unfortunately we do not have this, but you can also enter it manually, the code is on the packaging (40149).
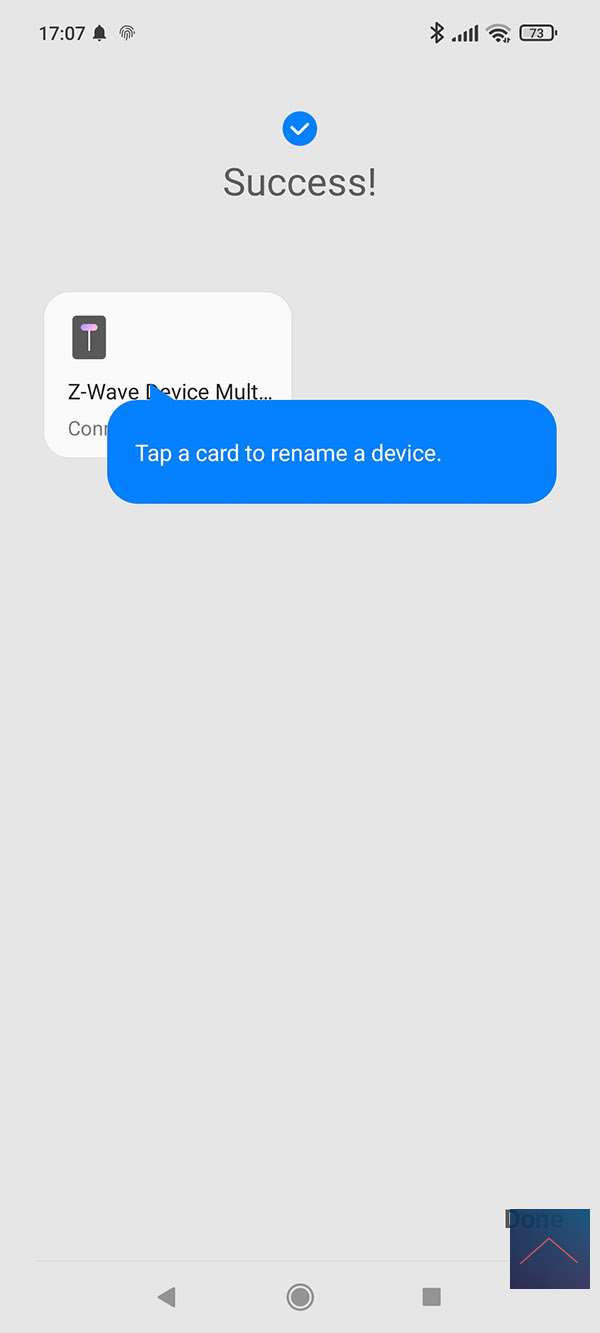
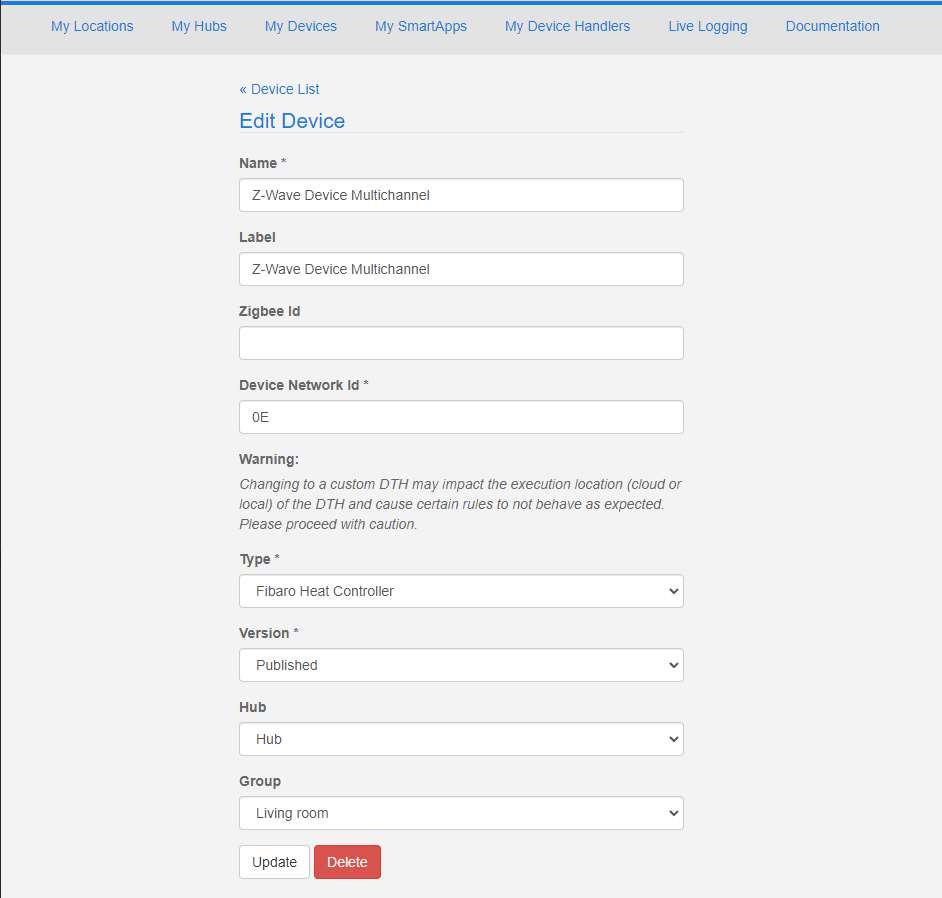
Unfortunately, it is added as a "multichannel device", which means that it does not have the correct properties. Fortunately, you can easily change this via the web interface (https://graph.api.smartthings.com/) because this Heat Controller should be supported. When you are logged in, go to your devices and click on the "errors" heat controller. Then we do "edit" and we can put it on the Heat Controller and don't forget to click on save.
If we now go back to the APP and restart it, we will see it appear correctly.
Installation screens:
Configuration:
Control:
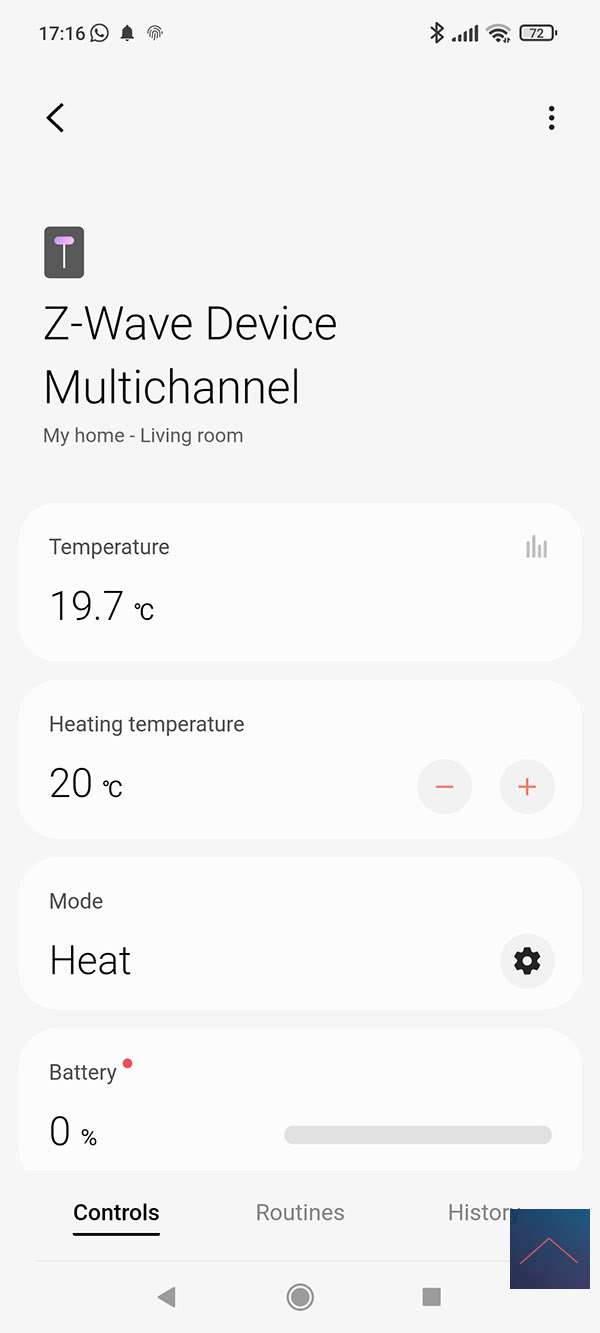
We see the temperature of the sensor, we can set the temperature of the central heating system, we can change the mode (Off, heating and protected). Unfortunately we do not see the battery level.
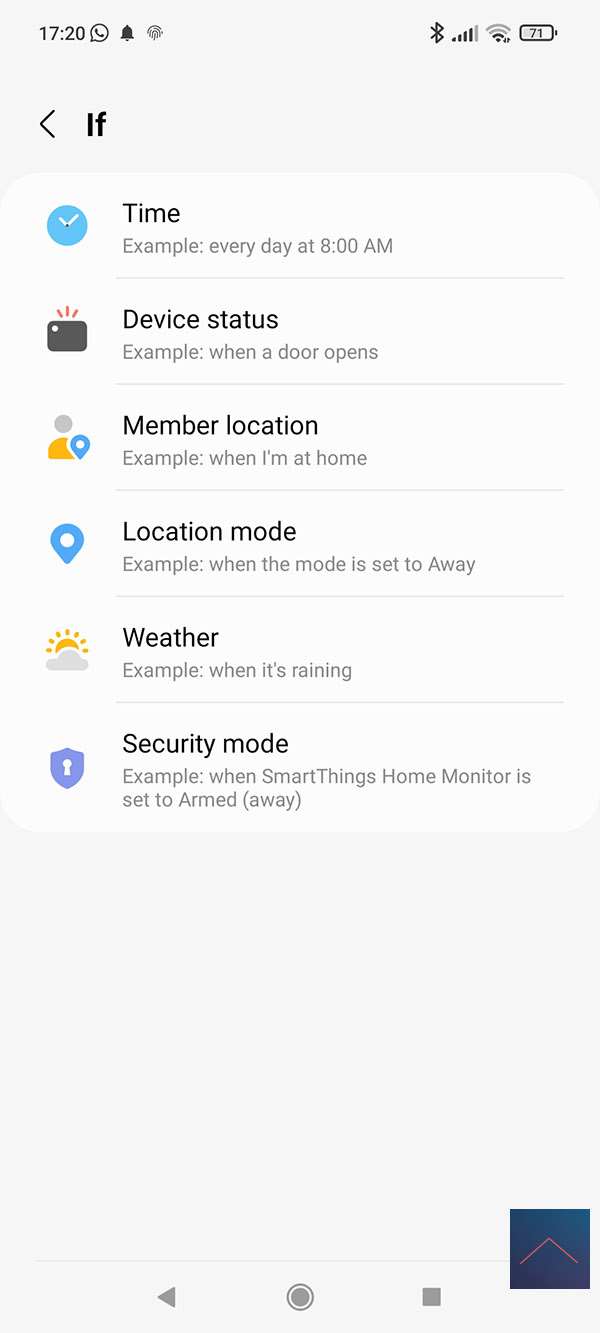
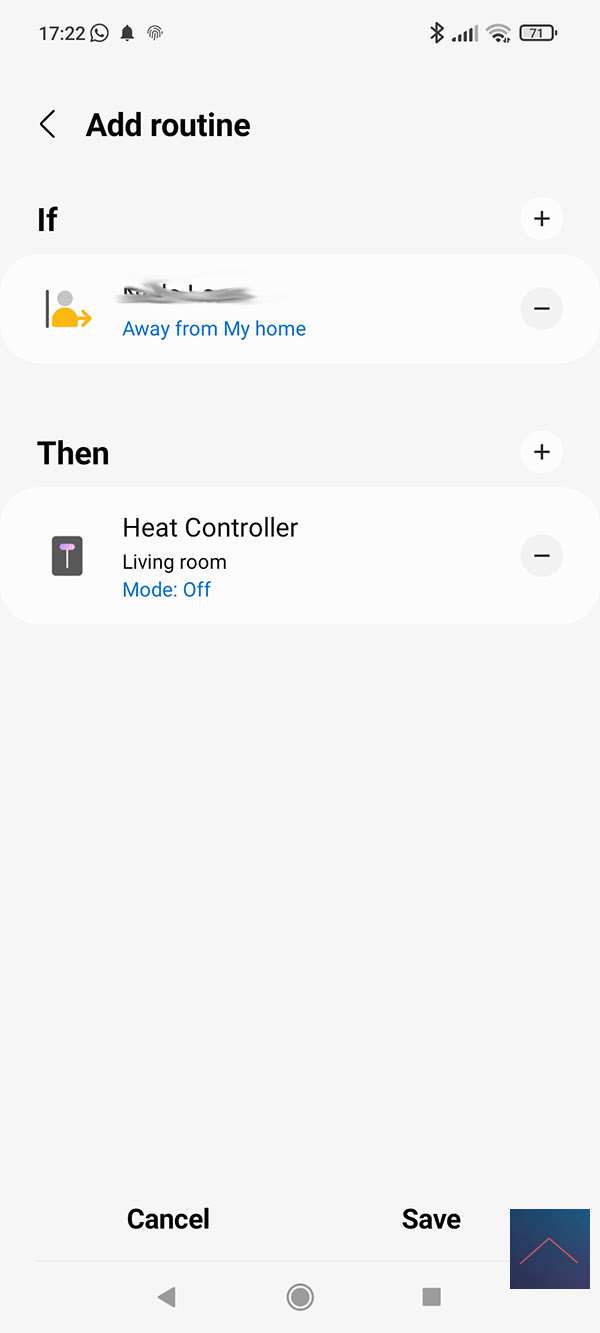
Example routine:
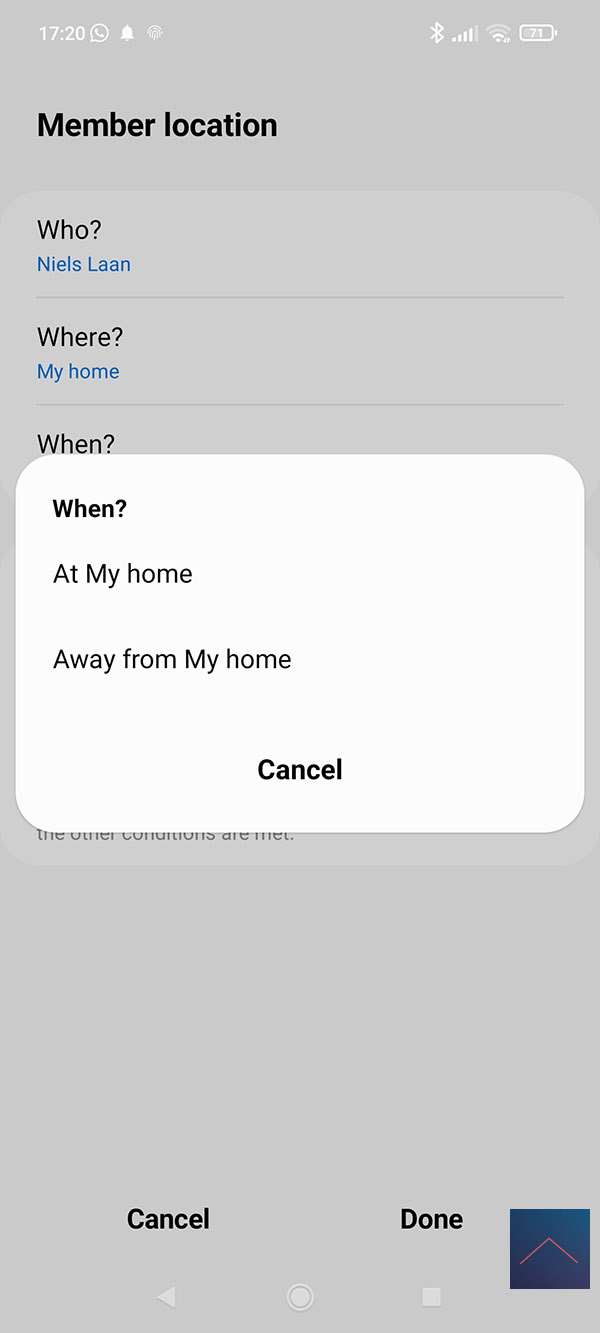
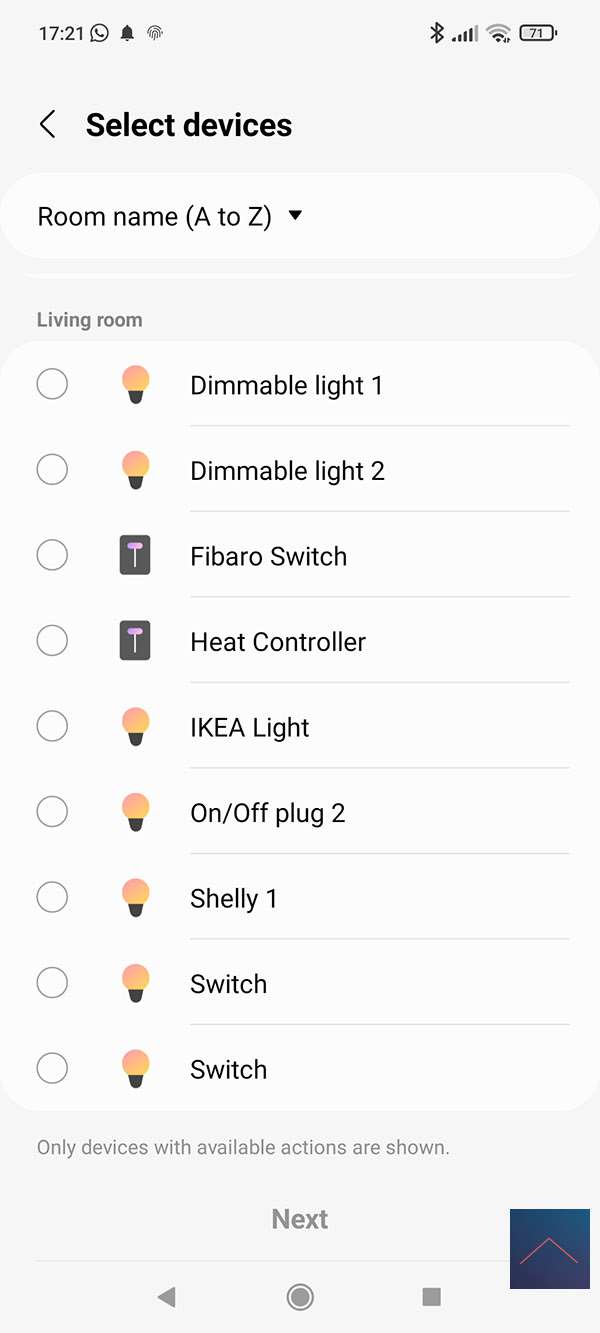
We make a routine of turning off the thermostat when we are away from home.


