Review:
Fibaro Home Center 3

Installation of a device:
Now that we have everything up and running we are going to add a device. It is good to mention that the HC3 supports different wireless protocols. He has built in a chip for Z-Wave (Plus), Zigbee, WiFi, Bluetooth and 433Mhz.
Unfortunately, not all of these protocols have been activated yet. Currently Z-Wave and Nice devices can be added. It is a pity that after 1 year this still does not work. The Zigbee protocol in particular is very interesting to use because Philips HUE and Ikea, among others, use it. Xiaomi also has various very attractively priced products.
It is still unclear when these protocols will be activated.
To add a device:
We are going to add different devices to see how this should be done and whether it works at all. In addition to a Fibaro product, we also add a few other brands.
We start with the Fibaro Walli Dimmer. This is a smart wall switch with which you can turn a dumb lamp on/off and dim it. It also measures the energy of the connected lamps. This system replaces your existing switch and can therefore be installed invisibly.

Add Fibaro Walli Dimmer:
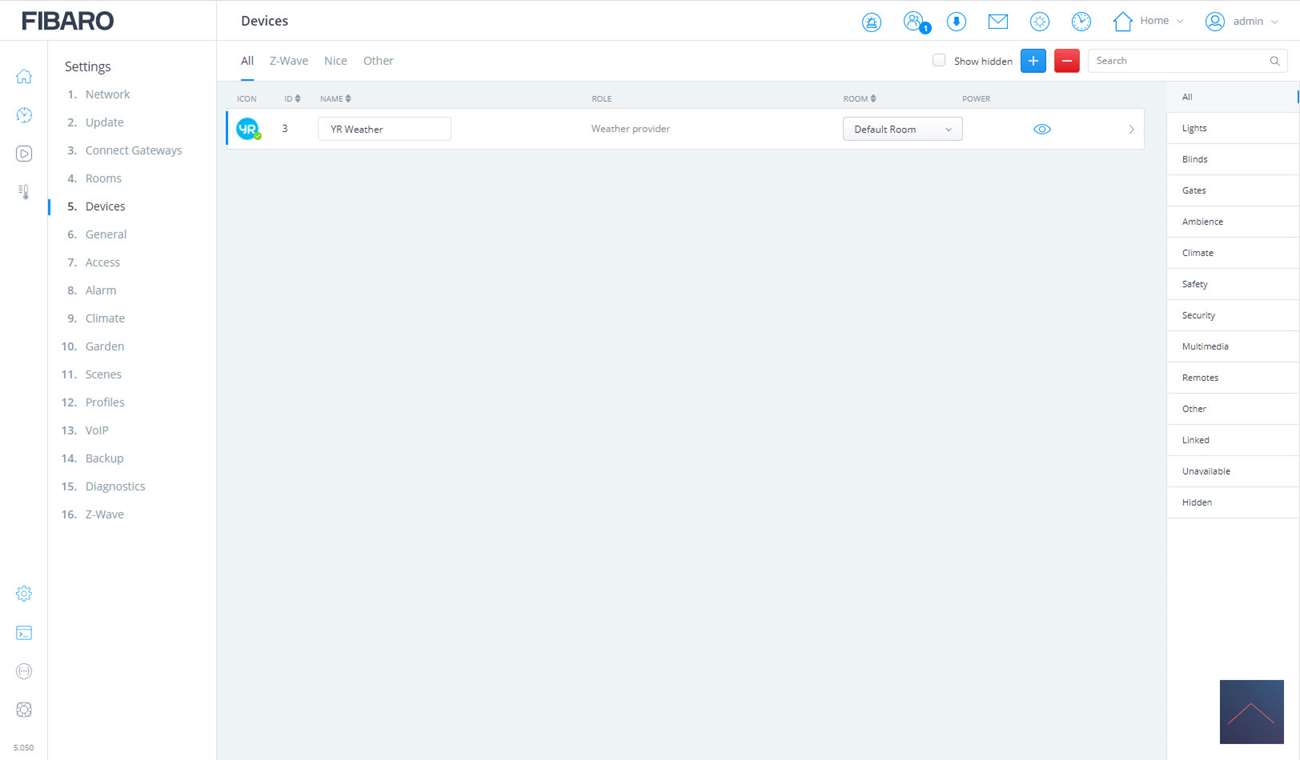
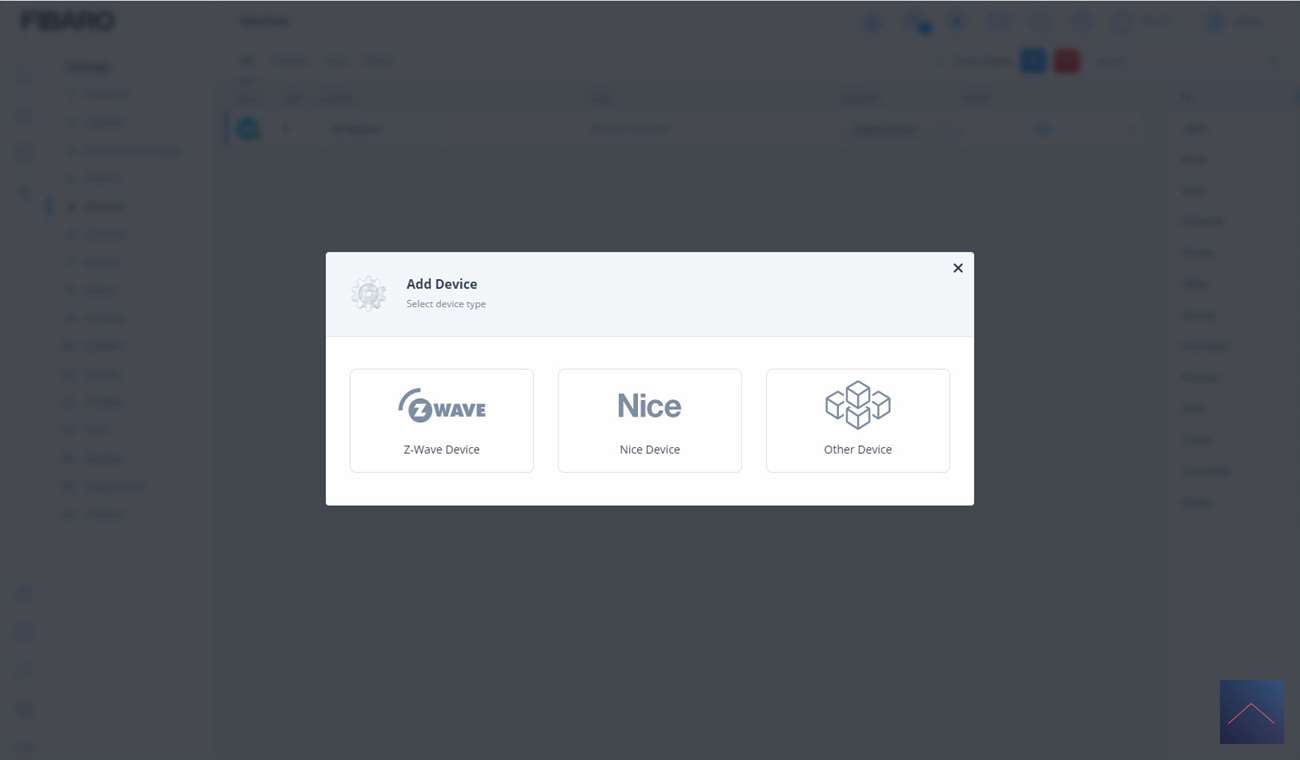
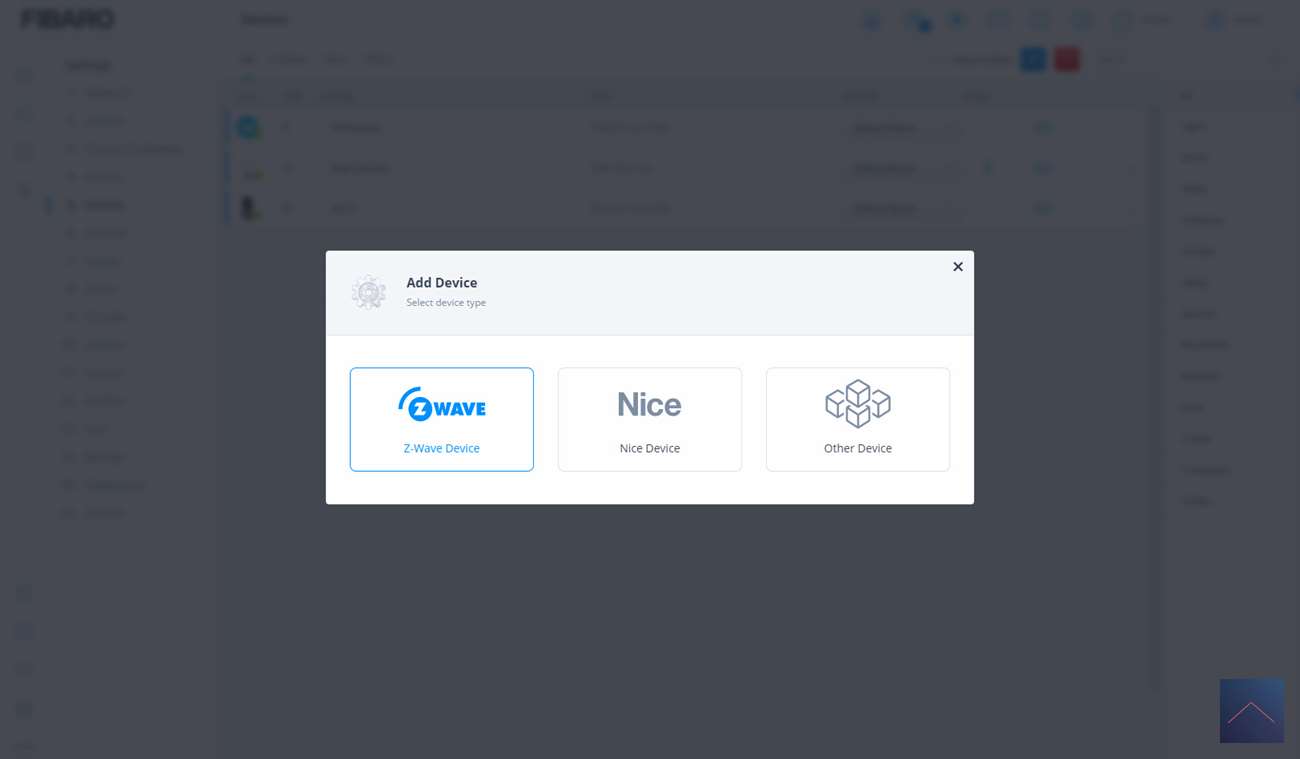
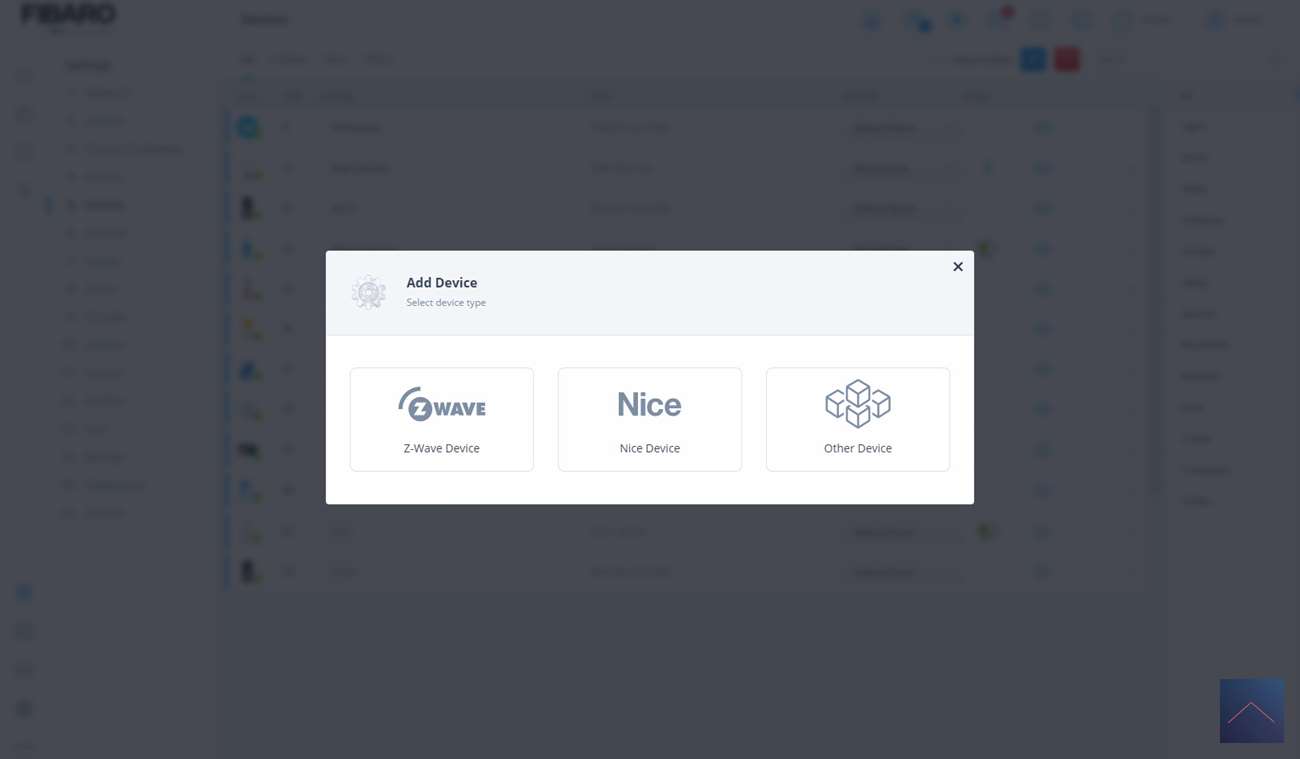
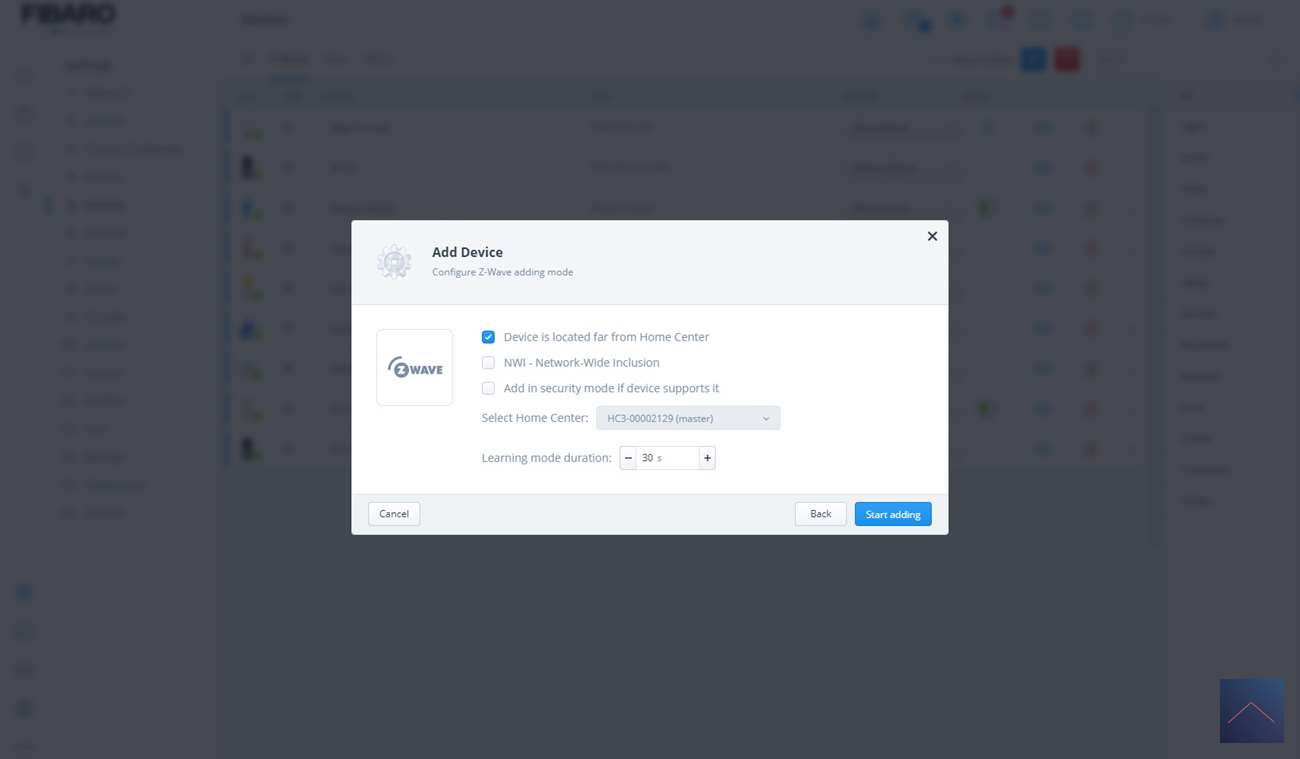
To add a device we go to the configuration (radar icon) section and click on "devices" there. Then click on the blue plus in the top corner and click on Z-Wave.
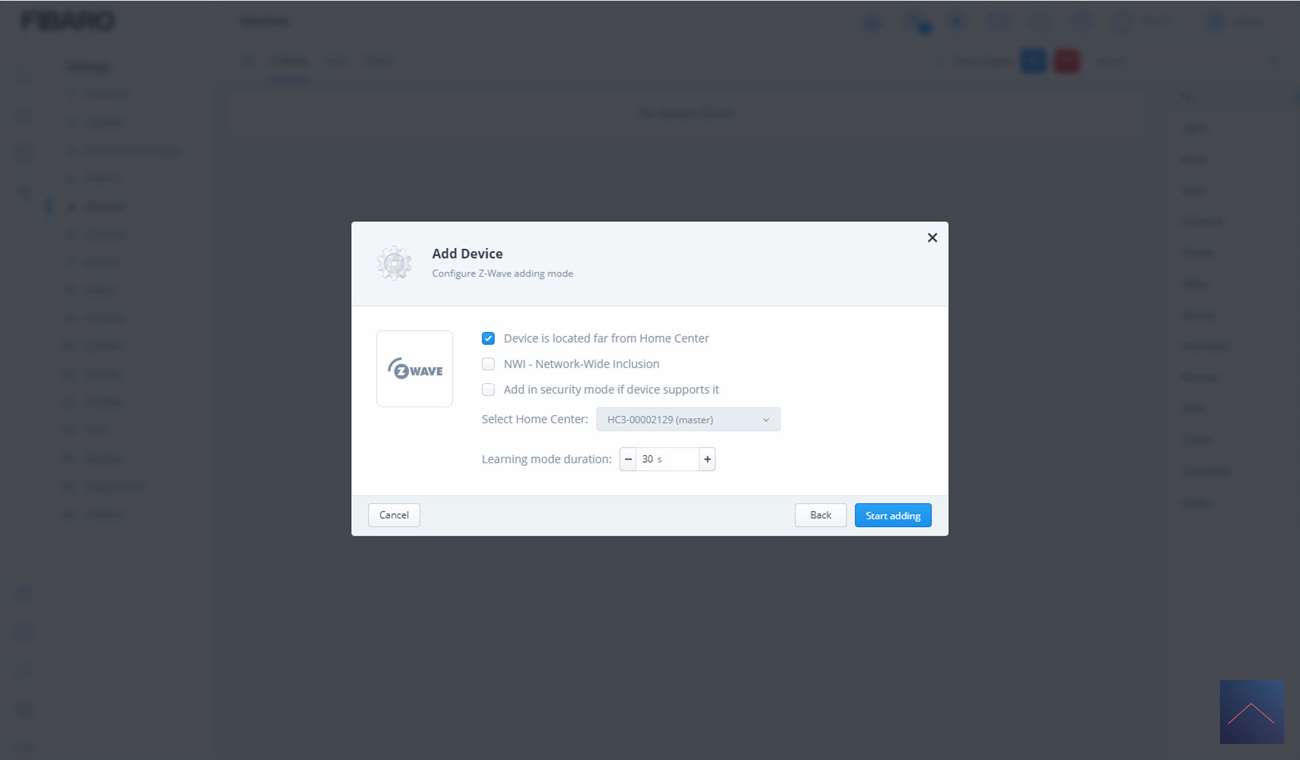
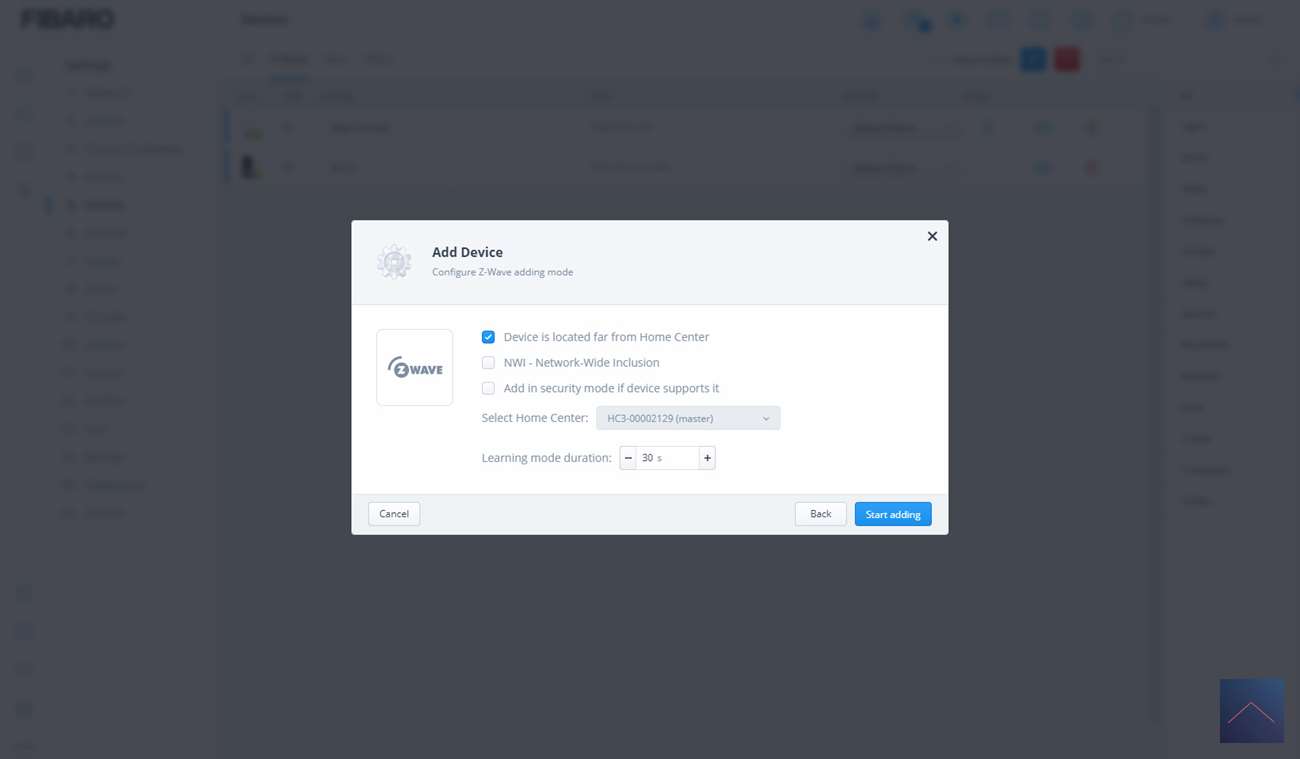
What you are going to do by pressing the "start adding" button is to put the HC3 in learning mode. He prepares himself to pick up this signal. We have to do the same on the device itself (the Walli). In this way they can find each other.
Always keep the HC3 close to the device to be added. The fact is that the signal is not as strong (due to security) than it will eventually be.
Before we actually press the button in the HC3, we first provide the Walli with power. Well, is not entirely true because we have to connect it first. A diagram is included how to do this. You can connect it with 2 wires and 3 wires (with and without ZERO). First screw everything closed and then supply it with power.
The Walli will first calibrate the connected lamp. The LED on the front will change color and the lamp will flash. If this is successful, the LED on the switch will glow green.
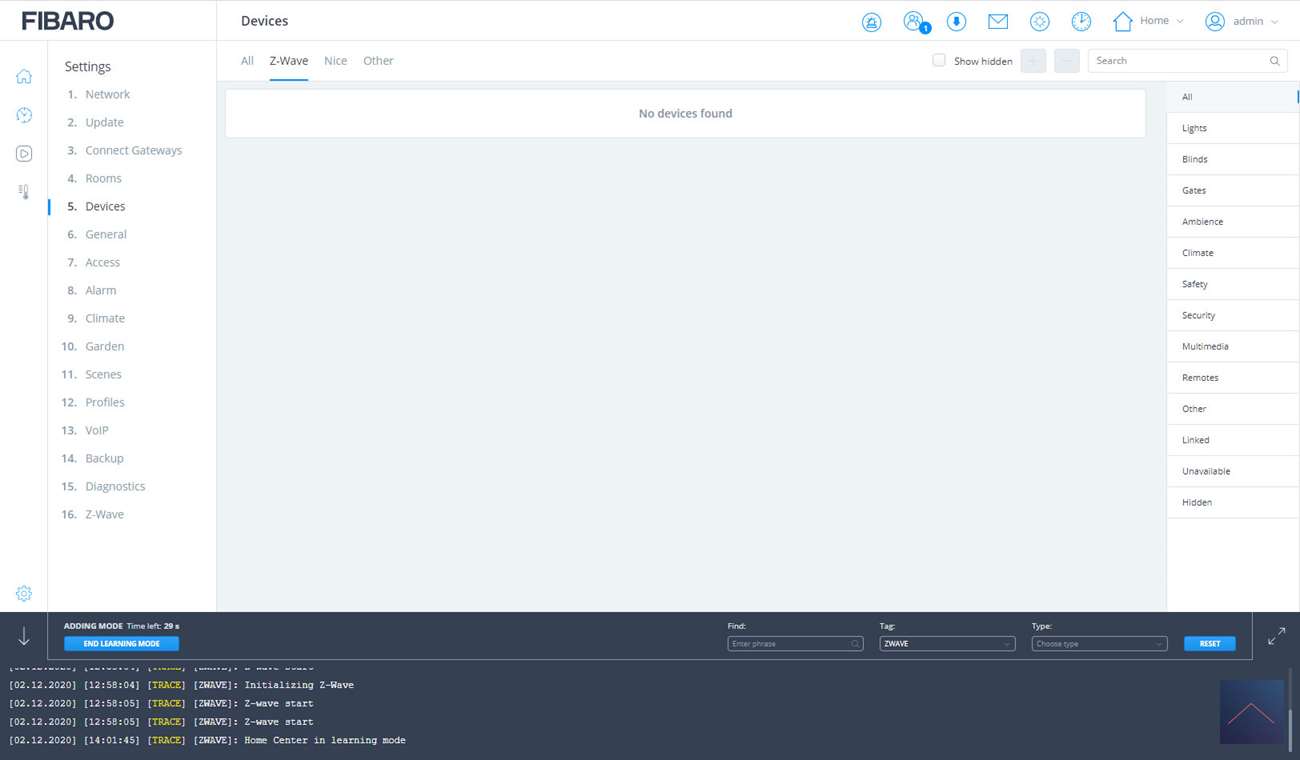
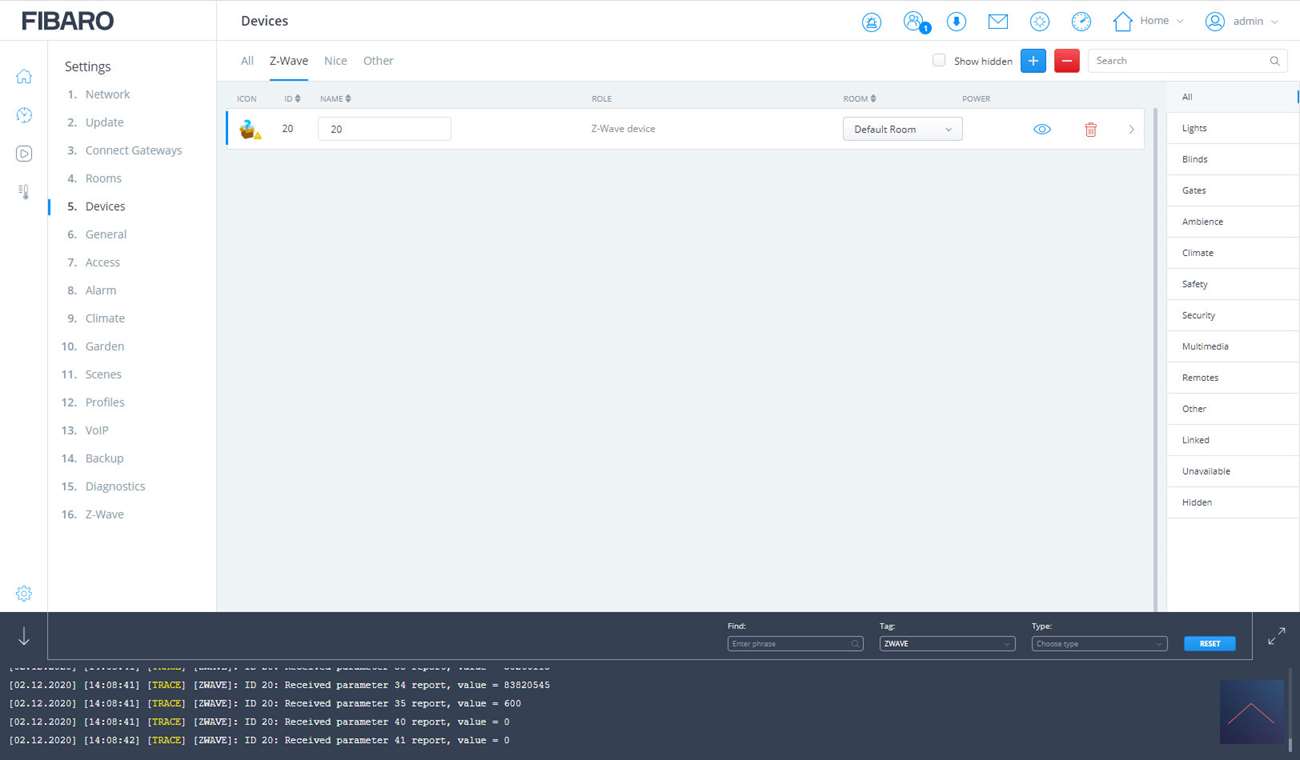
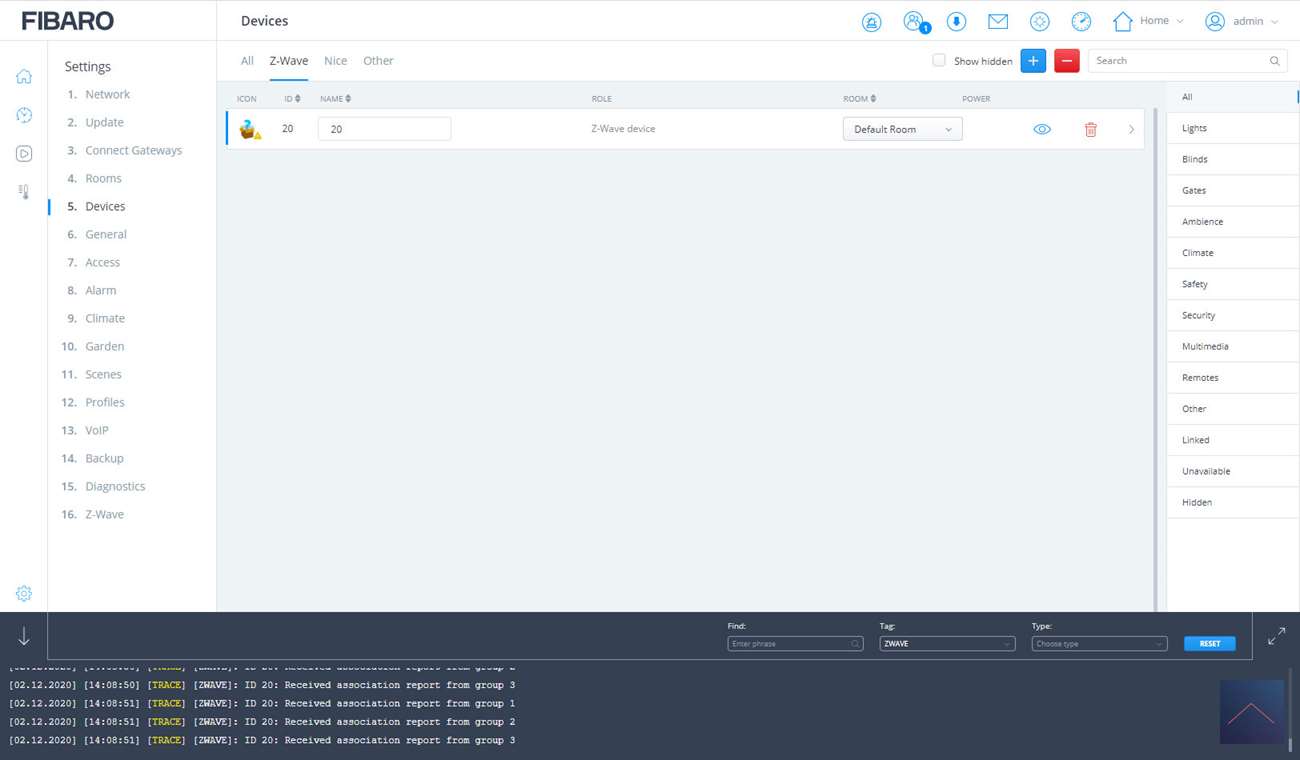
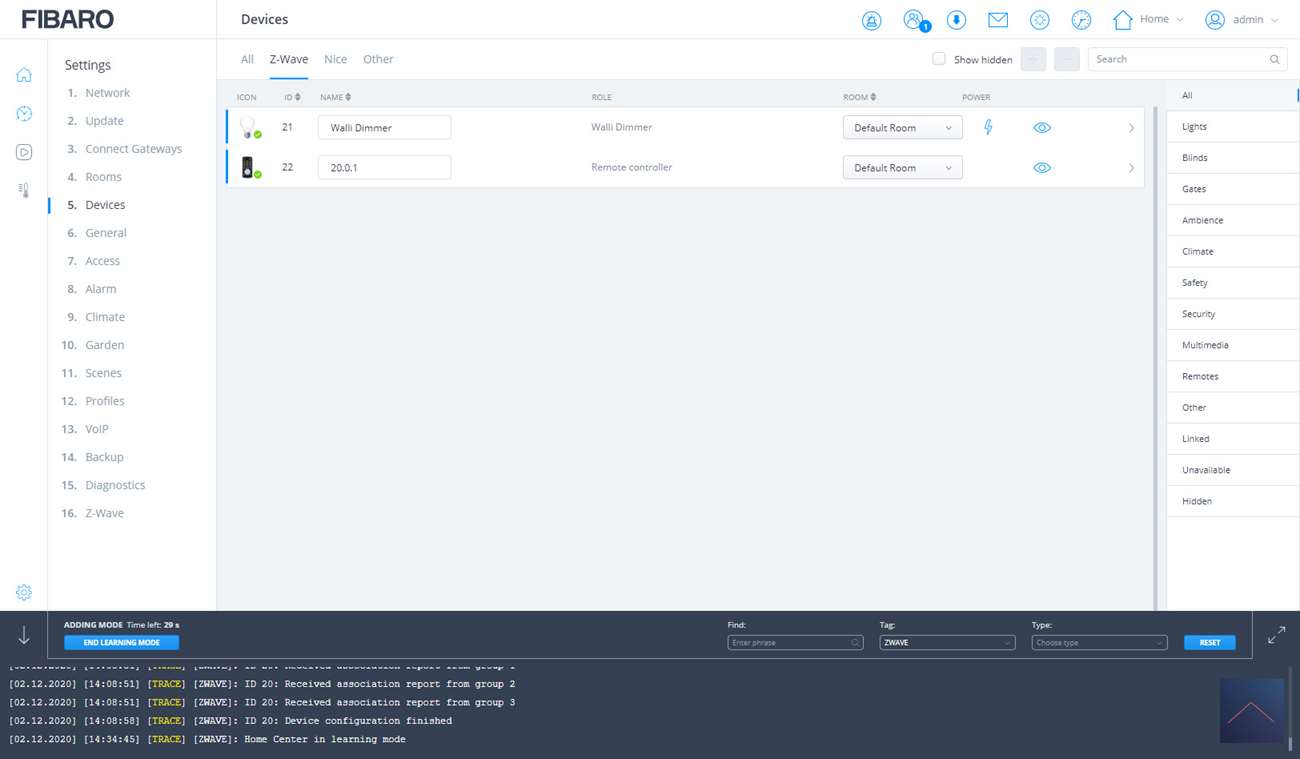
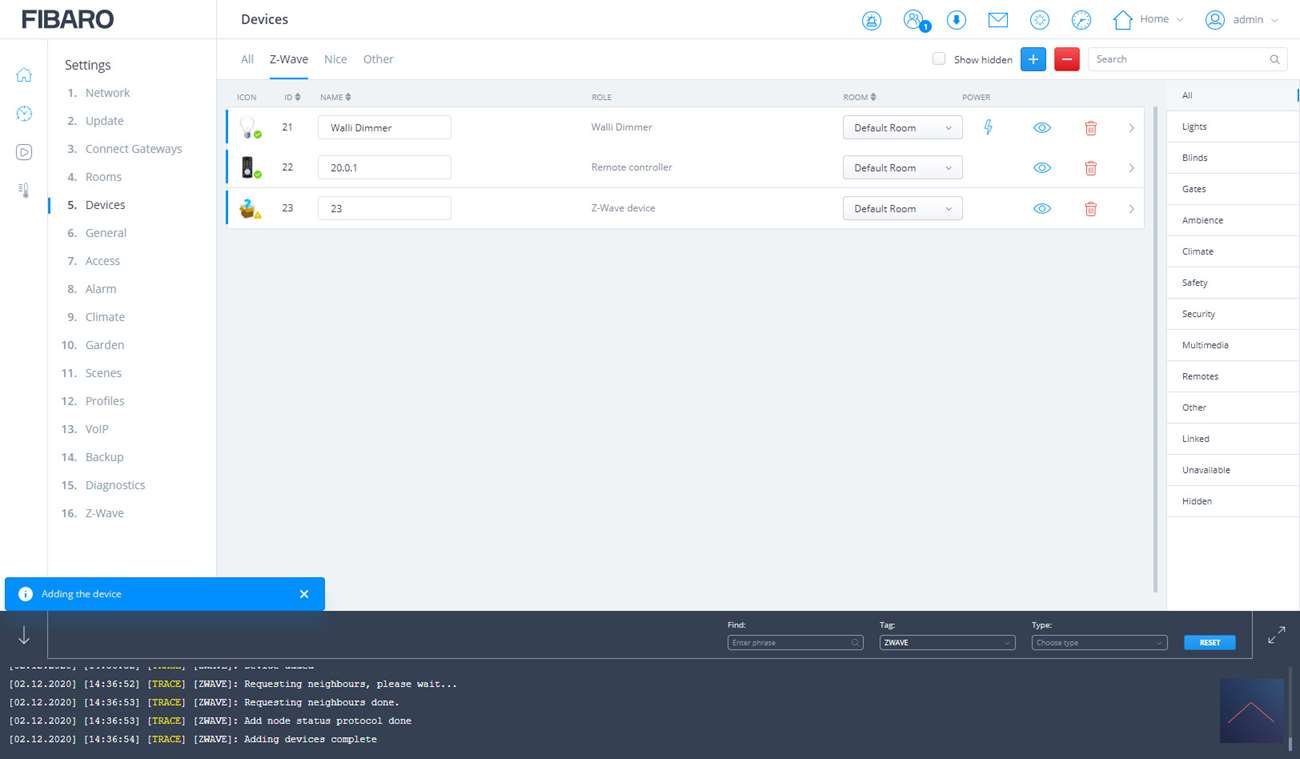
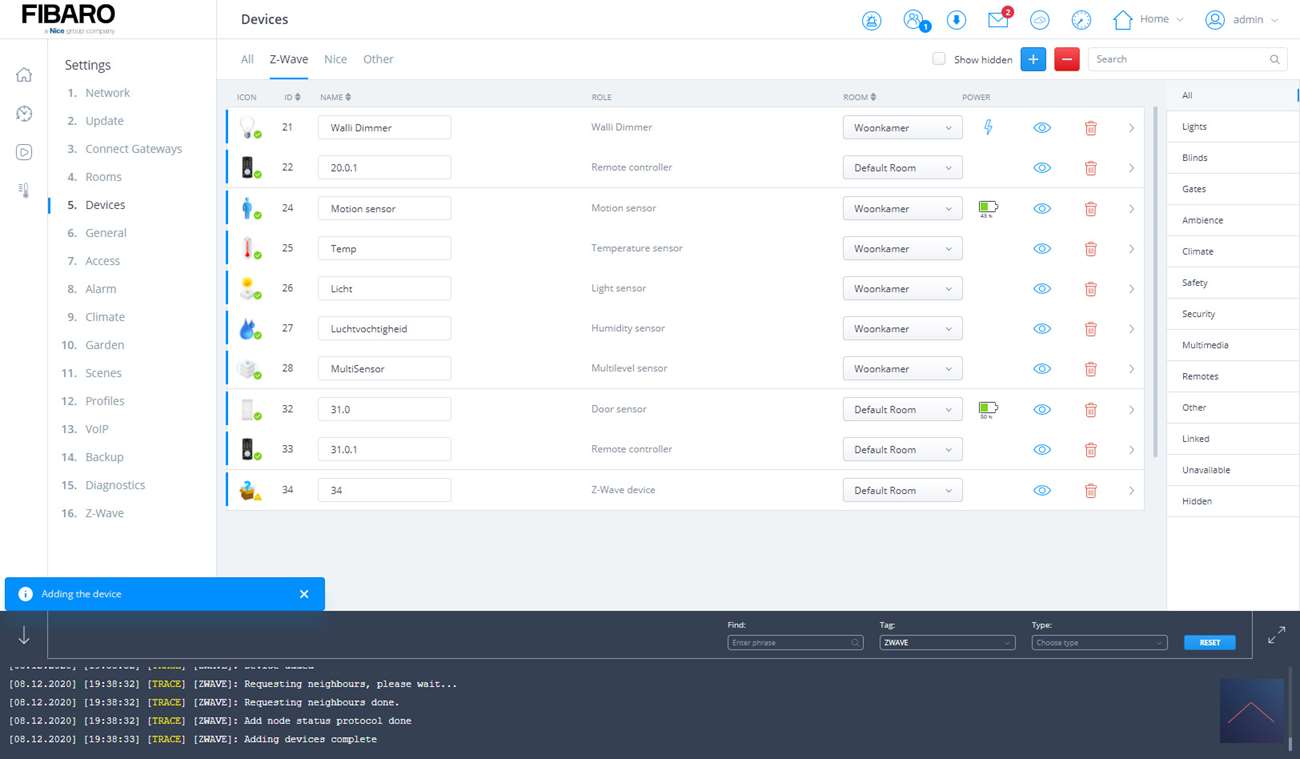
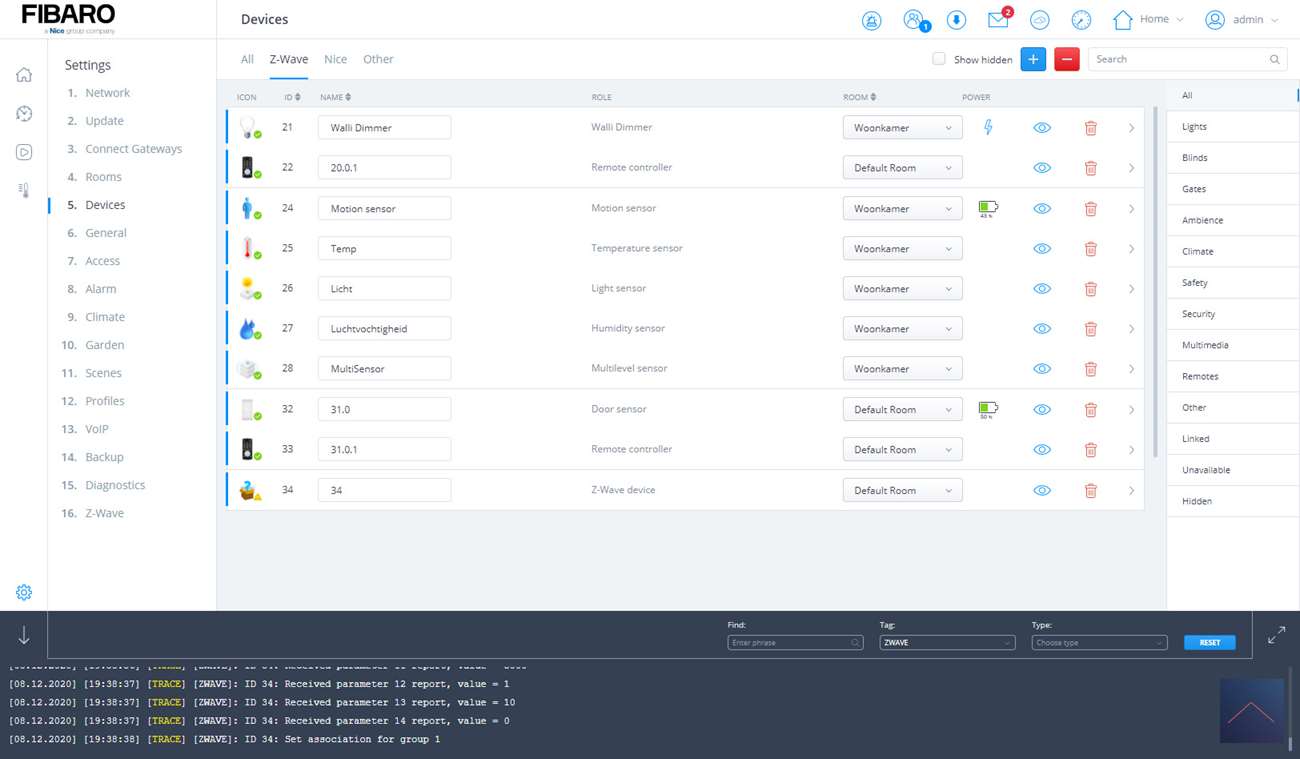
Now we can press the "start adding" button in the HC3. To start adding on the Walli, we press the switch 3x. You see the LED start flashing yellow and I see all additions starting in the console of the HC3.
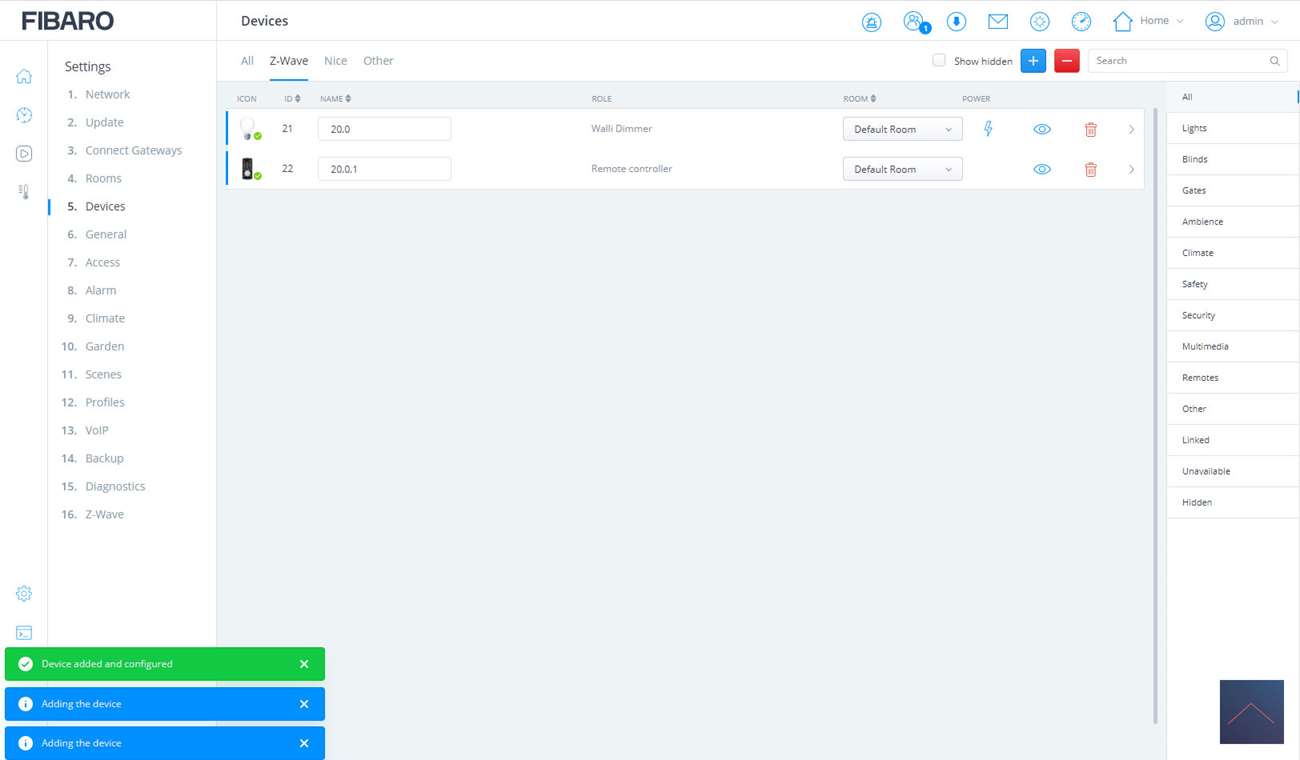
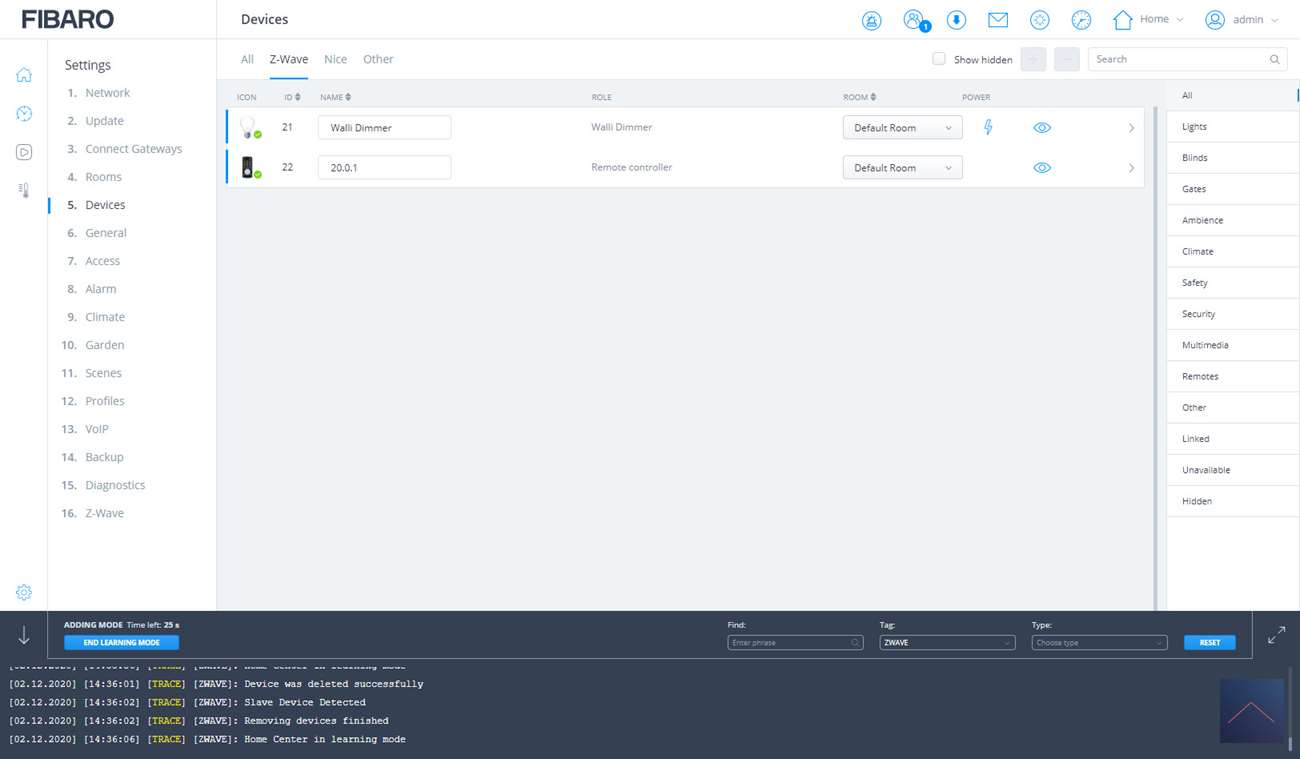
After a few seconds I get a message that the add was successful and on the switch I see the LED light up green. As expected, as it should be.
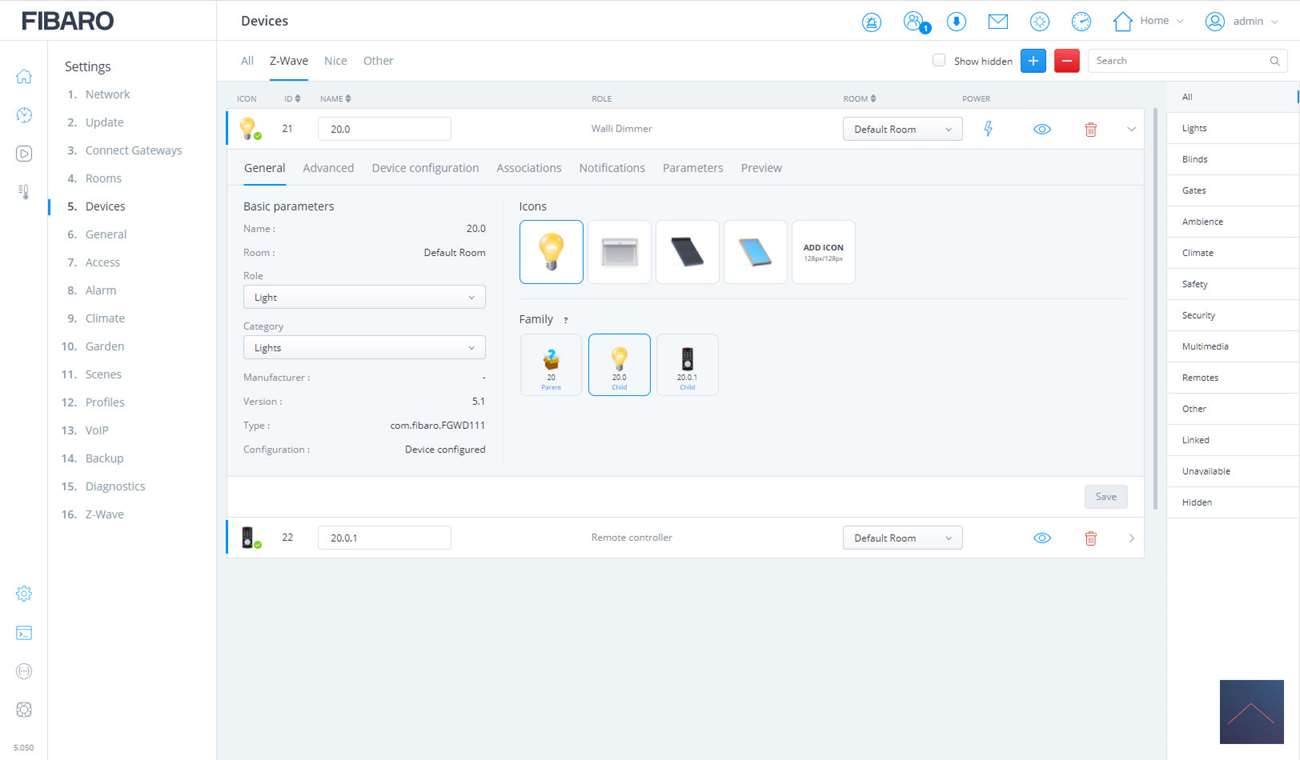
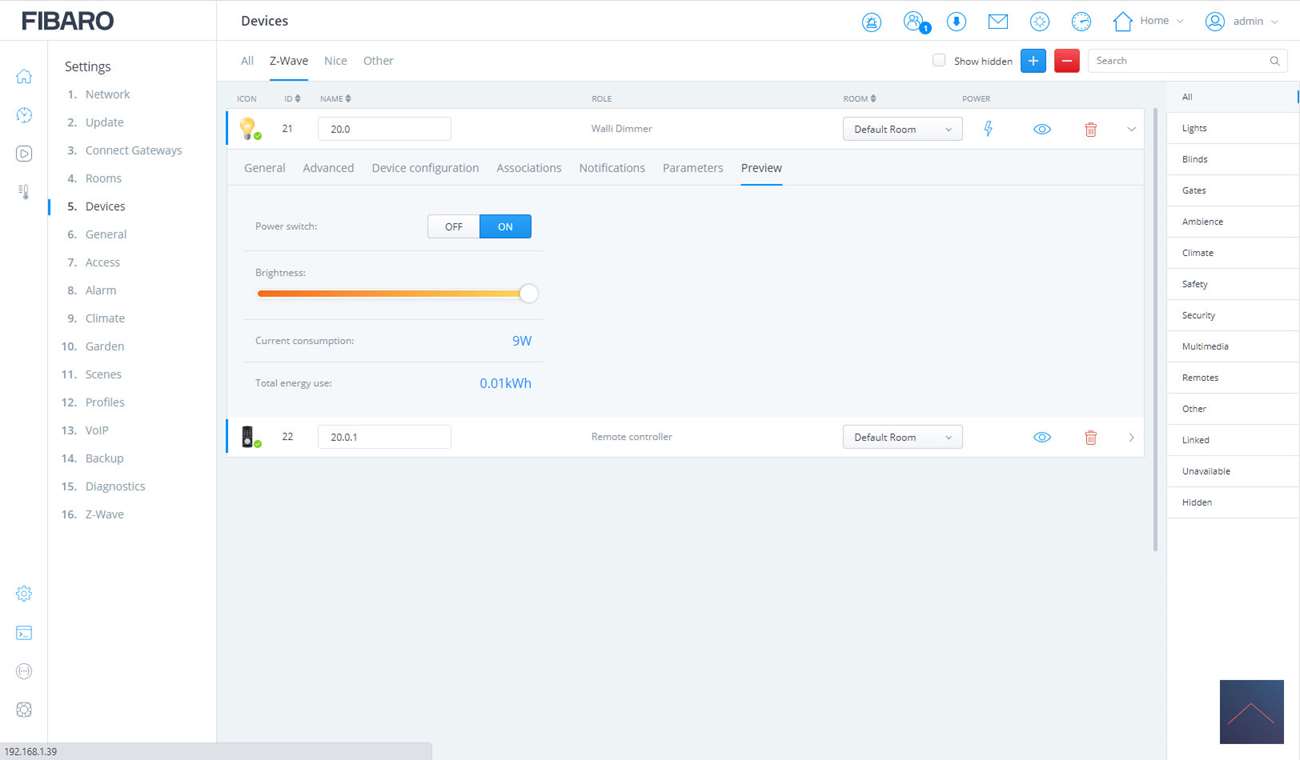
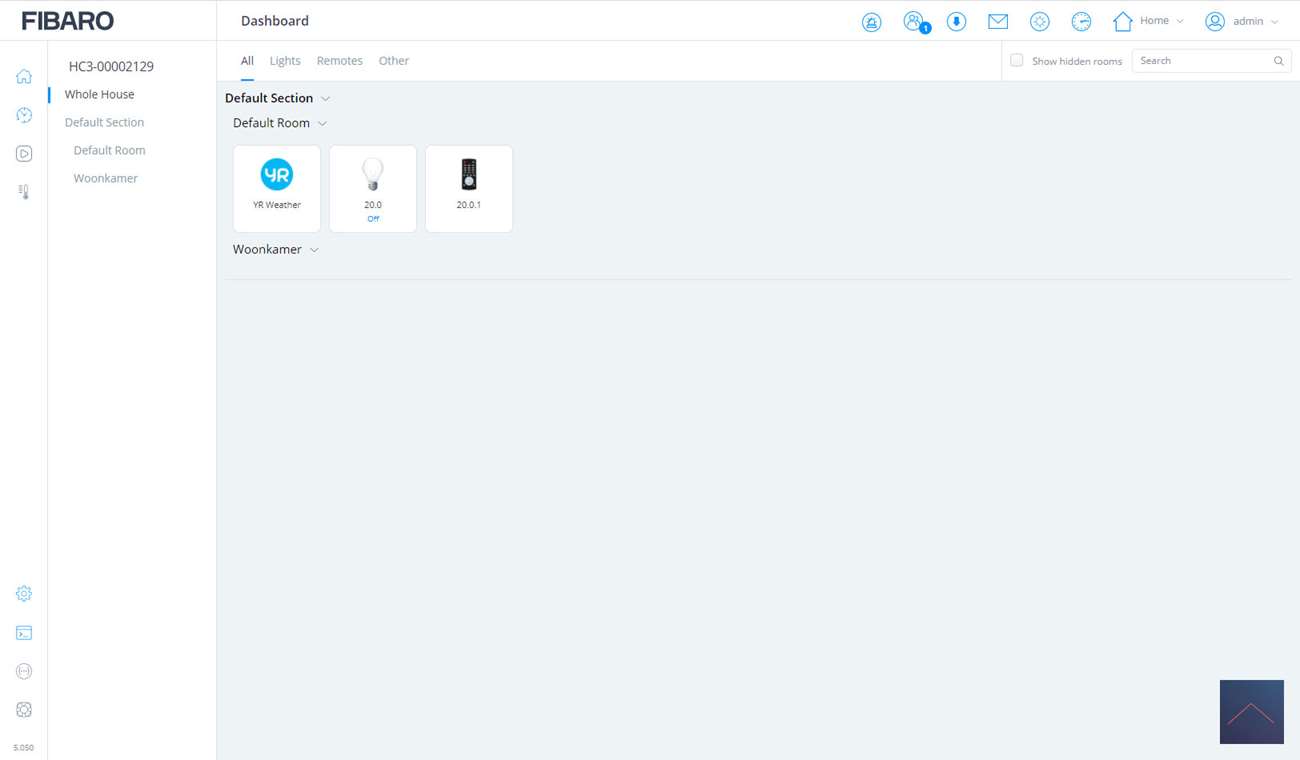
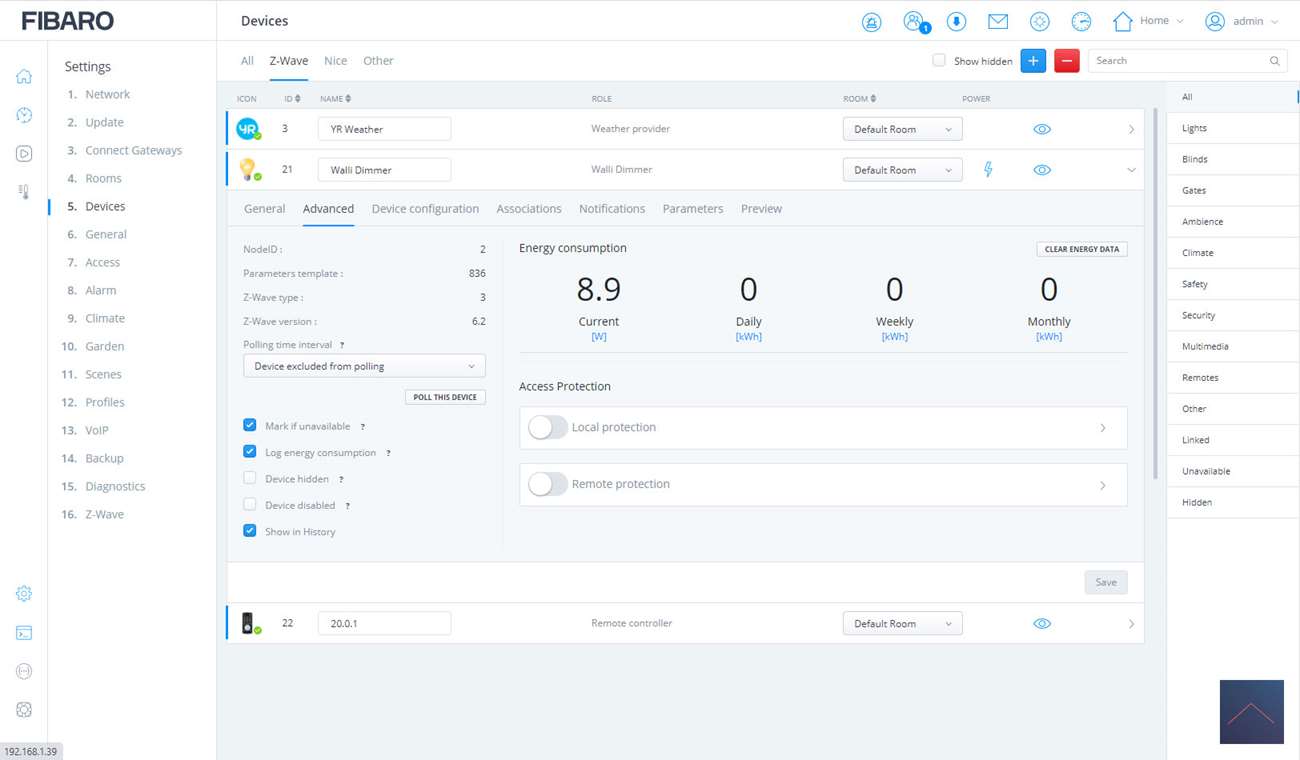
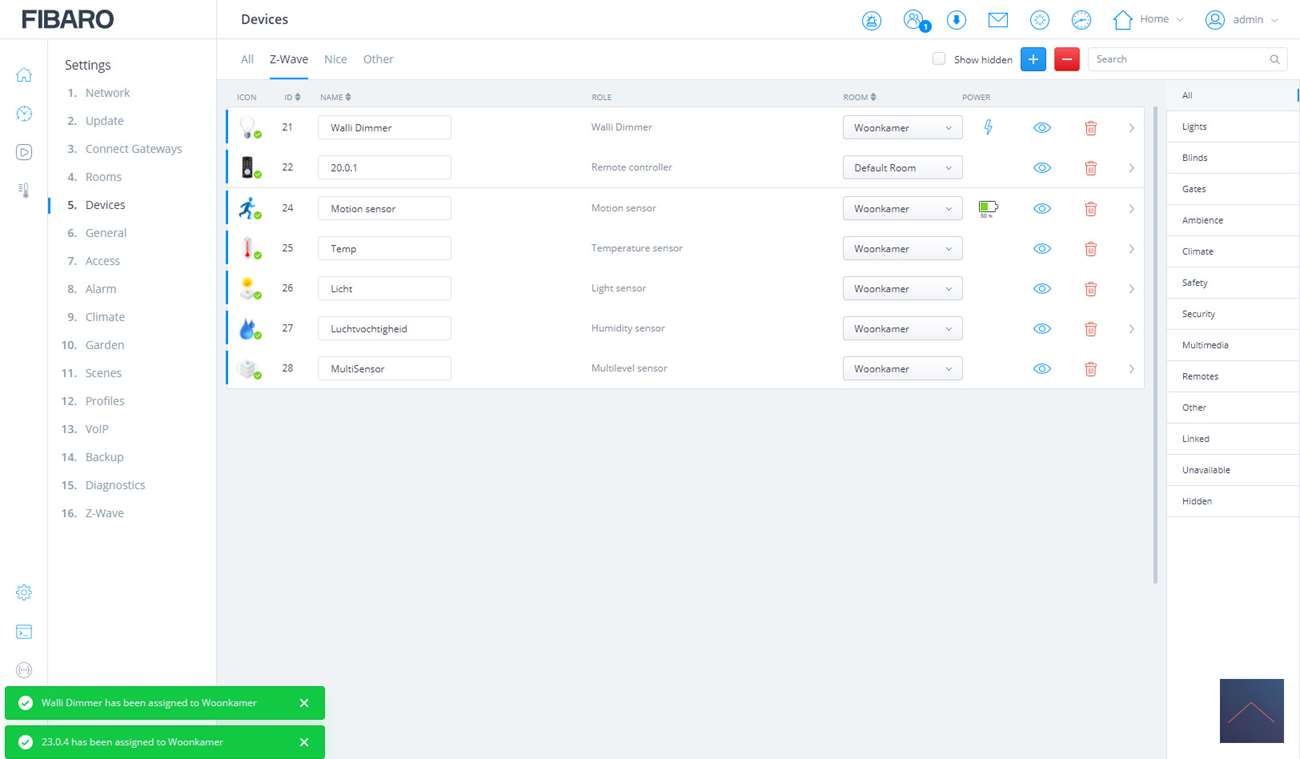
We can now give the lamp a name and place it in a room so that we can easily find it again.
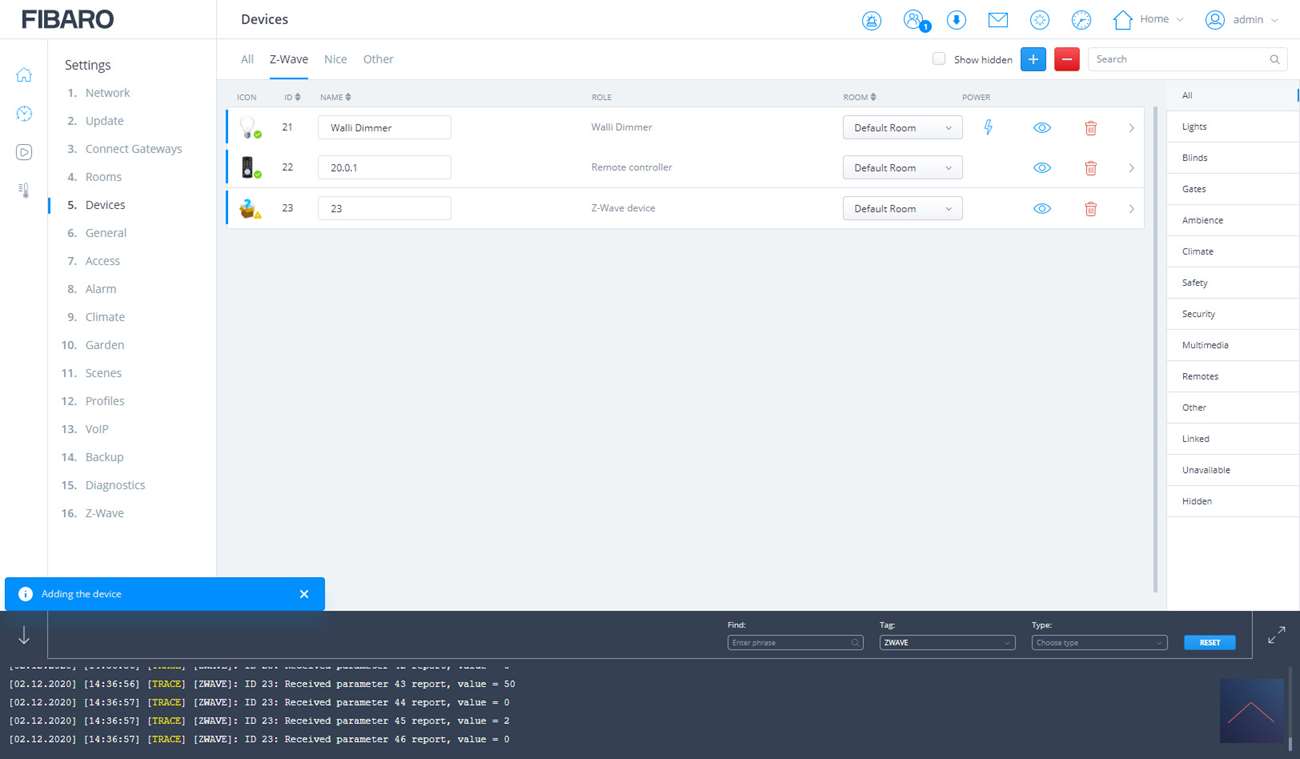
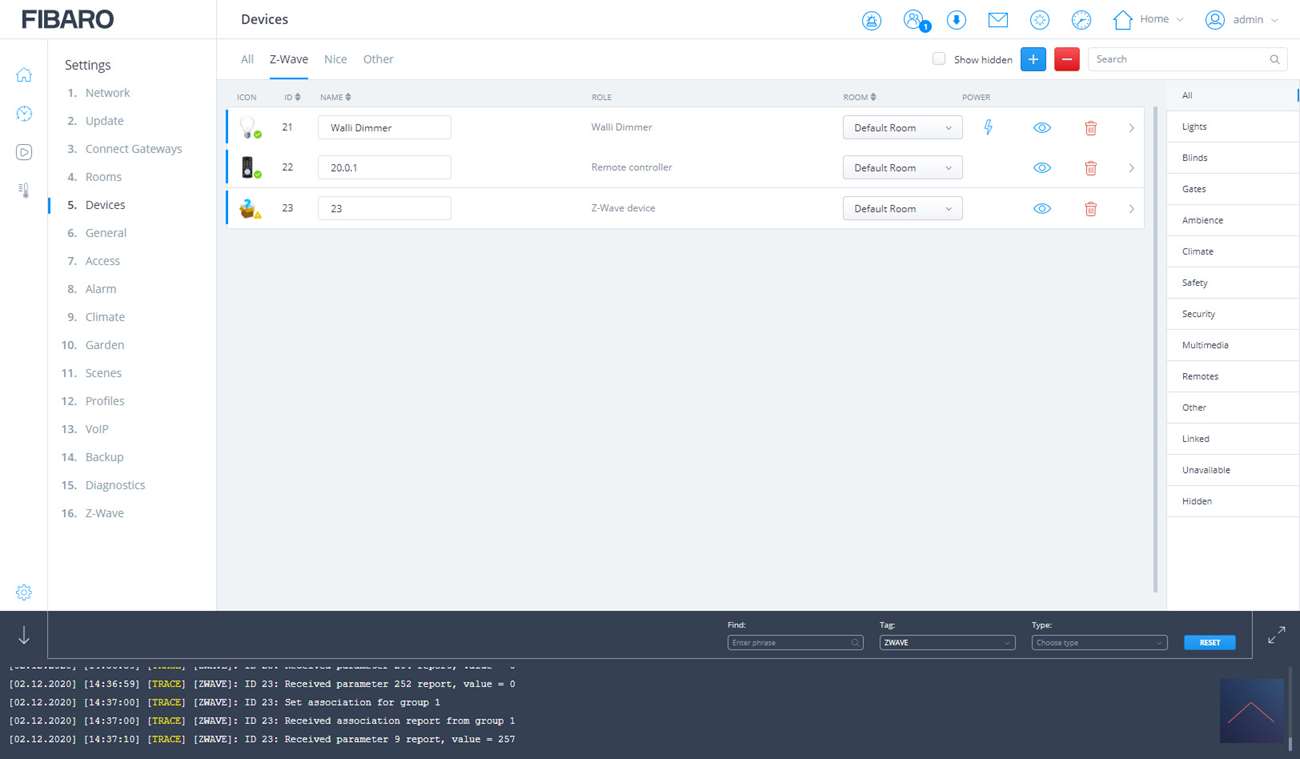
Installation screens:
Control:
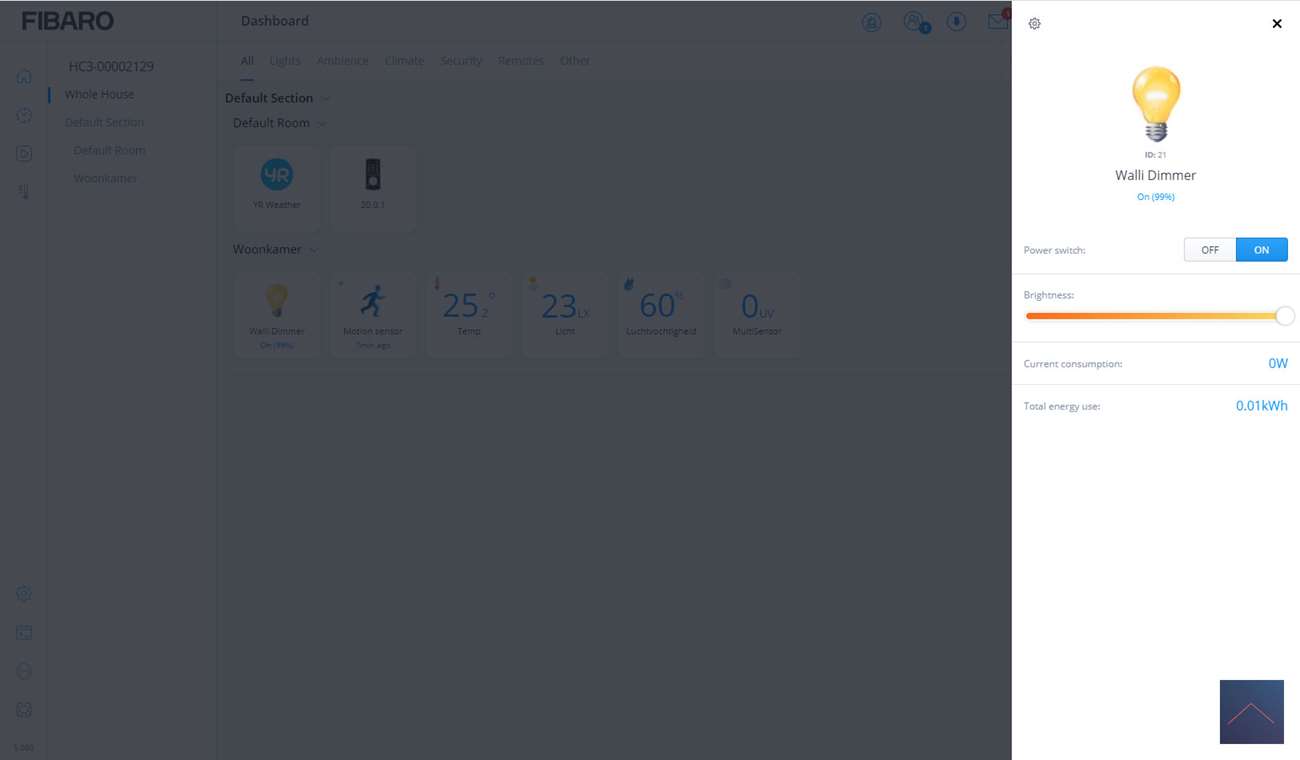
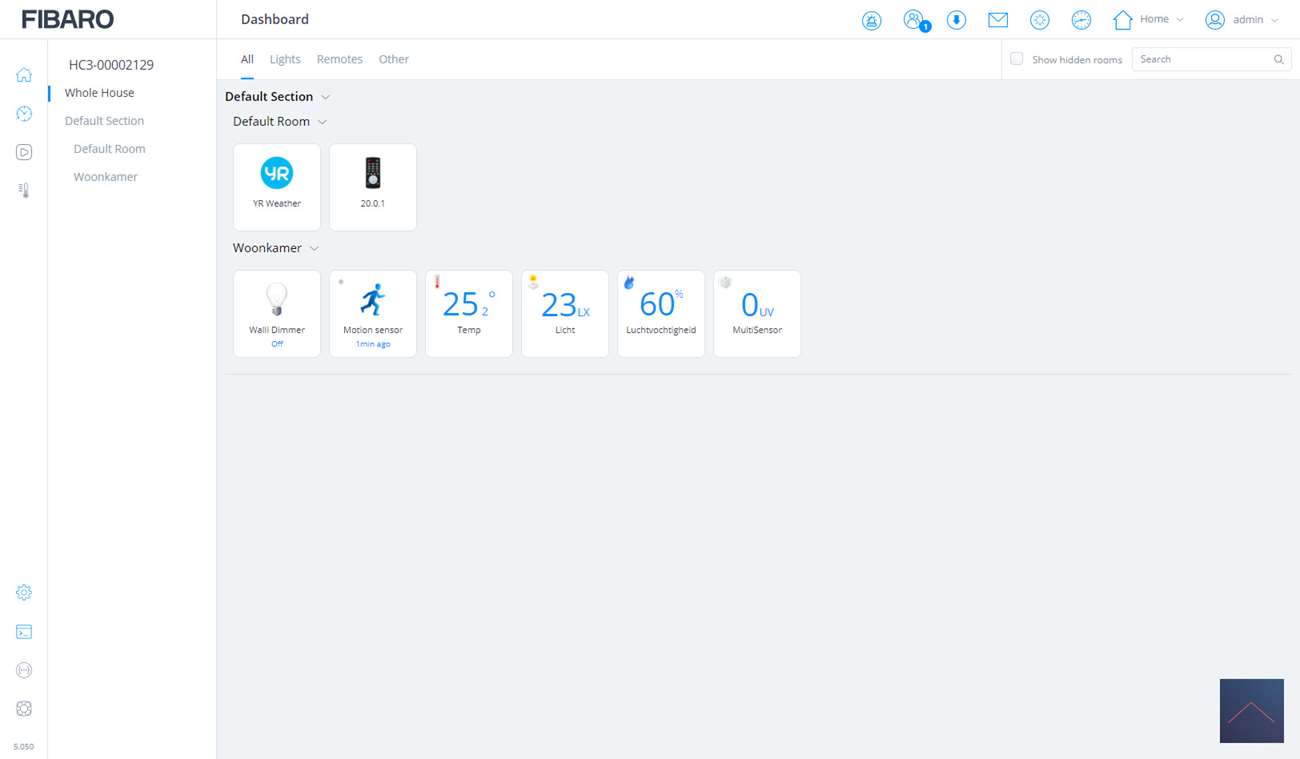
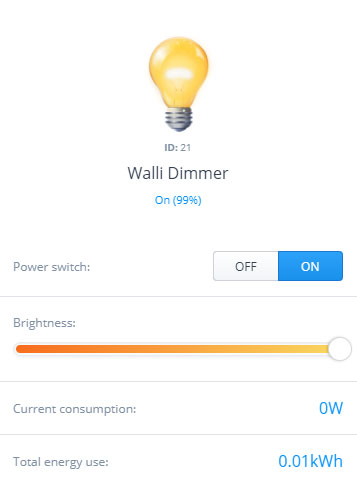
Now that we have added it, the connected lamp can be operated via the switch as well as via the HC3. The status is kept in both places. We can switch the lamp on and off, dim it and see the energy consumption.
We are going to make an extensive review of this switch. Keep an eye on our blog.

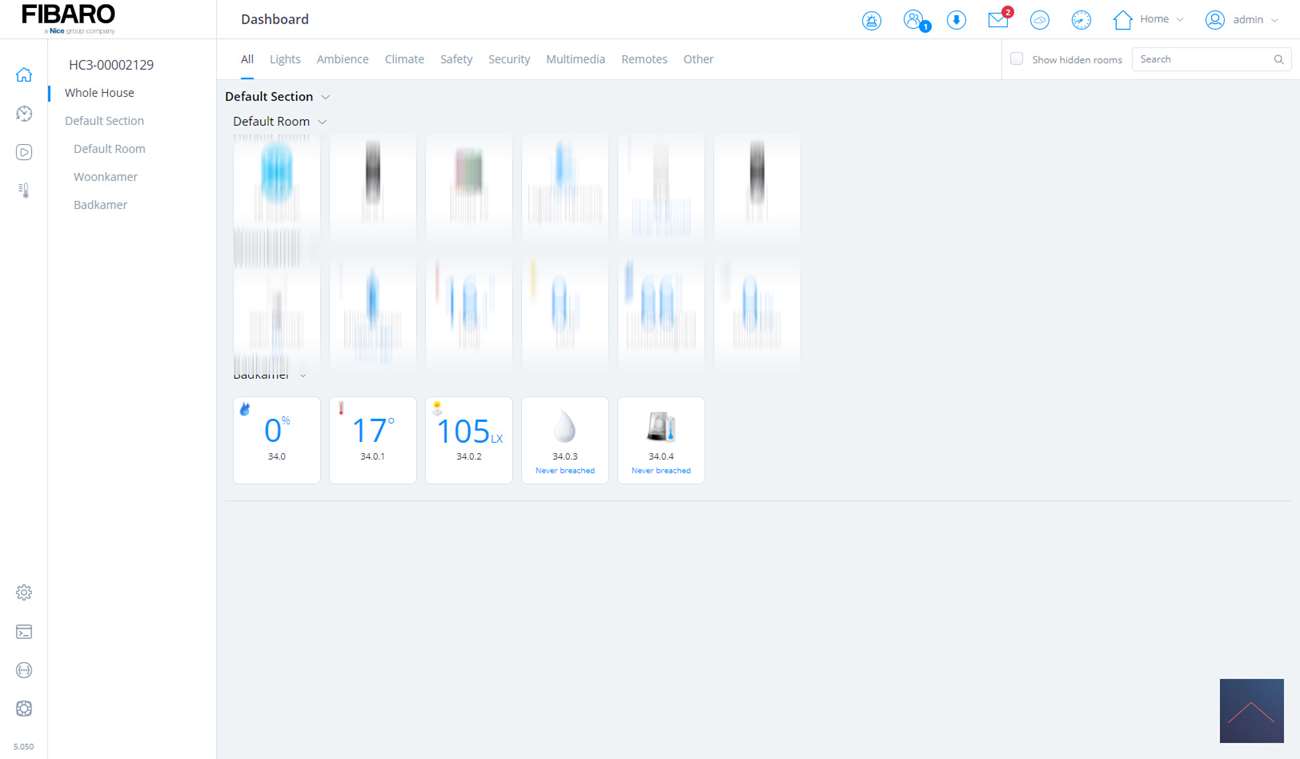
Aeotec MultiSensor 6
We now have 1 device but let's add a few more. We are now going to add the Aeotec MultiSensor 6 which works via the wireless protocol Z-Wave. In addition to a motion detector, this device has a temperature sensor, lux meter, humidity meter, shock sensor and it can measure the UV level. A real all-in-one device.
This is not supported by Fibaro itself, so it is interesting to see what it does on the HC3.
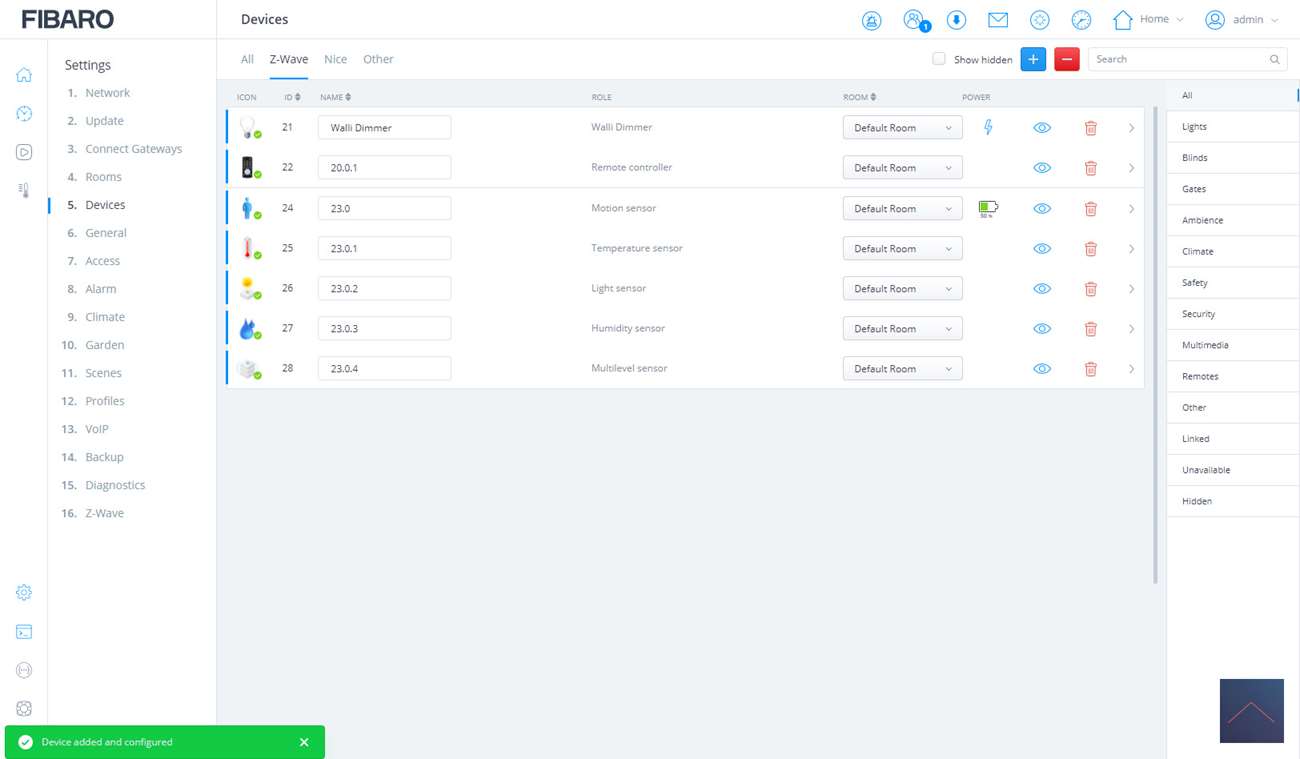
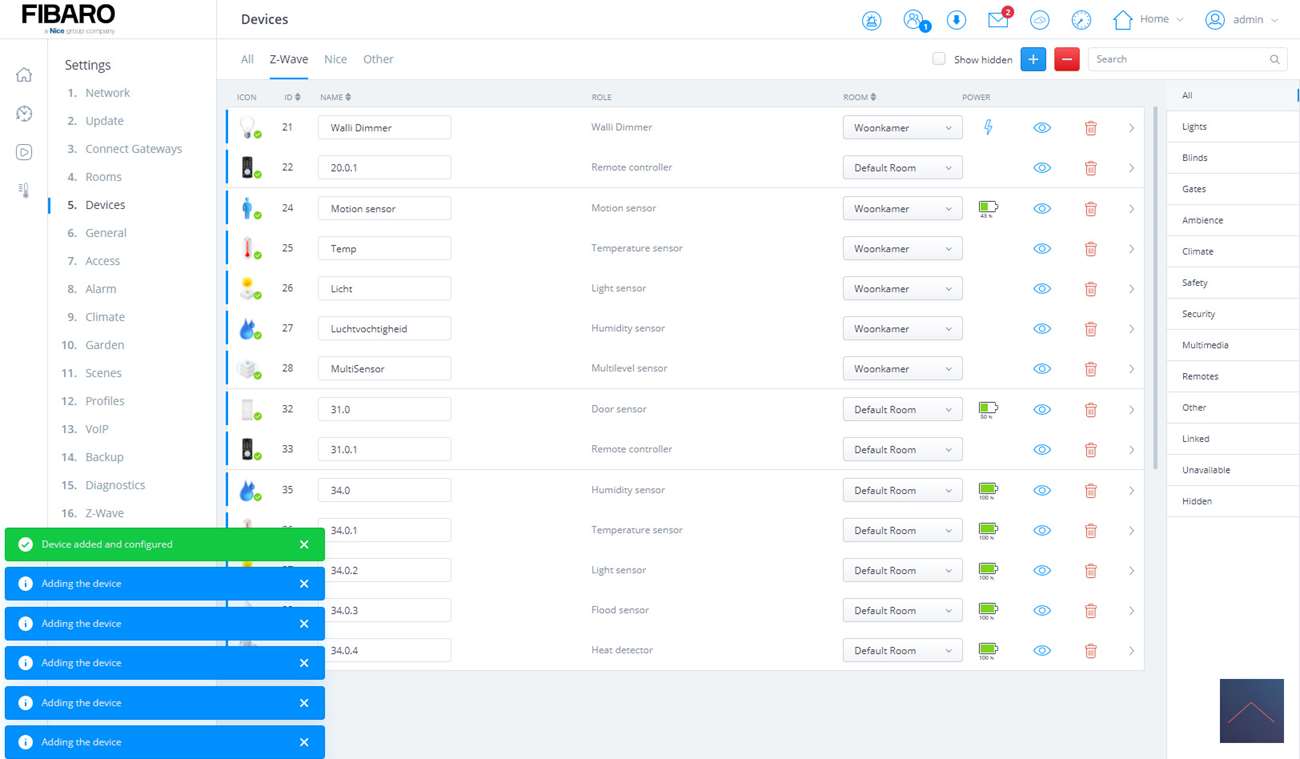
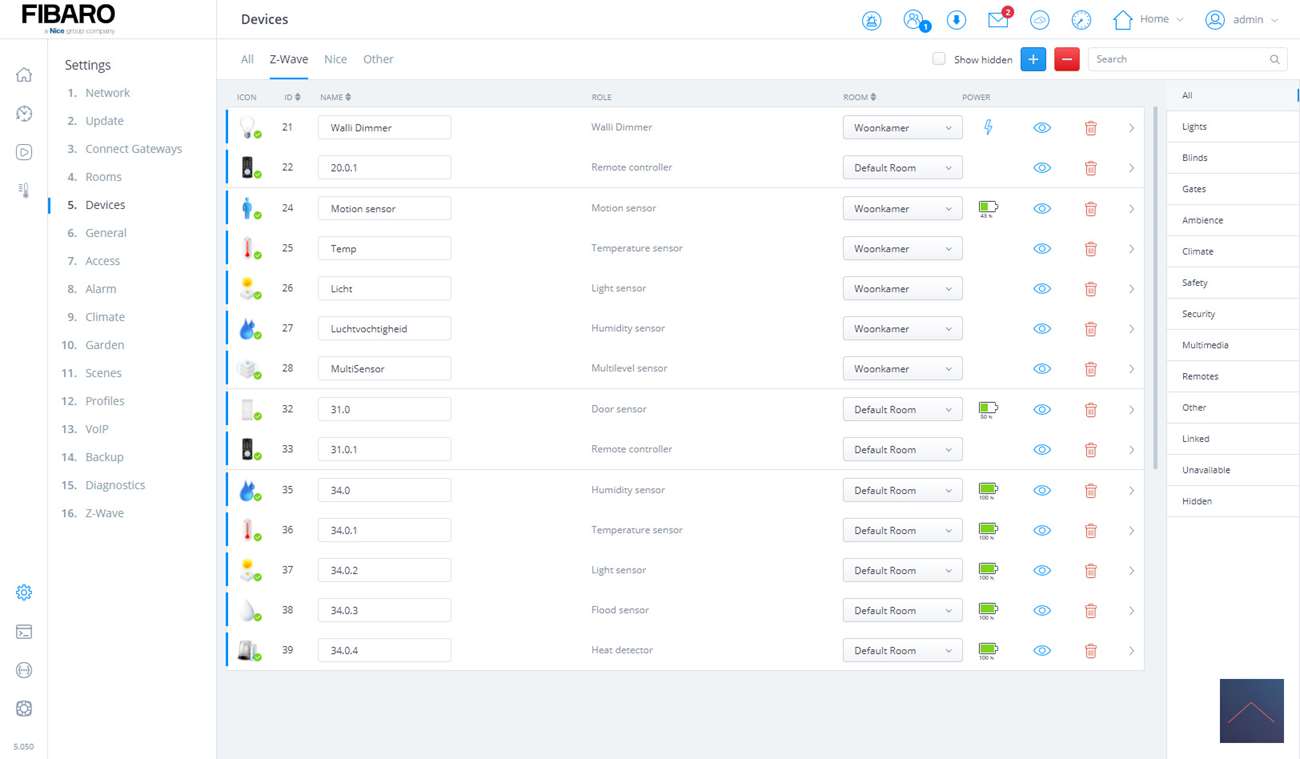
The addition is done in the same way as the Walli. We go back to our configuration of your devices by clicking the plus sign. To ensure that the MutlSensor goes into learning mode, we press the button on the back 3x. The LED on the front side starts to flash yellow and I see it is found by the HC3. Eventually the LED turns green and I see a lot of new devices. I give them a name and place and put them in the room. As a result, I immediately see that all sensors are present and more importantly, that they do what they should do.
Installation screens:
Operation:
This sensor regulates everything itself, it ensures that the values from the various sensors come in automatically. You can see the temperature at this, for example. When something comes in, you can set it in the parameters of this device.

When someone walks past the sensor, he sends a signal to the HC3. This then registers that there is movement and you can, for example, switch on a lamp. We will discuss exactly how this works in a next chapter.

Sensative Strips Drips
We now have a lamp and some different sensors, both of which have been successfully added. Let's try one more device for fun. This time the Sensative Strips Drips. This is a super flat sensor with which you can register whether there is leakage. In addition to this, it can also measure the temperature.
We start again by going to our devices and clicking the plus sign. We click on Z-Wave again and now go 3x from right to left with the supplied magnet. The LEDJe on the sensor will light up.
It was indeed found and I see a temperature sensor, moisture meter, lux meter, water alarm and heat alarm. If I keep some moisture against the sensor, I also see it give an alarm and I see the moisture values. So completely complete.


