Review
Fibaro Walli Controller

Installation on the Fibaro Home Center 3:
We now move on to Fibaro's next controller, the HC3. Here I also expect few problems because this is their own product.
The first step is to release the button on the front. This takes some convincing, but after prying it is free. If you look closely at the battery you will see a tab there. You have to pull this out, so that the controller gets power. The LED will light up to indicate this.
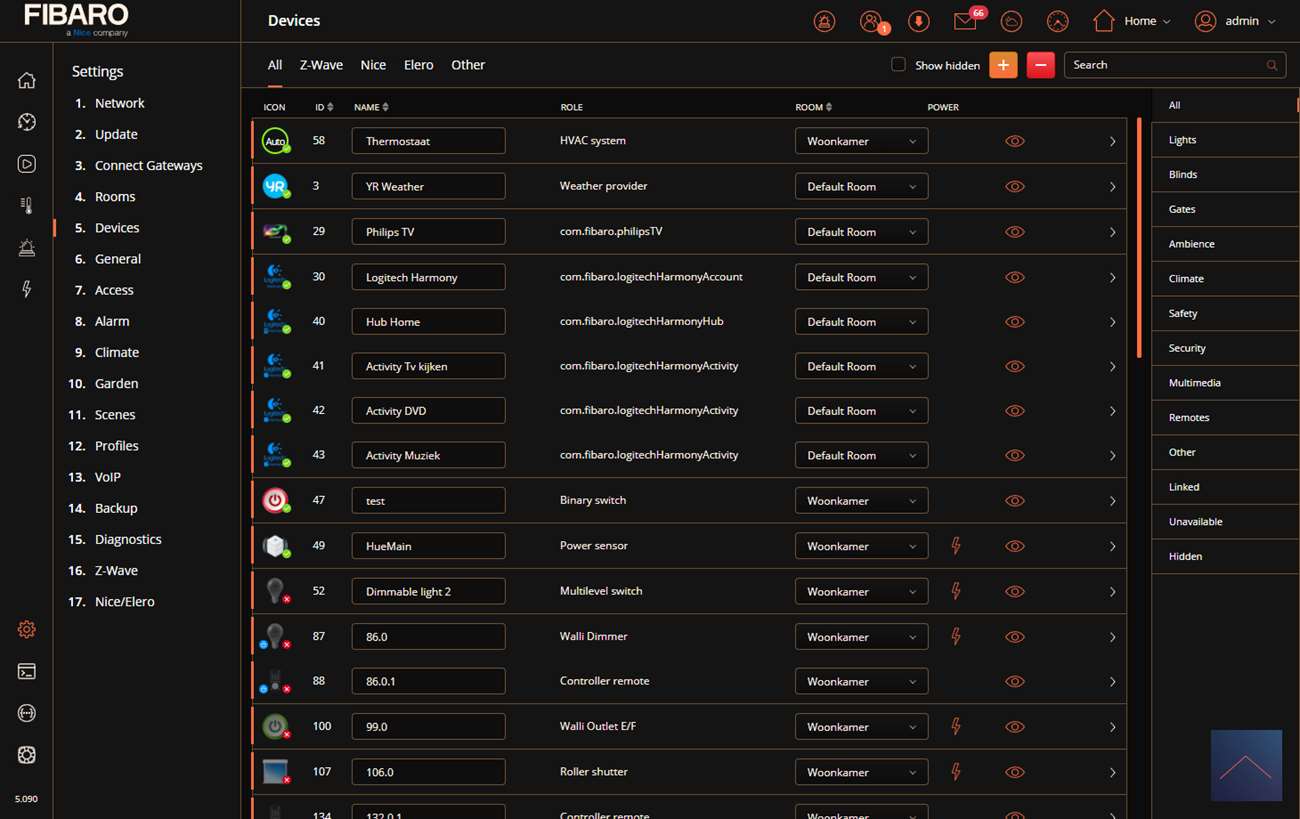
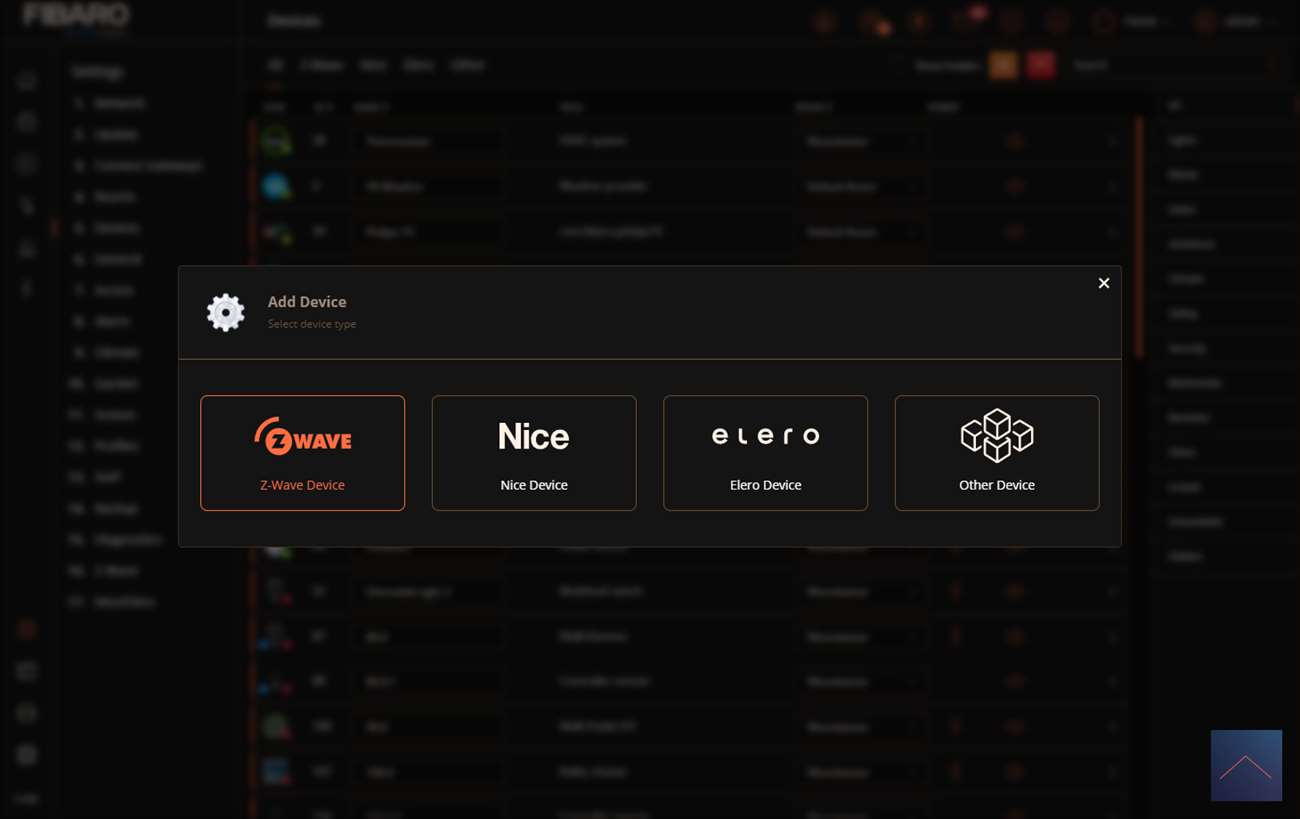
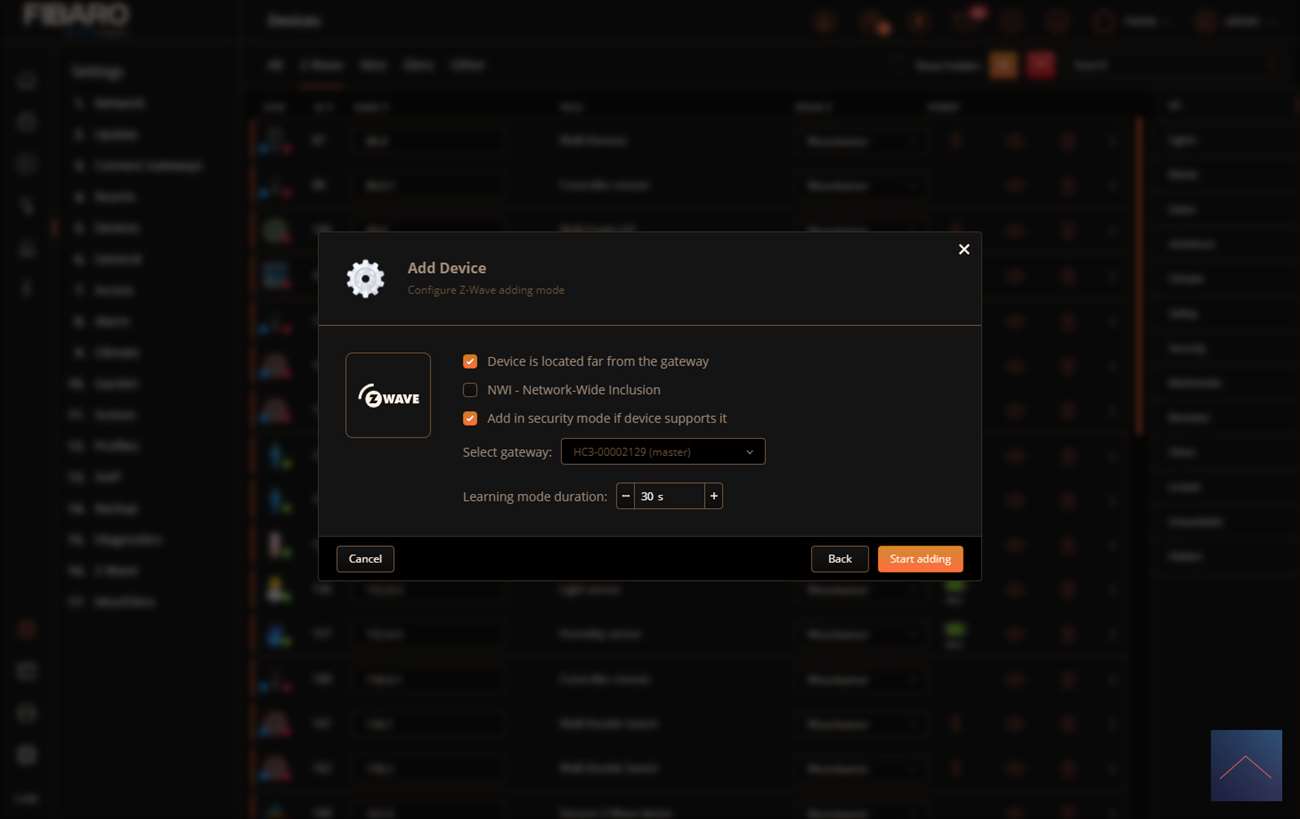
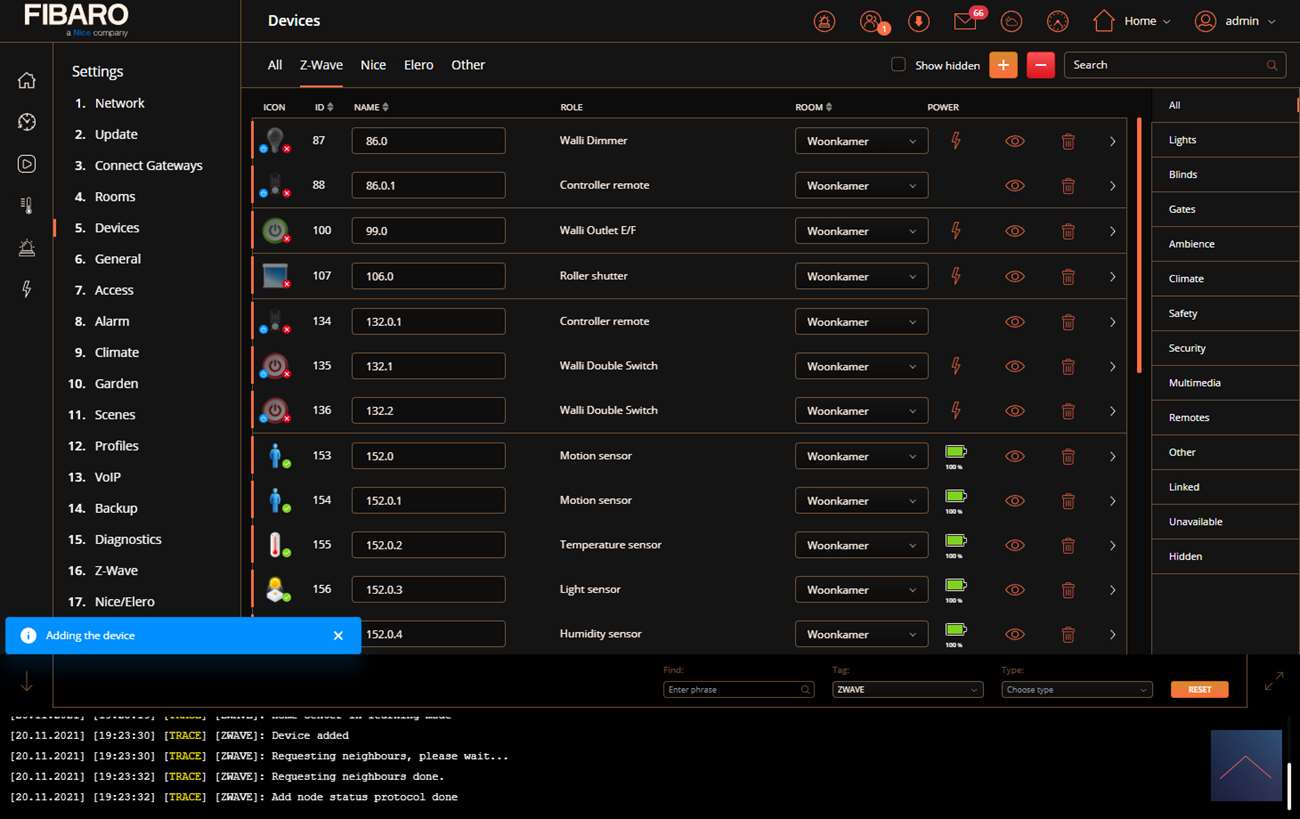
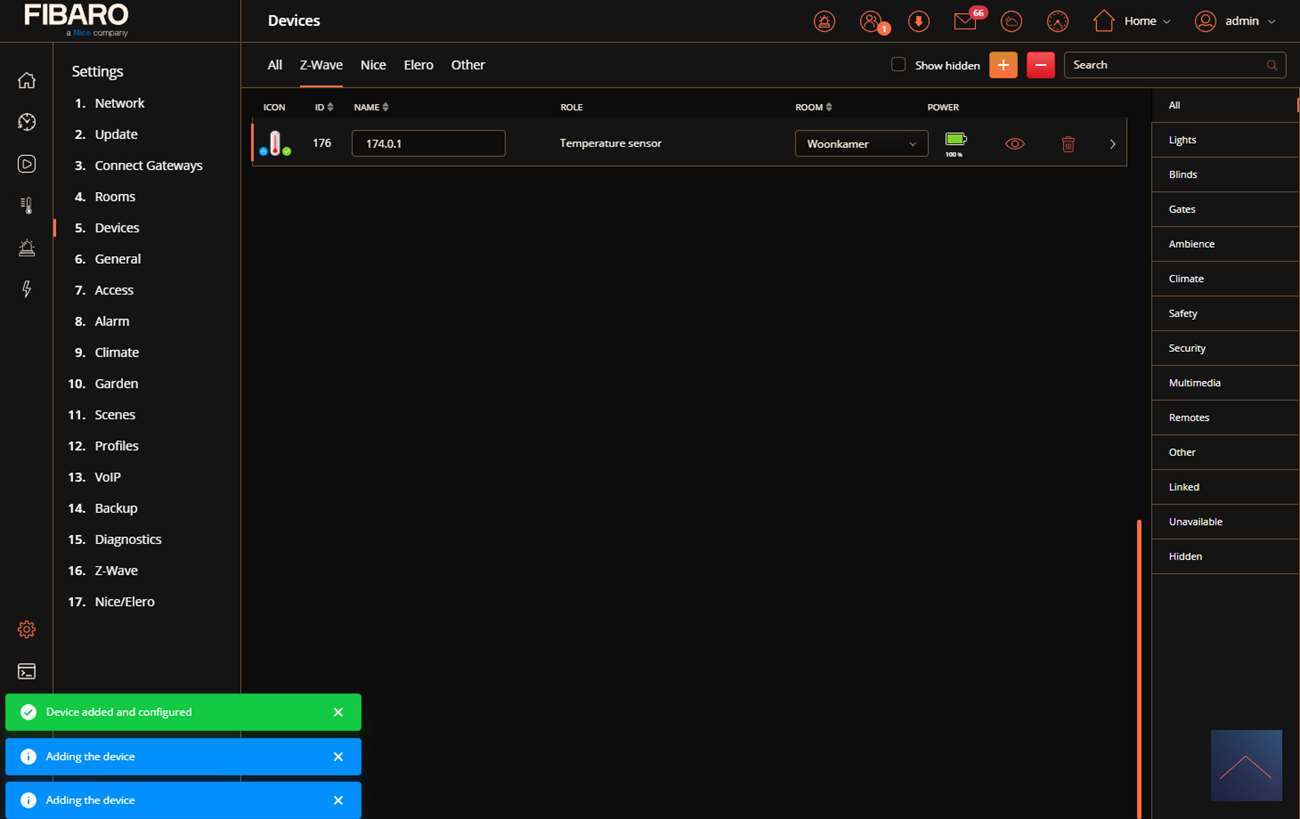
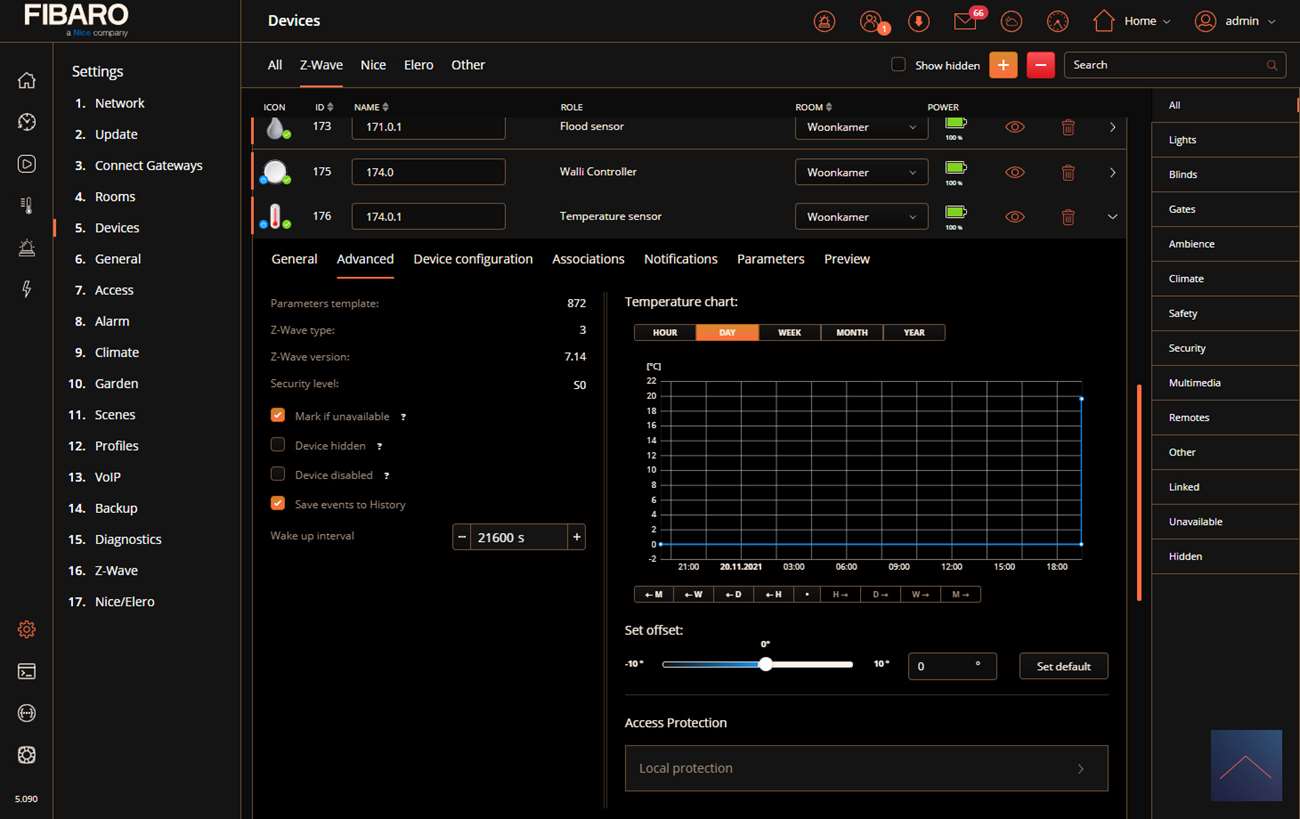
Now we put the button back and log in to the HC2 and go to our devices. Now we click on "add new device" and then on "add". Now we have to press the button on the controller 3 times in quick succession to activate the add. It will be found quite quickly after this and see the LED flash yellow.
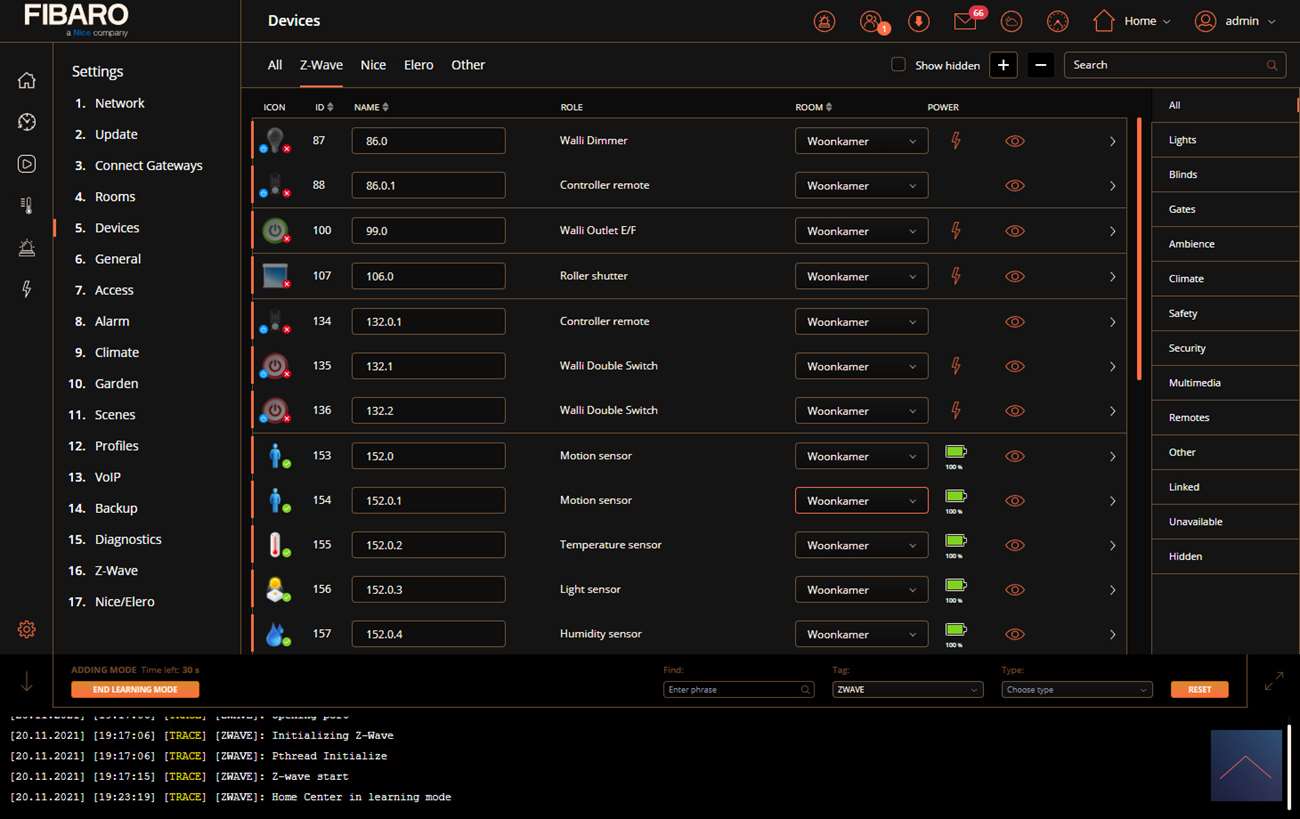
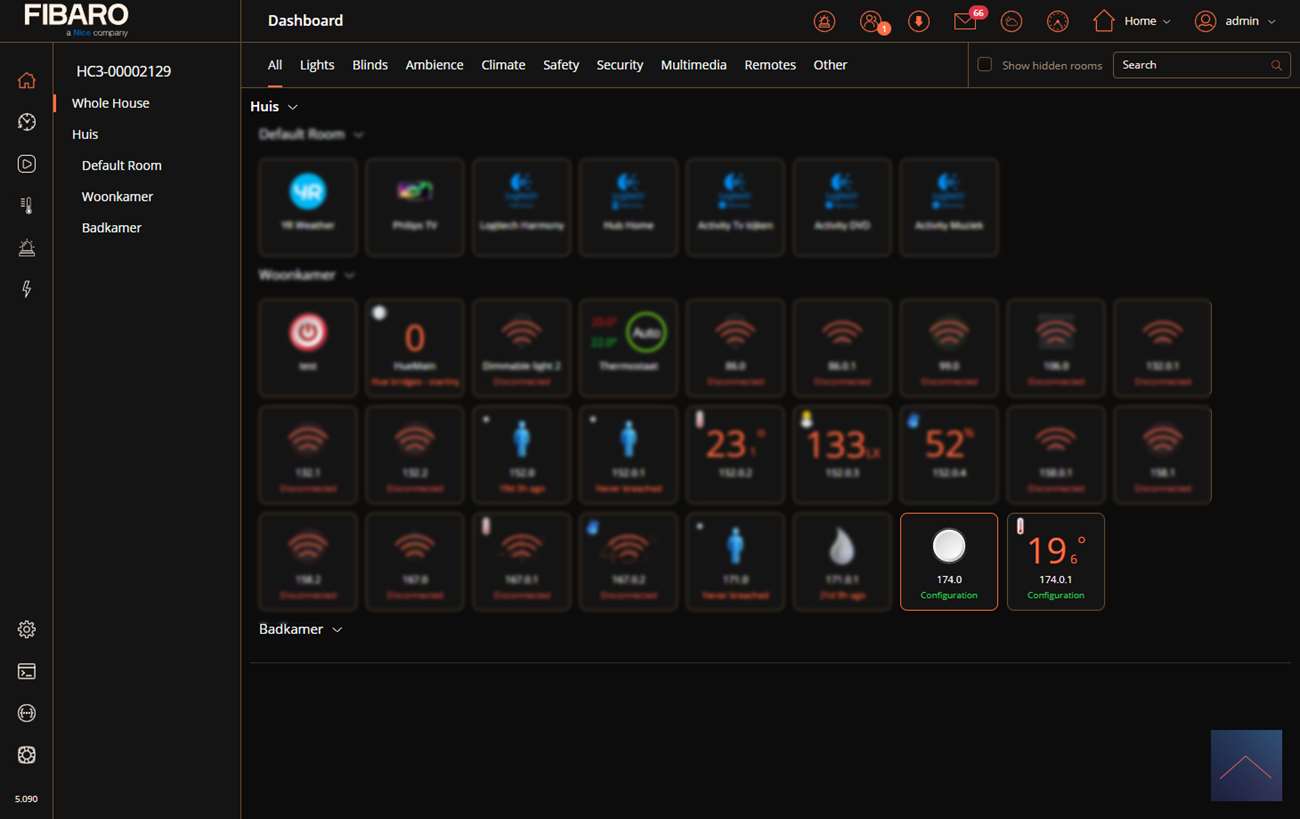
After a while I also see it with my devices and it does what it has to do.
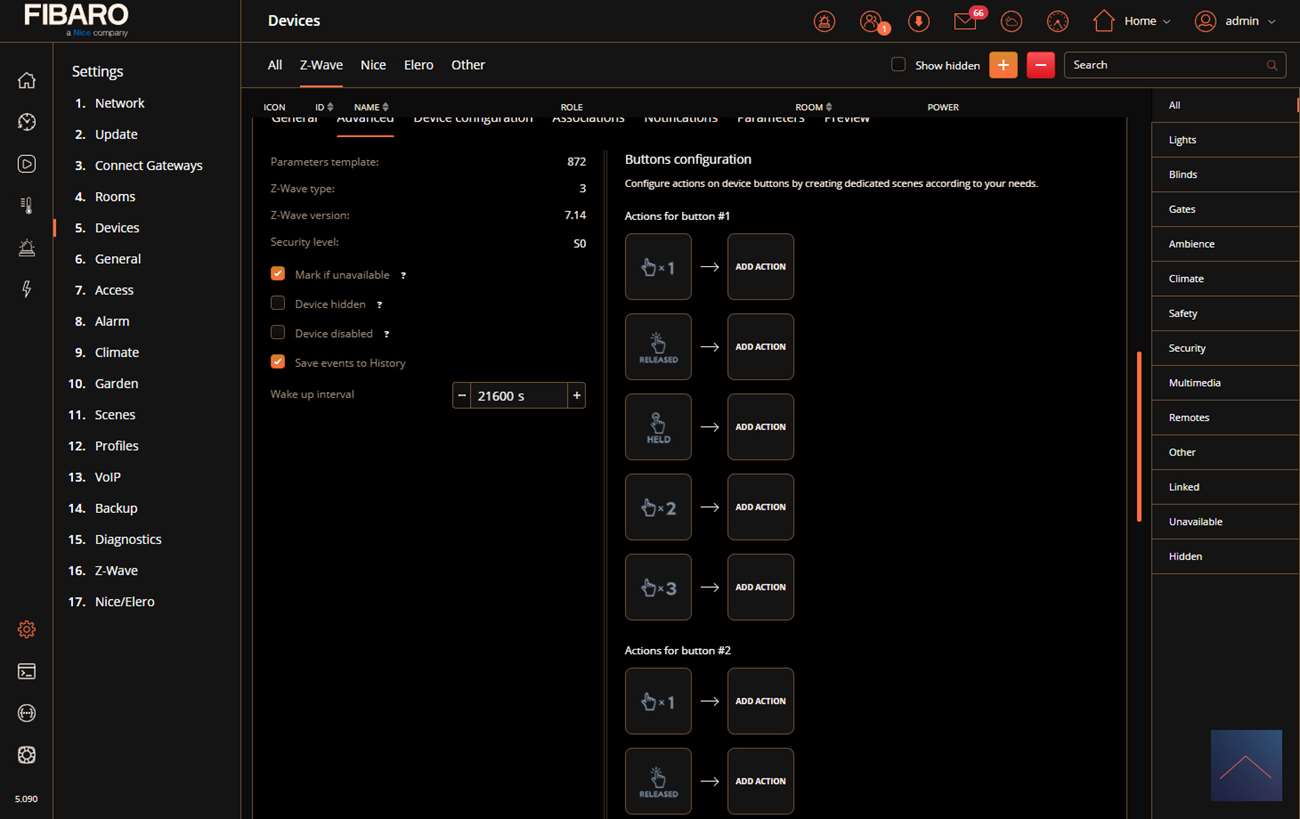
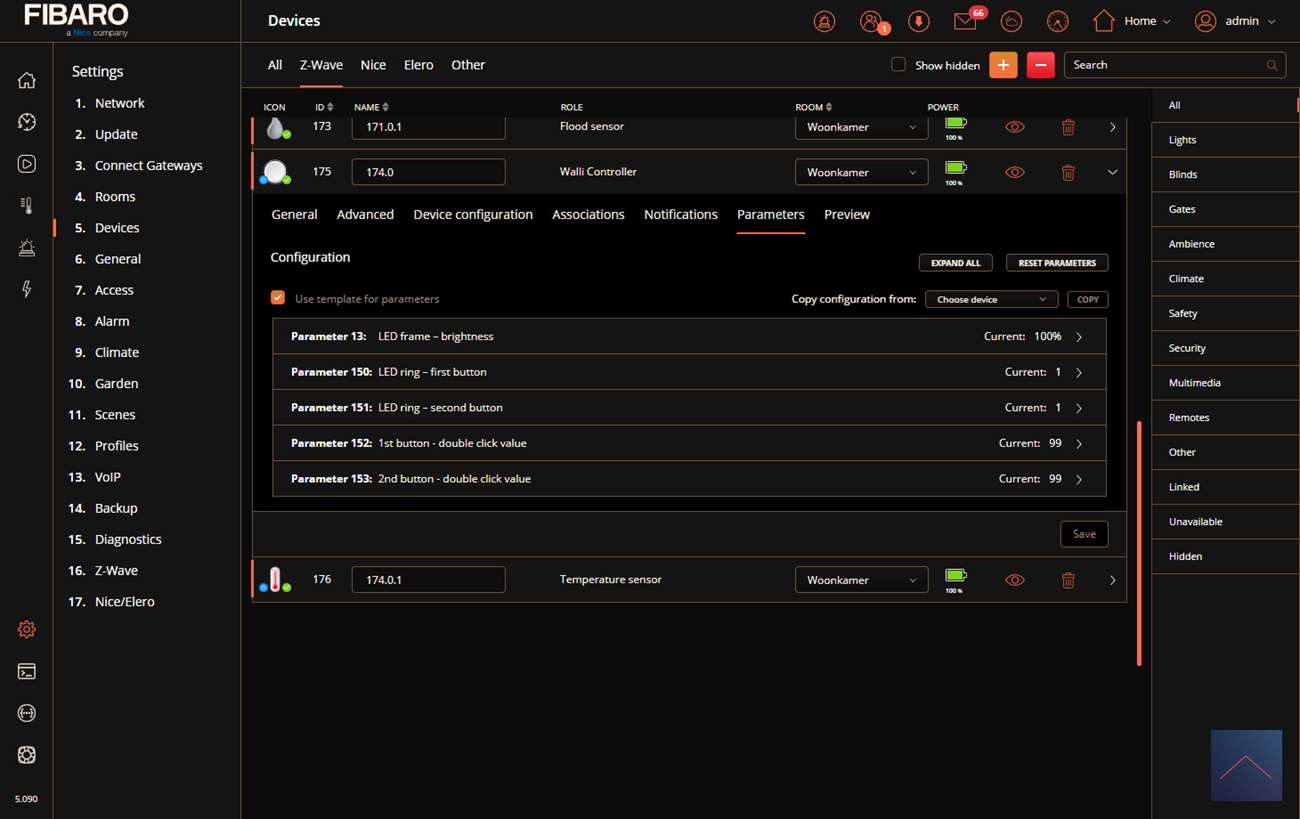
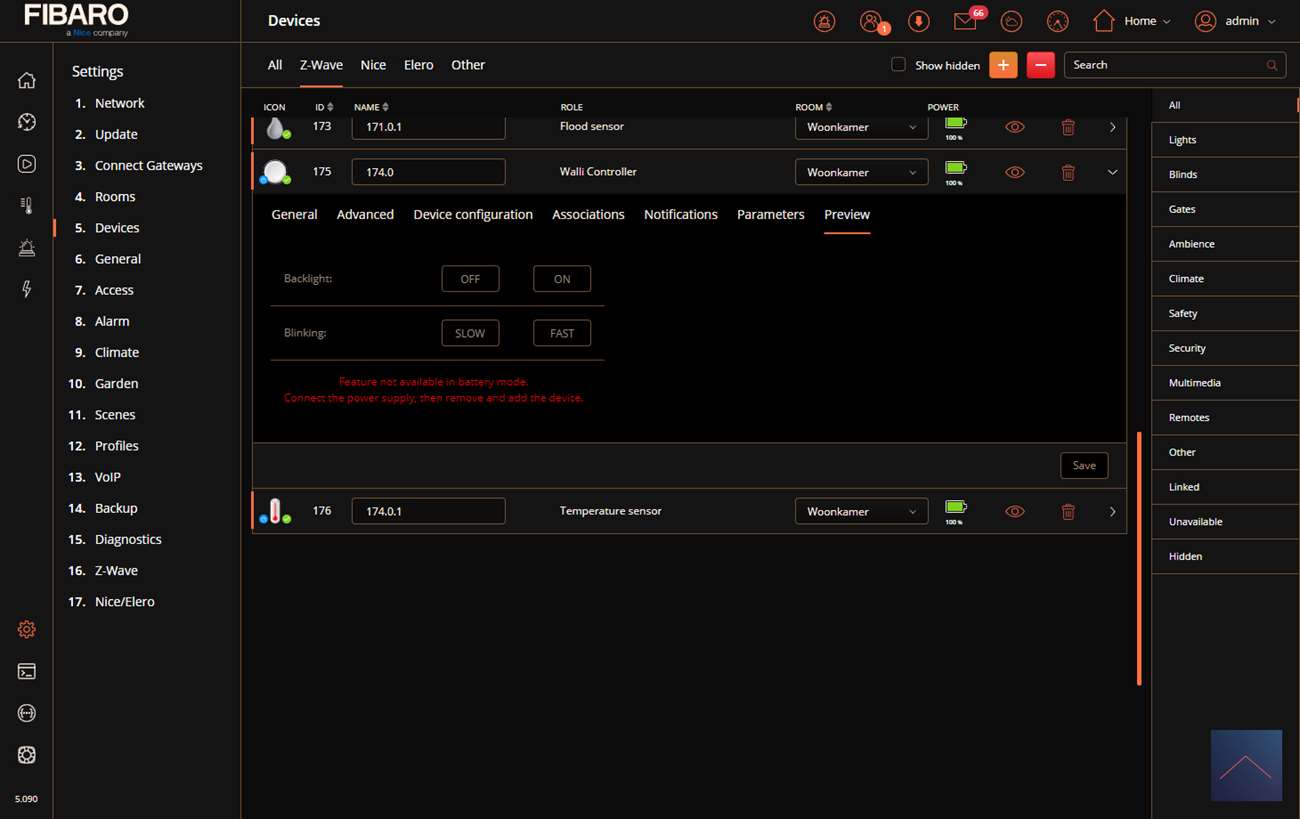
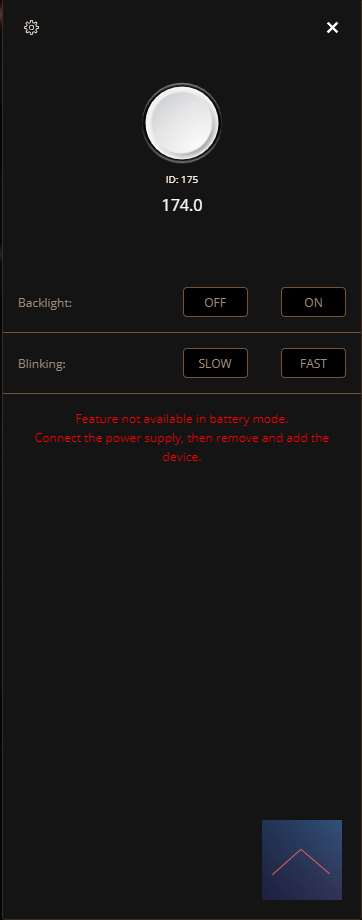
Installation screens:
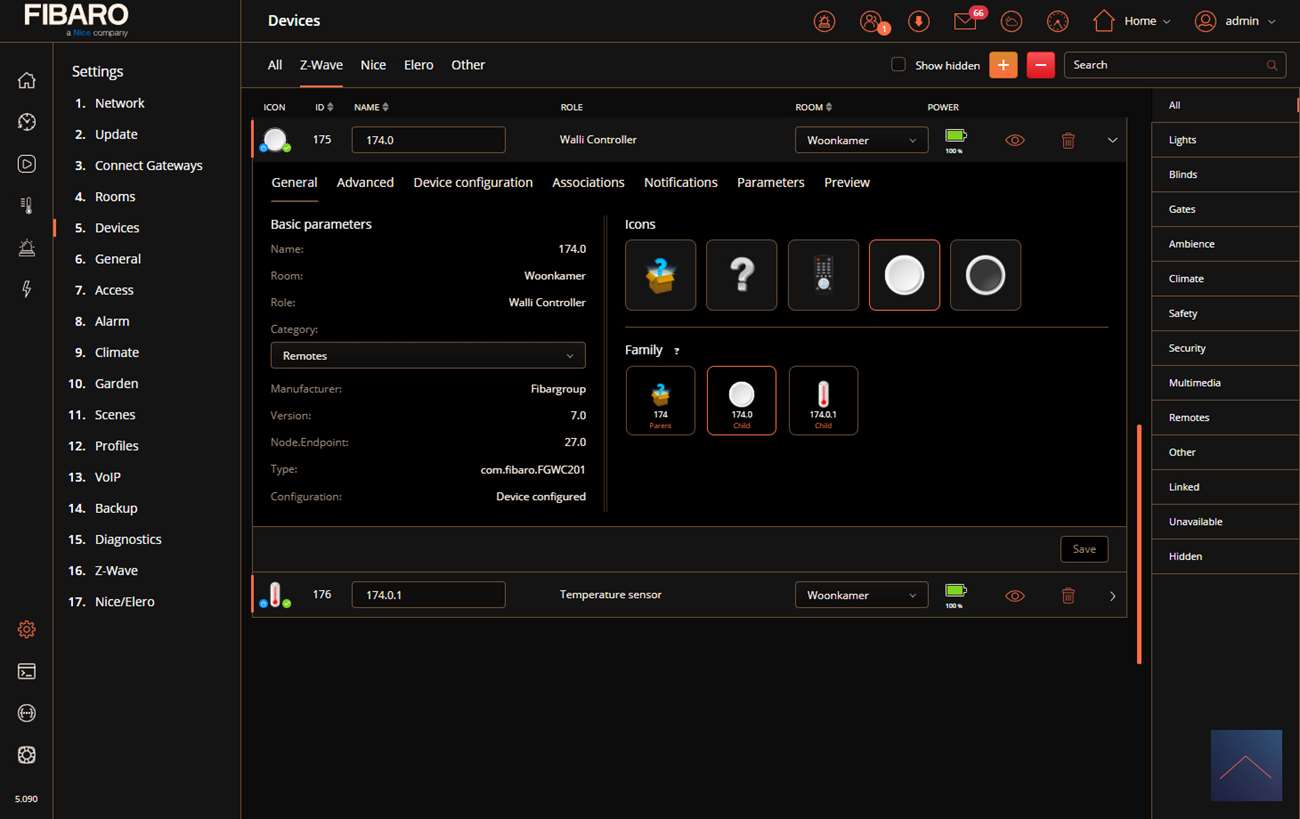
Configuration:
Operation:
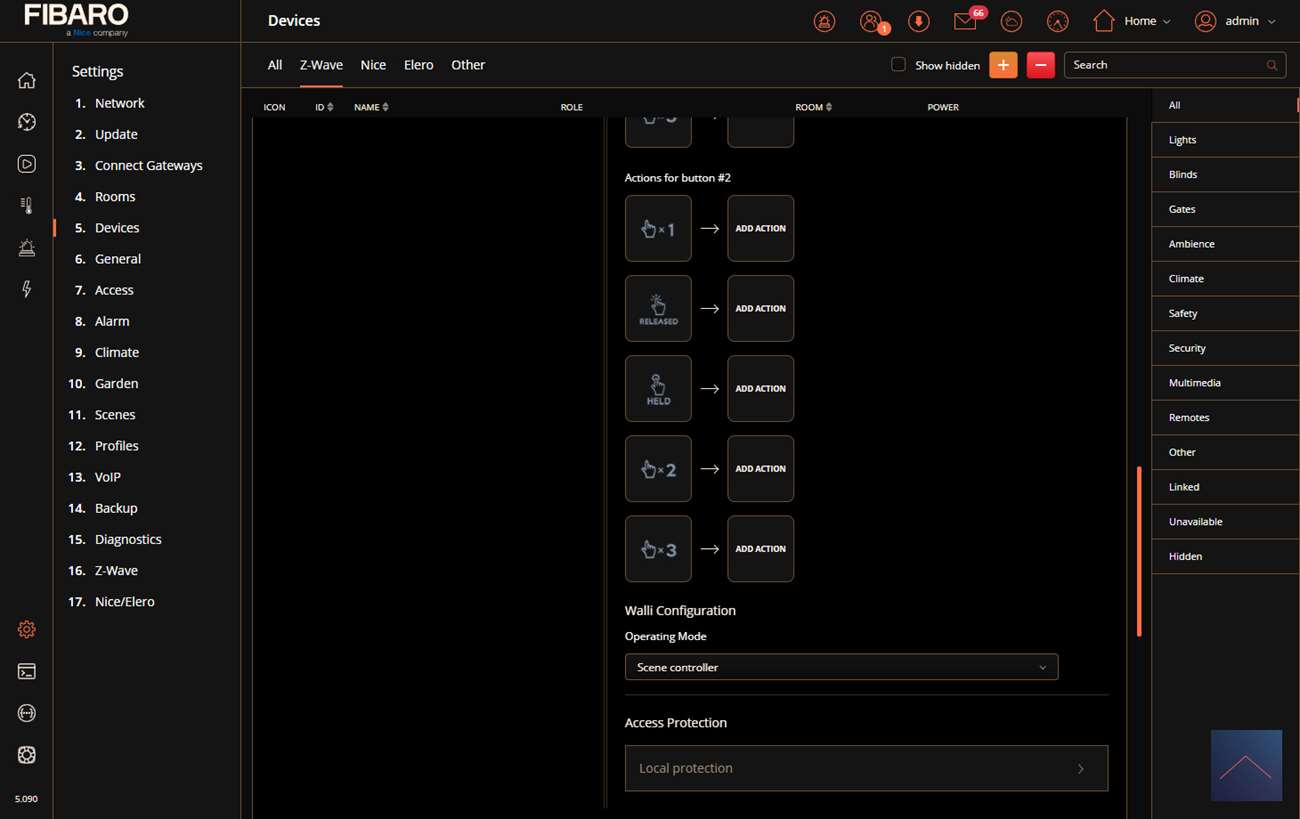
You get a scene controller and a temperature sensor with this Walli. To start a scene you can use the following impression options:
Top button:
Press 1x, 2x, 3x, hold and release
Bottom button:
Press 1x, 2x, 3x, hold and release
Scene options:
You get the options below for creating a scene.
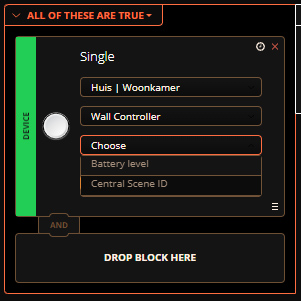
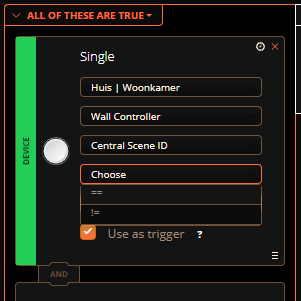
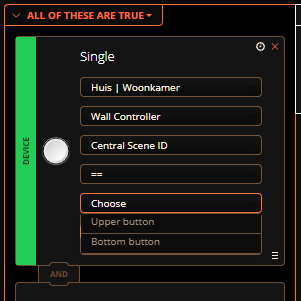
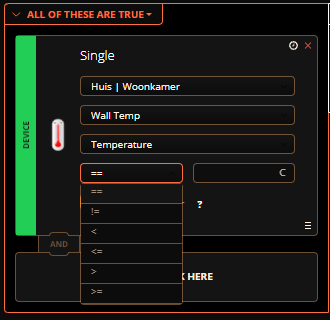
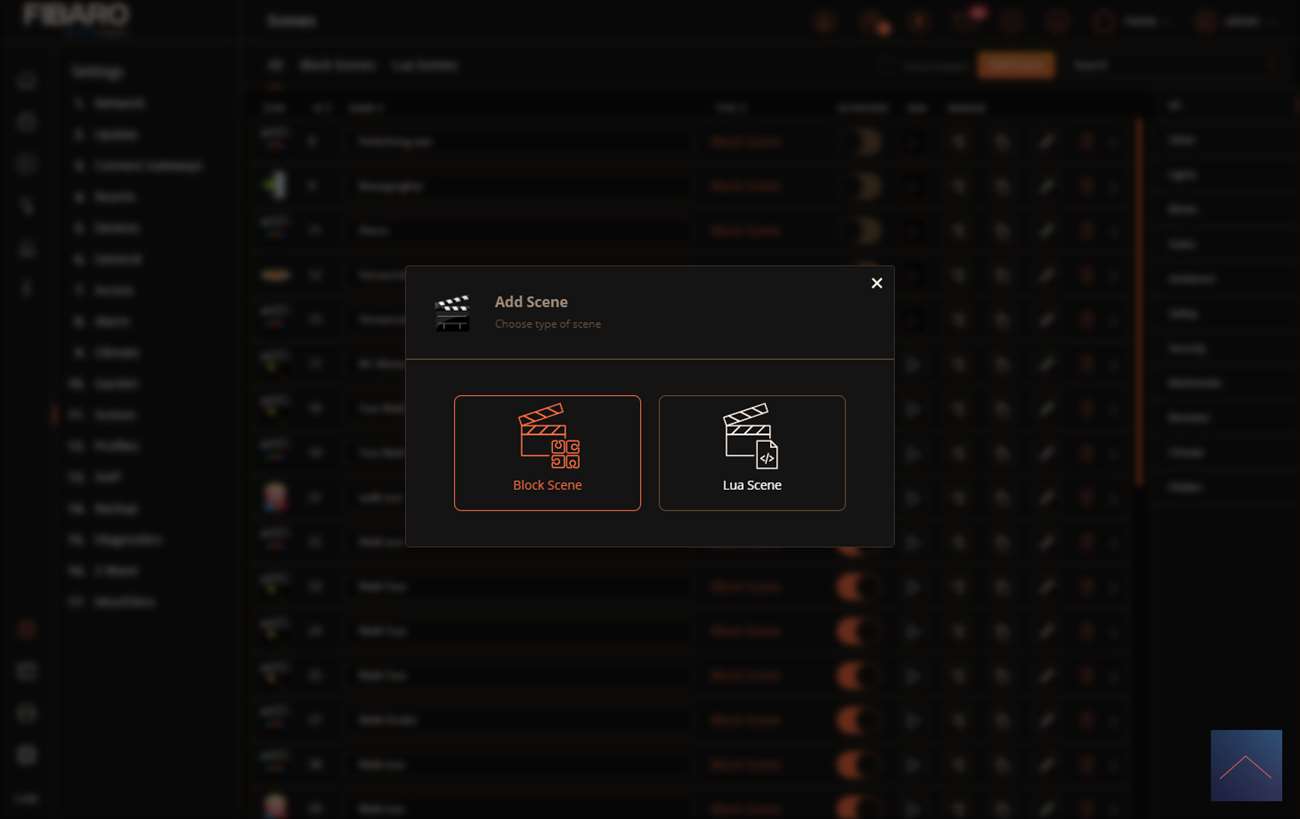
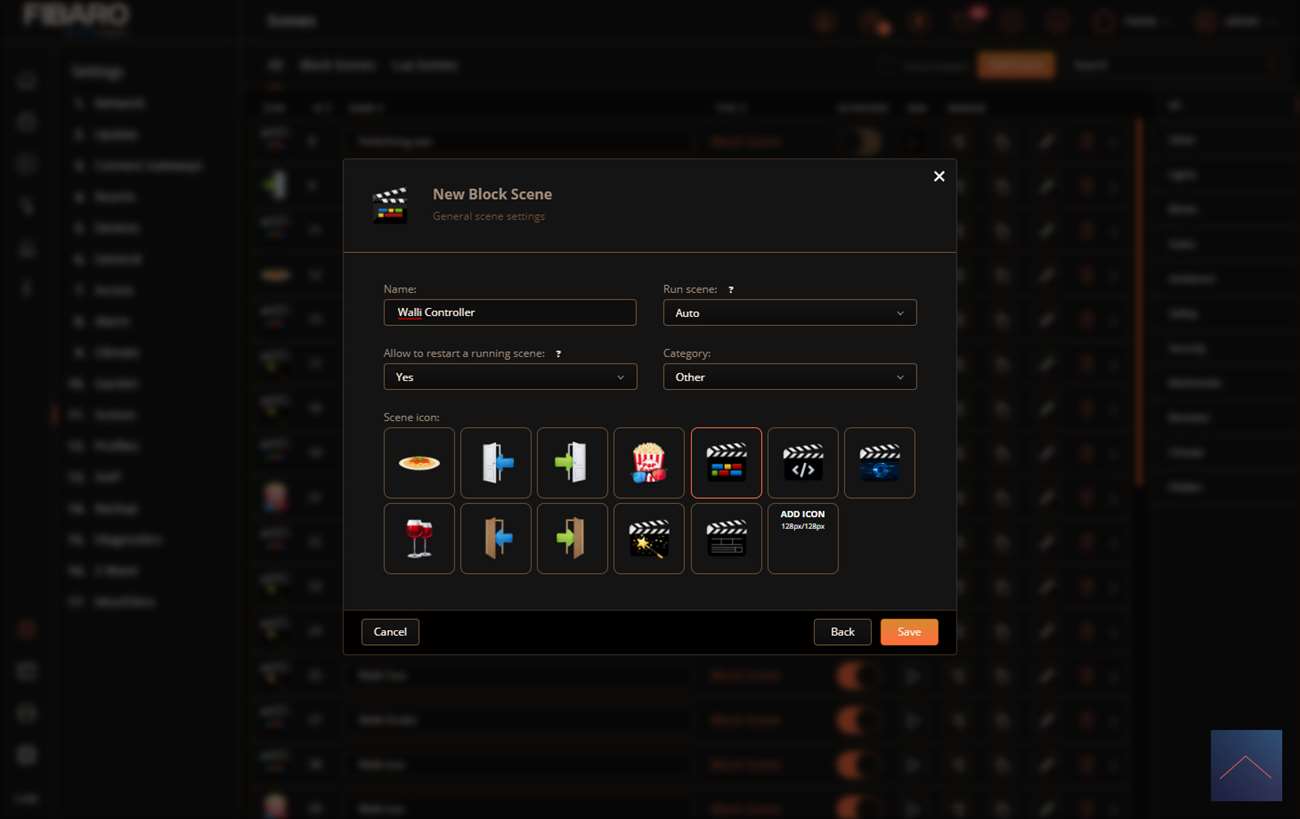
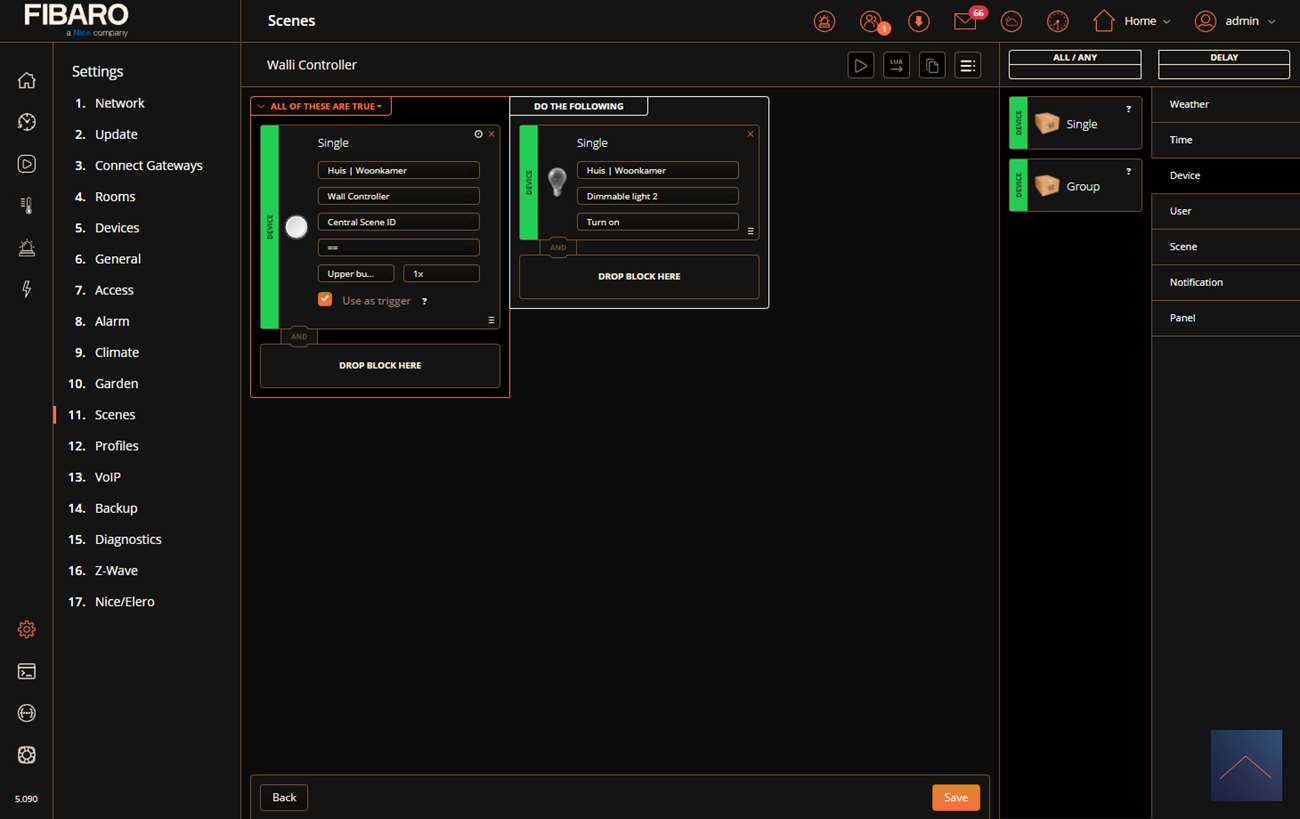
Example scene:
We make a scene when the button is pressed 1x that the lamp turns on.


