Review:
Fibaro Walli Dimmer

Installation on Hass:
The last controller to which we will add the Walli is Home Assistant. This is an open source smart home system that we use together with the Aeotec Z-wave USB stick.
We start with connecting the dimmer, you can do this through the supplied schematic. You can connect it with a 2- or 3-wire system, so without or with ZERO wire (blue).
After resetting the power, the dimmer will first calibrate. It is important that you leave this alone and that you have connected the lamp that you will eventually use. The LED ring will light up red and then flash blue. You see the lamp go on/off for a moment and sometimes flash. If everything is successful, the LED will light up green and then light up white.
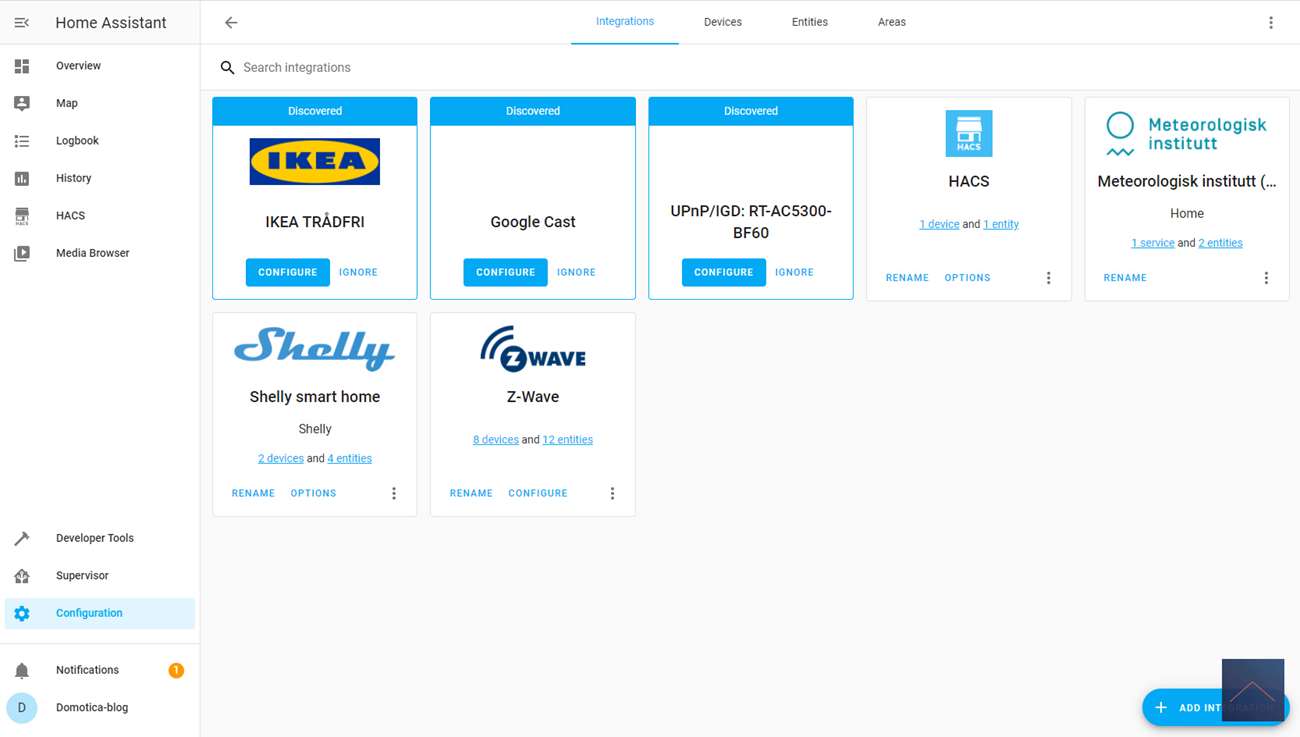
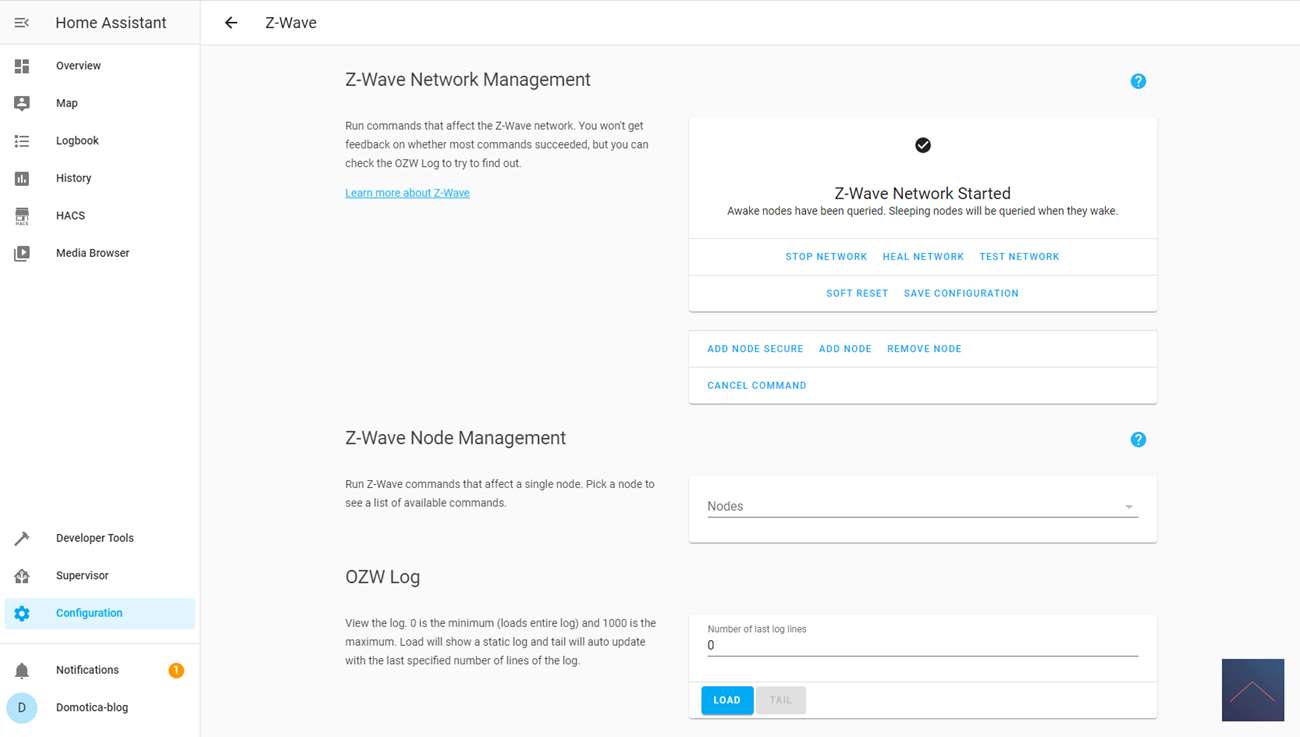
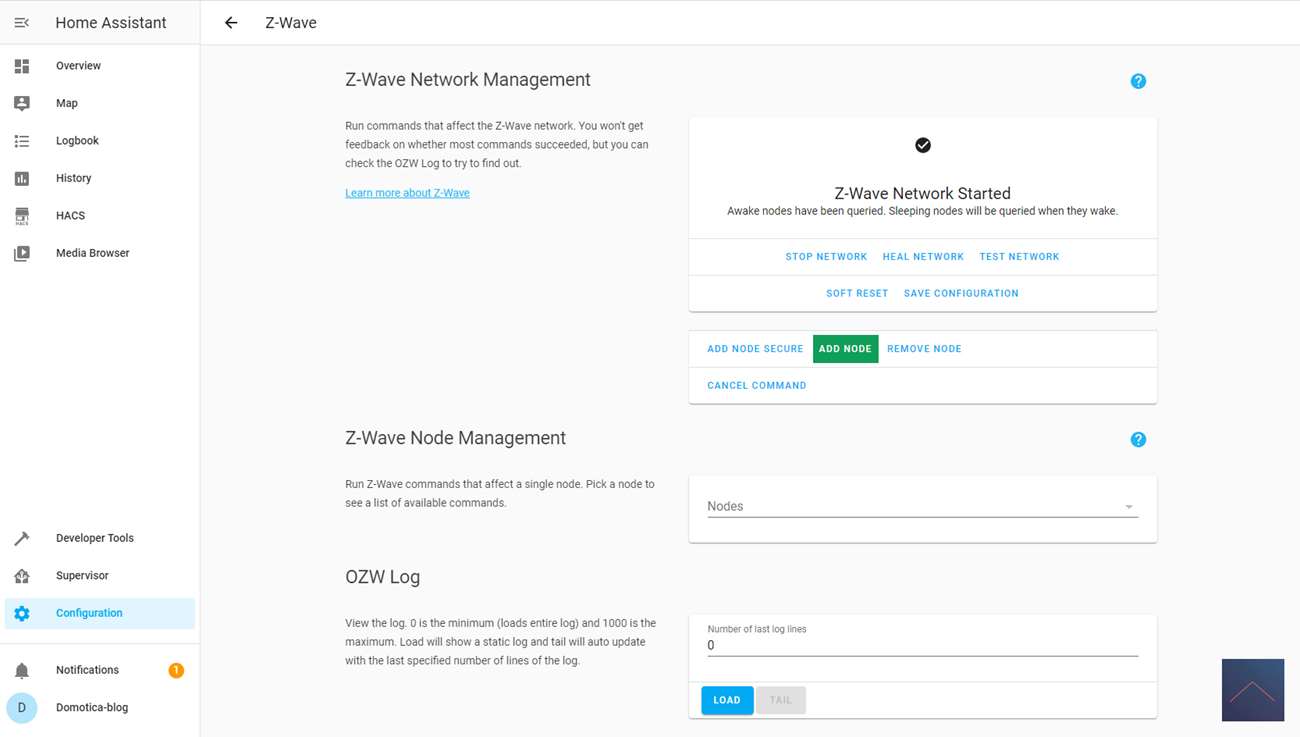
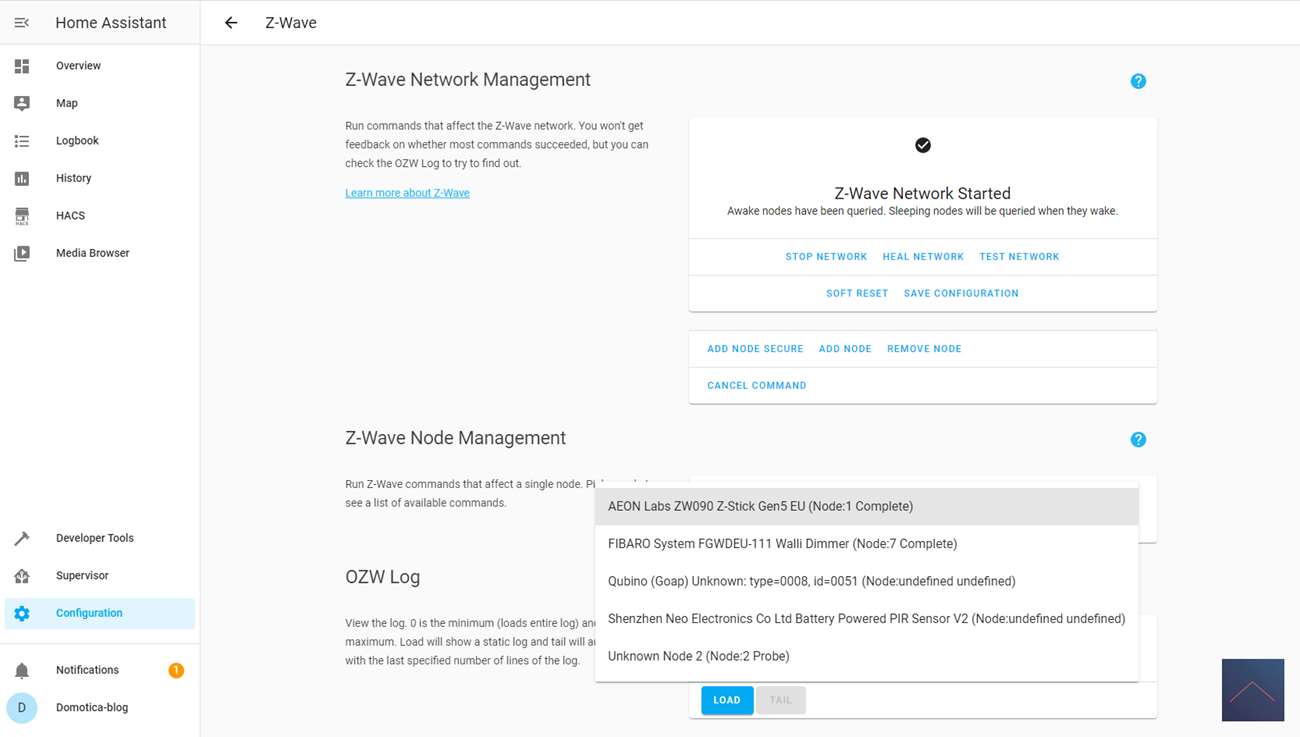
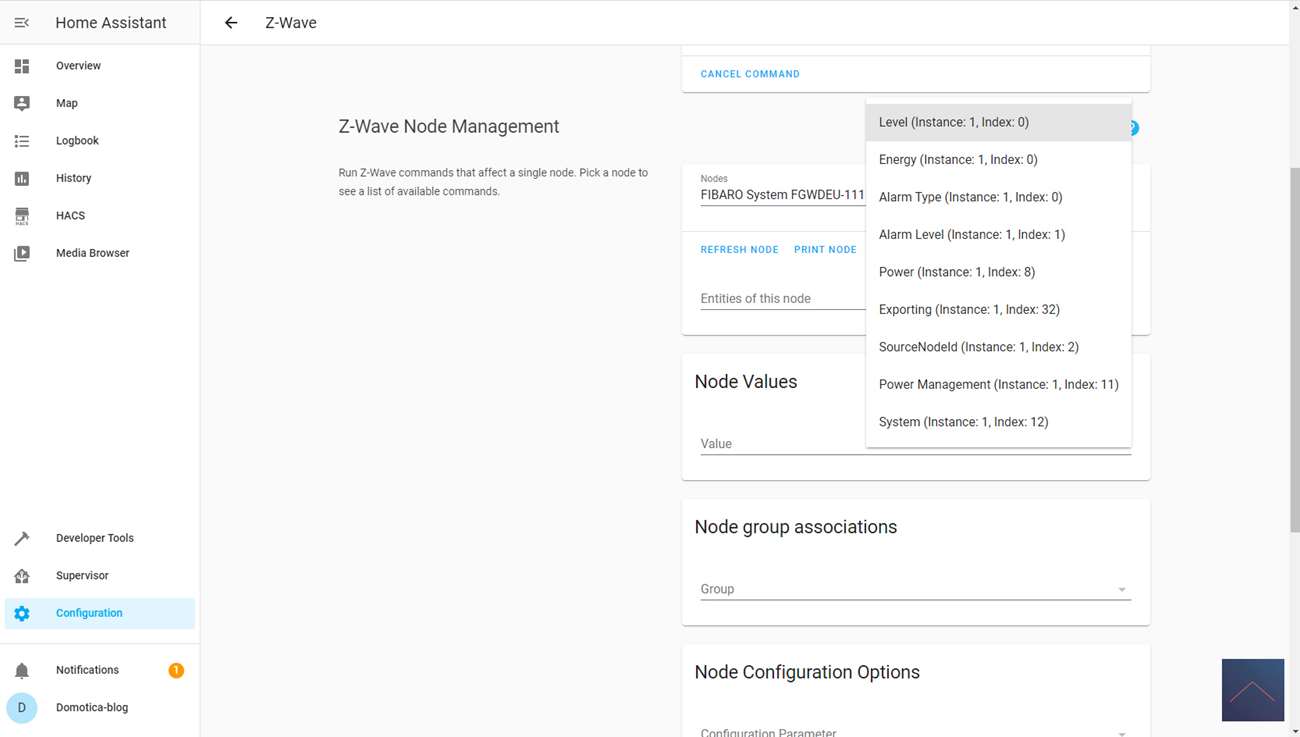
Now we can add it. We first log in to Hass via your browser and go to your configuration. After this we go to "integrations" and we press "configure" at the z-wave part. Then click on "add node secure" to start adding. Now we press the button of the dimmer 3x in quick succession. The LED will light up yellow and then turn white in color. HASS gives a very brief notification that the addition has started. When I look at my devices after a while, I see it.
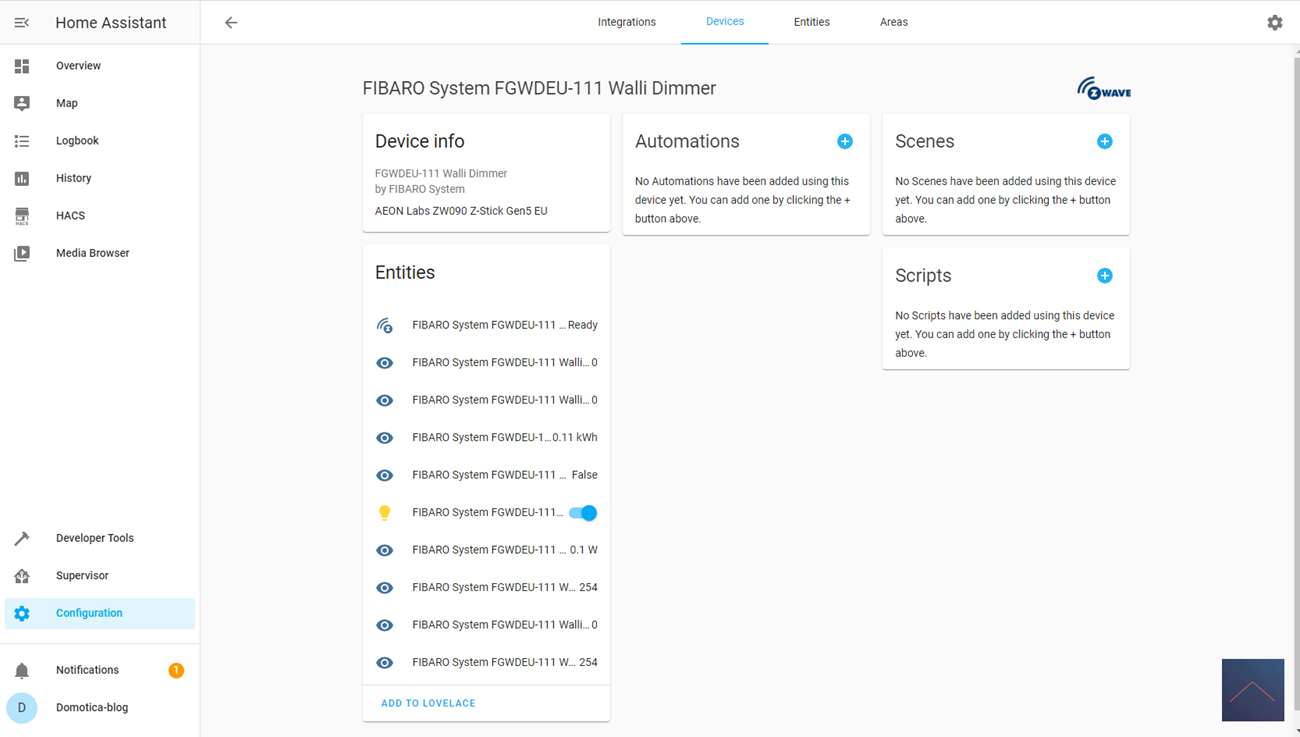
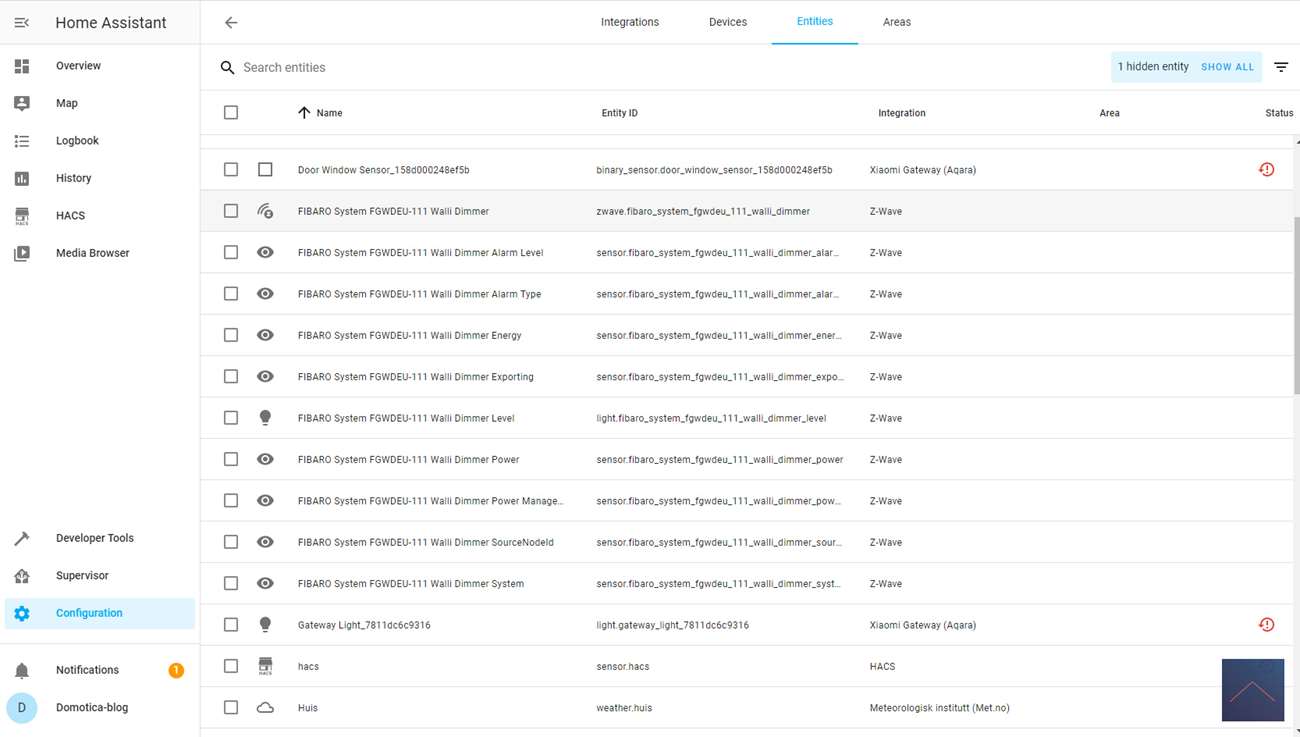
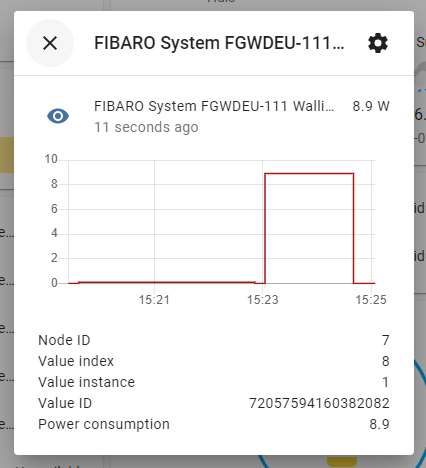
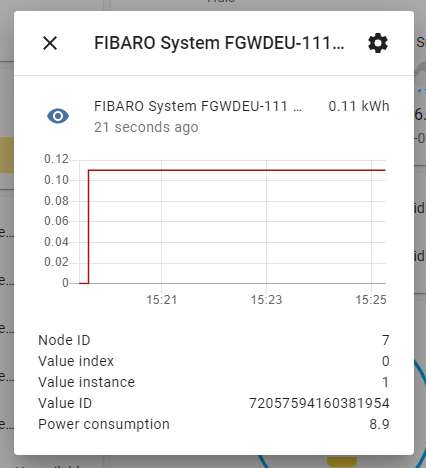
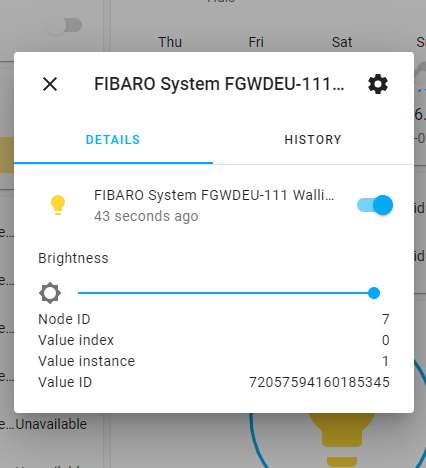
The dimmer is completely added, I see a dimmer, on/off switch, total consumption and current consumption. And more importantly he responds well to my commands.
Installation screens:
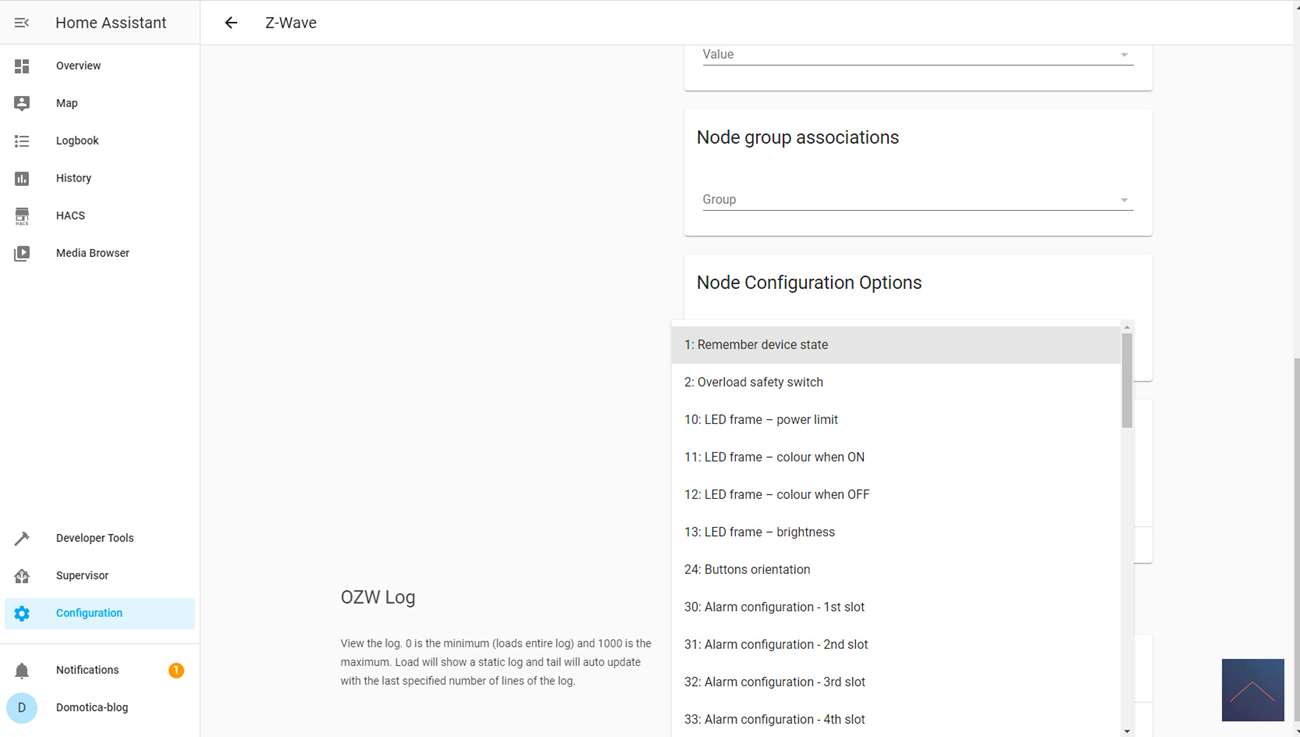
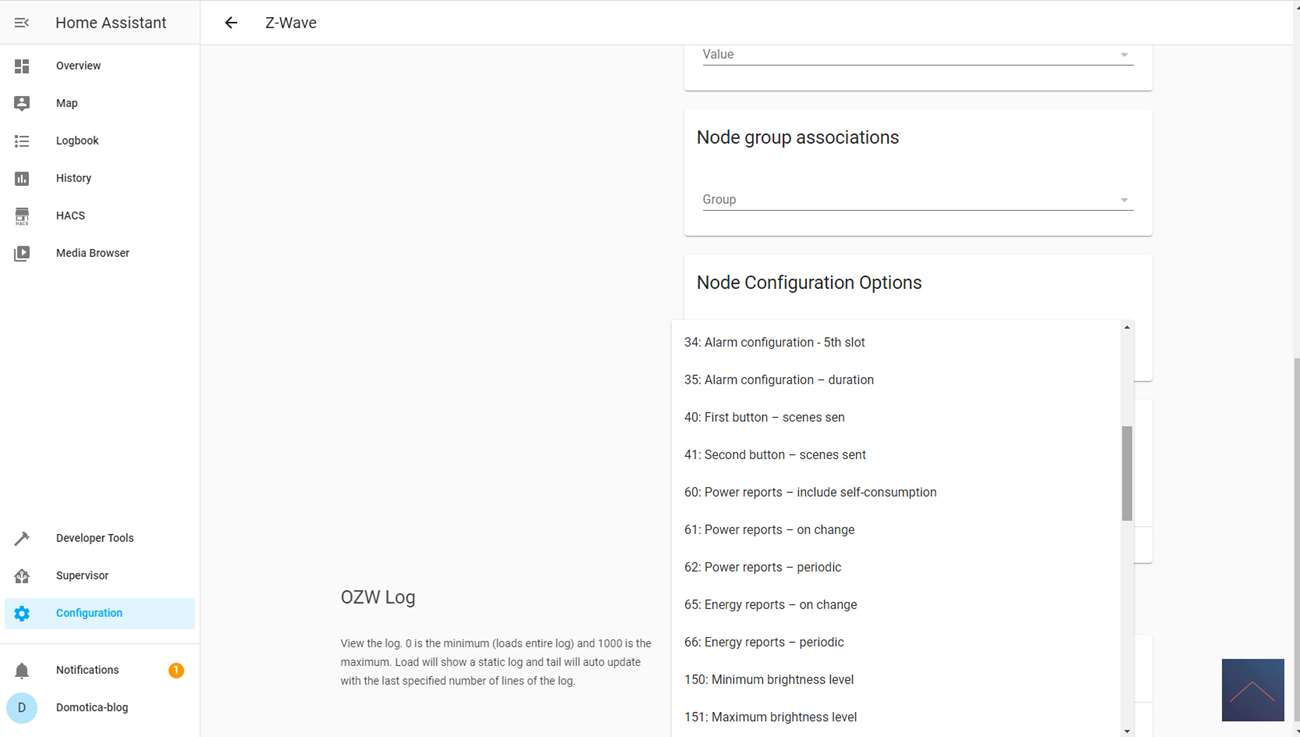
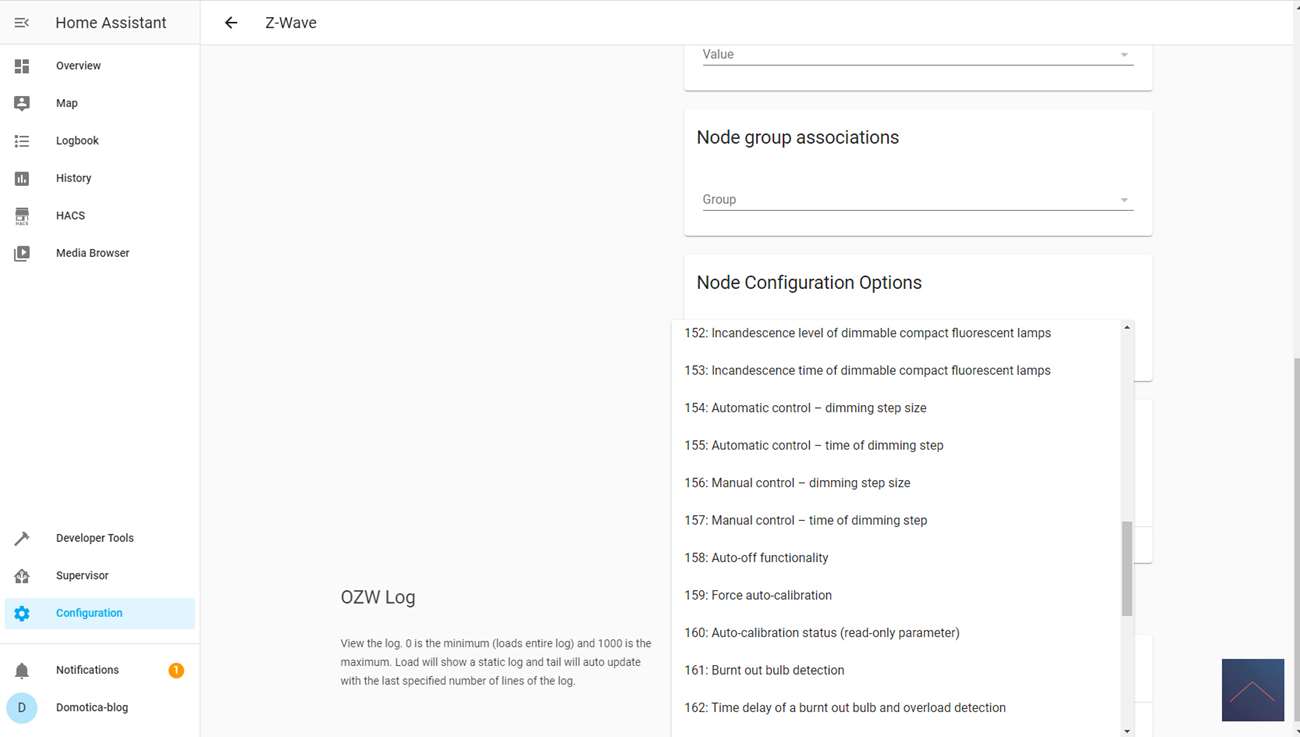
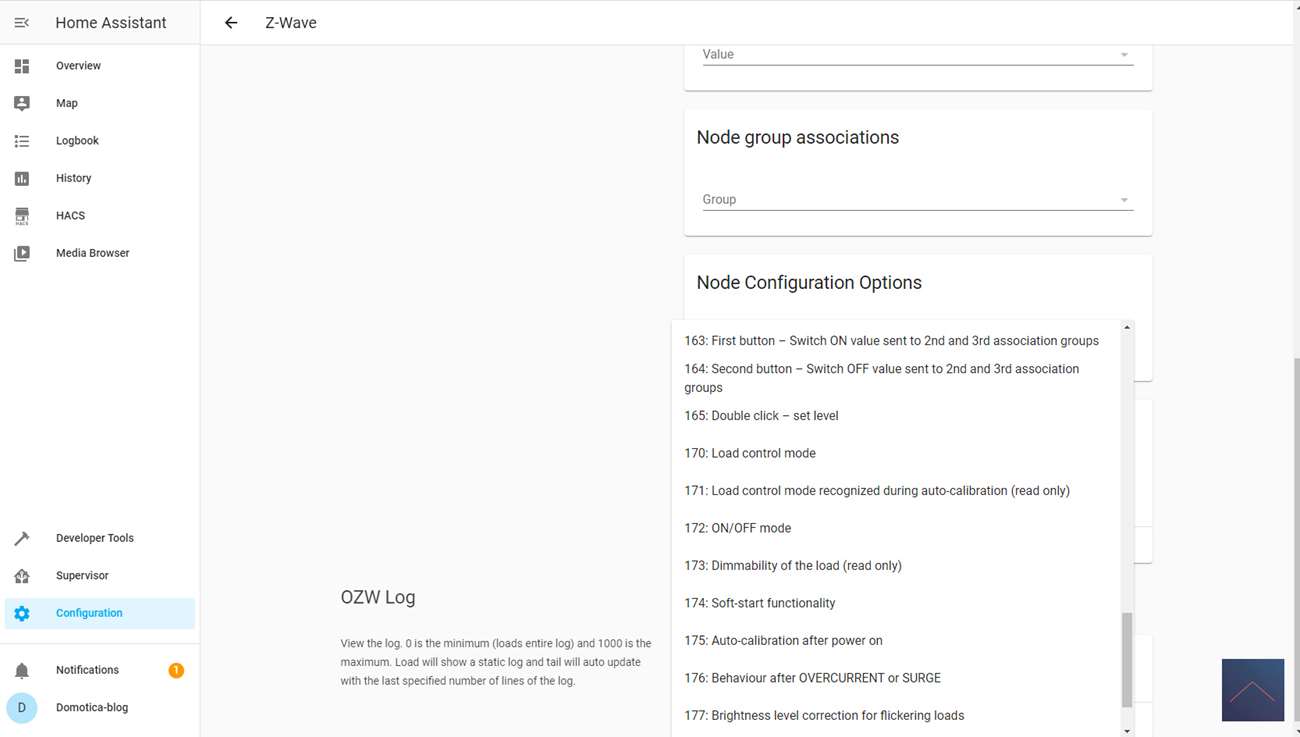
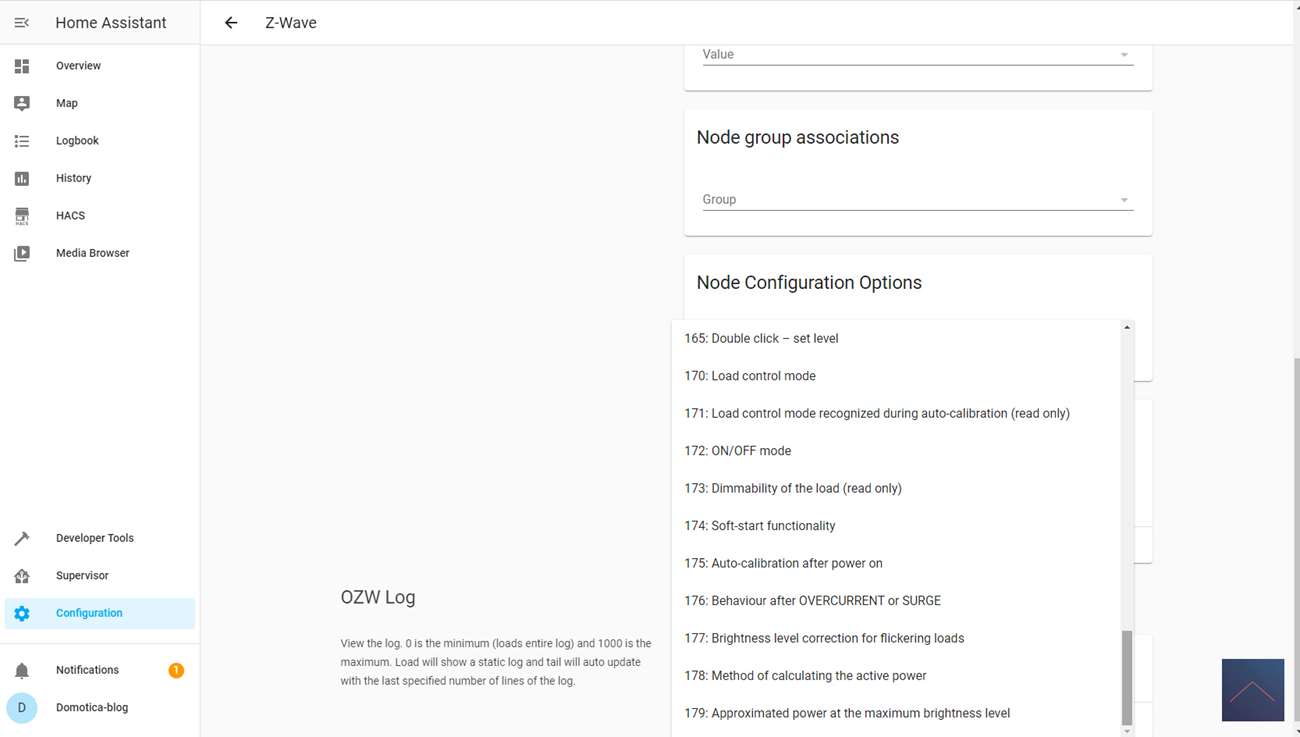
Configuration:
Control:
You can switch the Walli on and off and dim it. In the Vera it is not possible to use the "scene/click" options. So you cannot use the double click option.

Example flow:
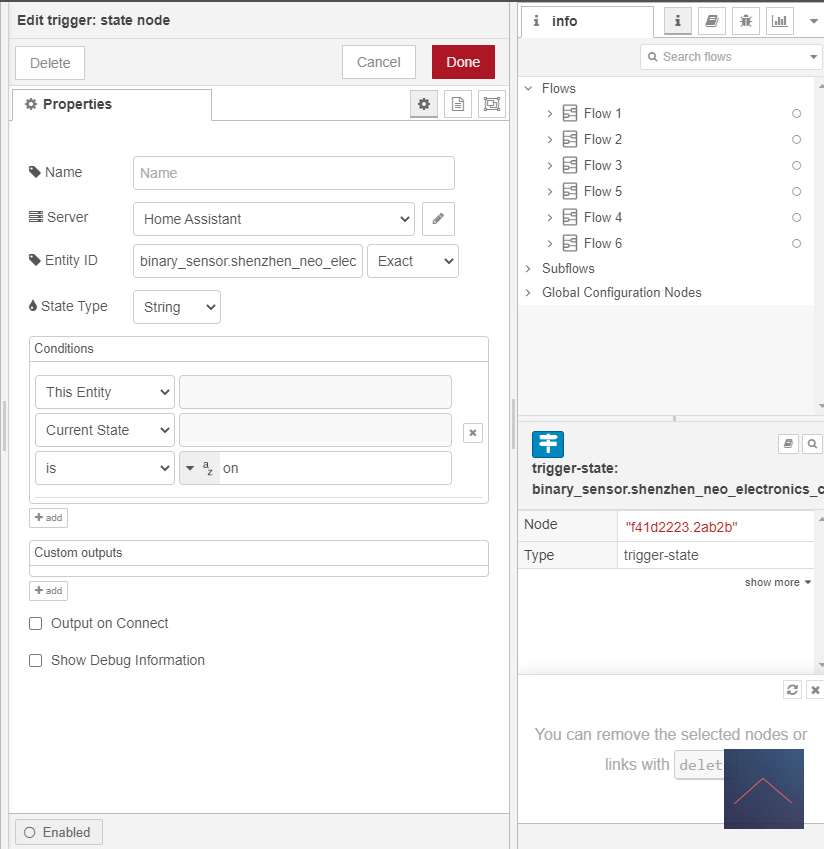
We make as a scene: if there is movement and the lux value is lower than 5, then the lamp may be switched on.


