Review:
Fibaro Walli Dimmer

Installation on the Vera:
The next controller is the Vera. According to Fibaro's manual, the Walli should also work with this controller.
The first step is to connect the installation wires. A schedule is included for this. You can connect this dimmer with a 2-wire and a 3-wire system (so with ZERO and without).
When we have closed everything again, we provide the dimmer with power. The LED ring will light up red and then flash blue. After this, the calibration of the connected lamp starts. You see the lamp go on / off for a moment and sometimes flash. If everything is successful, the LED will light up green and then light up white.
Now we can add it. To do this I log in to the Vera and go to my devices. Then click on "add device" and click on "generic z-wave" because if you search for Walli it is not in the list. Then press next a few times until you get to the screen that asks you to put the dimmer into learning mode.
You can do this by clicking the on button 3x. The LED will light up Yellow and then turn white in color. De Vera says she has found the dimmer. After a while I see an on / off switch on my devices and I can dim it.
Installation screens:
Configuration:
Control:
You can switch the Walli on and off and dim it. In the Vera it is not possible to use the "scene/click" options.
Scene options:
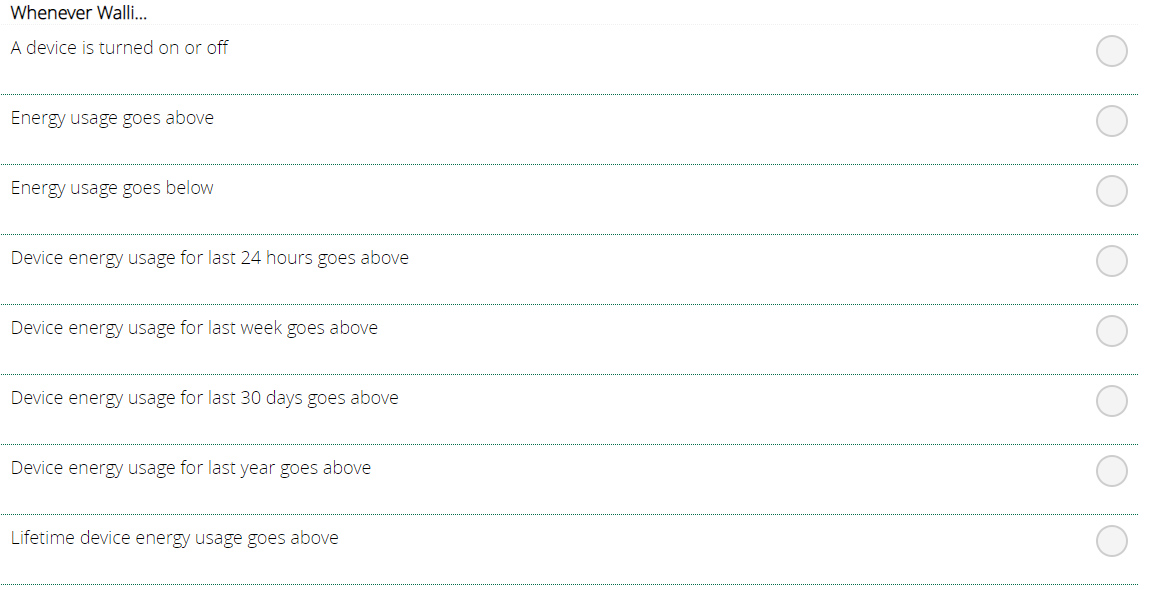
You will have the following options available:

Example scene:
We want that when the lux in the hall is below 5 and we are at home, that the Walli is switched on.


