Review
Fibaro Walli Switch

Installation on the Fibaro Home Center 3:
The next controller is another FIbaro controller but this time the HC3. This Walli must of course work well with this because it is their own product.
We start by connecting the switch, you can do this by using the supplied diagram. Make sure the power is off of course. To check whether everything works, you can switch on the lamp via the Walli.
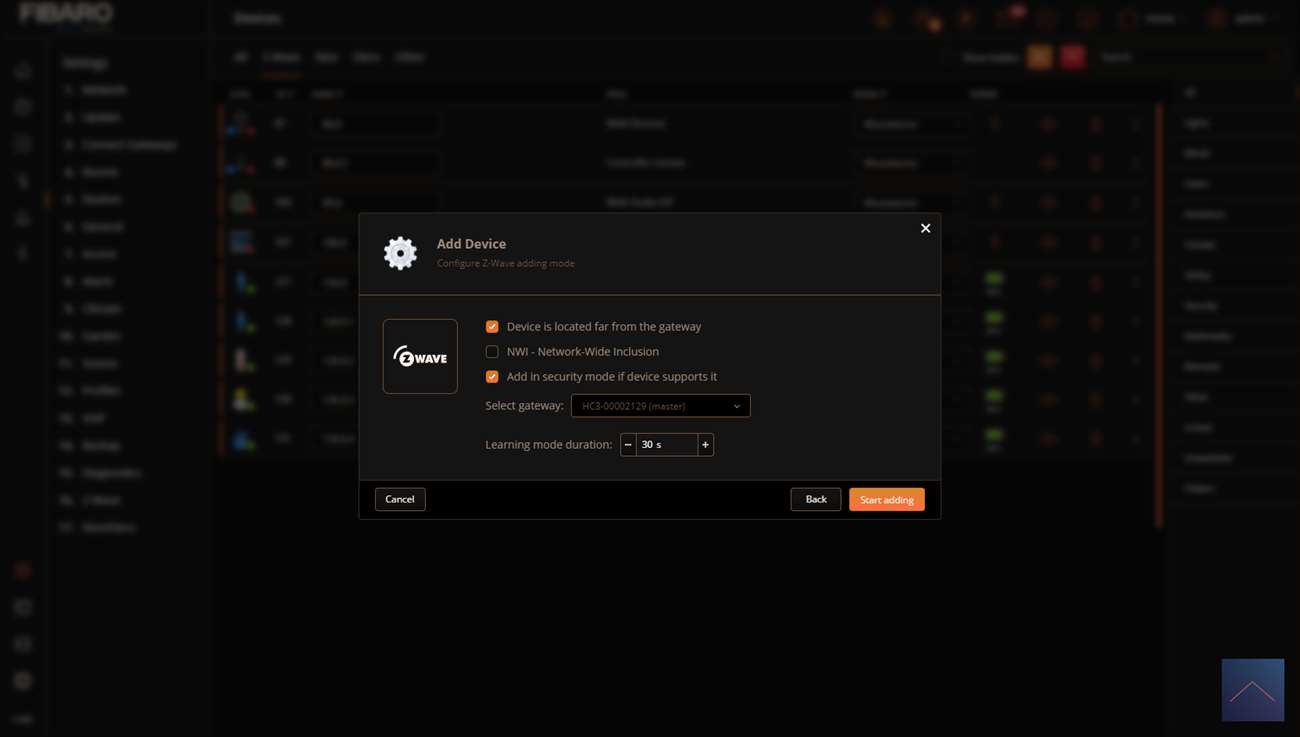
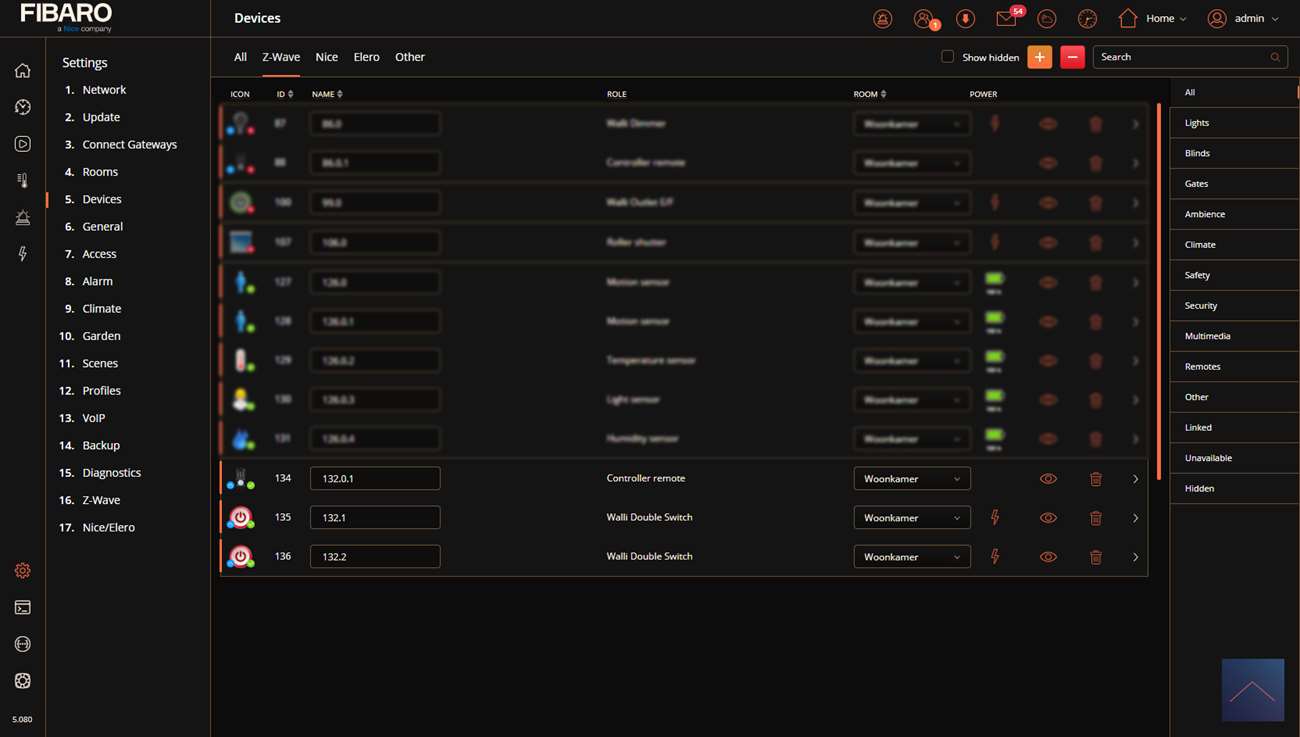
Now we can add the switch to the HC3 by logging in and going to the "settings" and then clicking on "devices". We click on the blue plus in the top right and select Z-wave. Then check "add node secure" and press start adding. At the bottom there will be a bar stating that you have to put the Walli in learning mode.
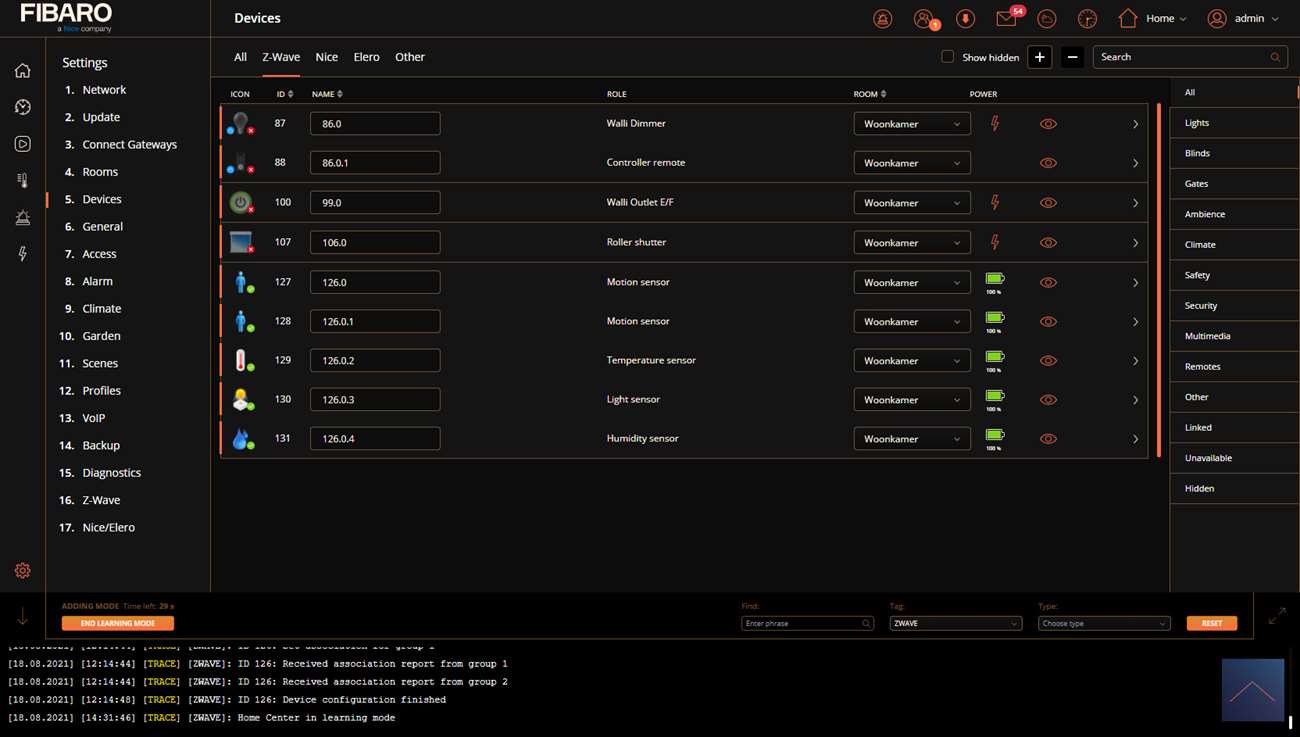
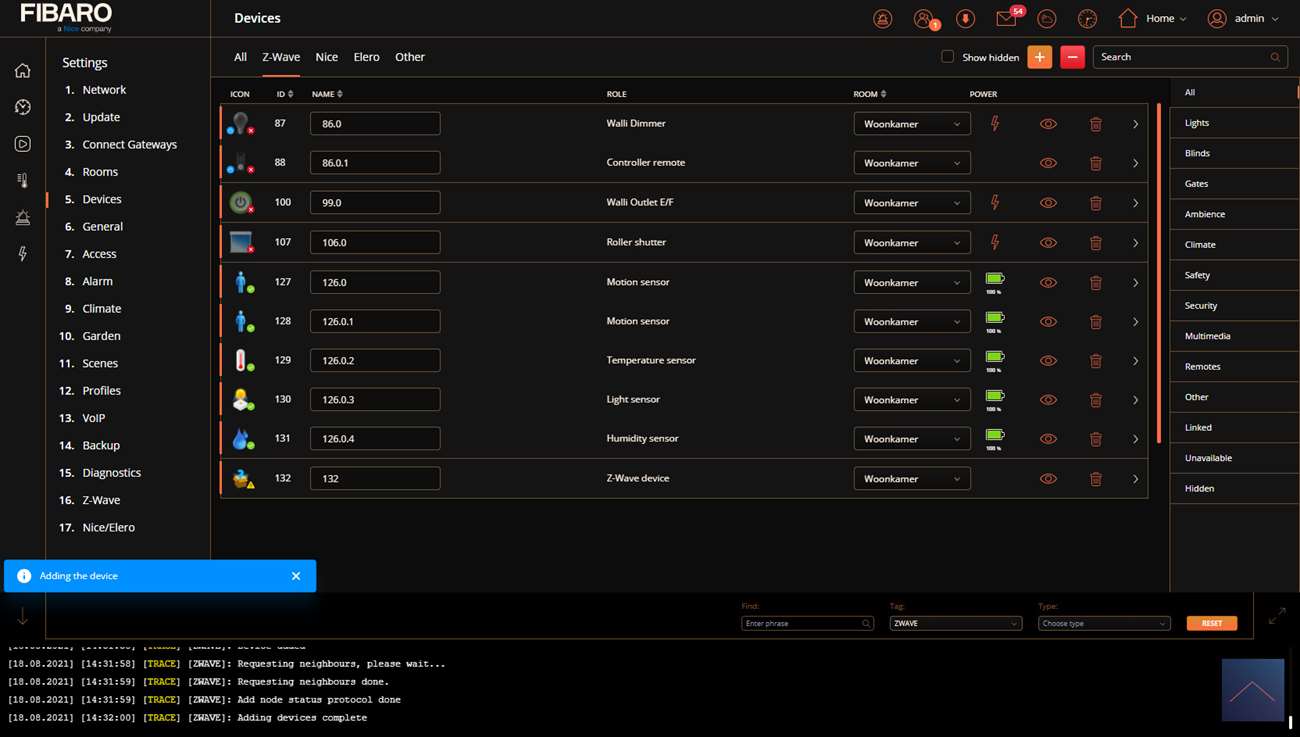
You can do this by pressing the "on" button 3 times in quick succession. The LED will flash yellow and then turn green. Below the bar I see all additions appearing, indicating that the adding is successful.
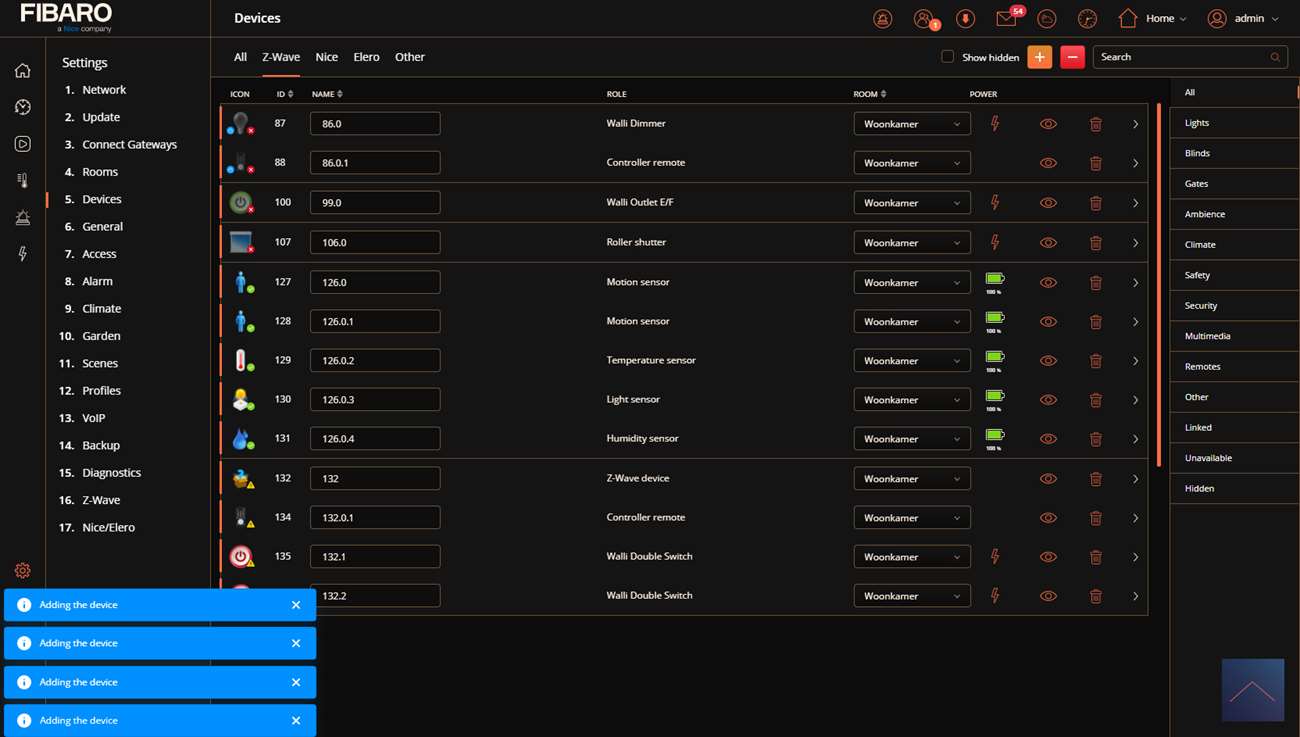
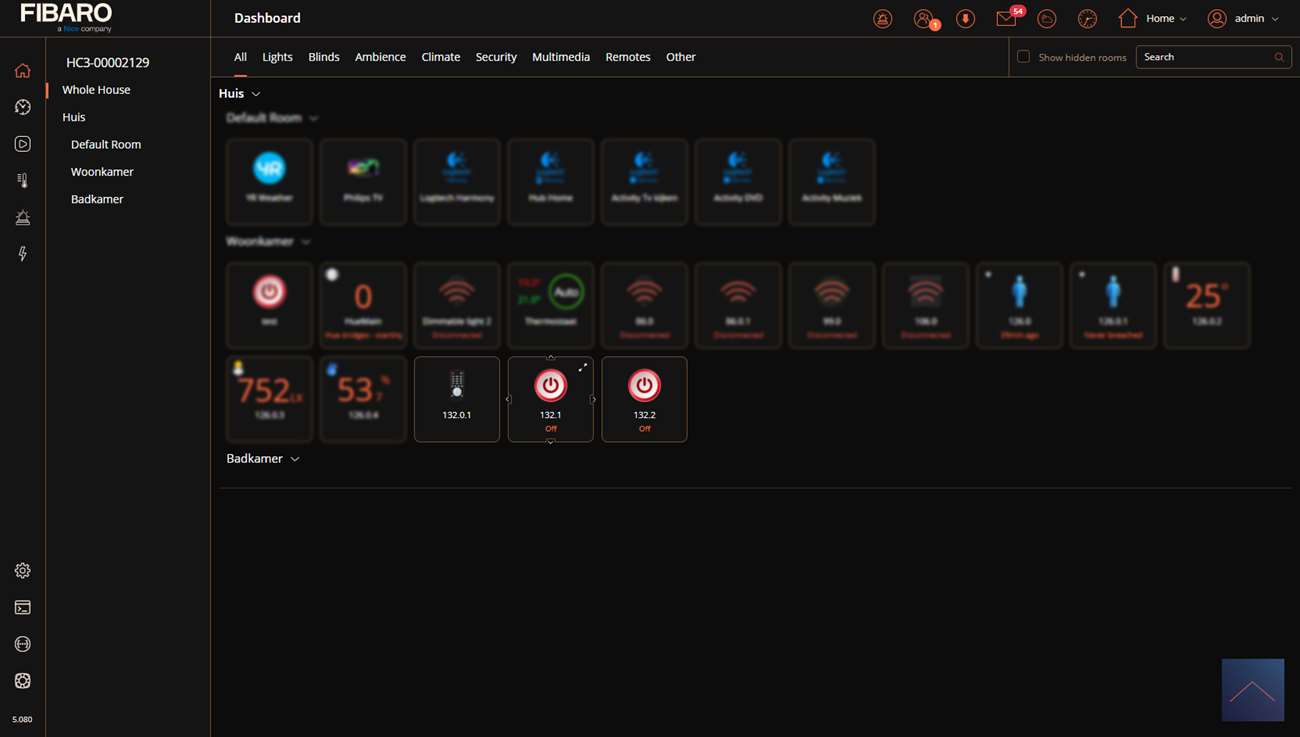
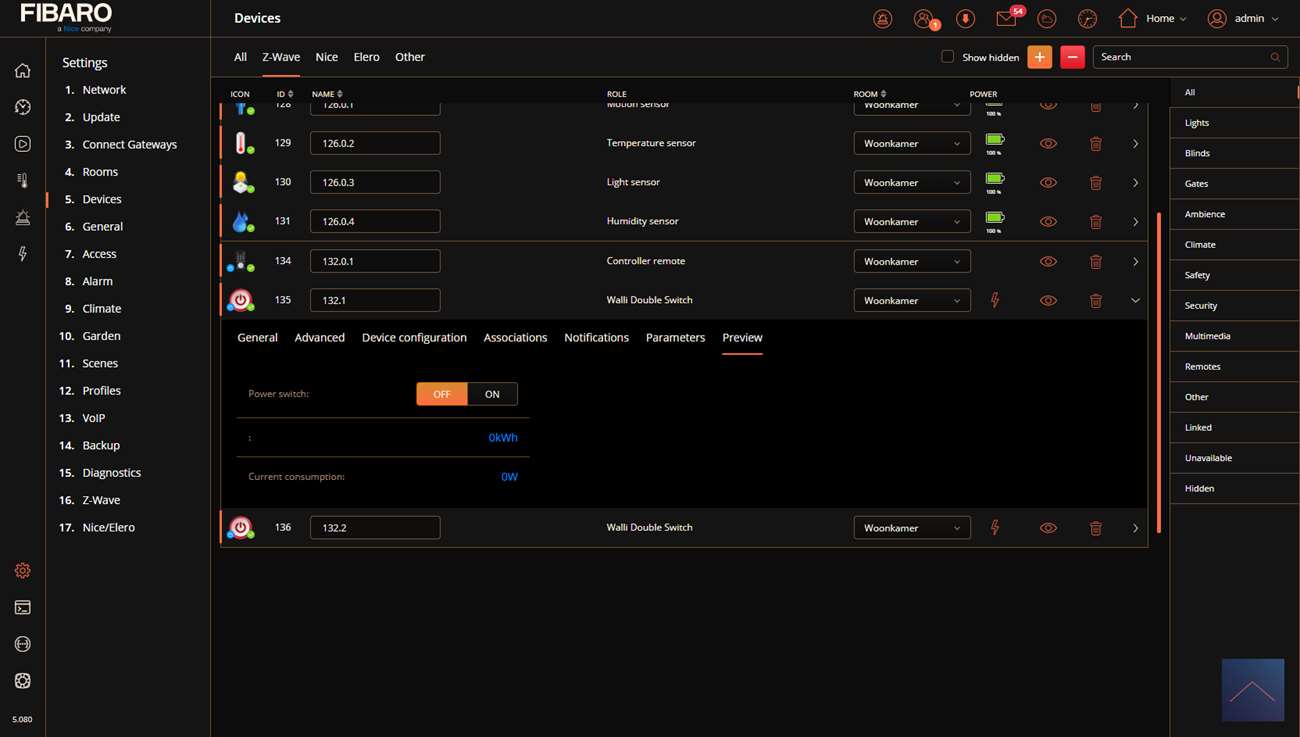
After a while, I see all functionalities appear on my devices. As expected, everything works as it should. Finally, I immediately give the Walli the right name and put him in my room so that I don't lose him immediately.
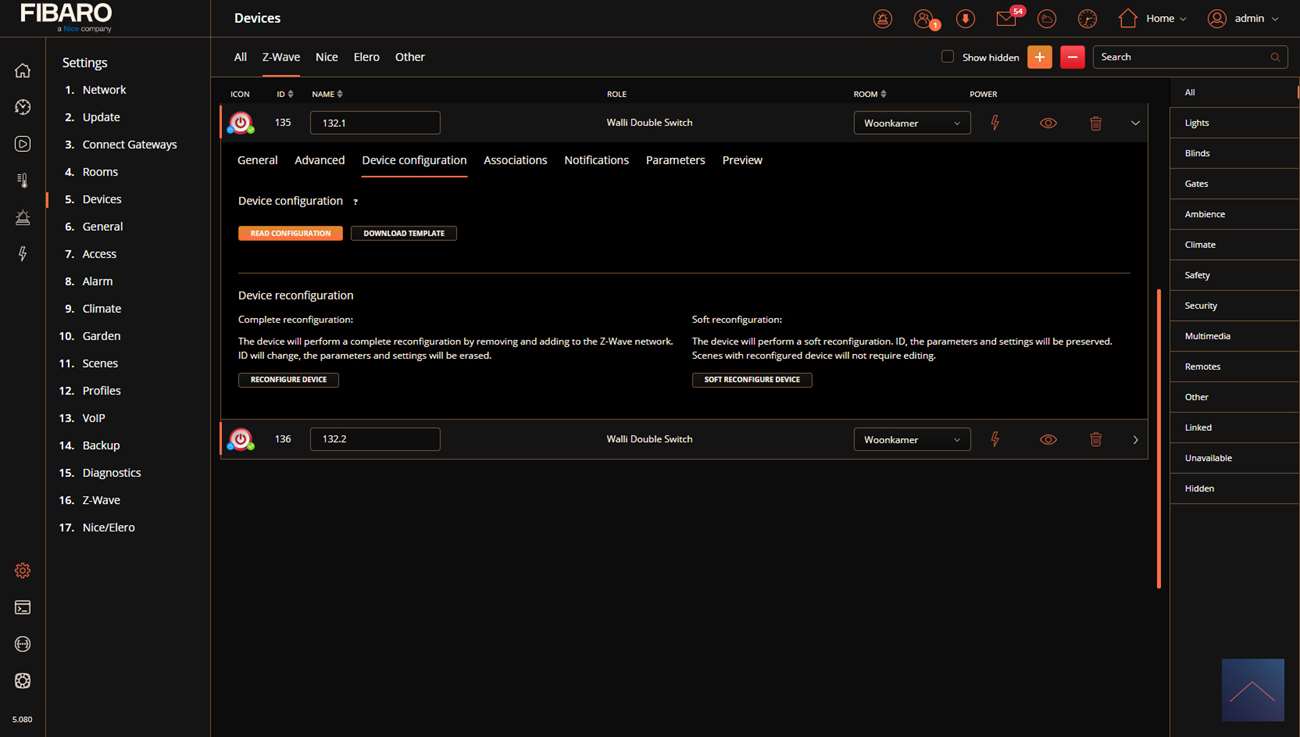
Installation screens:
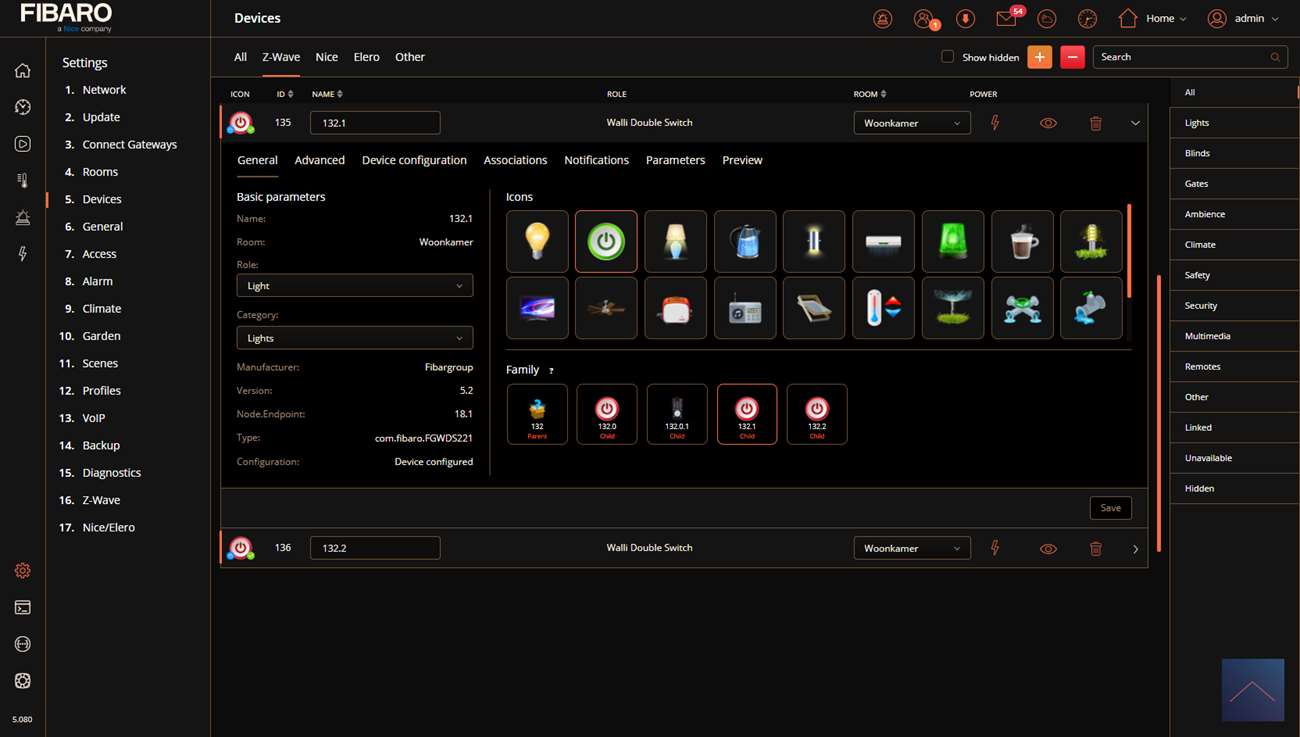
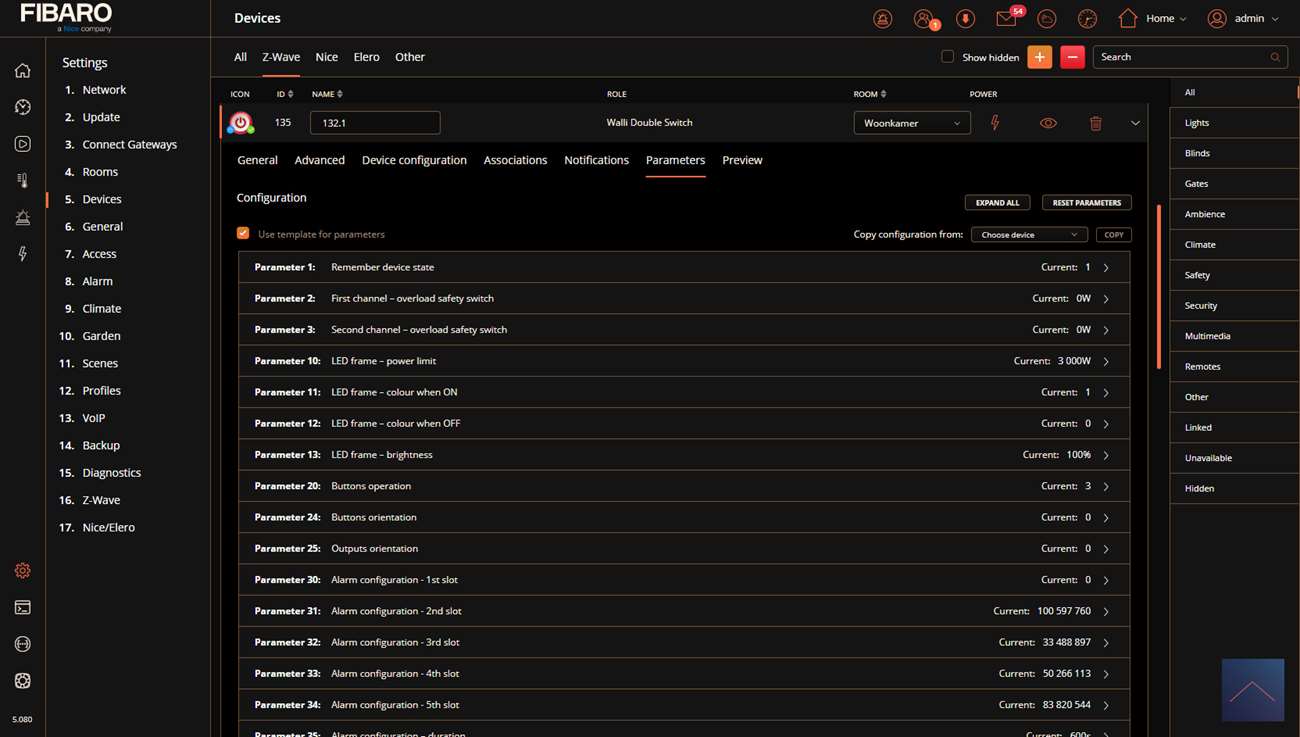
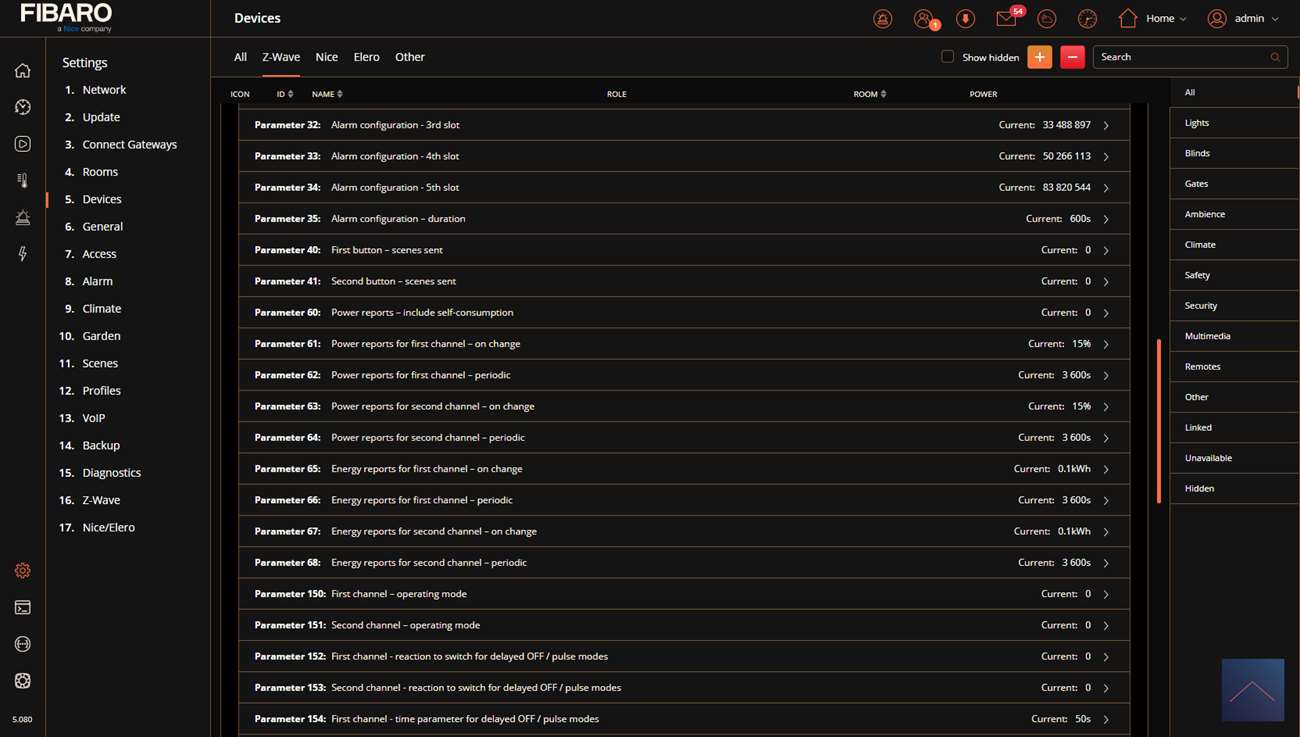
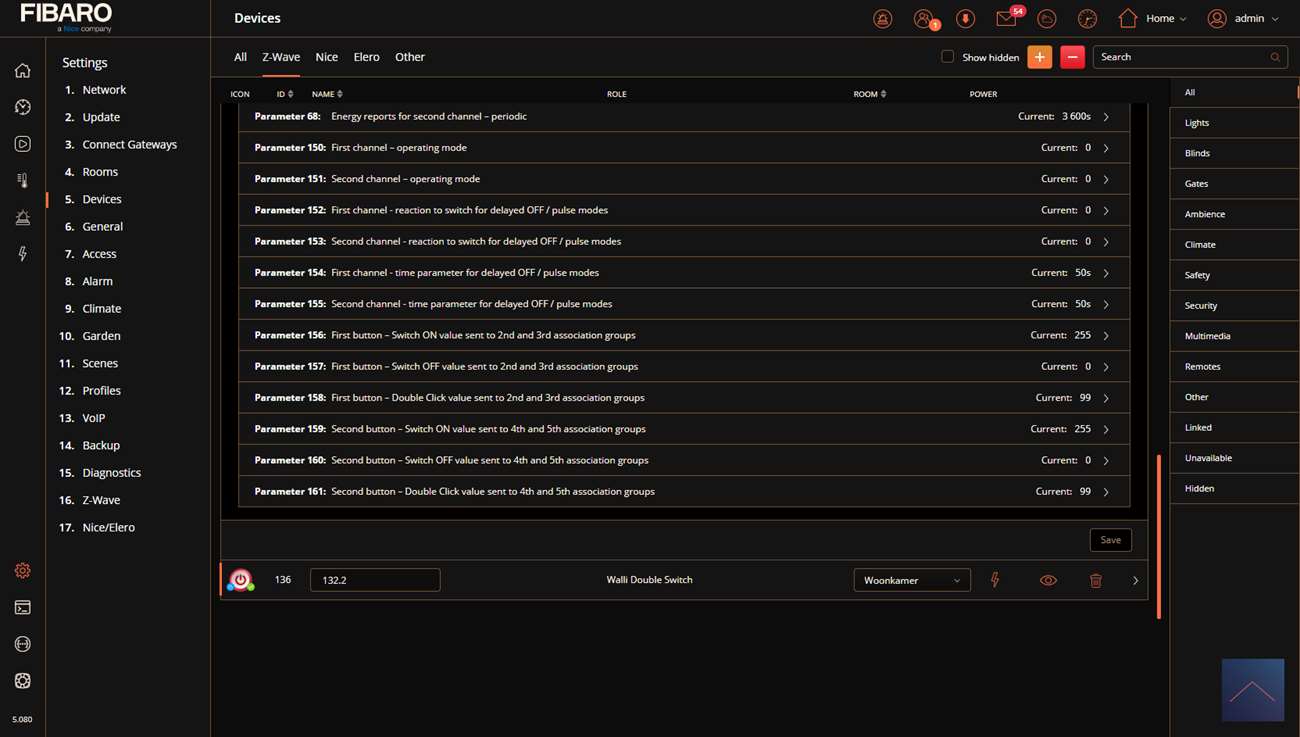
Configuration:
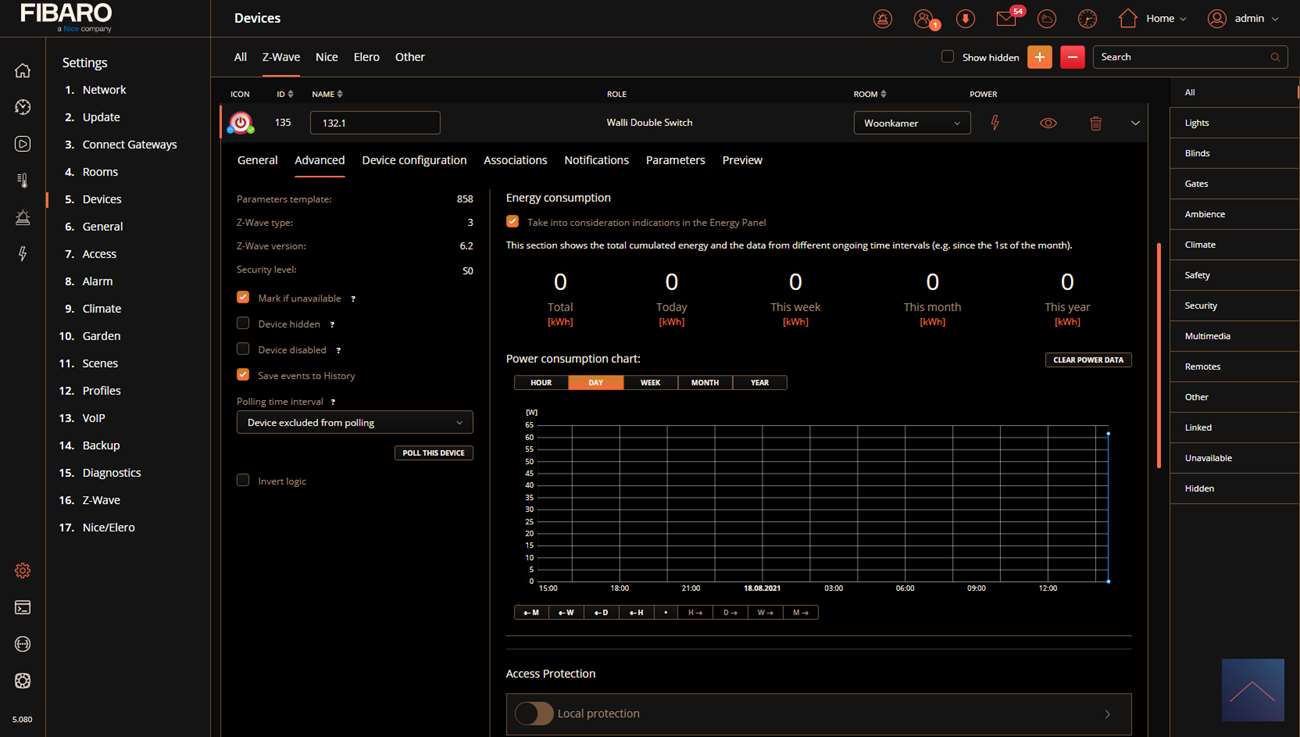
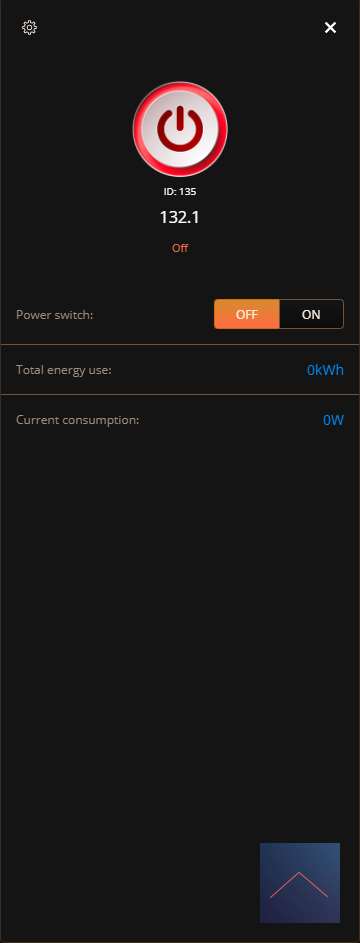
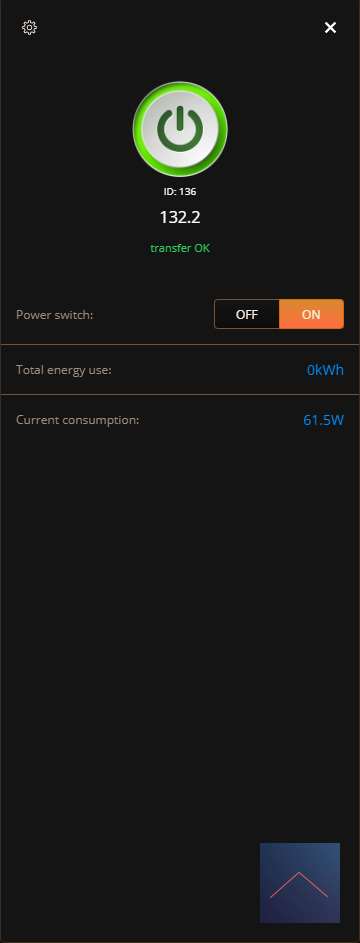
Control:
You get 2 switches and a scene switch. The latter is to control, for example, the 2x click. You also see the total consumption and current consumption.
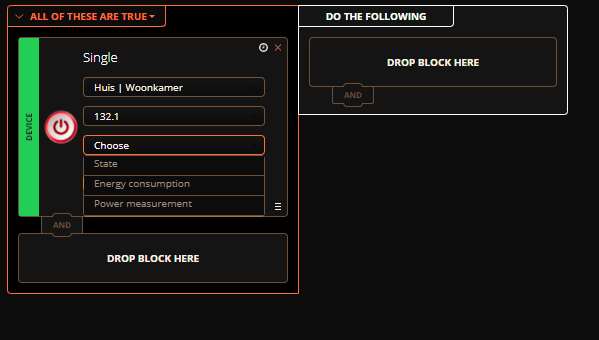
Scene options:
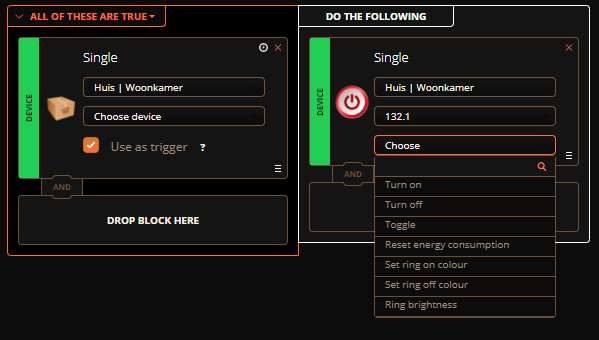
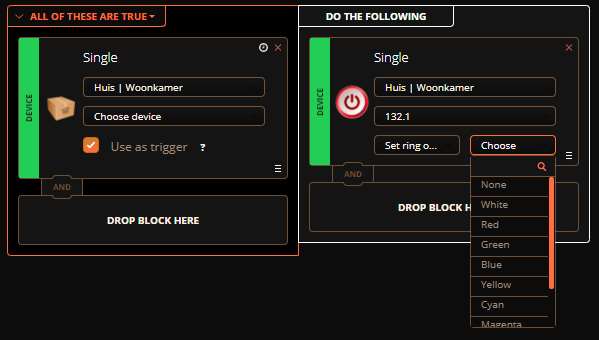
You get the options below for creating a scene.
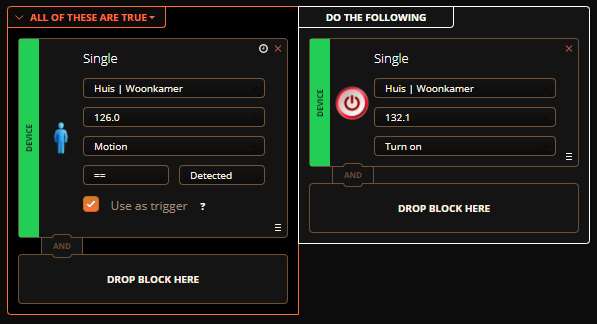
Example scene:
As an example, we show that if there is movement in the hall, the Walli must be switched on.


