Review
Fibaro Walli Switch

Installation on the Homey:
The first step is to connect everything according to the supplied diagram. When we have connected everything, we provide the whole with power again and we ensure that a lamp is connected. The LED ring will first light up red. We can check if everything works by pressing the button and then seeing if the lamp comes on. In my case this works right away and we can start adding.
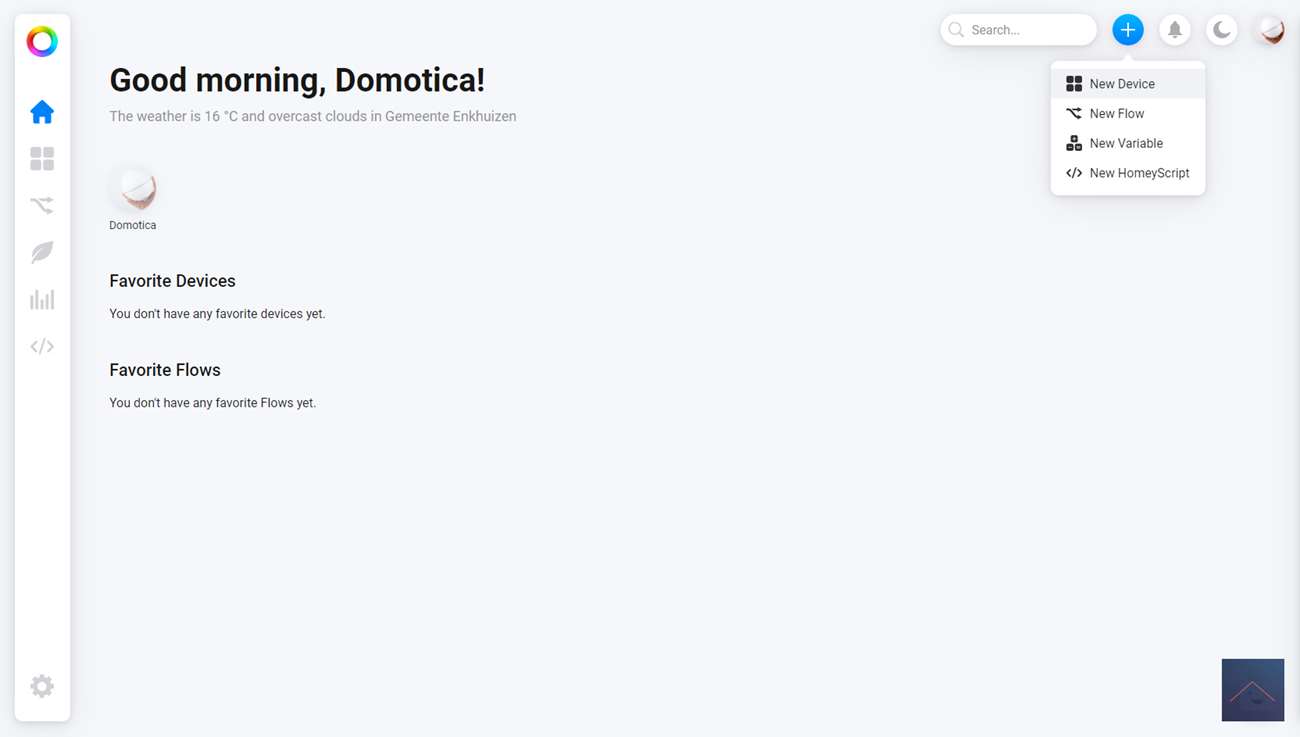
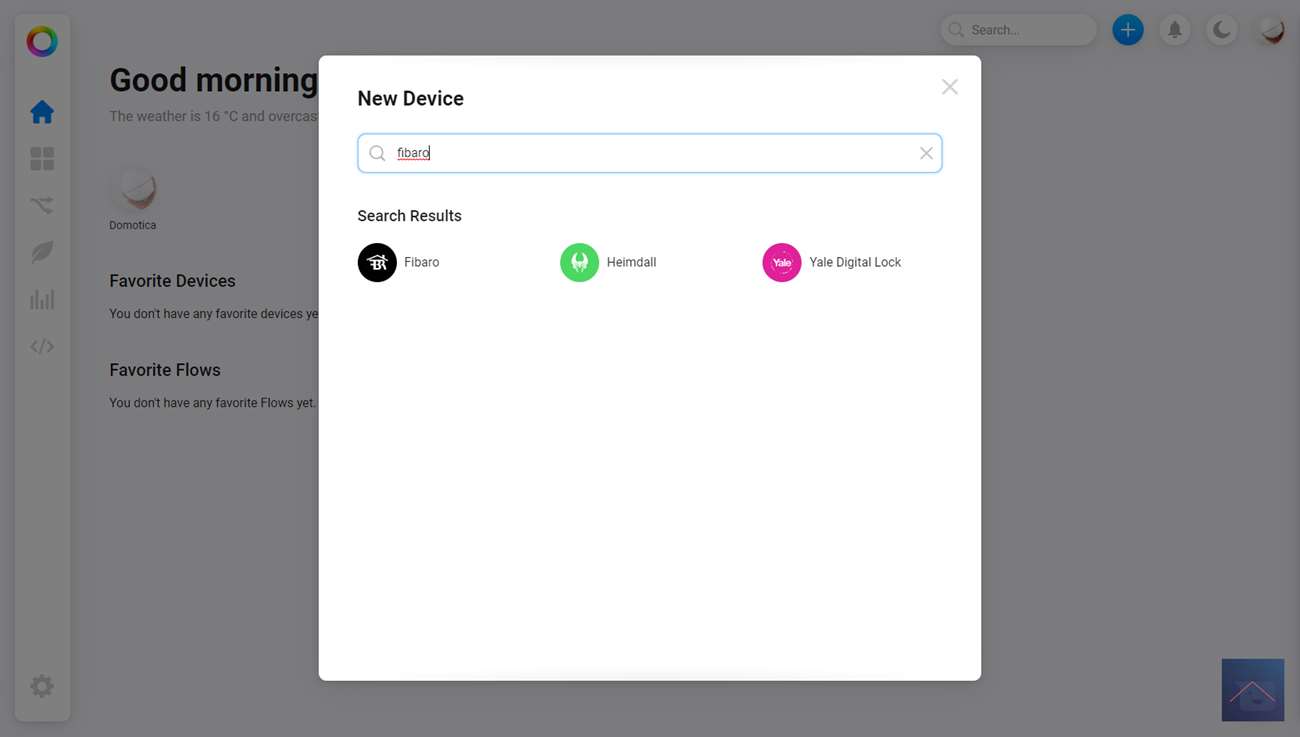
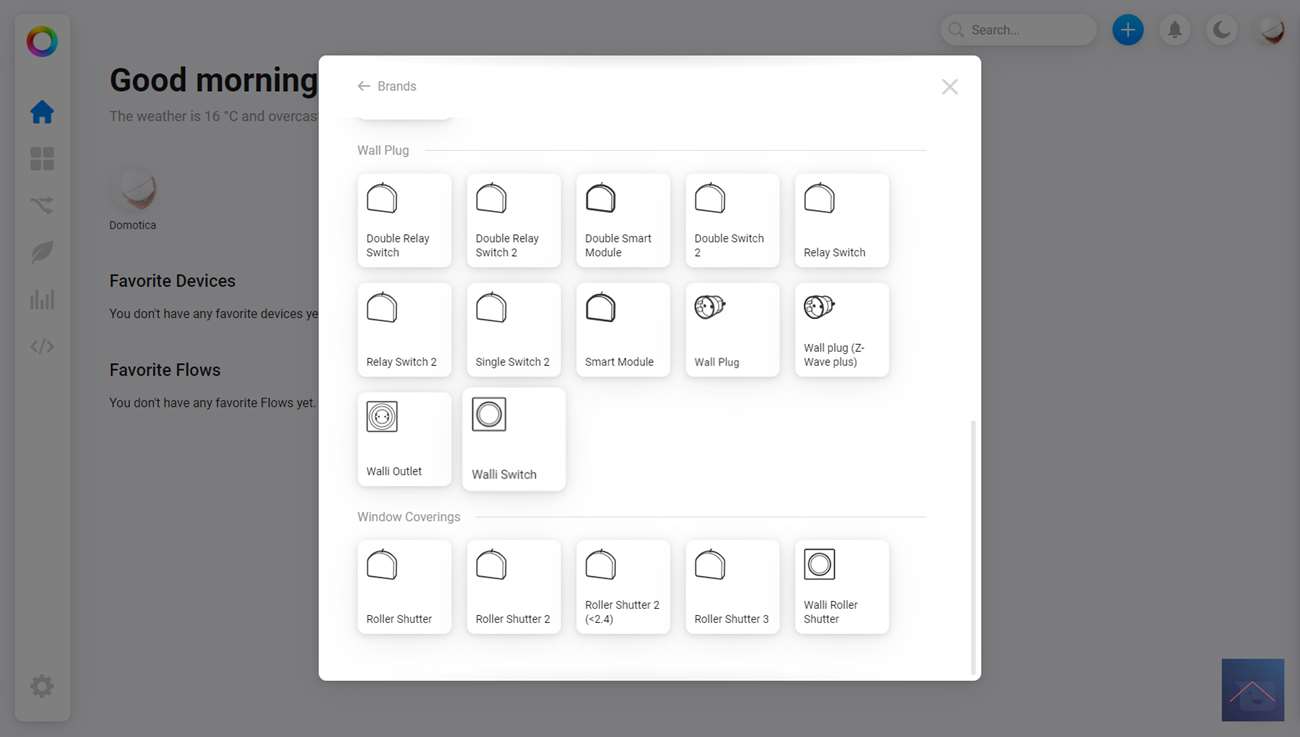
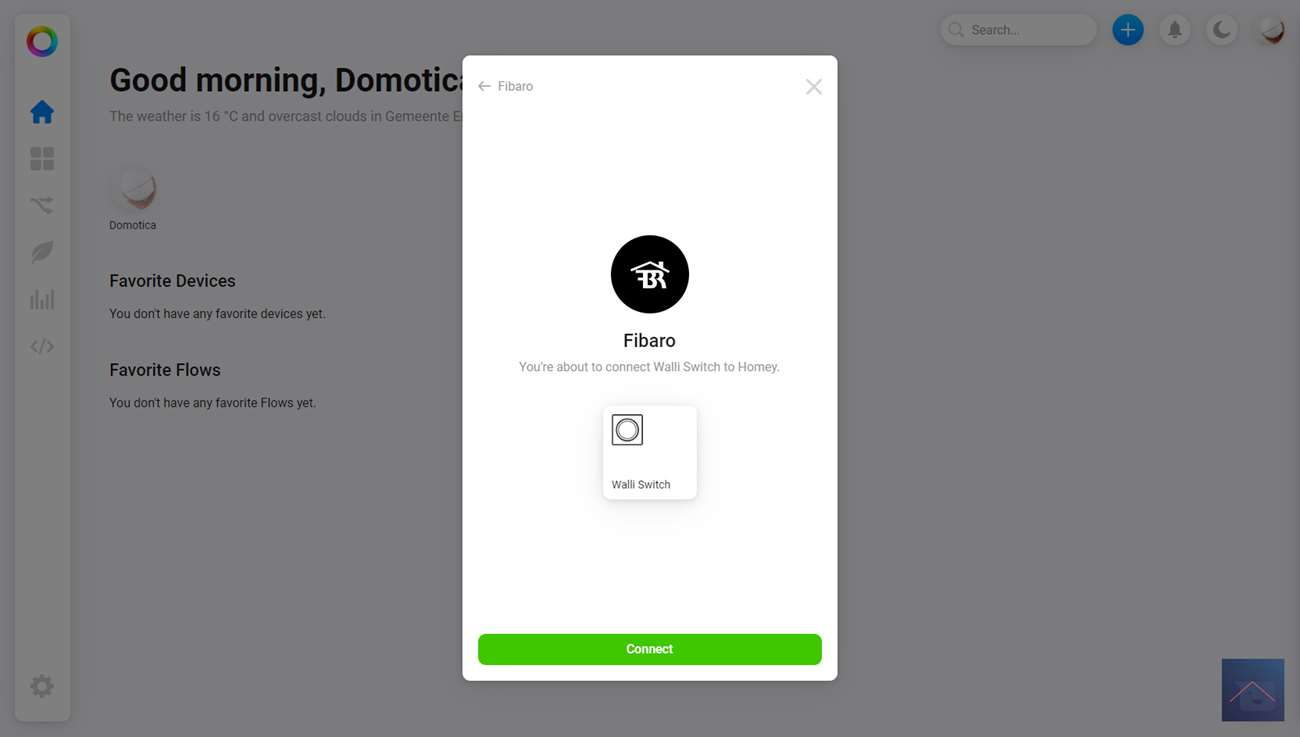
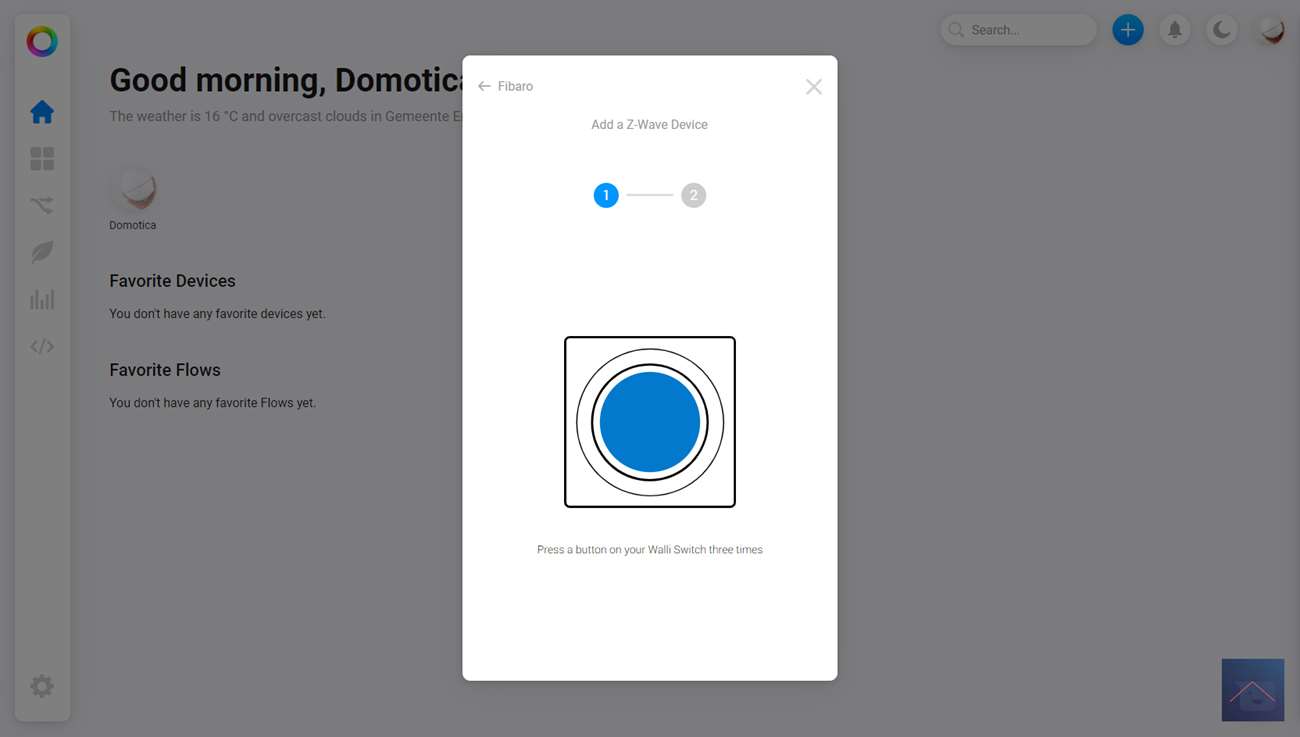
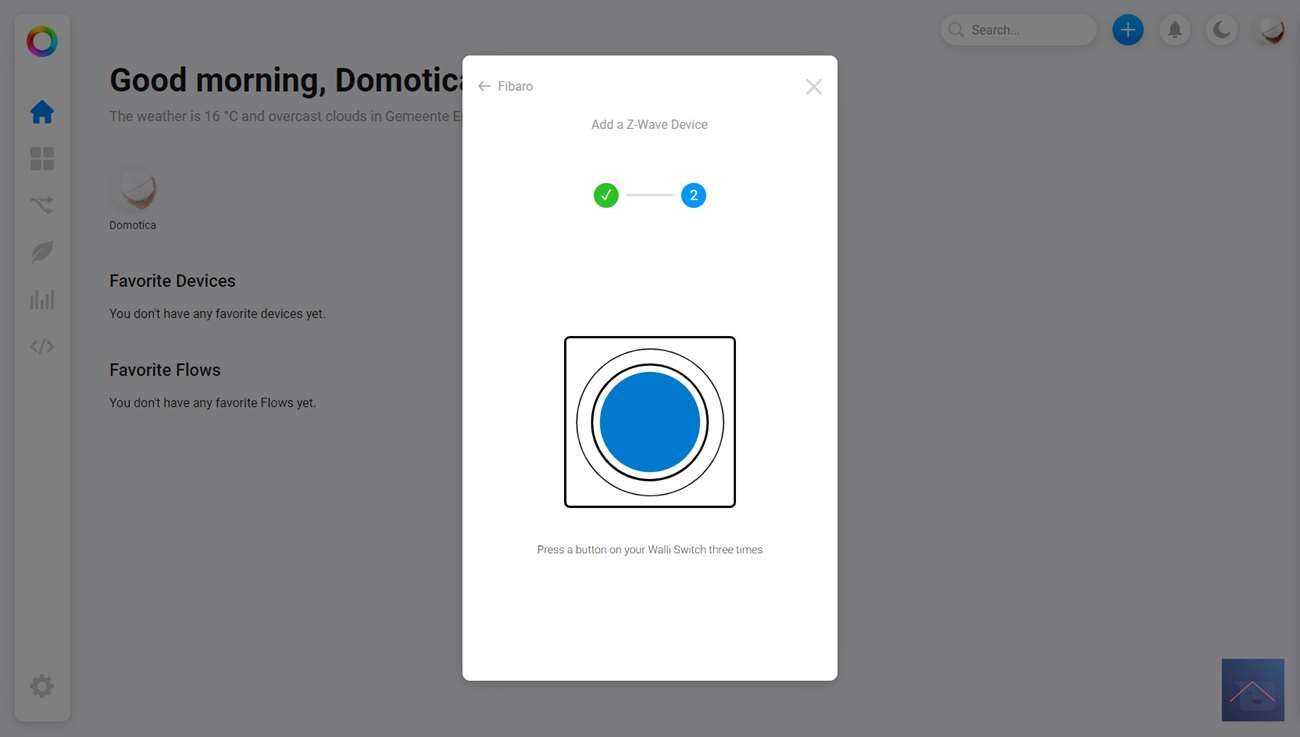
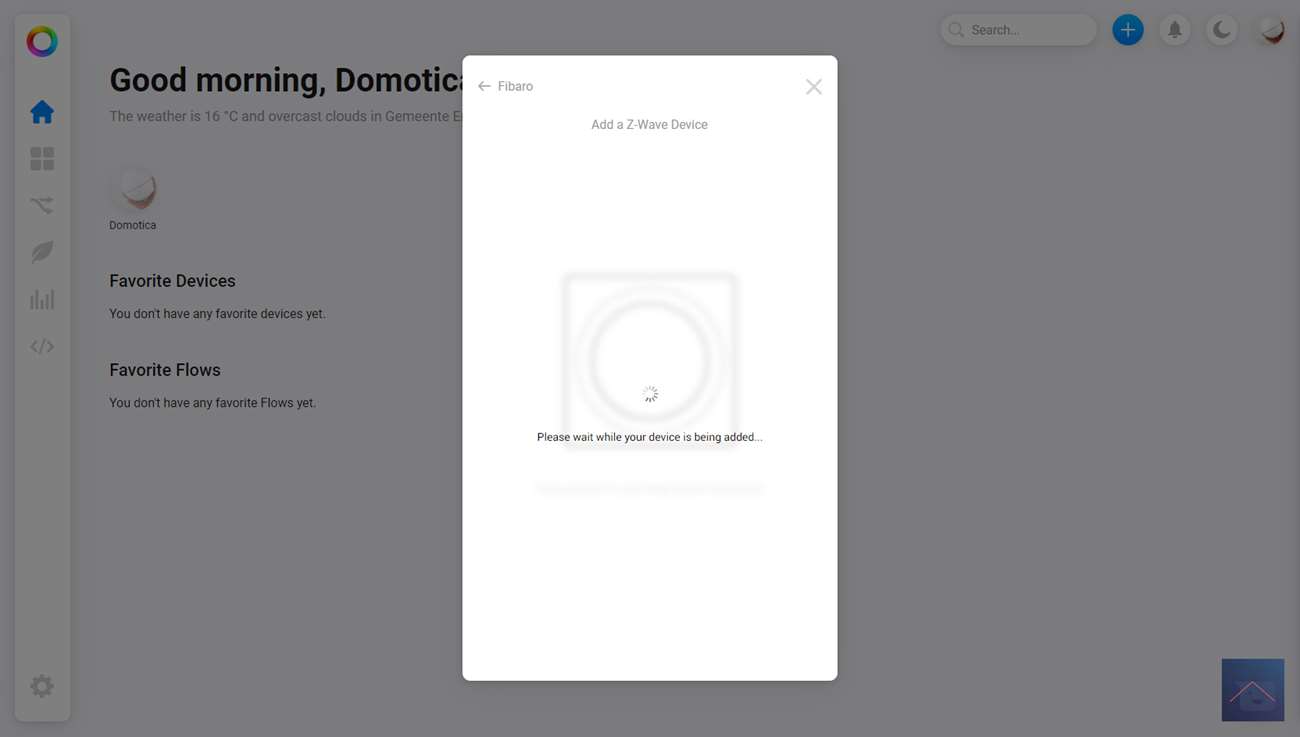
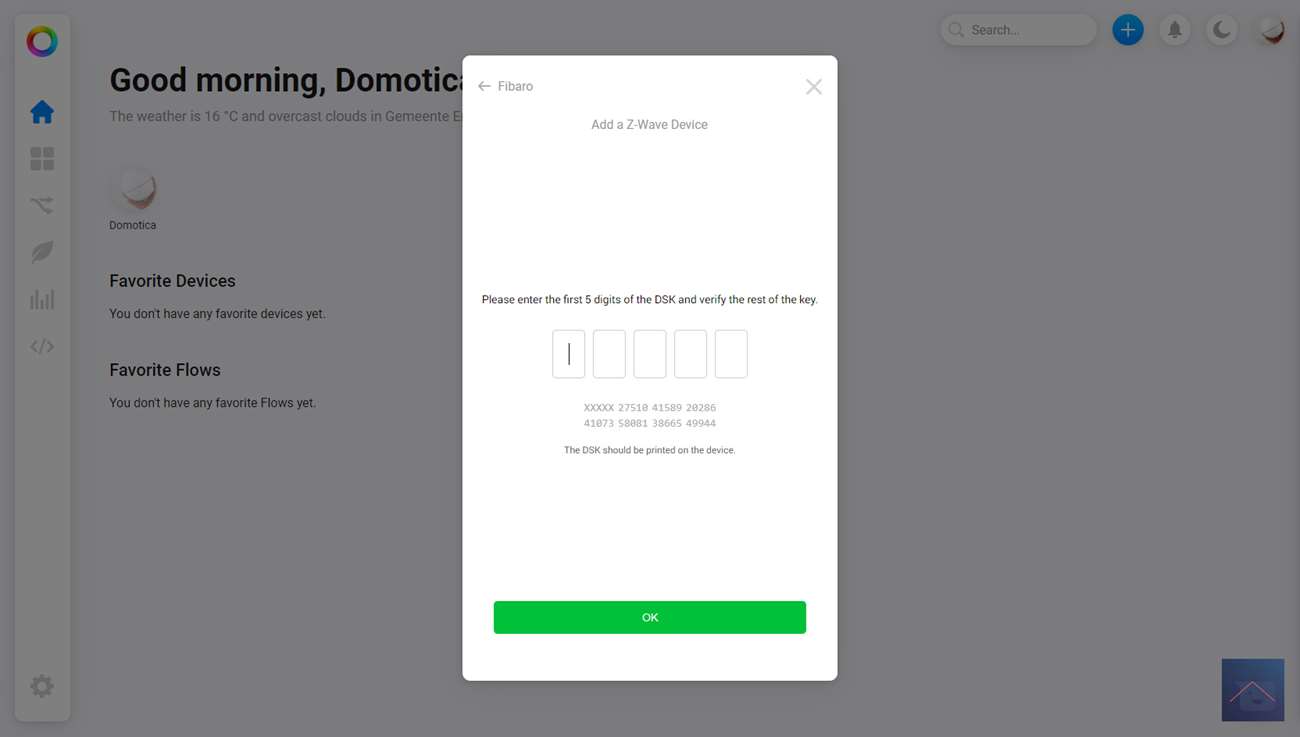
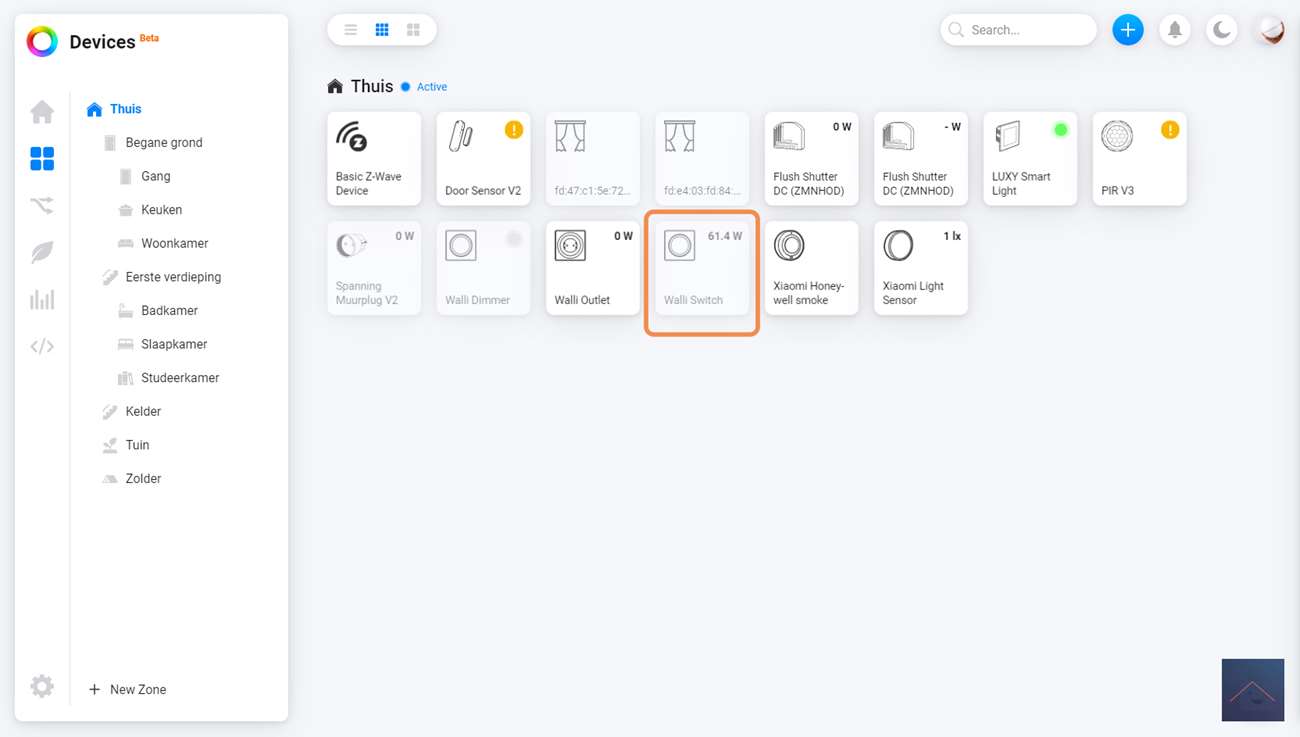
To install it, go to my.homey.app (or you use the APP) and click on the plus at the top right. We then search on Fibaro and install the APP (if we don't already have it). After this we select the Walli switch and are asked to press the buttons of the Walli 3x. When I have done this I see the LED flashing yellow and turning red. Then I press the button again 3x and I am asked for an SDK code. This is on the side of the box. I see a yellow flash again but now the LED ring turns purple and I see it added to the Homey.
All functionalities are there and they still work.
Installation screens:
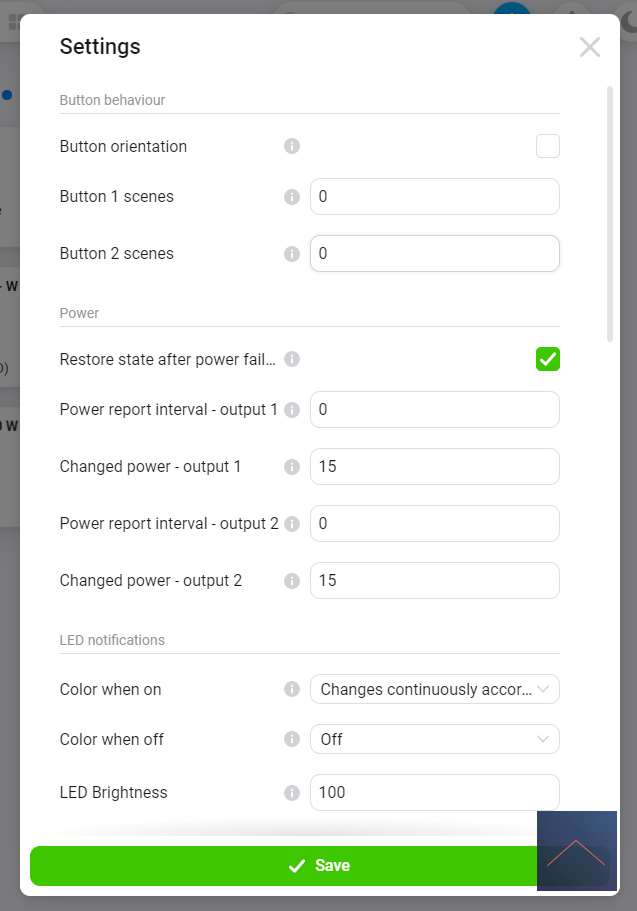
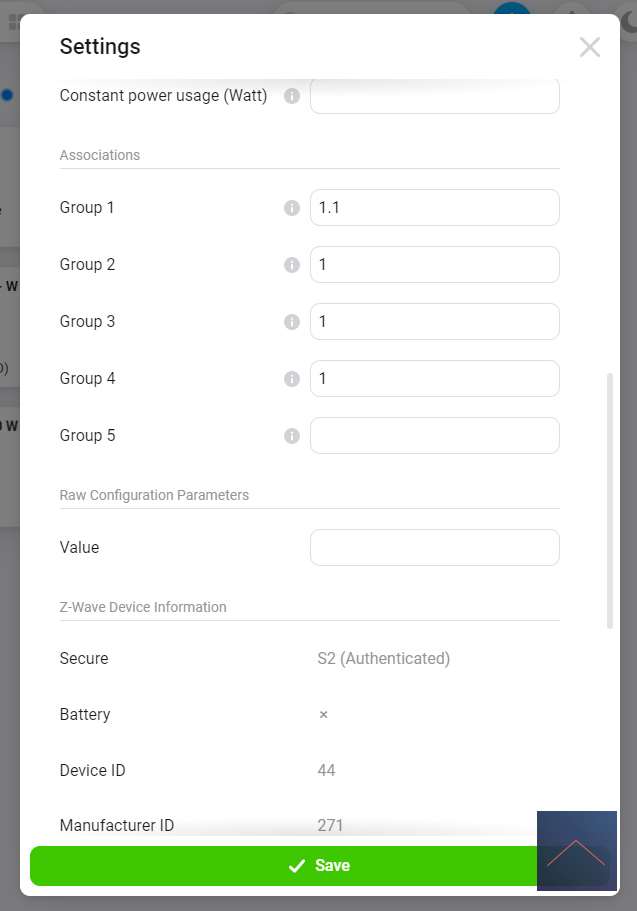
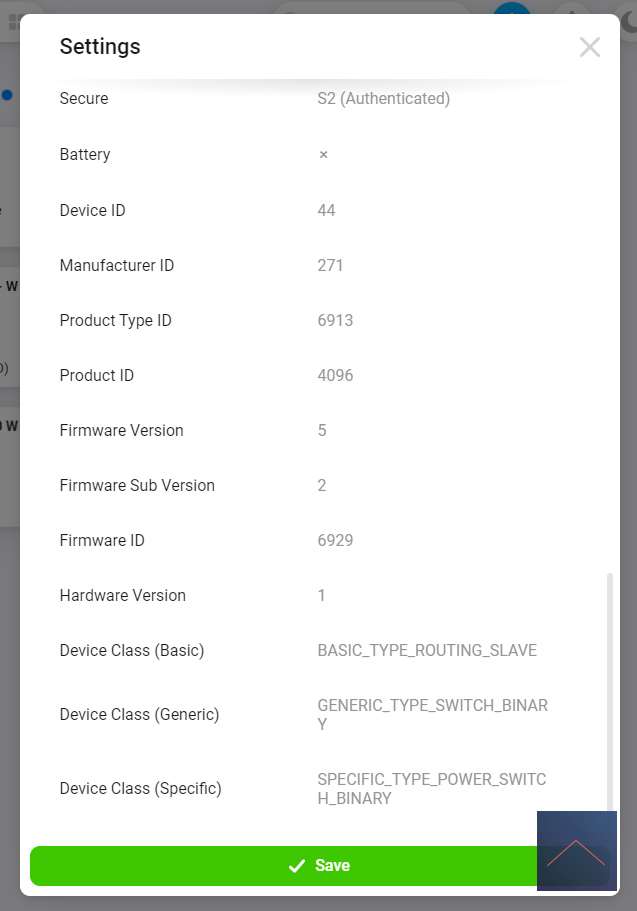
Configuration:
Control:
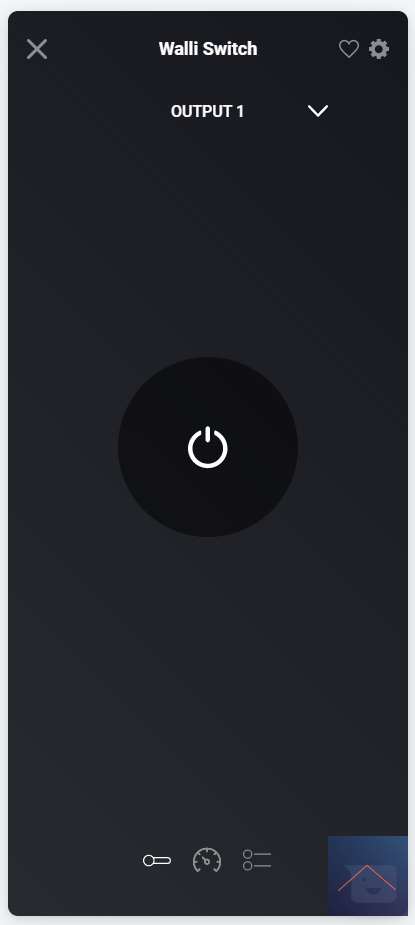
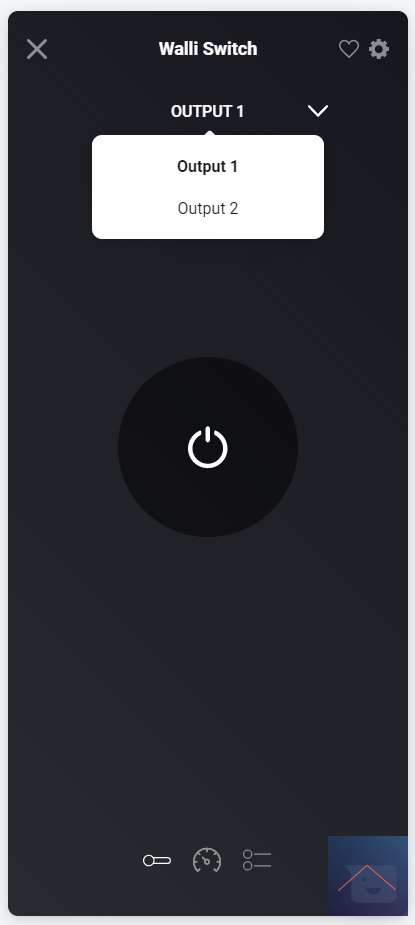
You get 2 switches to turn the connected lamp on or off. You also see the total consumption and current consumption.
Flow options:
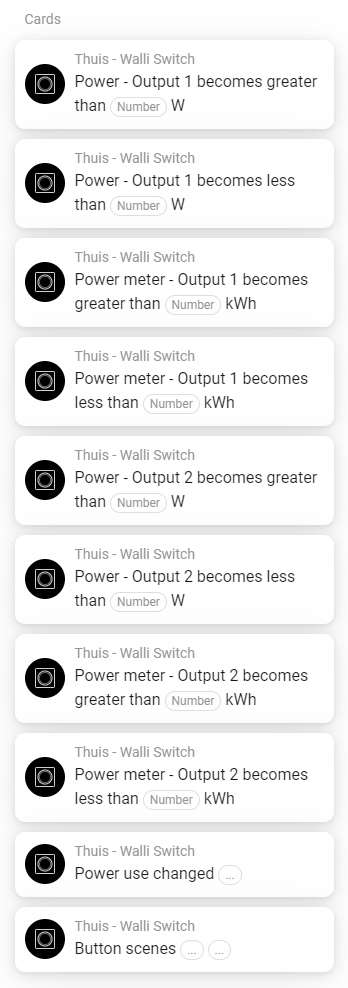
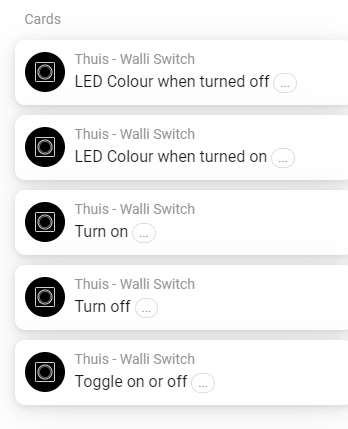
To create a flow, you get the following options:
IF:
THEN:
Flow example:
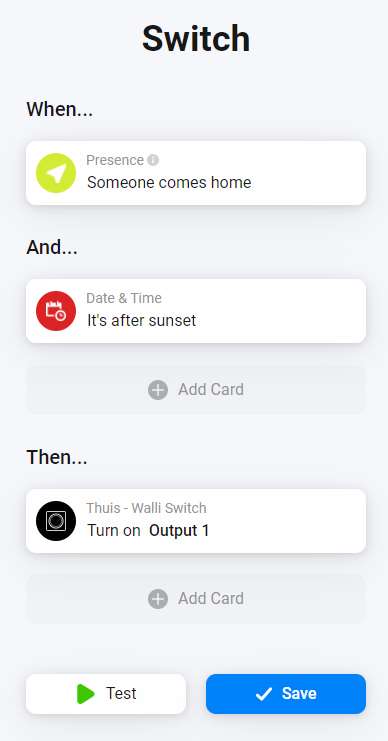
We make a flow when someone is home and it is after sunset that the Walli has to be turned on.


