Review
Hombli Set

The Smart Indoor Camera (indoor camera)
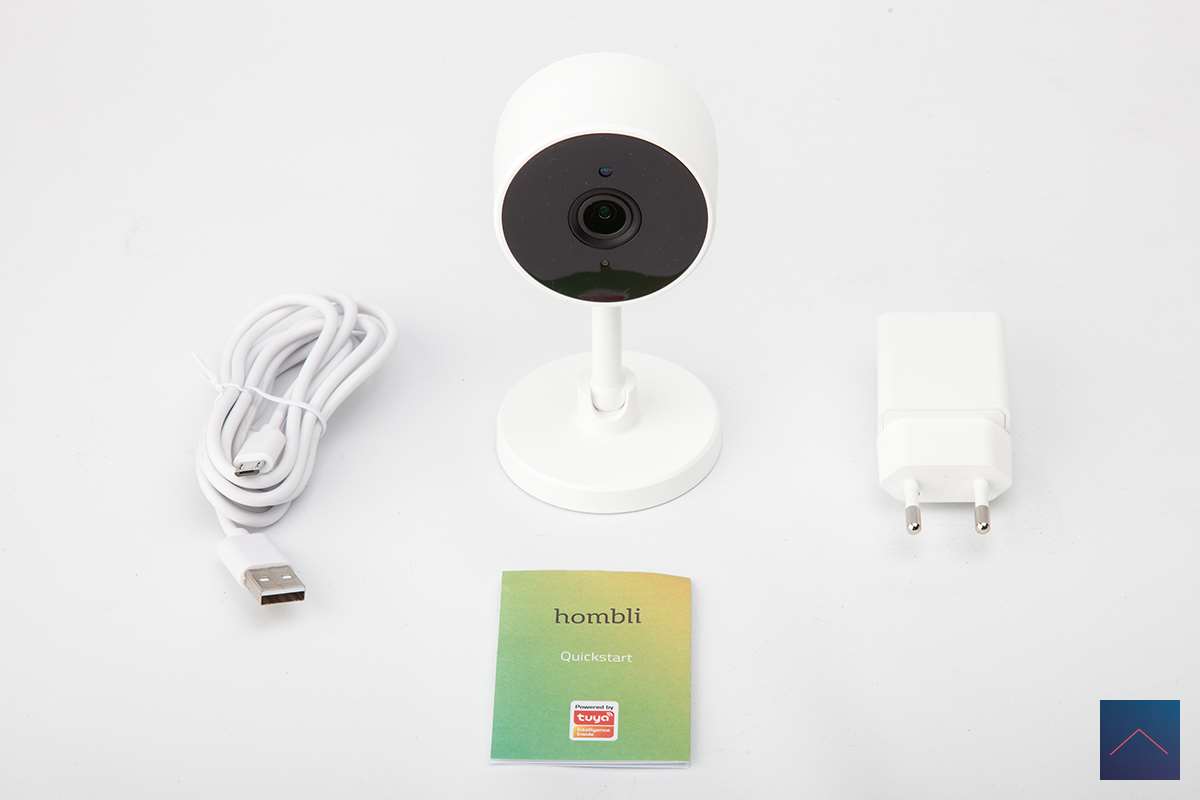
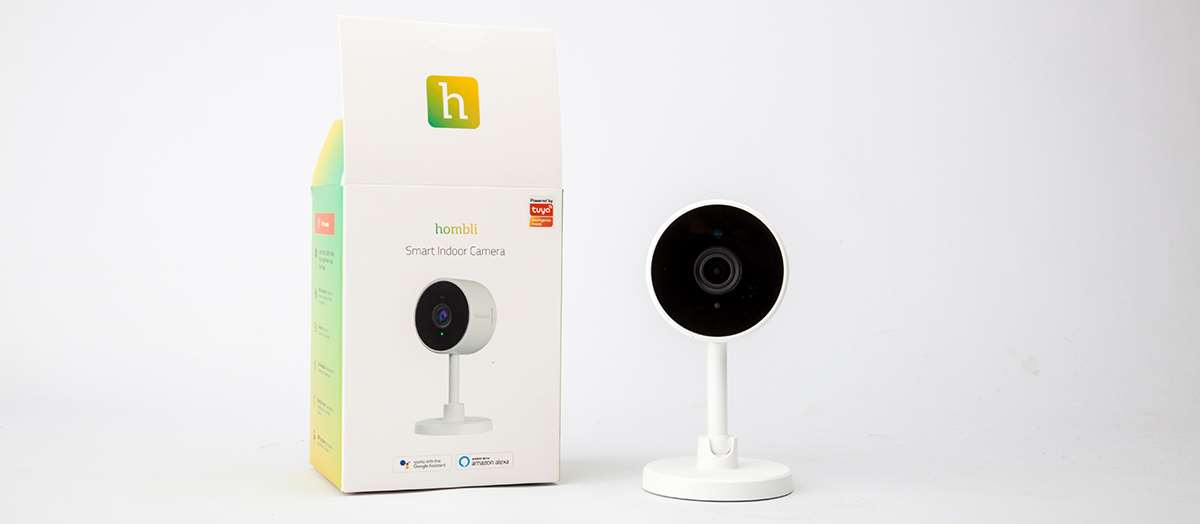
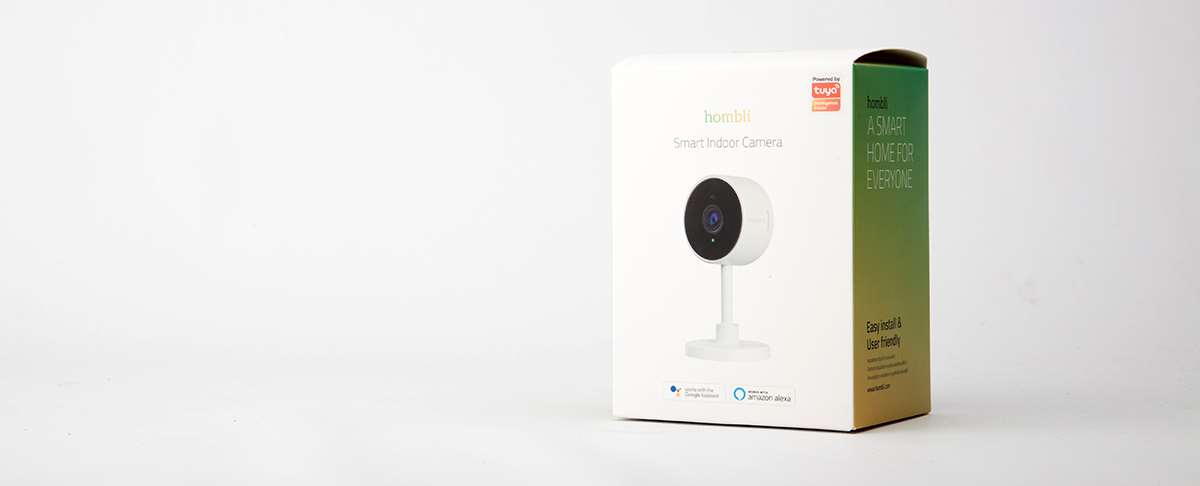
The camera is well packaged in a neat box and all looks neat. So a good start for this camera. It comes with a USB power adapter, USB to mini USB cable and a manual.
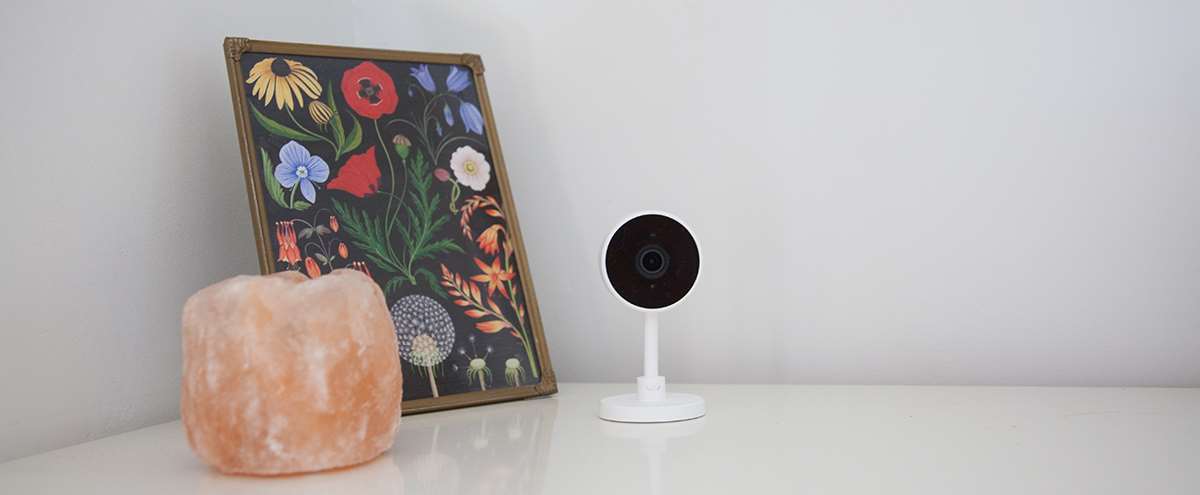
What is striking is that it is super small. This is one of the smallest cameras that I have had in my hands. Unfortunately nothing is included to hang it from the ceiling. But because it is super light, you can solve this with double-sided tape.
The quality of the camera feels good and solid and it has a sturdy base. It's nice that you can turn the camera at any angle thanks to a smart rotation system.
You can record with HD 1080p and the viewing angle is 130 °. This large viewing angle gives you a nice wide view of the room.
You can of course watch the video images live and 2-way audio communication is possible. To top it off, it has motion detection and infrared night vision. The nice thing about this camera is that the images can be stored locally via MicroSD. If you don't want this, there is an optional paid Cloud storage.
A USB cable is included, which is unfortunately a bit short at 1.40 meters, so if you don't have a power point where you want to place the camera, you have to extend it or buy another USB mini USB cable.
Finally, I would like to report that this camera (as the name suggests) can only be used indoors. If you want an outdoor camera, Hombli also has an outdoor version.
The Smart Indoor camera is for sale for € 39.95.
Appearance:
Size:
What do you get:
- Camera
- USB cable
- Power adapter

Add in the App
We are going to add the camera and in the main screen of the Hombli App we select right above the + button and under Camera we select the Indoor Camera. We get the message to turn on the camera and “Tap continuously” until the light flashes. After a short start-up, the camera will start flashing itself. After this we have to enter the WiFi network and password, this camera also only works with the 2.4 GHz network.
After confirmation, the App will search for the camera and find it immediately and indicate that it has successfully added the camera. This all works flawlessly. If we click on Done, you must first give permission for the Hombli App to access your photos, media and files on your mobile, after approval you will immediately go to the main screen of the indoor camera, I go back to the main screen and there is the smart indoor camera with a beautiful photo icon of the product. There are no buttons to quickly perform an action.
Overview in the APP
We go through all the possibilities of the camera. In the main screen of the APP we click on the device name “Hombli Smart Indoor Camera”. The camera has to charge as fast for a second and we have an image, the image also shows the date and time. Immediately left below the image is HD and when we click on it, it changes to SD. On the right, directly below the image, we see the strength of the WiFi signal.
Below that a row of options, first we can turn the sound of the camera on and off.
You can also click on the photo icon to take a screen shot.
When we click on the microphone icon, we are asked whether we give permission for the Hombli App to use the microphone. After agreeing to this, we can hold down the microphone to be able to talk through the camera.
In addition, the camera icon by clicking on it starts the video recording and by clicking again the recording stops and the video is saved.
Last in this row is the two arrows icon, which provides a full screen image when we click on it. Just turn your mobile, on the right are the icons that you can use and in the top left is an arrow to go back to the previous screen.

Settings:
At the top right are three dots, if we click on them we get a drop down menu with: Playback, Message, Albums, Private Mode, Multi-view and Settings.
The playback does not work now, because we do not have an SD card in it and do not have a cloud subscription.
Message contains the motion detection messages.
Album contains the photos and videos that we have taken and are stored on your mobile
If you select Private Mode, the camera will turn off immediately and you can only turn it on.
In Multi-view you will probably see all the cameras that you have in the Hombli App, in this case only 1.
In the settings you can first click on the name to adjust the icon, name and location.
Device information contains the E-mail address of the owner, network names, time zone and wifi strength.
Shortcuts and Automation indicates where your camera is used for automation.
Private mode slider does the same as the Private Mode in the drop down menu.
After this you have the option Basic functions.
I cannot find out what the Status indicator does exactly, Flip screen rotates your image 180 degrees and Time watermark displays date and time. With Talk mode you have the choice to hold the button or give a click to turn on and a click to turn off.
IR Night Vision can be set to automatic, on or off. You can use this to ensure that the IR LEDs are automatically switched on when it is dark. This allows you to take a good picture even when it is dark.
With Detection alarm settings you can switch motion detection on and off, Alarm sensitivity level can be set to Low, Mdeium and High. Finally, you can create a schedule under schedule when motion detection should be on and off. Personally, I miss the choice to only perform motion detection on a part of your image, so you can determine more accurately if something moves in a certain place.
With Service subscription you can take out a subscription for cloud storage. More on this later.
With Share devices you can see which family member has access to the camera and you can immediately add someone at the bottom of Share this device.
In the FAQ you will see all frequently asked questions of the smart indoor camera.
With Firmware update you can check whether you have the latest software on your camera.
Motion detection/Notification
If you have motion detect on, you will receive a notification of motion on your mobile, if you click on it you will immediately go to the Alarm tab of the Message Center of your Hombli App.
Cloud subscription
If you take out a cloud subscription, you will be able to save events from the last 7 days. You can take out this for a month or a year. Personally, I would put an SD card in it that is not that expensive nowadays and then you can go back much more than 7 days. I can imagine that cloud is nice for other people that your storage is not with the device and so is still there even if your camera is no longer there.
A cloud subscription costs € 3.49 per month, which is okay priced.

Impression:
This camera makes a complete impression, all the bells and whistles you expect are on it. The image quality is quite okay. For the price of 39.95 you can of course expect no miracles. Especially think that you buy this camera because it fits nicely with the eco system of Hombli.


