Review
Hombli Set
The Smart Socket (power switch)
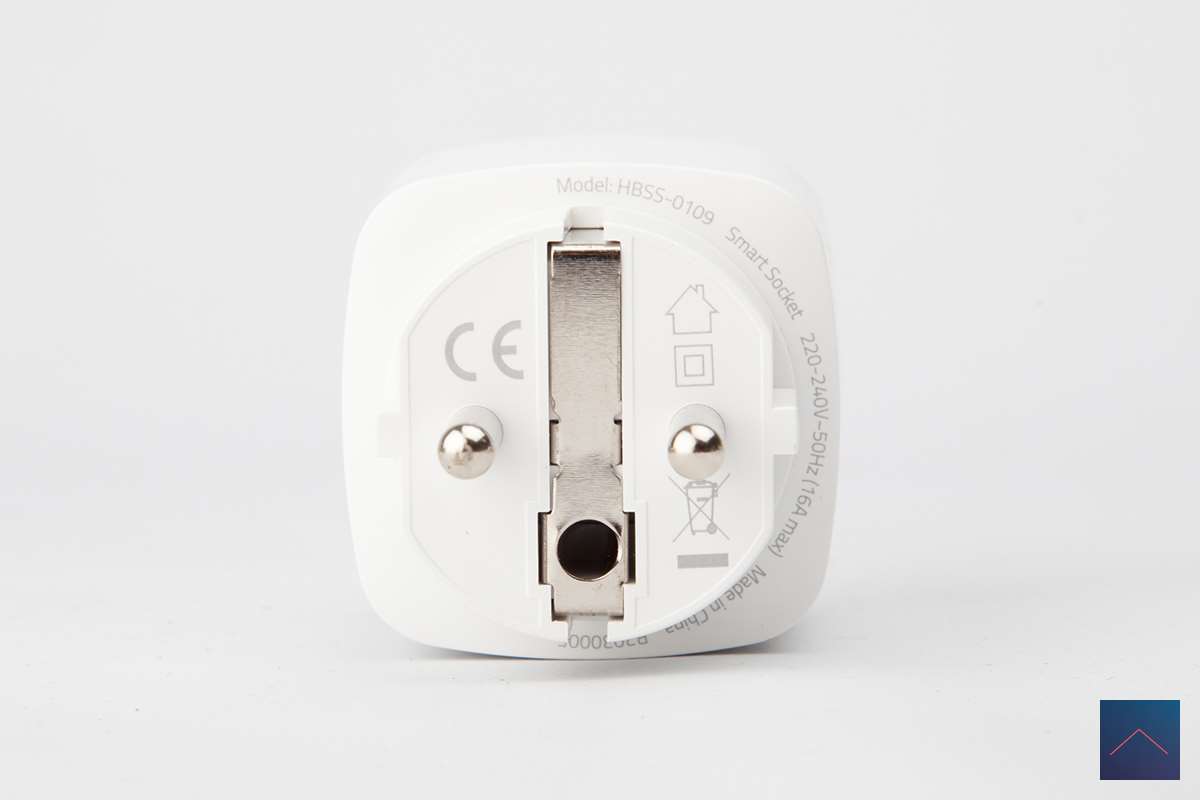
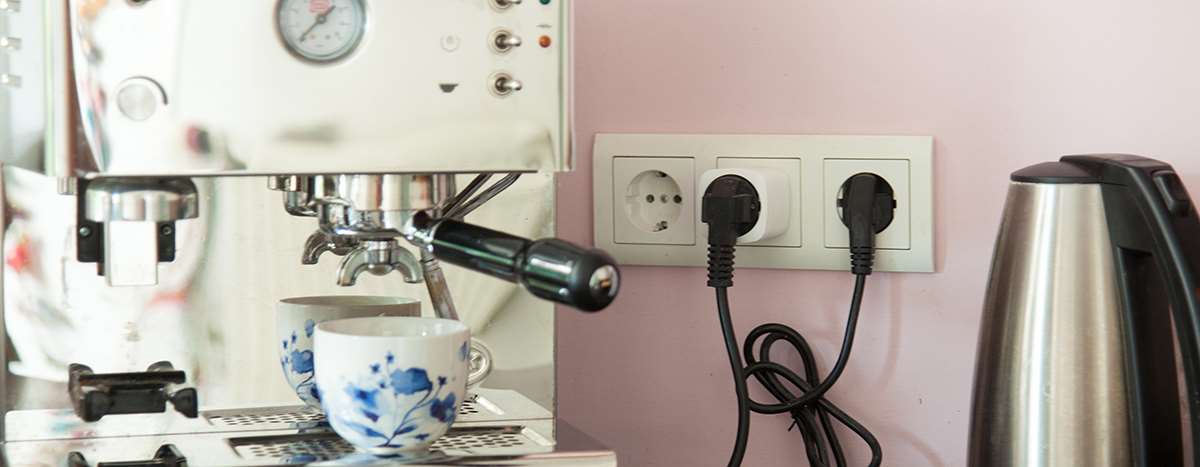
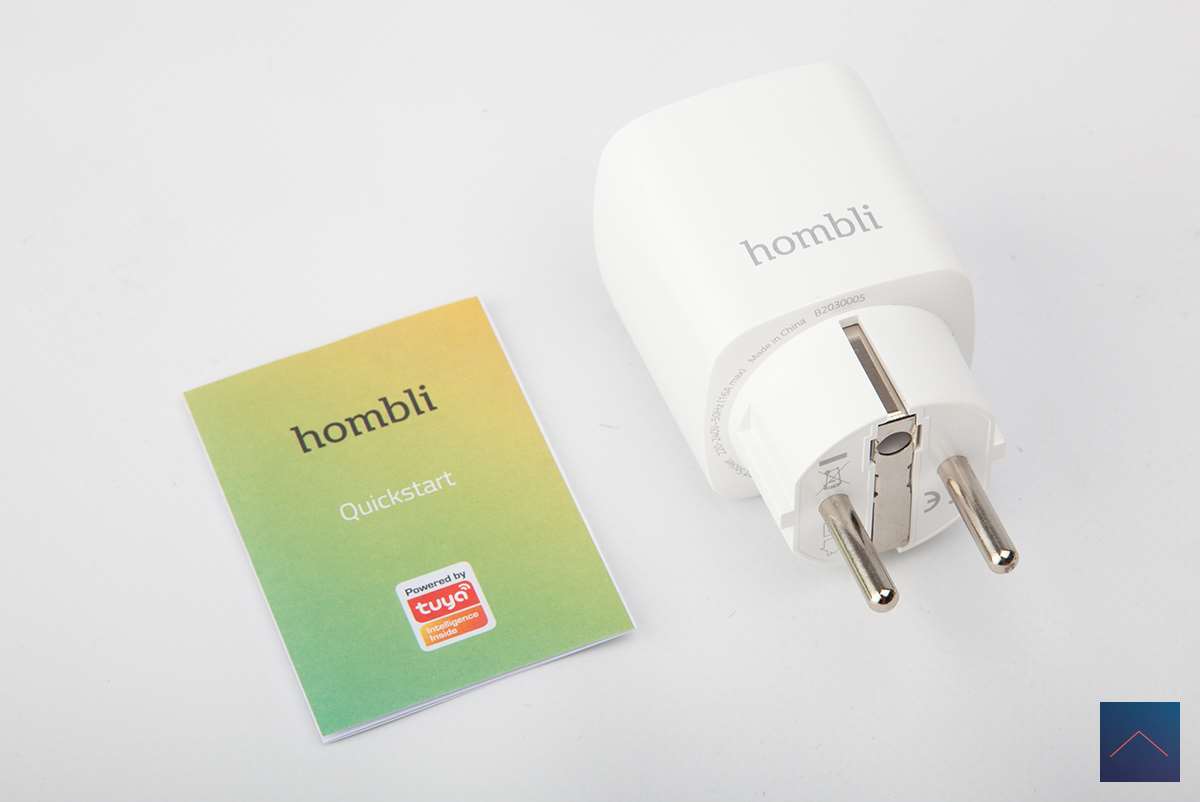
The Smart Socket comes from a small box with its own Hombli look. All neatly cared for. In the box you will find a manual and of course the Smart Socket. The Smart Socket can be controlled via your smartphone, it has a physical on / off switch so that you can also operate it manually. A nice feature is that your energy consumption is measured, which is useful to know exactly what a device uses and whether you can save on this. Safety has also been thought of, because there is protection against overload. You can connect a power of up to 3680 Watt and 16 Amps to it.
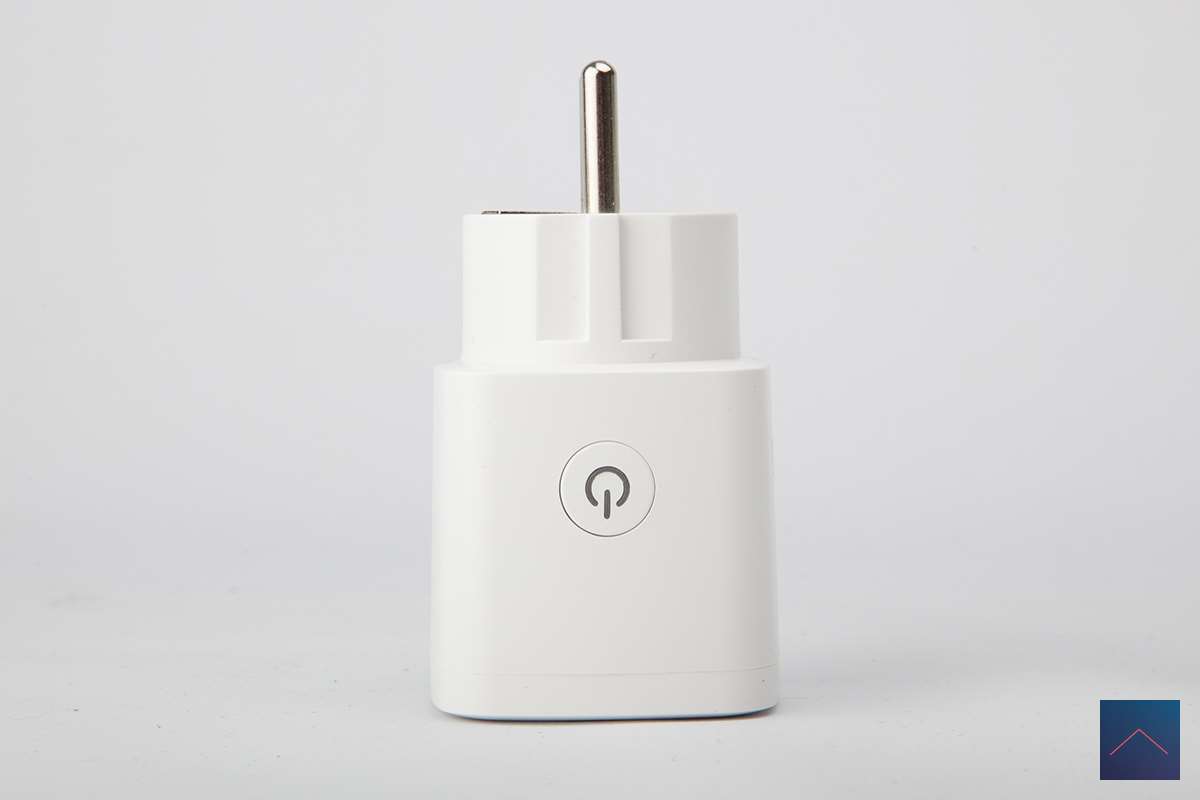
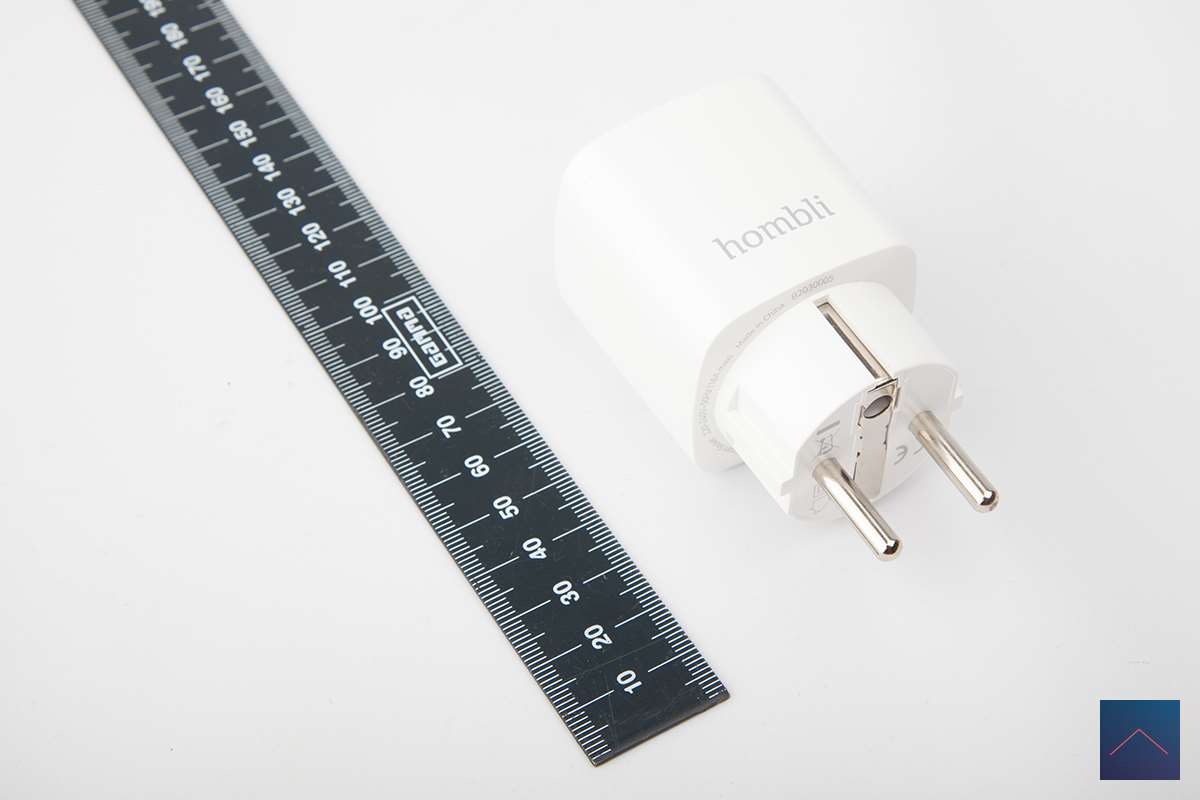
The quality is excellent, feels solid and it is not round like other brands, but square with very rounded corners which still keeps it nice and small. The on / off button has a built-in LED which lights up red when it is on. Speaking of this button, I find it a bit strange that this button is on the side. You would rather expect it to be at the top. Not a showstopper of course.
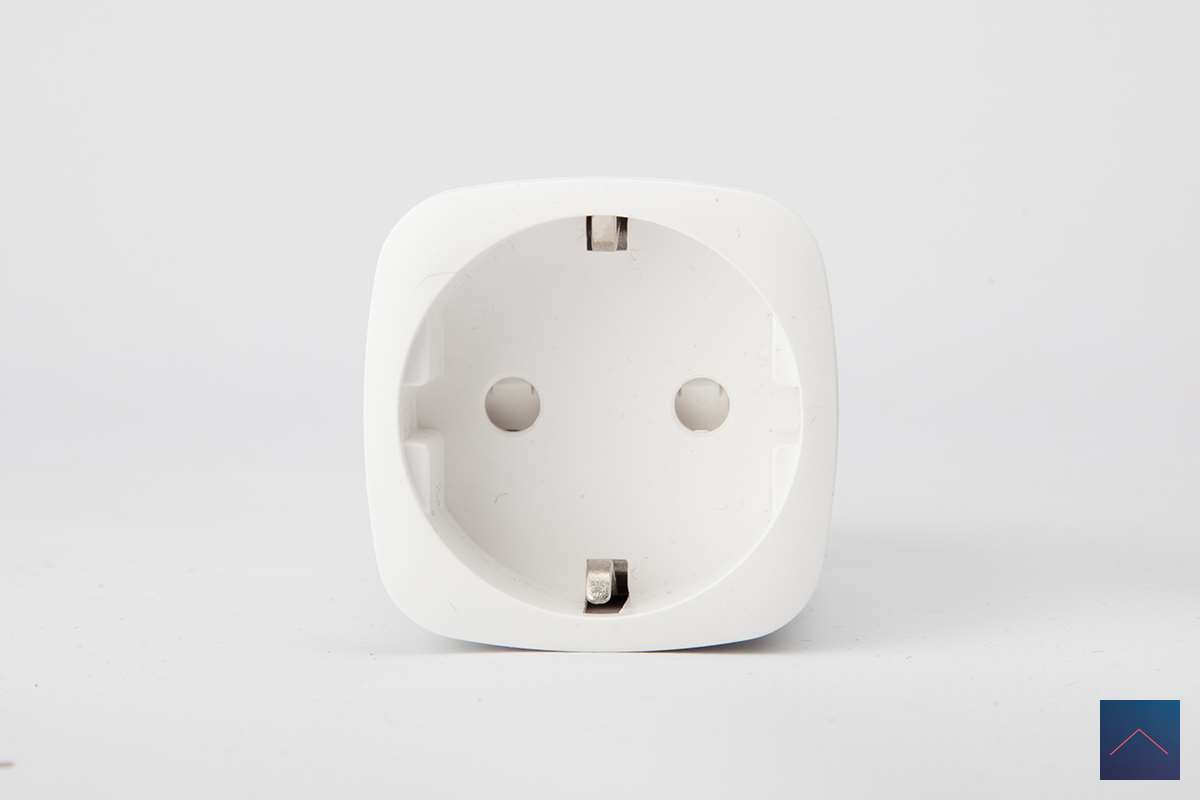
By the way, if you want to use multiple plugs next to each other, this is no problem, the design has taken this into account. Do you only have 1 socket available? Then Hombli also has a double version.
It is for sale for € 24.95 which makes it reasonably priced compared to other intermediate plugs.
Appearance:
Size:
What do you get:
- Adapter plug
- Instruction manual
Add in the APP
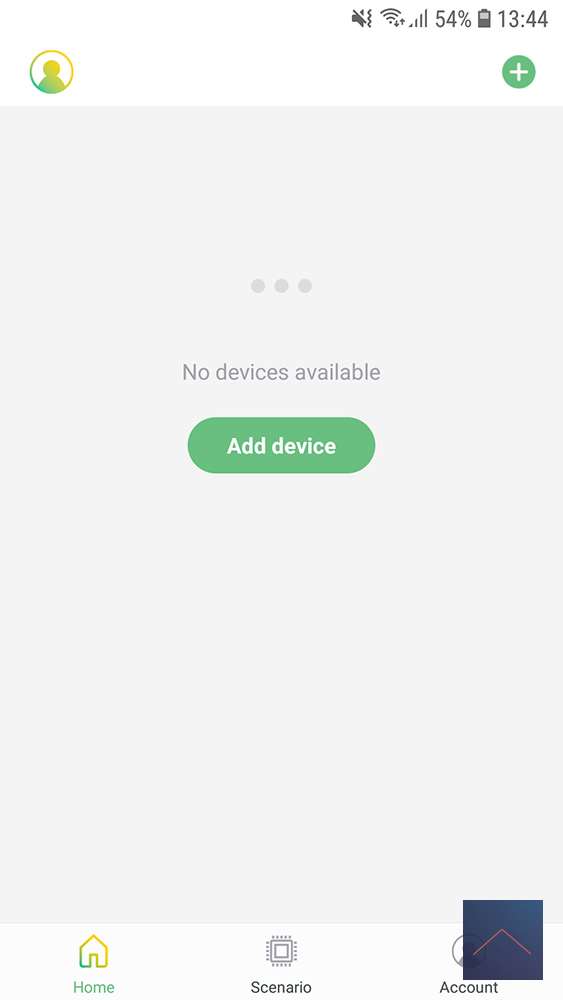
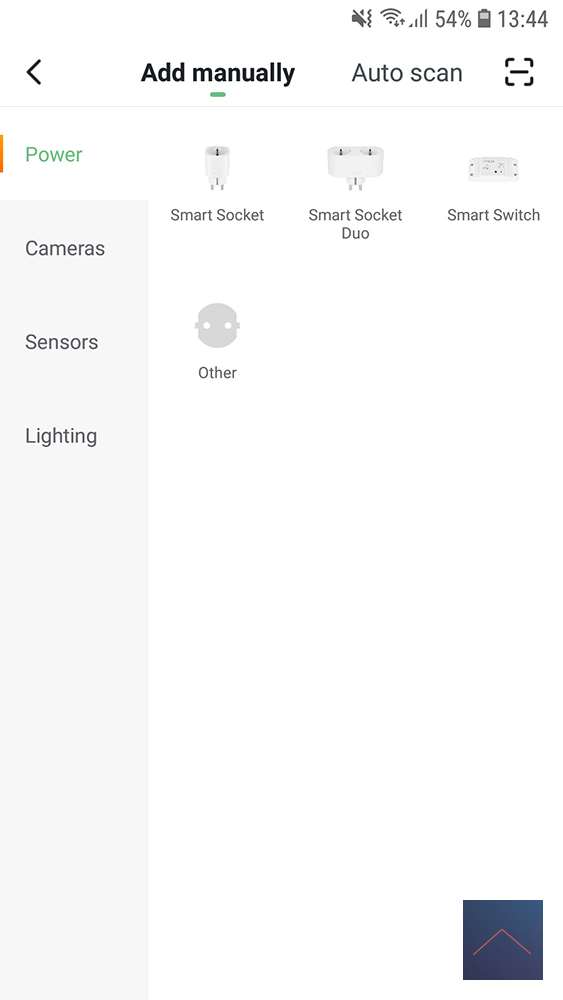
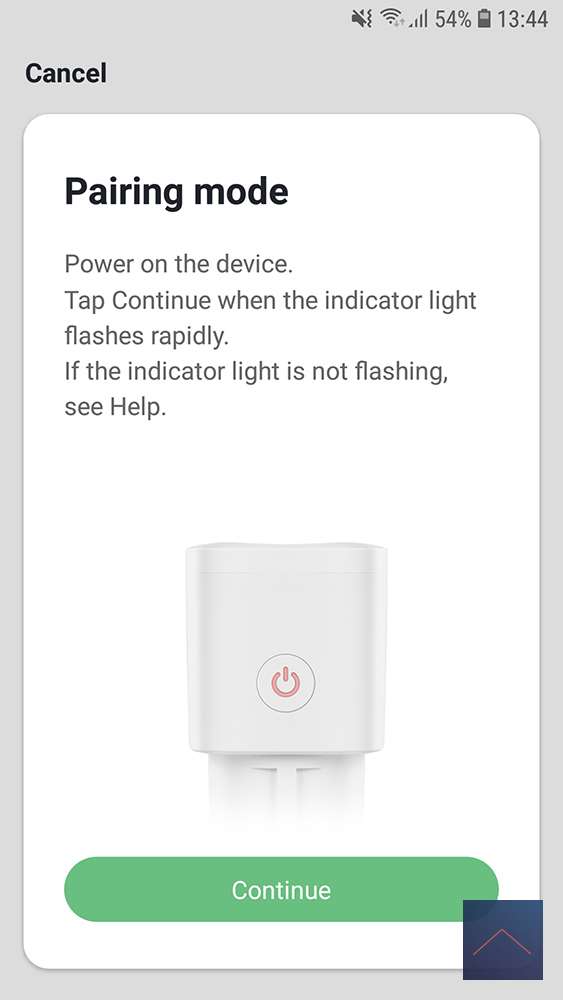
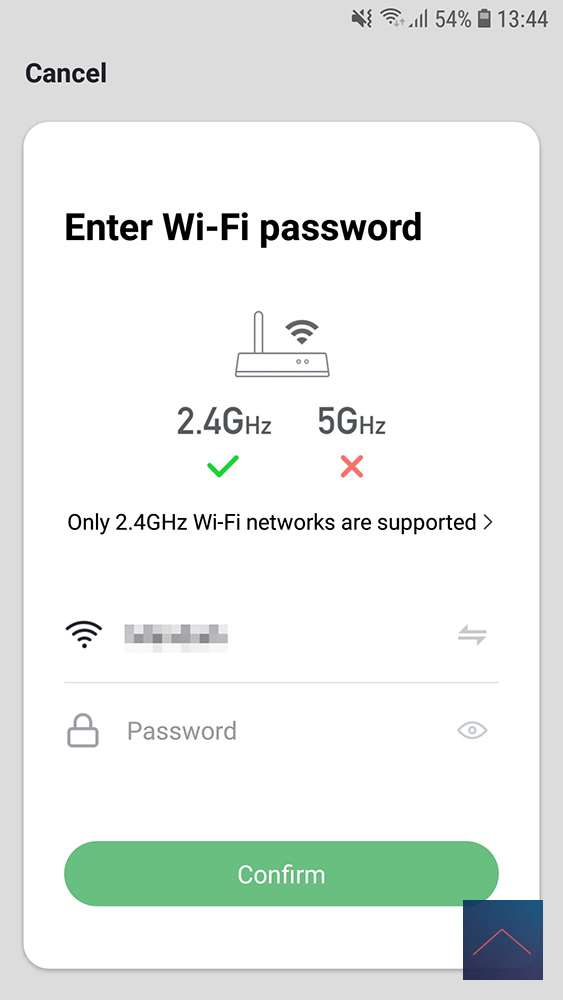
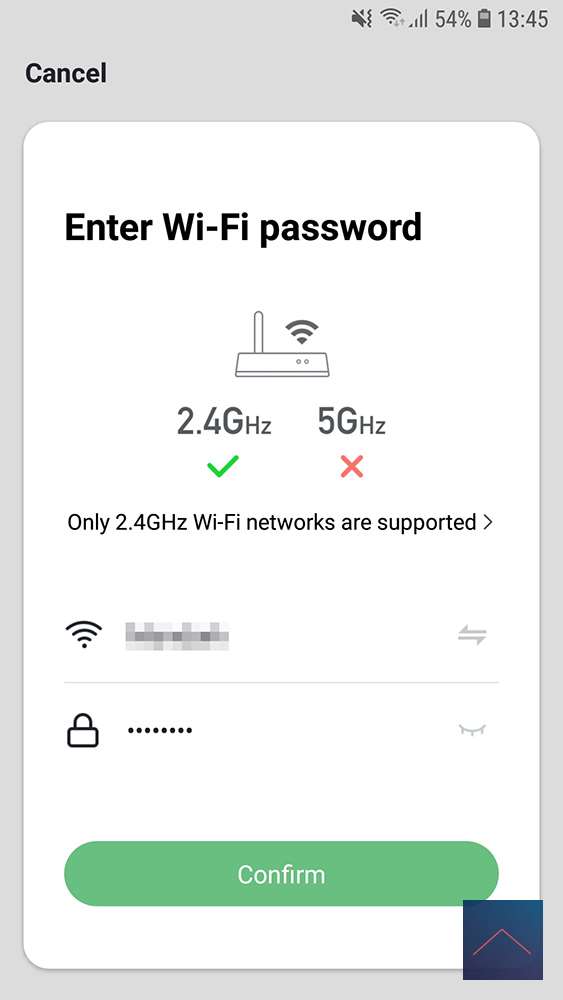
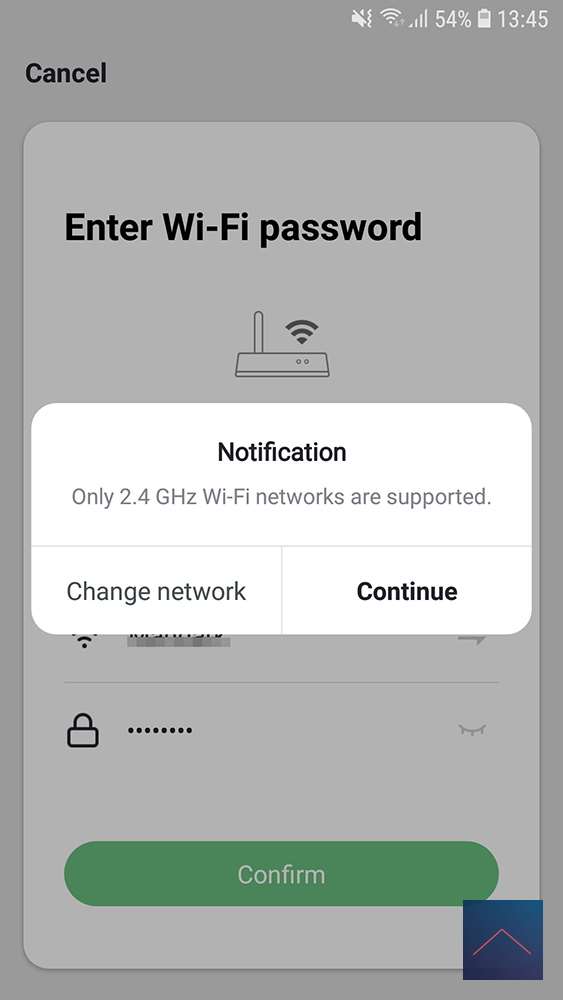
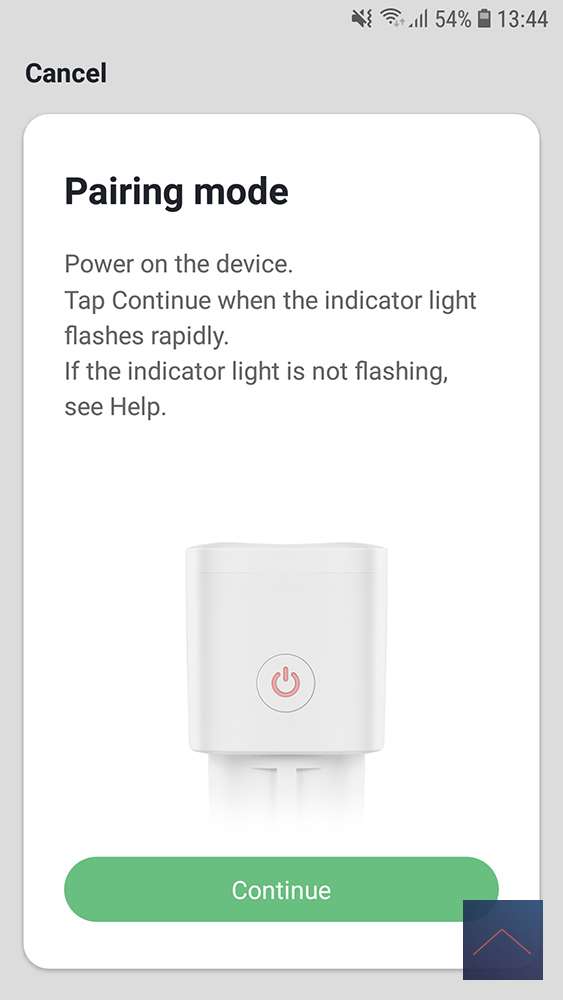
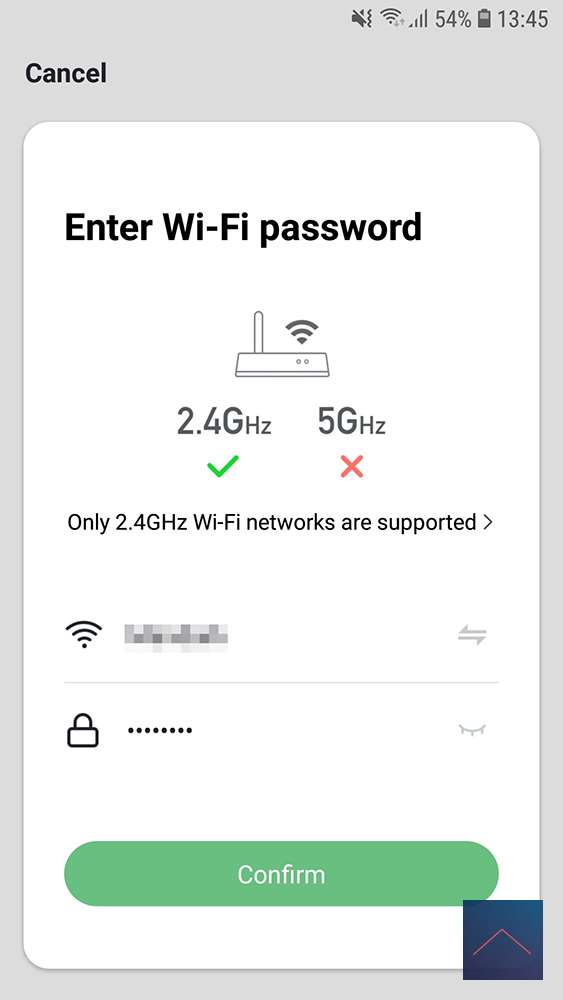
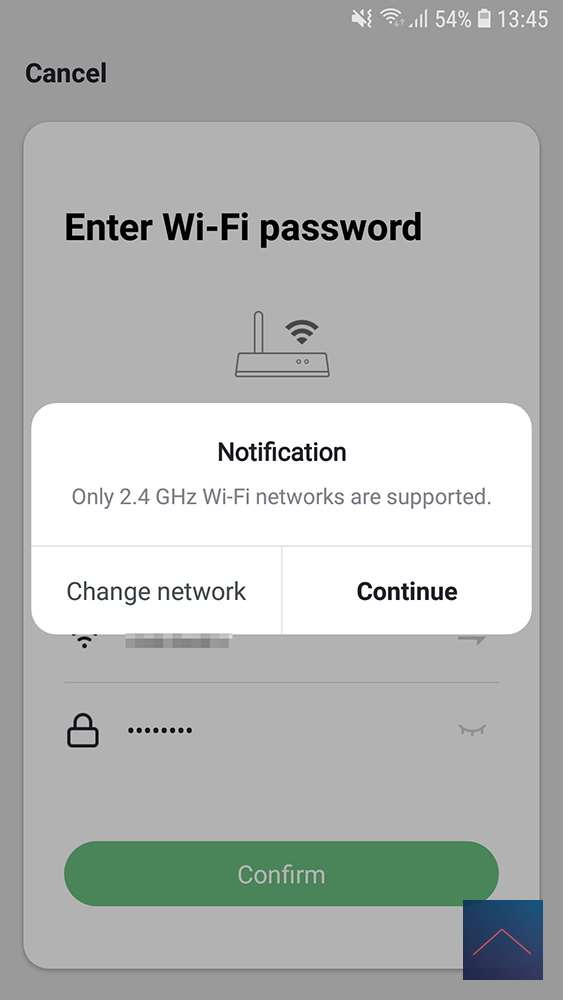
We open the Hombli APP and choose “Add device” in the main screen. We are now given a choice of which Hombli product we want to add. We select the "Power for the Smart Socket" and get to read the manual with which steps we have to perform. Good, the Smart Socket is plugged in and the indicator is flashing. Now we have to indicate which WiFi connection we want to use and the password for it. Now there is a message that only 2.4 Ghz WiFi networks are supported. A bit of a shame as 5 Ghz has been around for a while. On the other hand, the 2.4 Ghz range is slightly better. Which can help in a house with only 1 WiFi point.
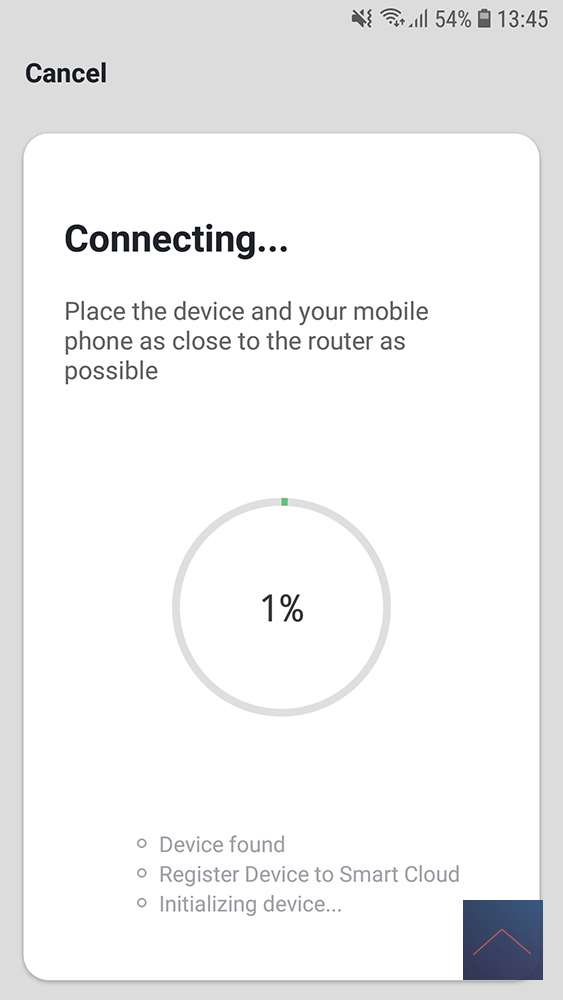
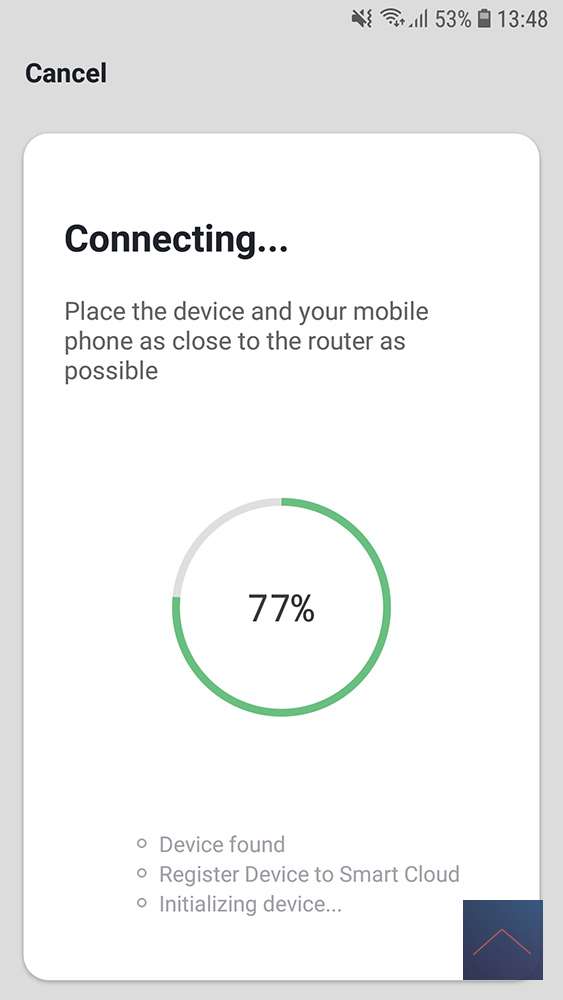
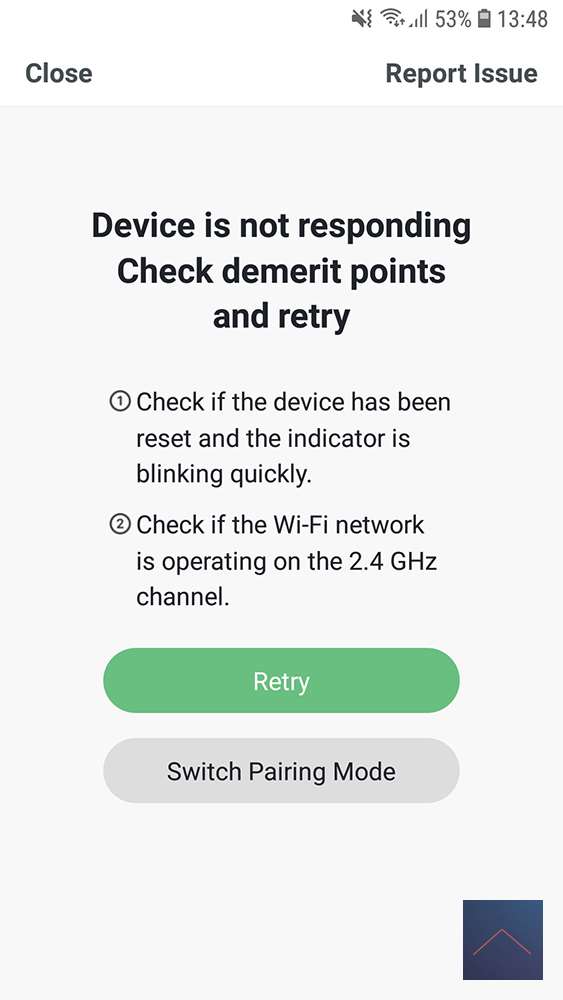
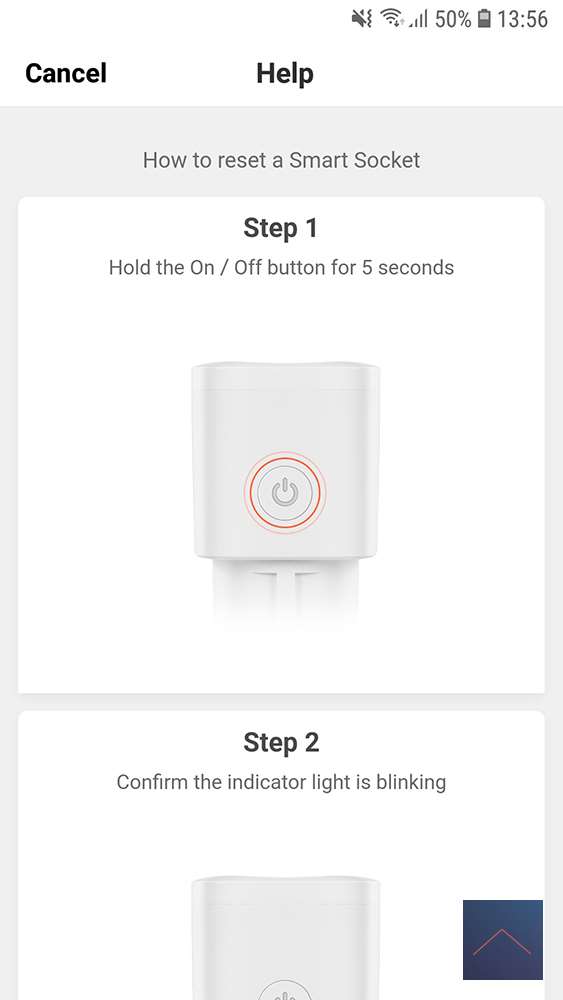
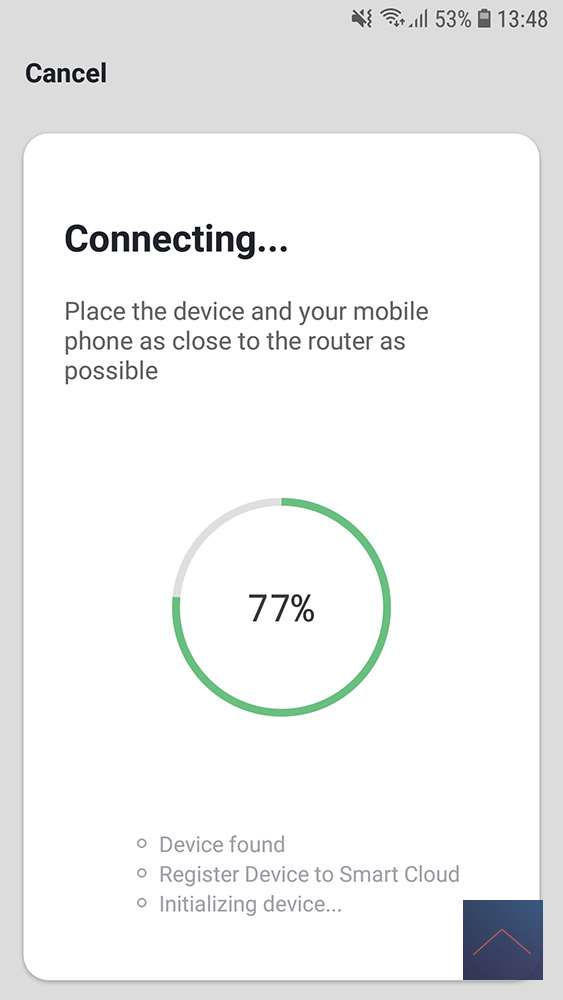
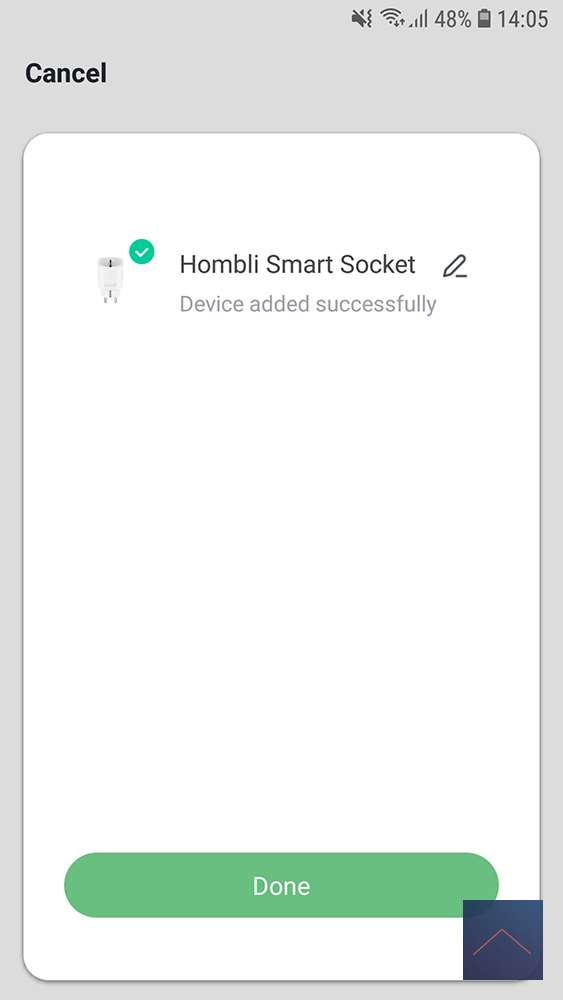
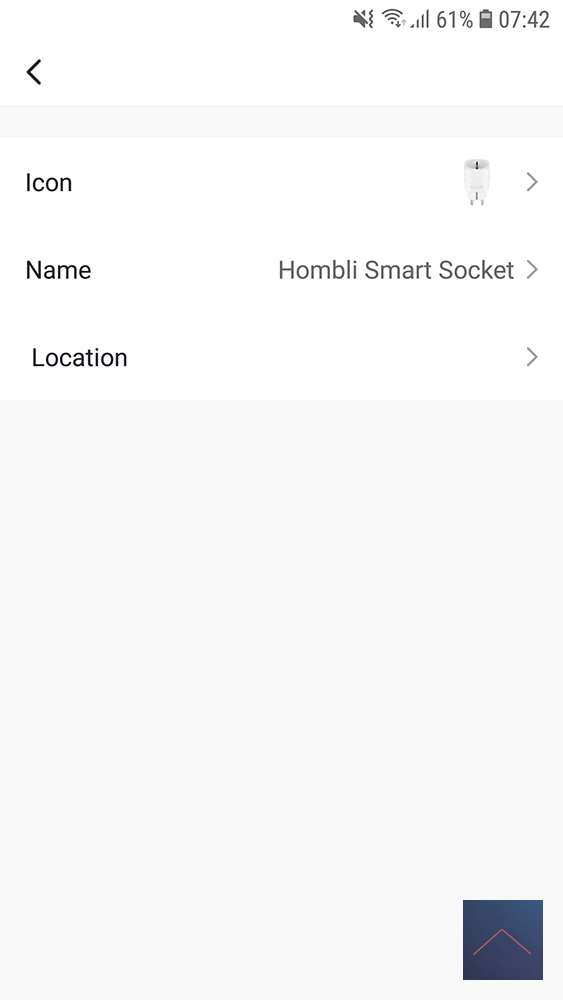
In the next step, the APP will search for the Smart Socket. After waiting for a while, the APP indicates that it cannot find the Smart Socket. I select Retry and first get a short guide on how to make the indication light flash. It really blinked, but okay, we do it again and select Continue. We arrive in the same screen as before, we have to enter the WiFi data again and the search starts again. Unfortunately nothing found… I unplug it and wait a while and then plug it back in. It will automatically flash again as it has no settings yet. We carry out the step-by-step plan again and the APP will search again. Because I have the feeling that it is not going to work again, I just press the on and off button of the Smart Socket for 100% and suddenly the App sees the Smart Socket and indicates that it has been added successfully. Strange but it worked, I hope the other products are a bit easier. I click on “Done” and immediately go to the main screen of the Smart Socket, I go back to the main screen and there is the Smart Socket with a nice photo icon of the product.
Overview in the App
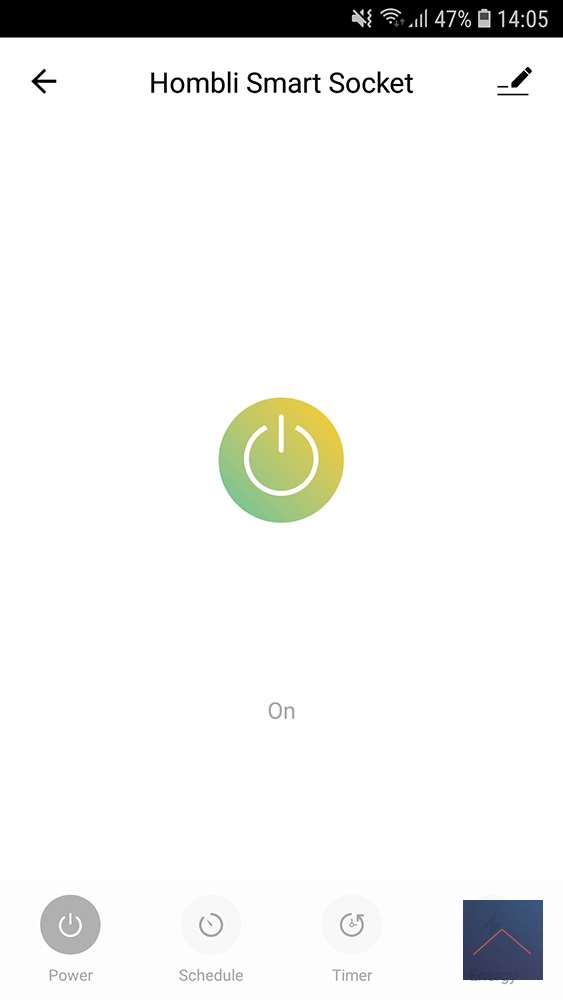
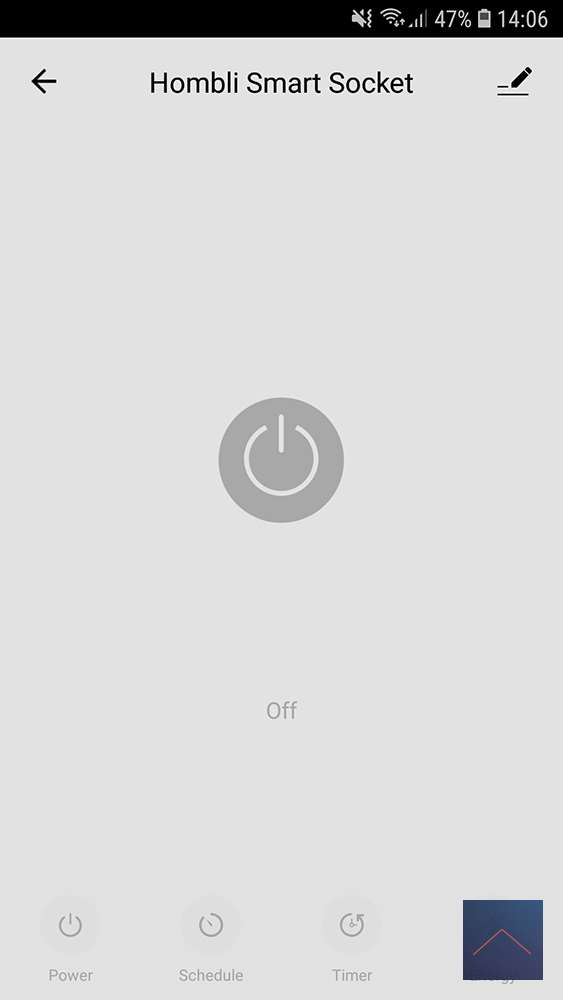
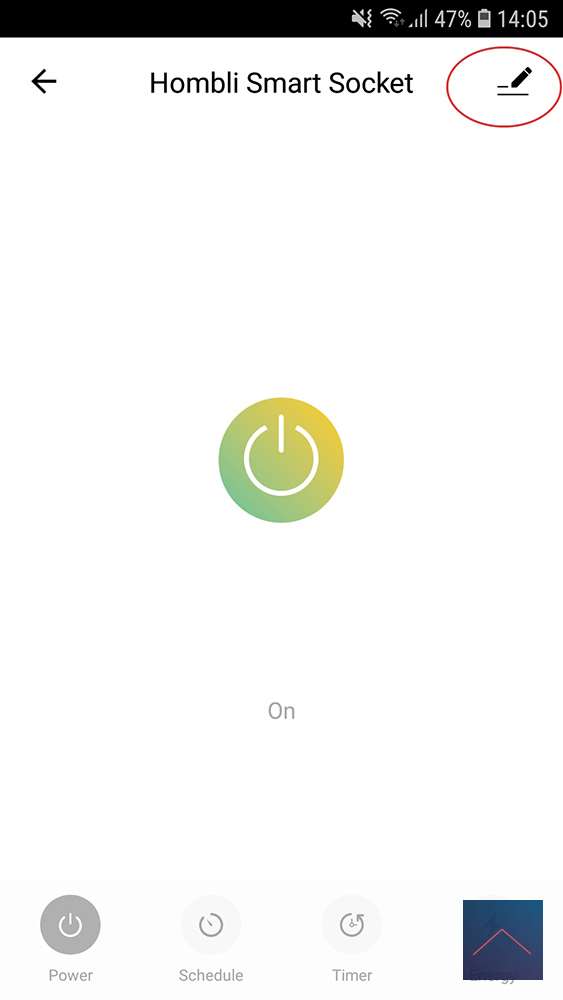
Now that the plug is installed, we will show all the possibilities in the APP. In the main screen we see the device “Hombli Smart Socket” with an on and off button with which we can operate the whole. If we click on the name, we enter the main screen of the Smart Socket and there is a large on and off button in the middle, which you can also use to switch the power supply on and off.
At the bottom you have 4 option; Power, Schedule, Timer and Energy. We are in the Power tab, which is only visible when the socket is on.
Schedule
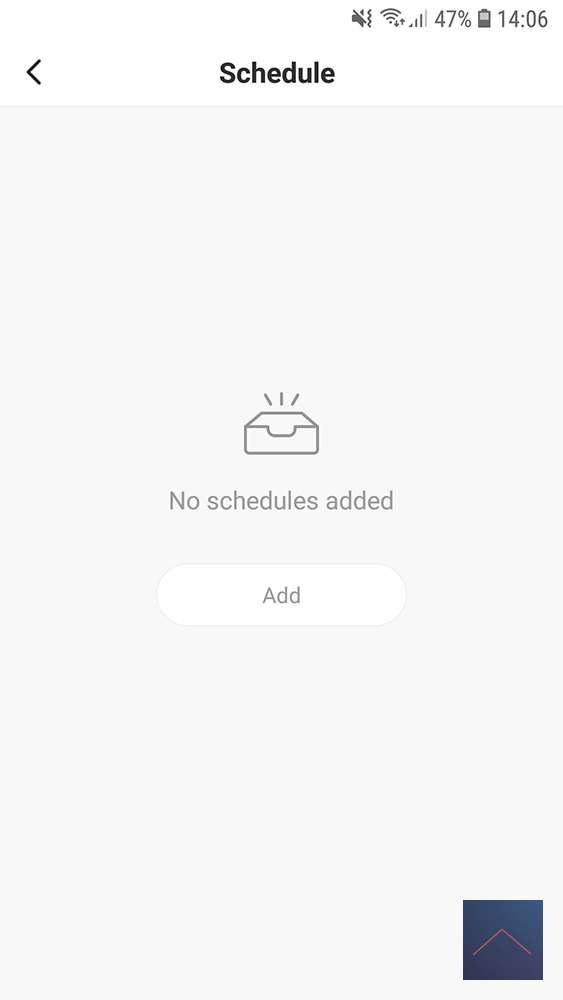
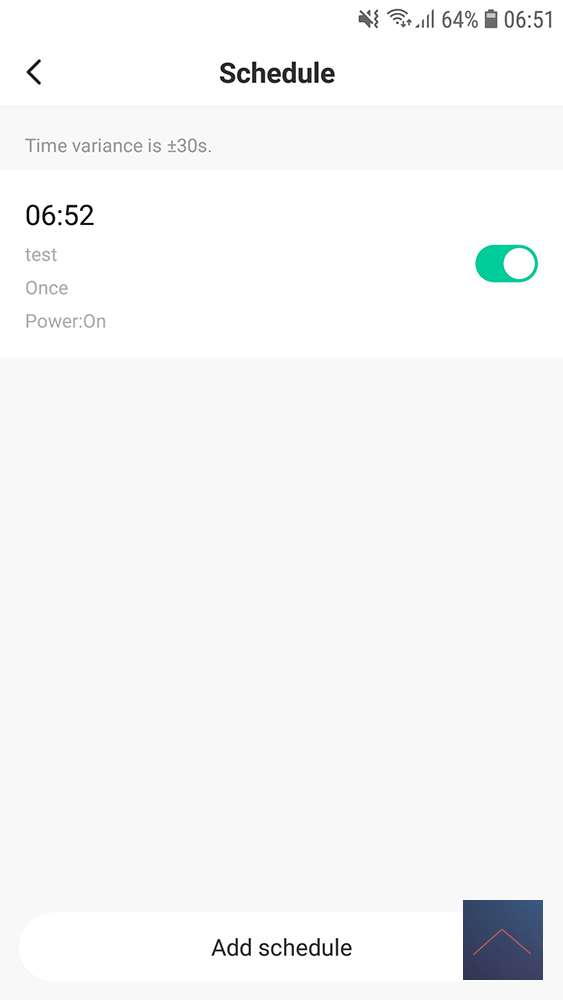
In the Schedule tab we can create different time schedules. You select the time and at Repeat you can choose once (Once) or which days of the week. At Note you can put a note or name and you can switch the notification on or off below. Now you only have to determine at “Power” whether the power should go on or off. You save it and this schedule will then appear in the list, not under a name but at the time. The nice thing about this schedule is that you put this on the Smart Socket itself and not in the cloud, so if your internet connection is lost, the schedule will continue to work.
Timer:
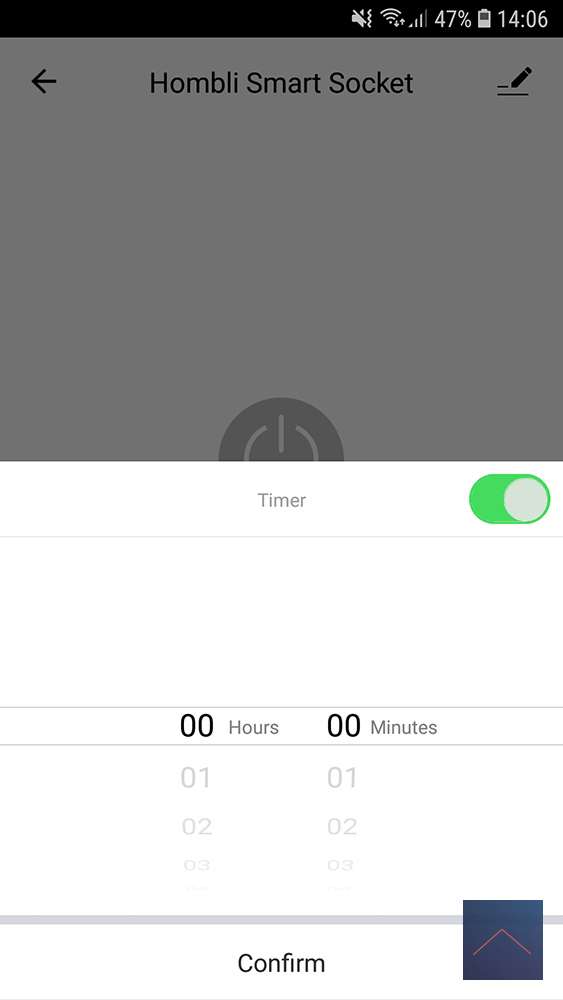
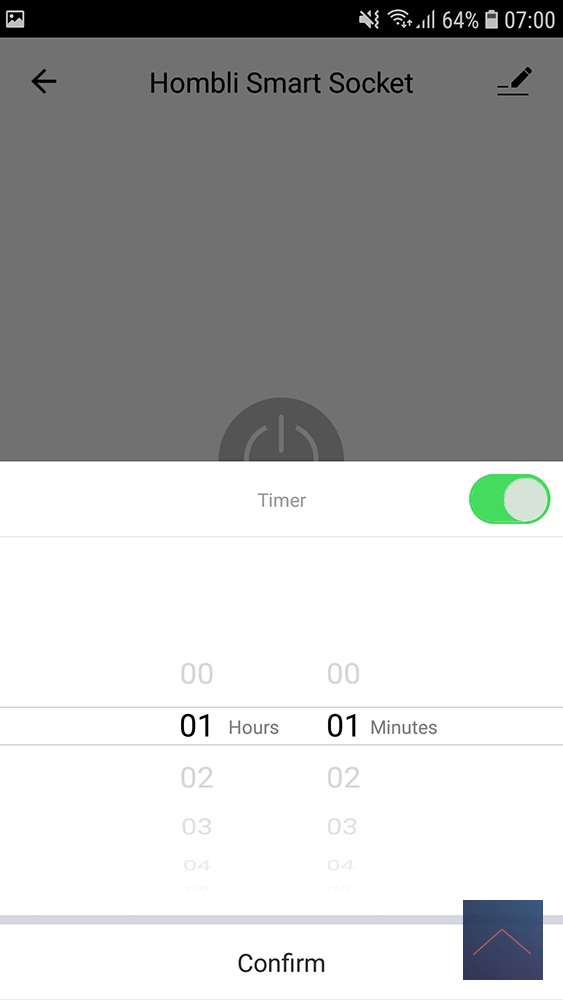
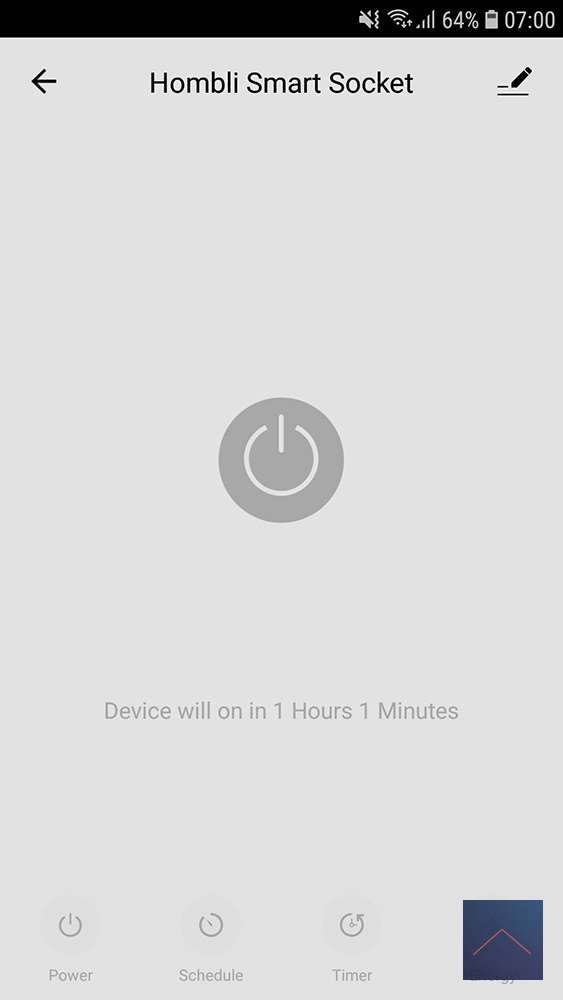
The Timer can be used to switch the socket on or off over a certain period of time, switching on or off depends on the position in which the socket is currently located. So if the socket is off, the Timer will turn on the socket and vice versa. You select the hours and minutes with a maximum time of 23 hours and 59 minutes. For the test I set the timer to 10 minutes and in between I had the schedule switch the socket on and off once, unfortunately the timer was no longer visible on the main screen and the socket did not turn on after 10 minutes. So keep in mind that if your schedule turns your socket on or off during the time of the timer, your timer will expire.
Energy:
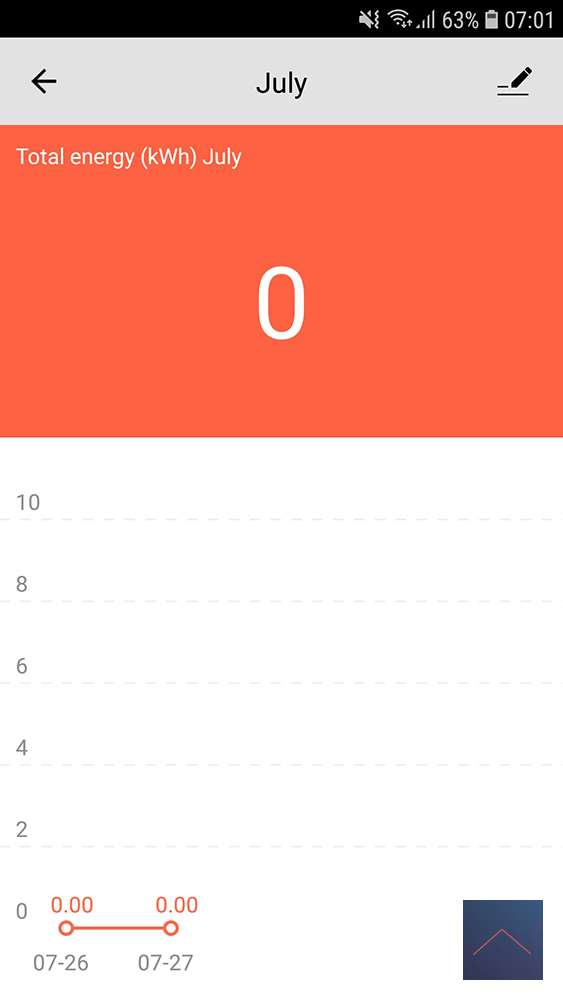
At Energy you can see what the usage is today in kWh, below you can see the current (mA), Power (W) and Voltage (V) at the moment. Below that an overview of the consumption per month, if you click on a month you will get an overview of the consumption of the days in that month. I cannot determine how long this information is held on the socket. It is also unfortunate that I cannot copy this information to use for certain consumption calculations.

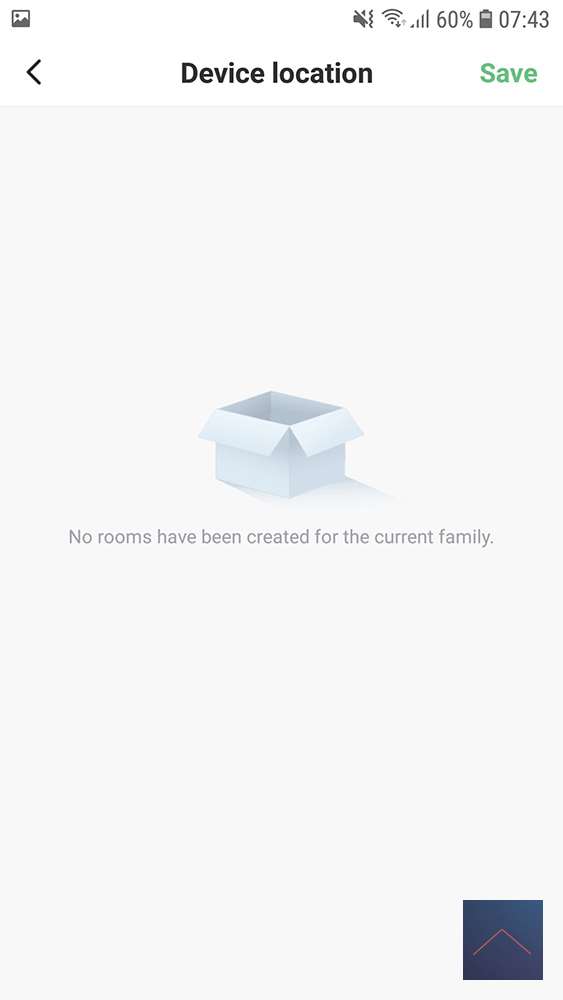
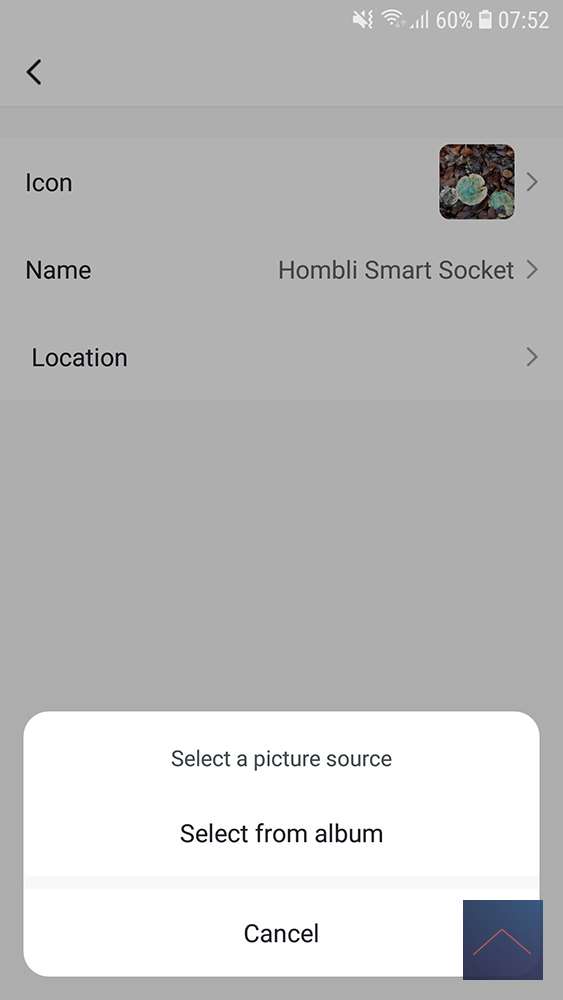
Back in the main screen of the socket we see an icon of pen with lines in the top right corner, if we click on it, we enter the settings of the socket. Unfortunately this is not indicated on the page, because this page has no name at the top.
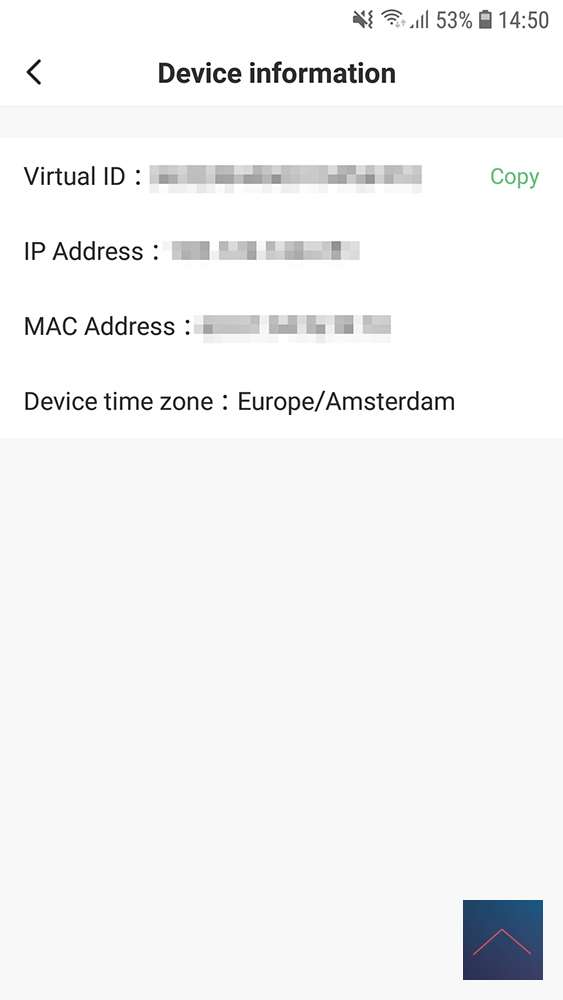
Back in the settings screen we select Device information and see the different network names and the time zone, which I cannot adjust.
With Shortcuts and Automation we see an overview in which shortcuts and scenarios the socket can be used.
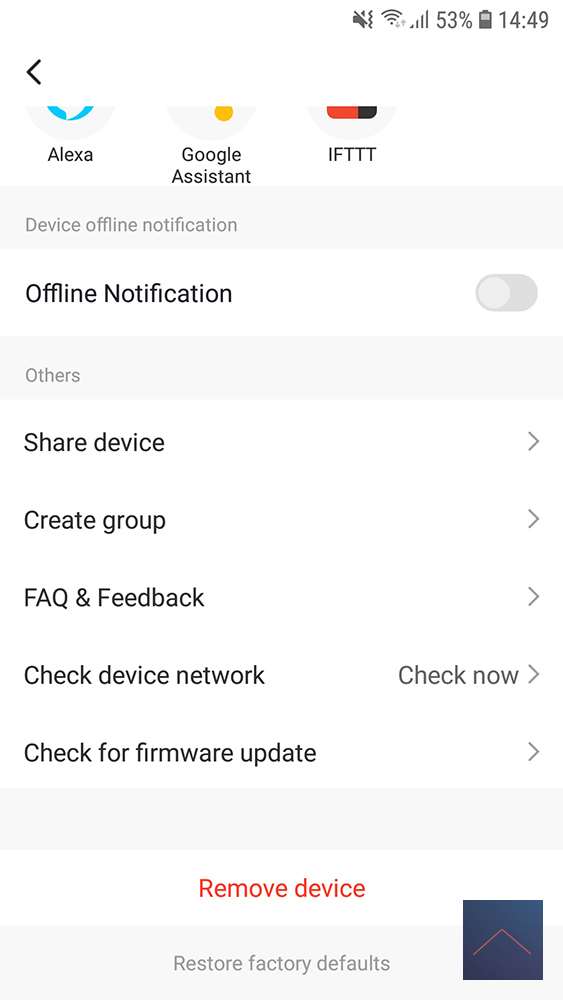
Third-party control indicates which things you can link to, I expect this list to grow over time.
Below that, Offline Notification is a good option to receive a message when the Hombli APP can no longer find the socket.
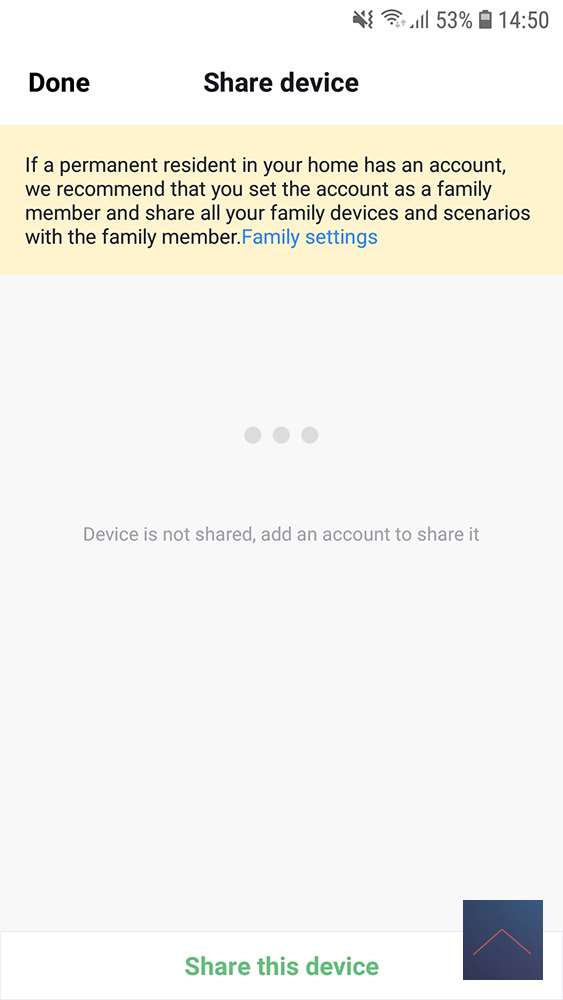
With Share devices you get an overview of the family members who have access to the socket. At the bottom immediately the option to share the socket by clicking on Share this device.
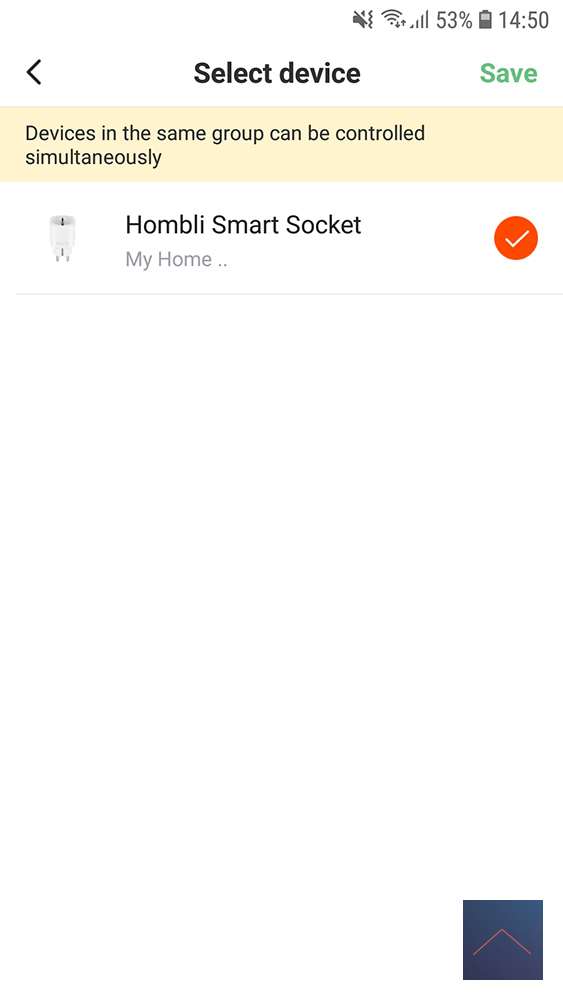
Create group gives you the option to put different devices in a group so that you can operate them all at the same time.
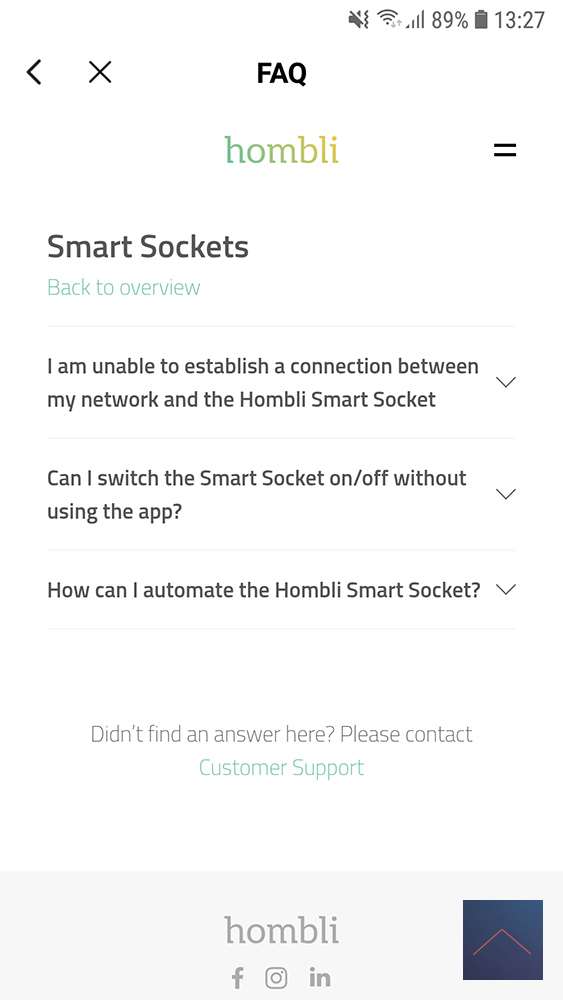
The FAQ will take you to the page with frequently asked questions about the socket.
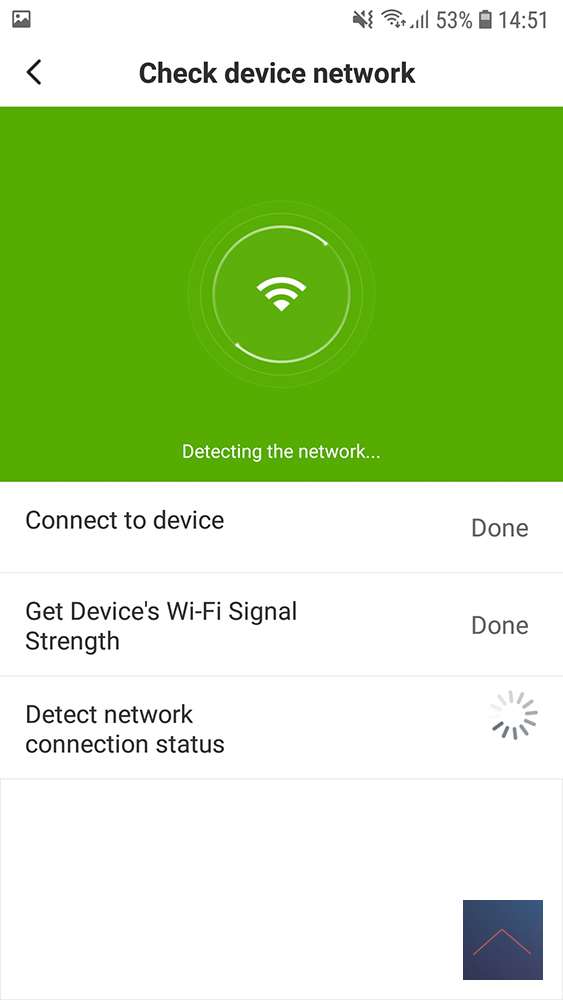
With Check device network you can do a network test to see how the connection between the socket and the WiFi connection is. Glad this option is included.
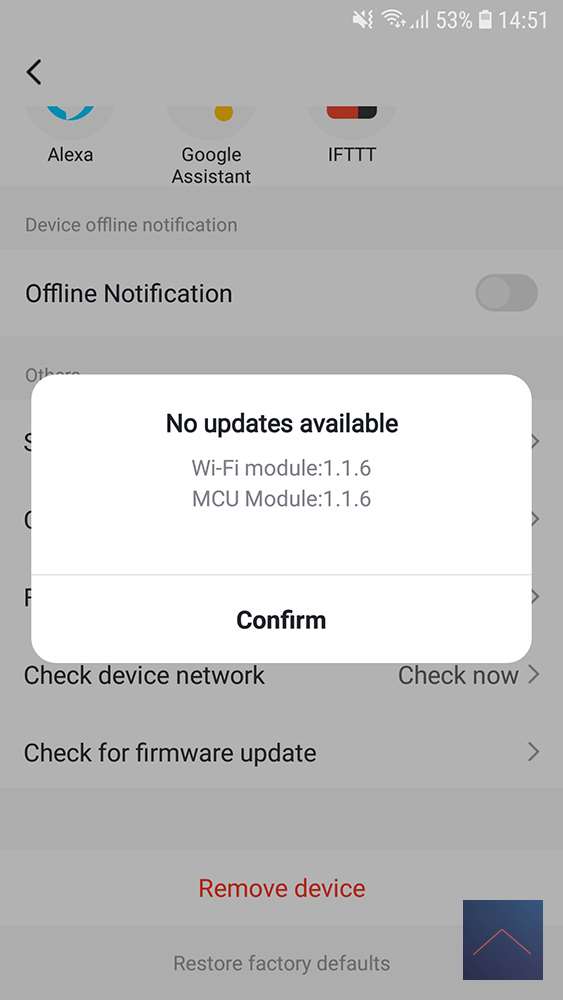
Below that you can use Check for firmware update to see if you have the latest software on the socket. There is no option to do an update automatically or manually.
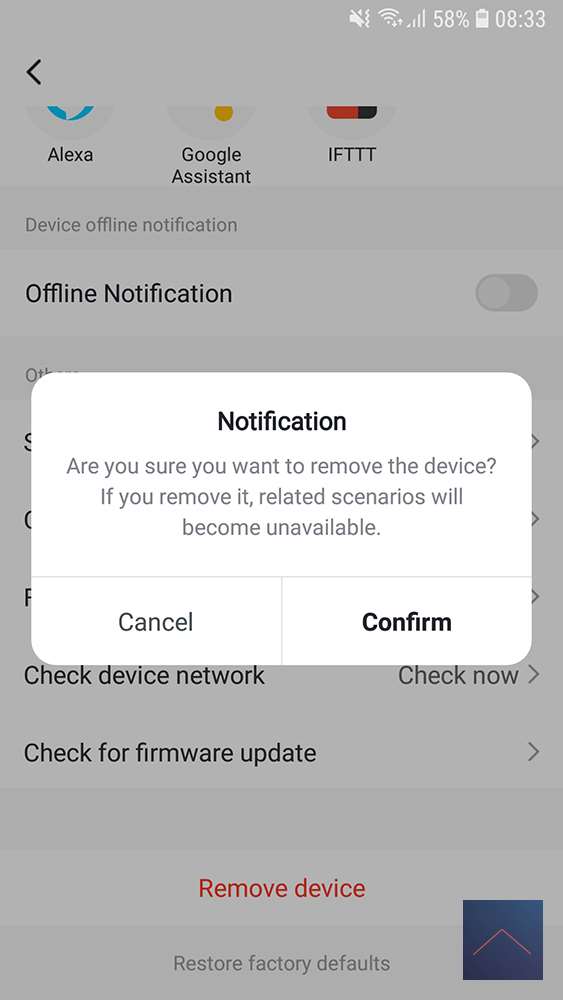
Finally, there is the option to remove the socket from the Hombli App by selecting Remove device. Fortunately, you should confirm this choice so that you don't accidentally do it.


