Review
Hombli Set
Automate:
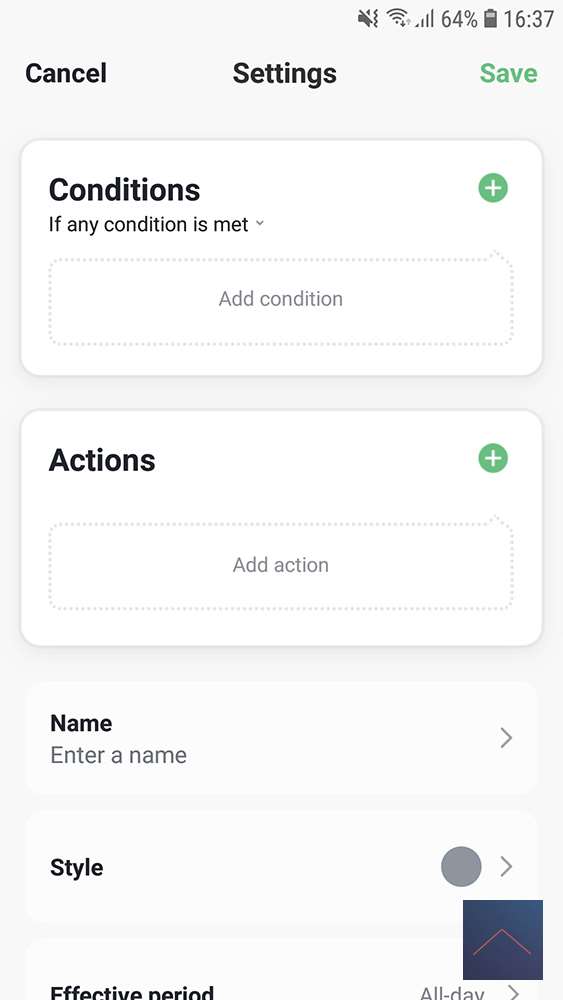
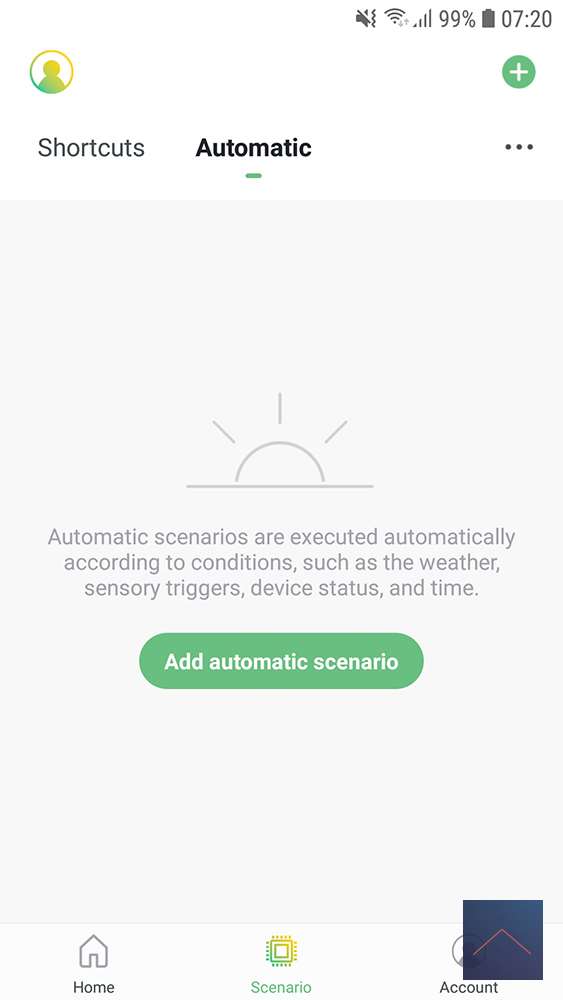
If you want to make your home really smart, you also need to be able to automate things. With the Hombli, Scenario has 2 options for automation: Shortcuts and Automatic. We will first make a Shortcut by clicking on the Add Shortcut in the shortcuts tab of Scenario, this is also possible via the + at the top right of the screen.
Add Shortcut
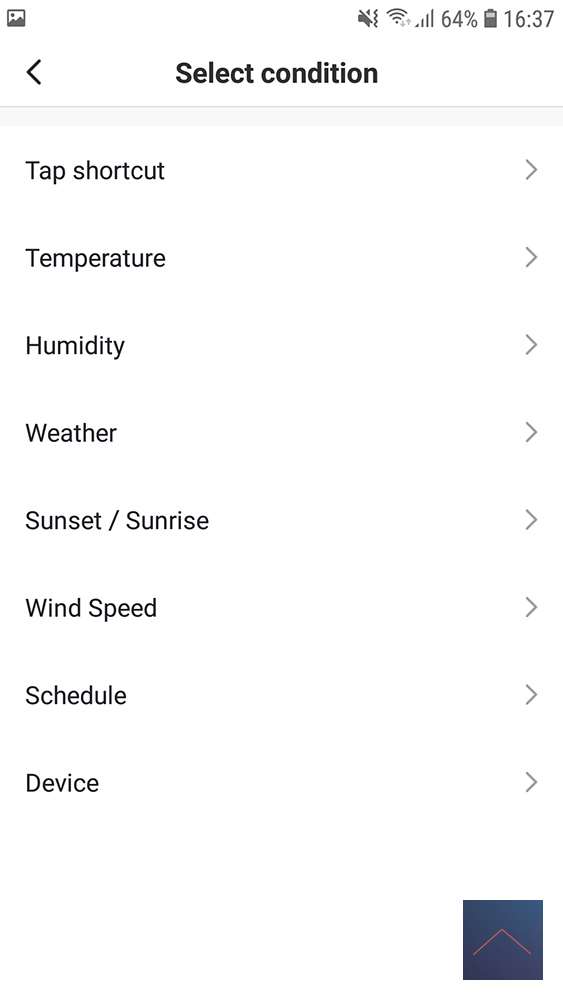
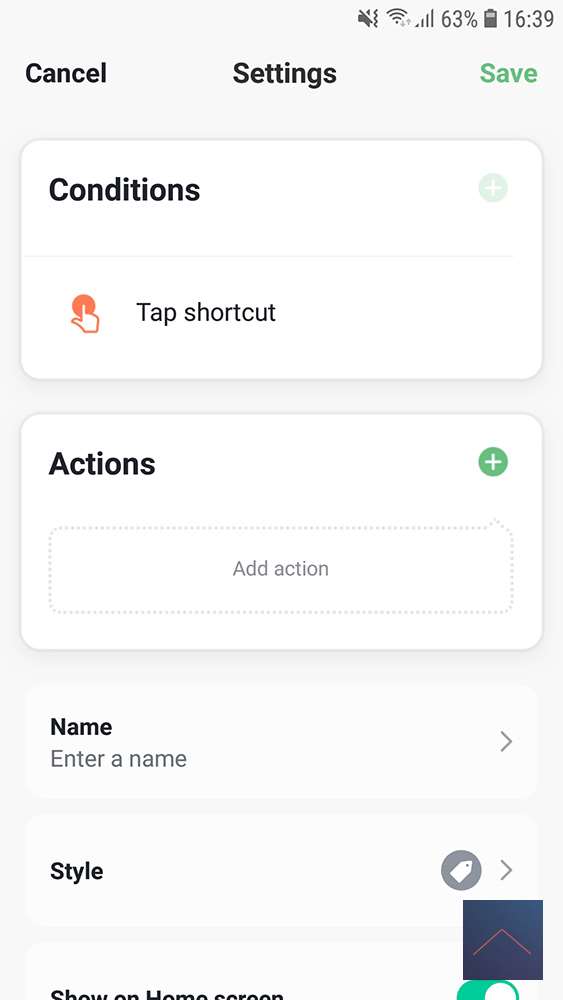
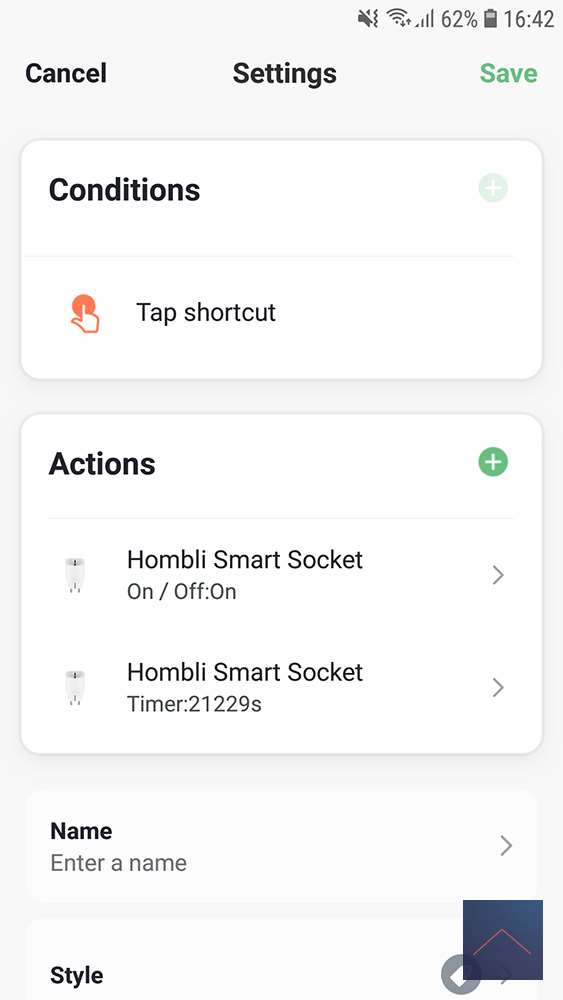
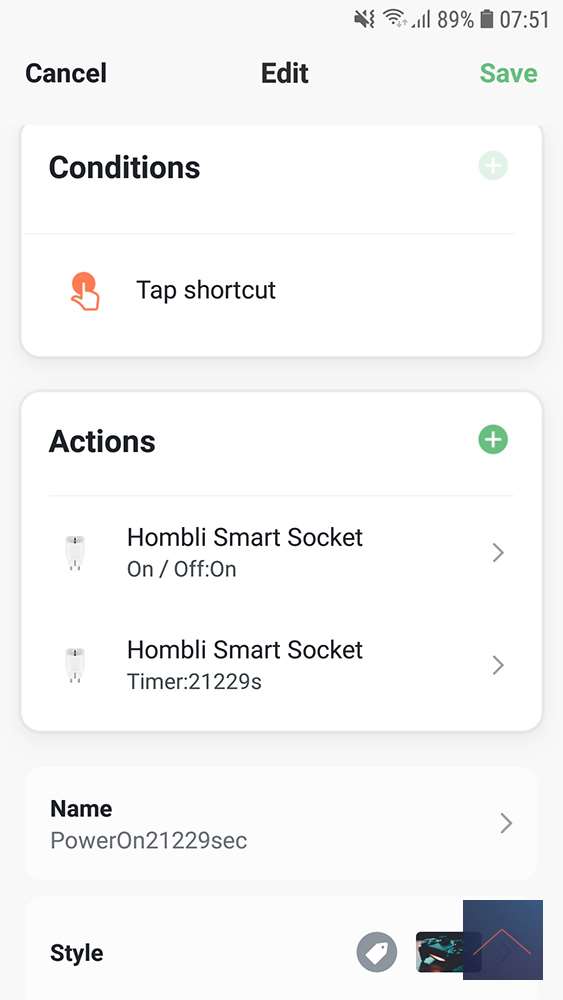
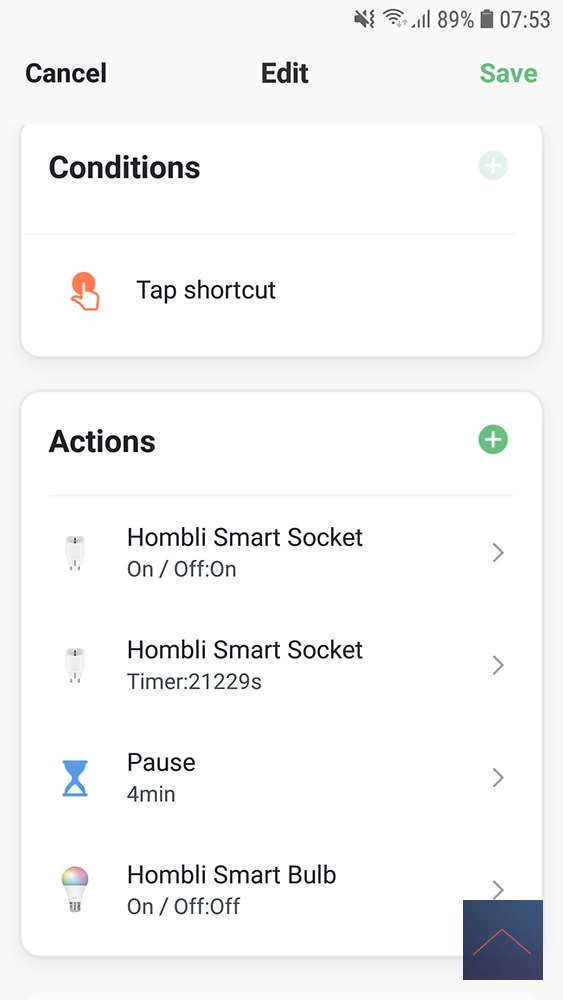
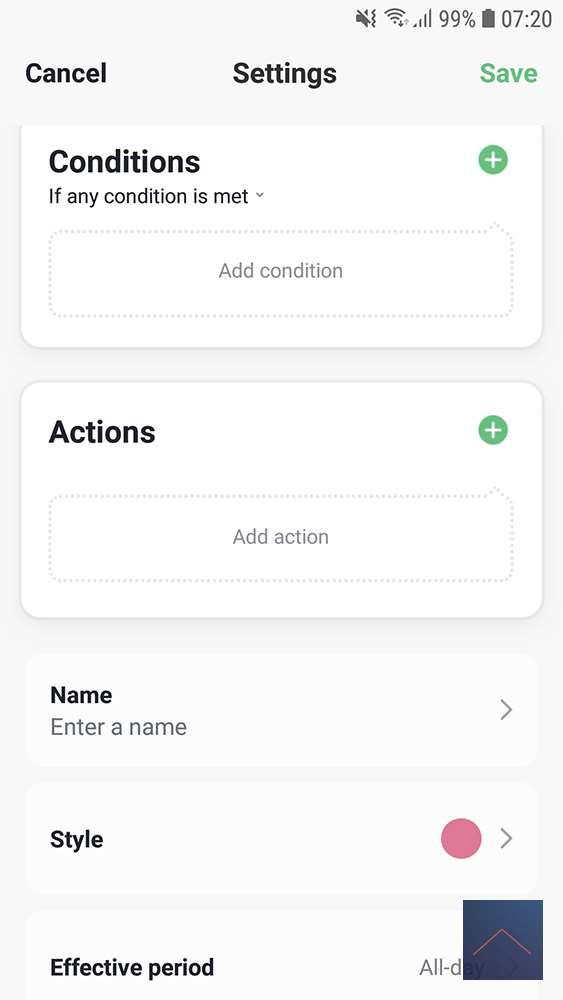
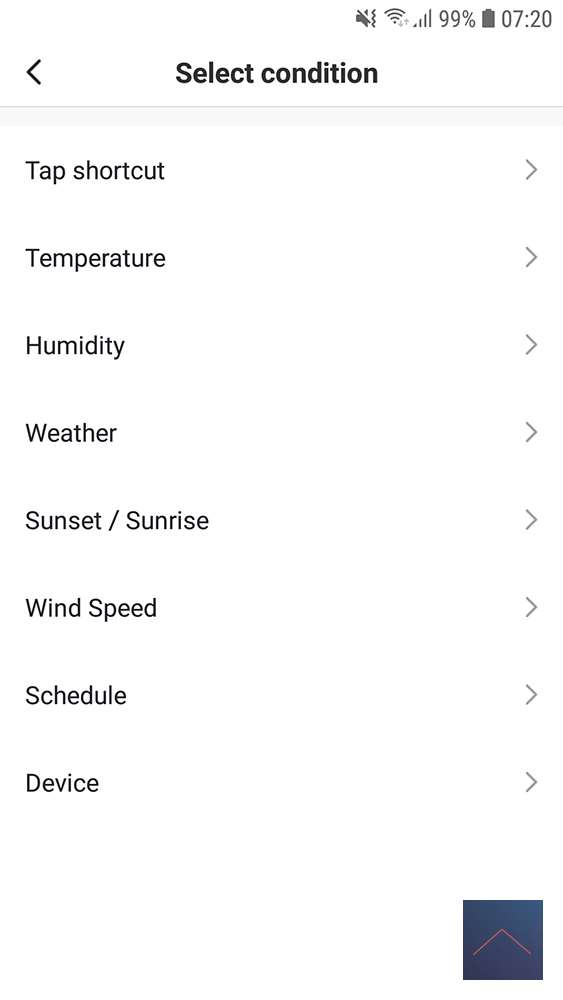
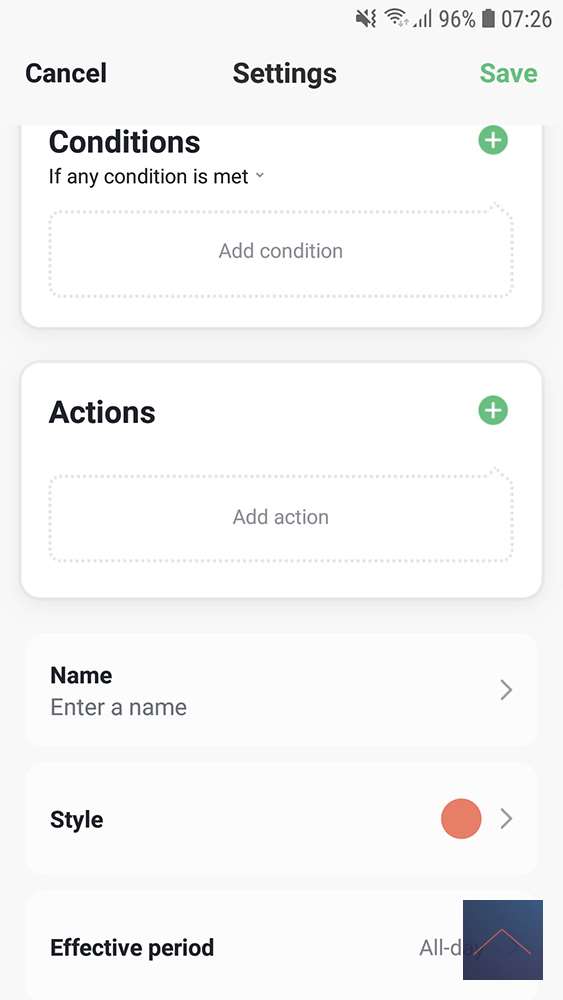
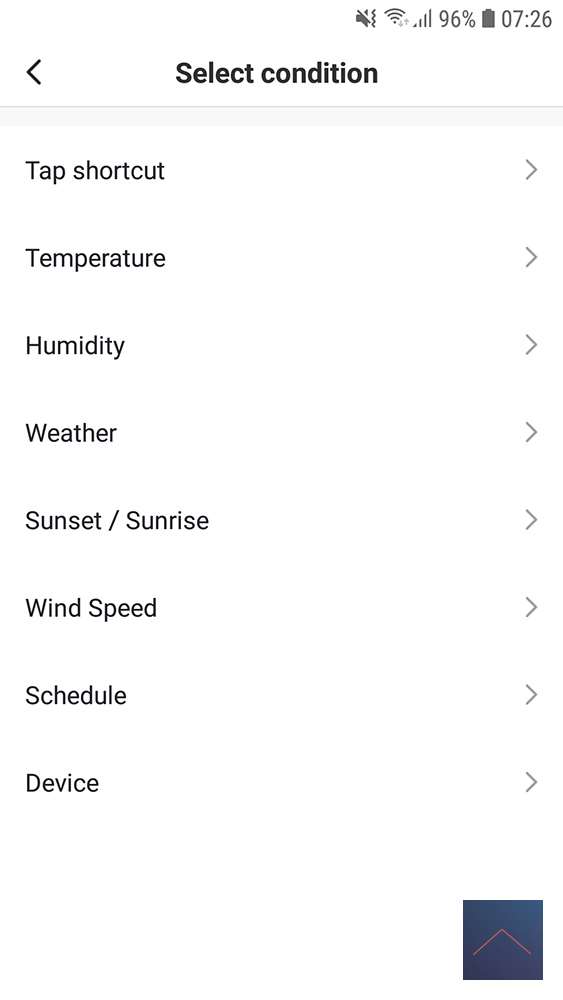
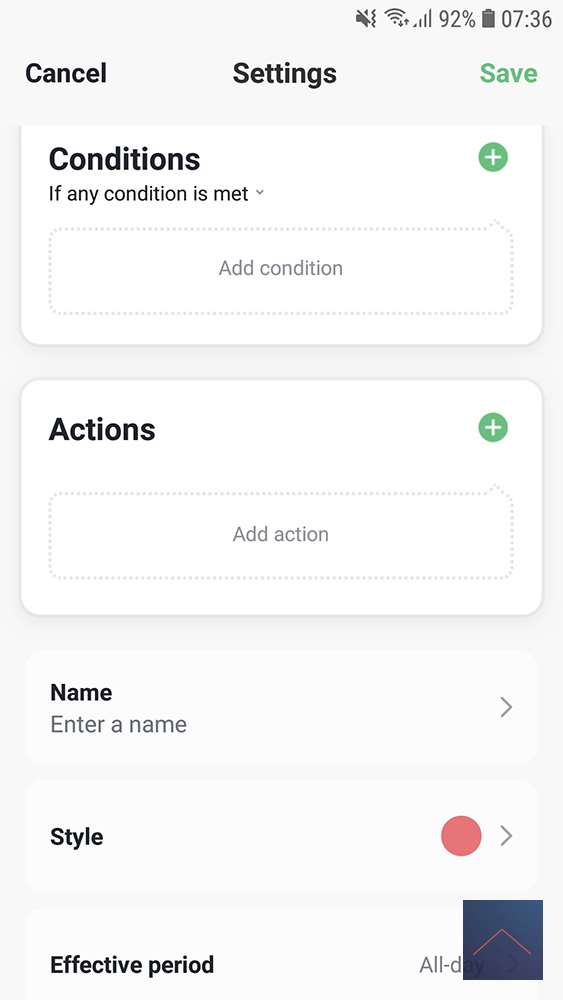
First you add a condition at Conditions. You now have several options, but you have to choose Tap shortcut, the other options are for Automatic. (why those other choices?)
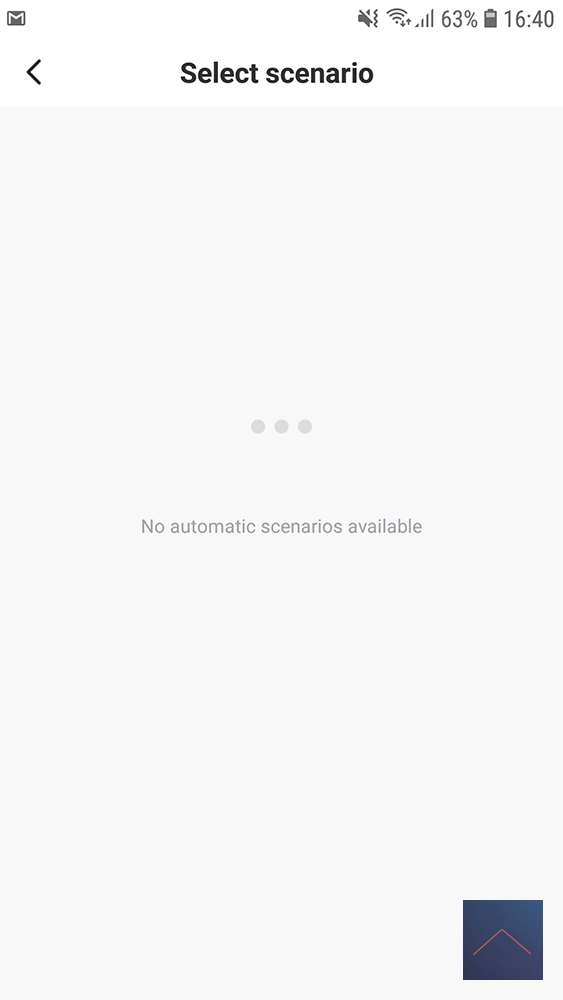
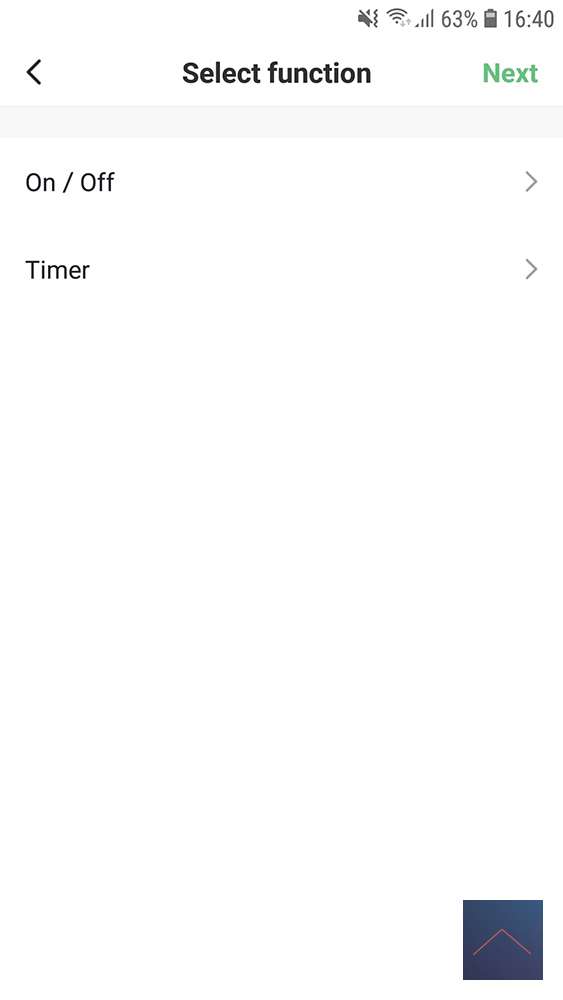
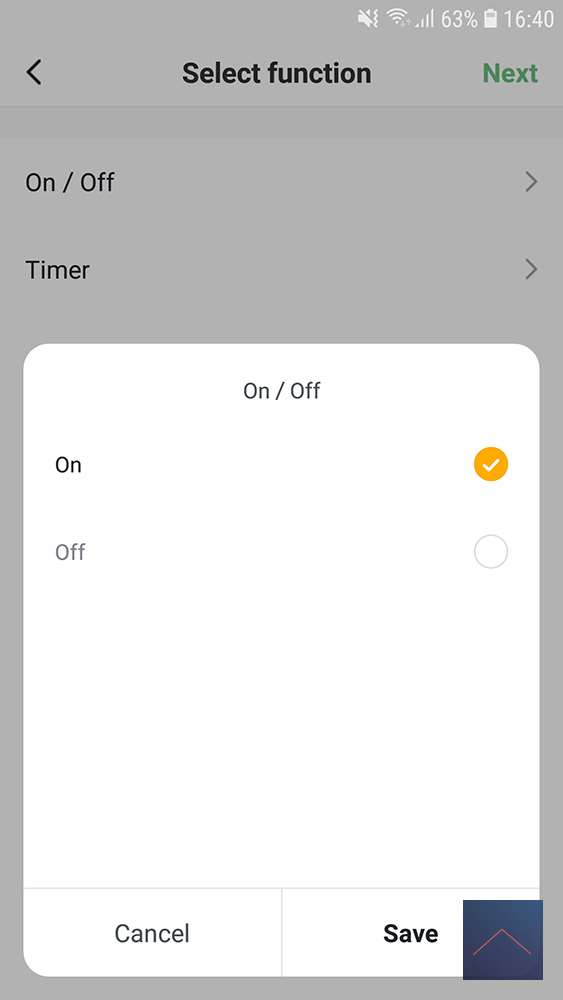
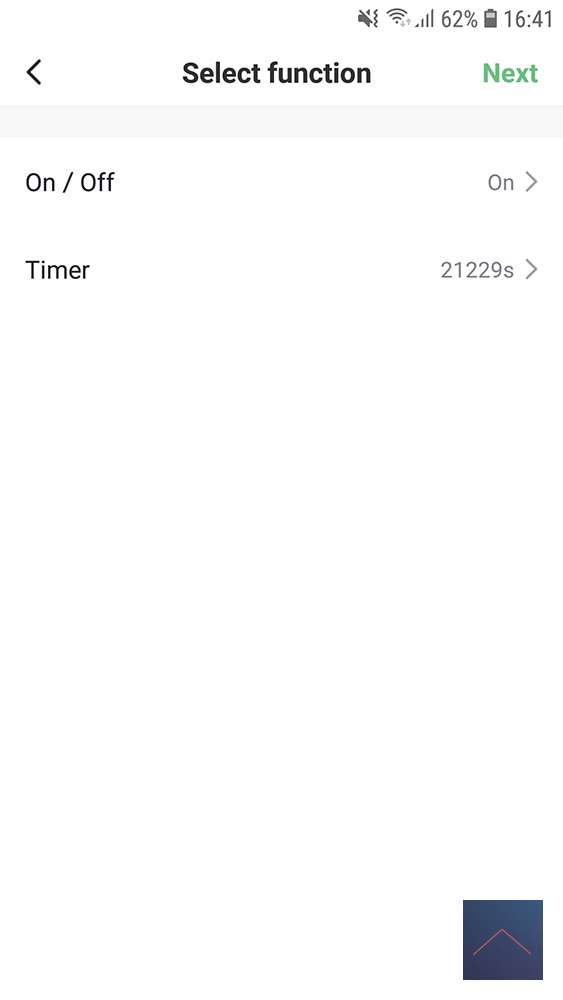
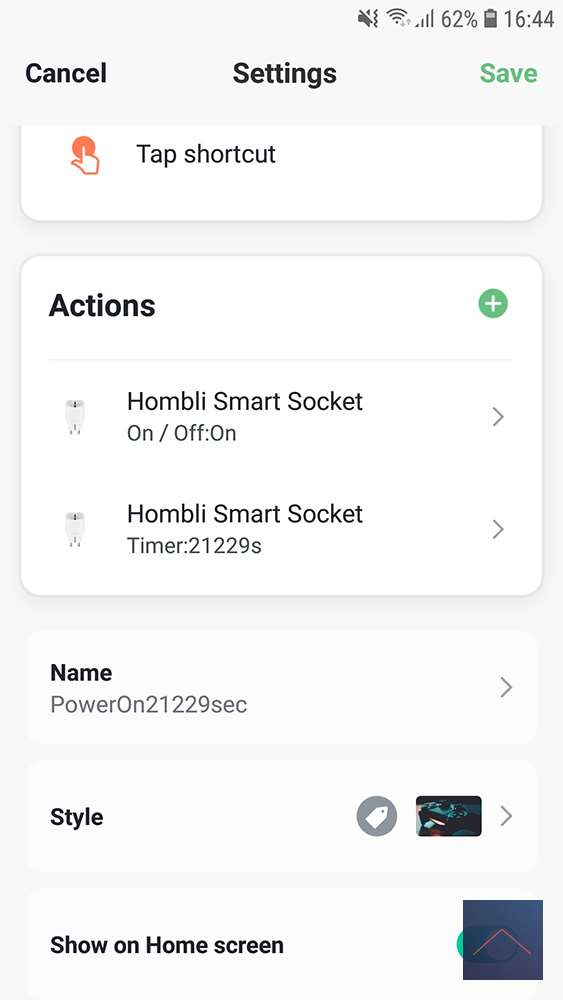
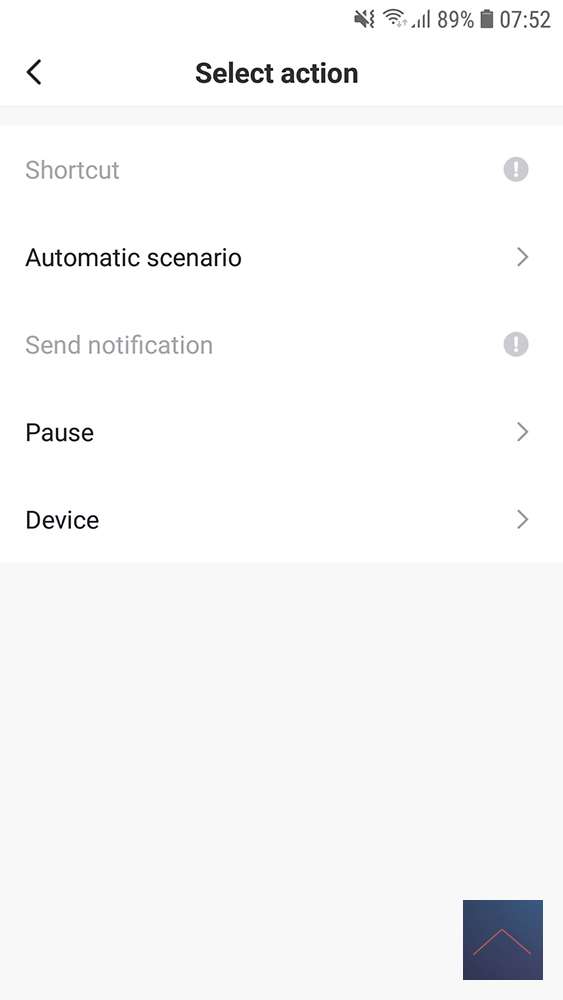
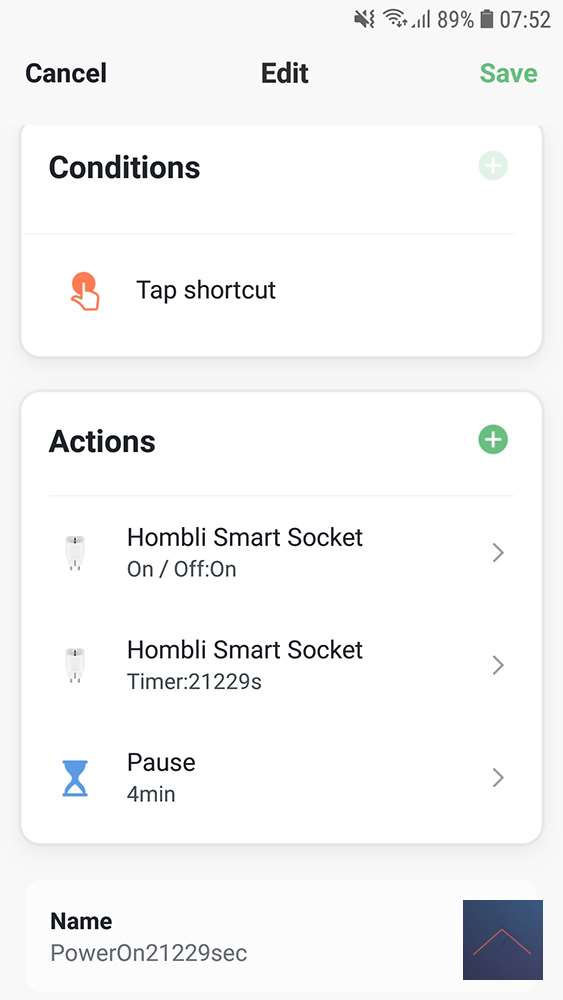
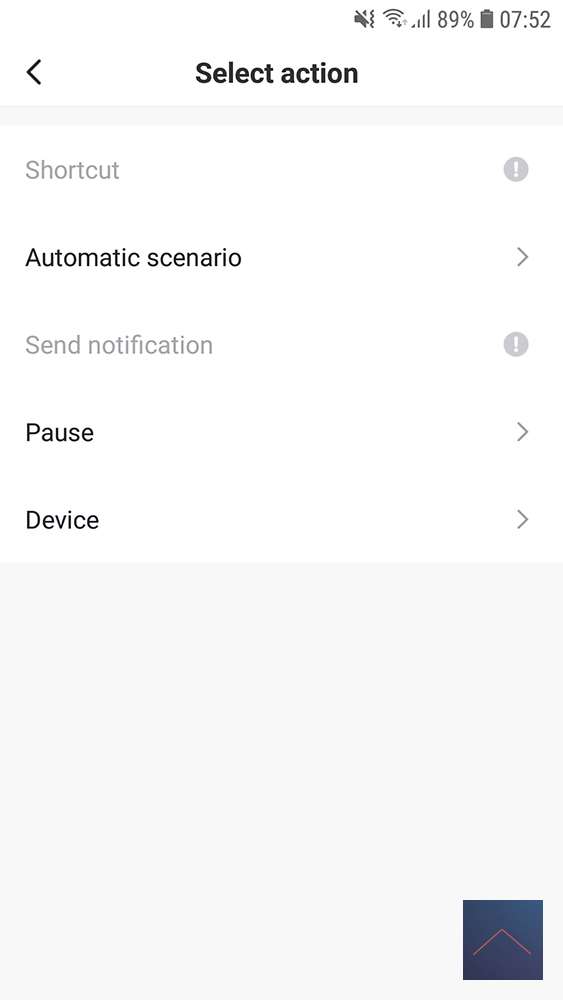
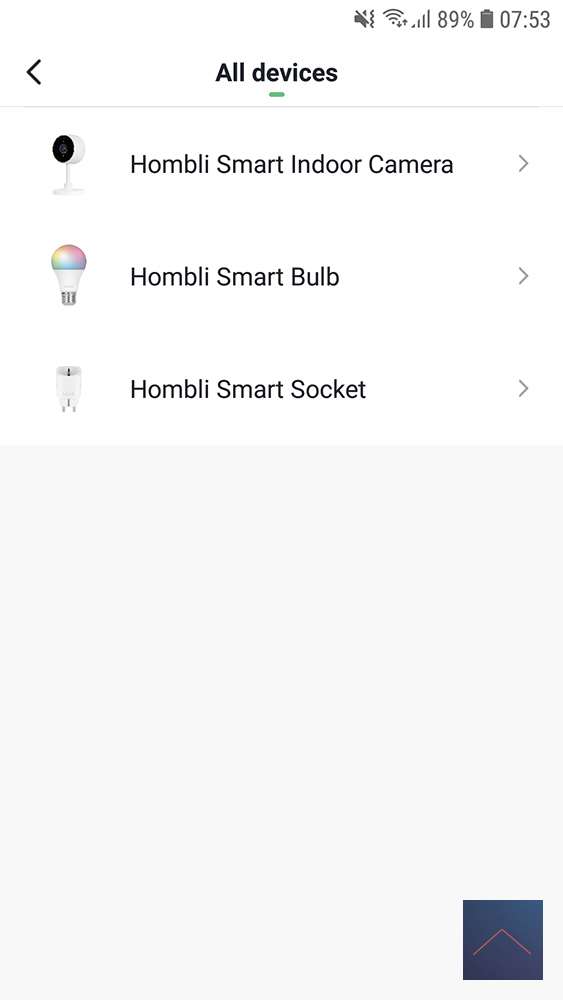
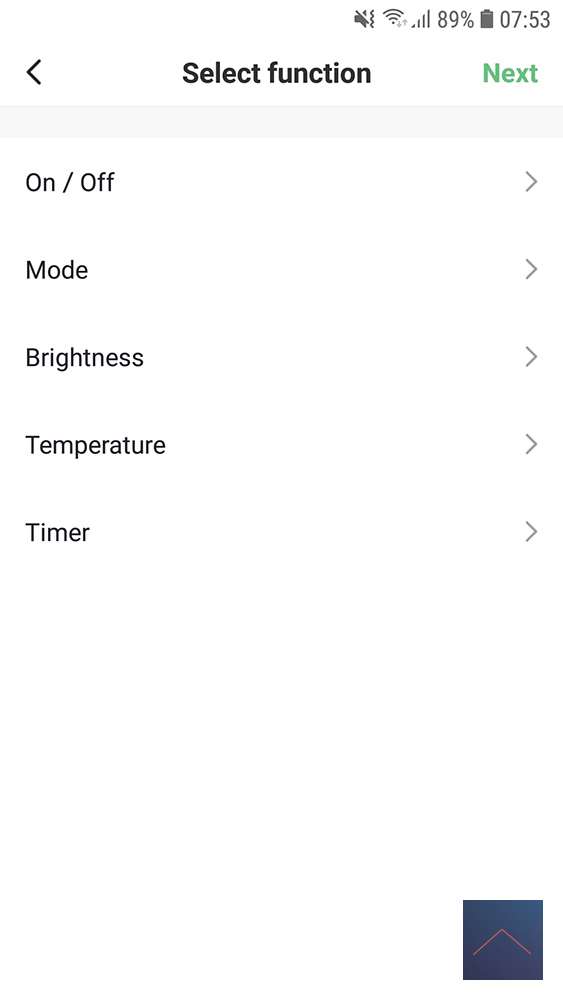
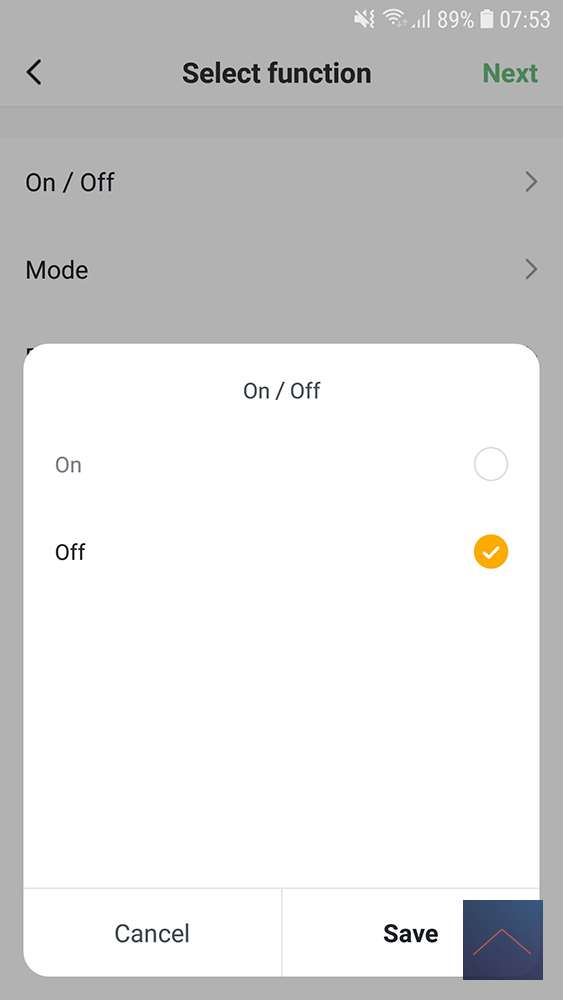
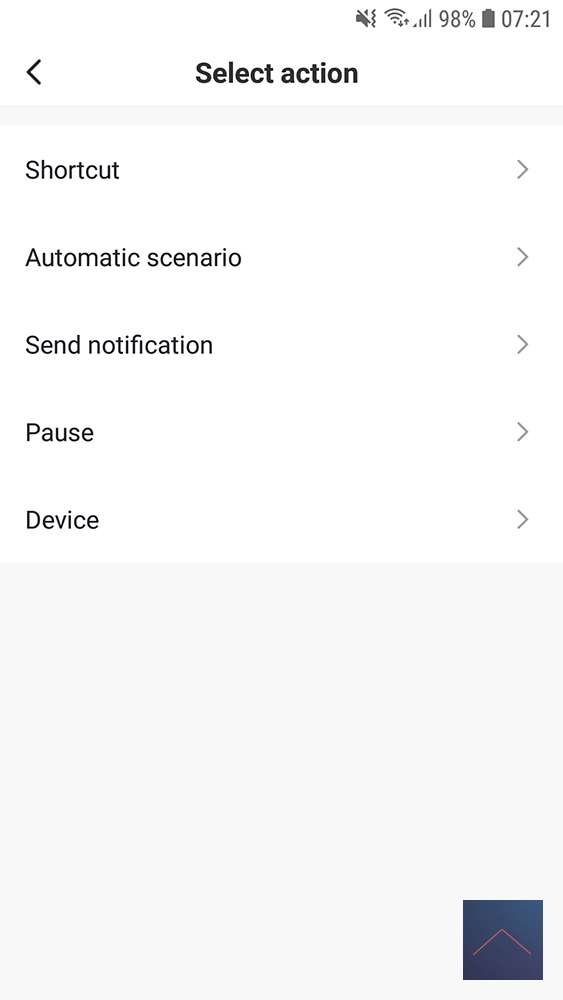
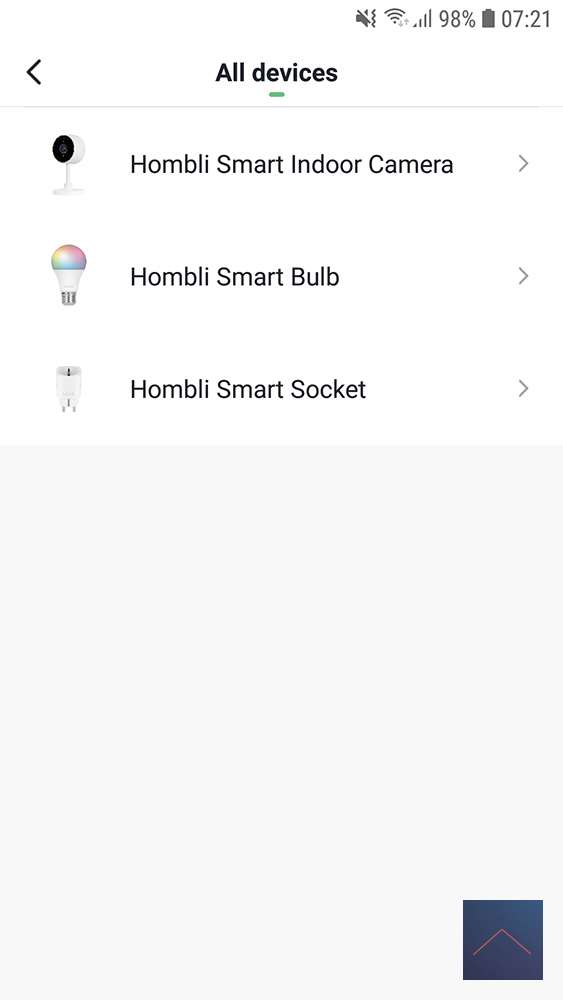
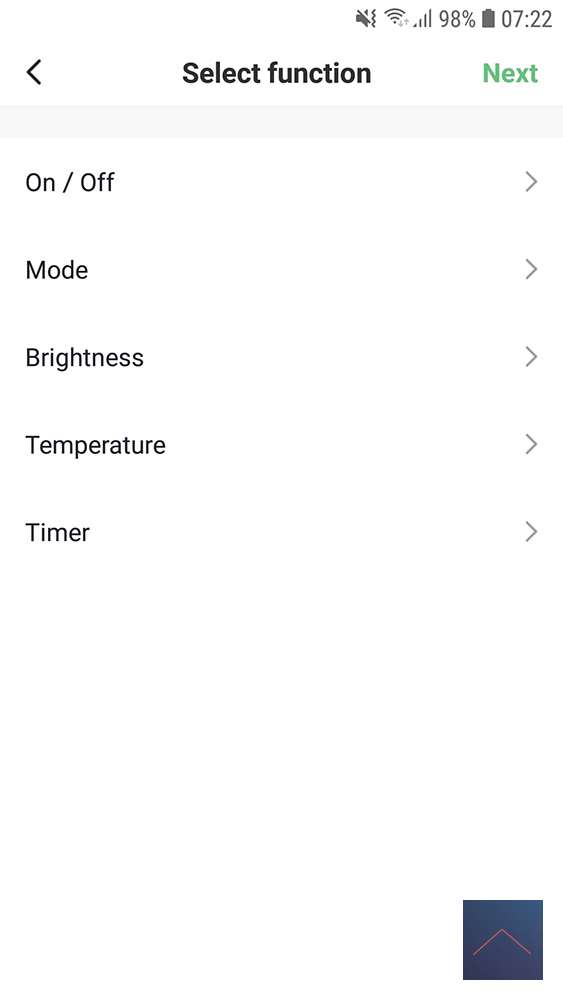
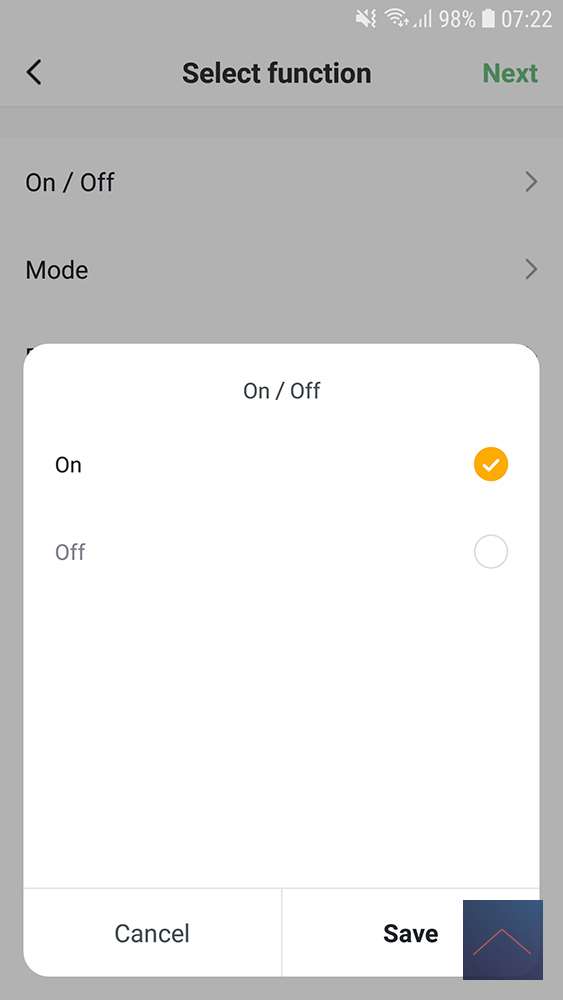
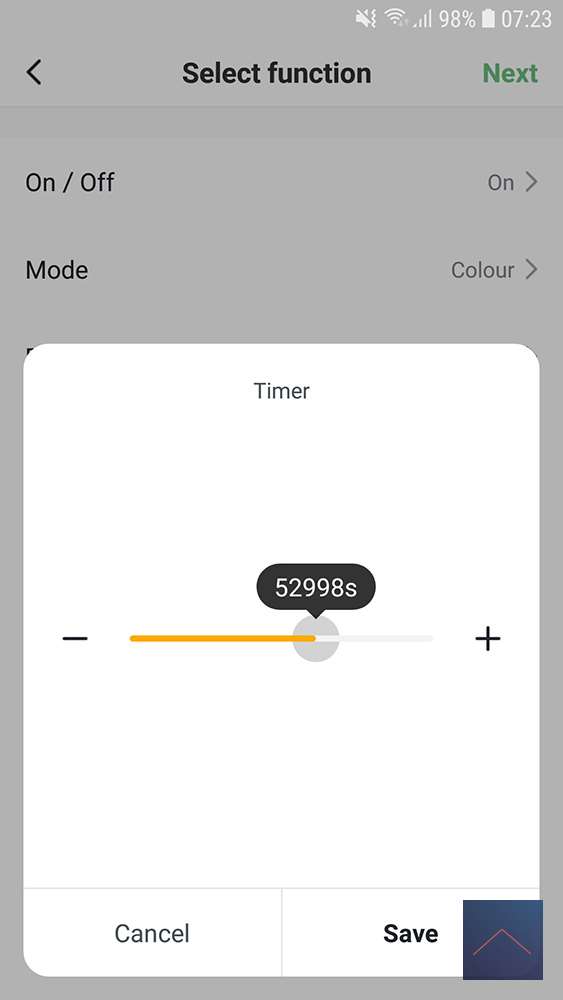
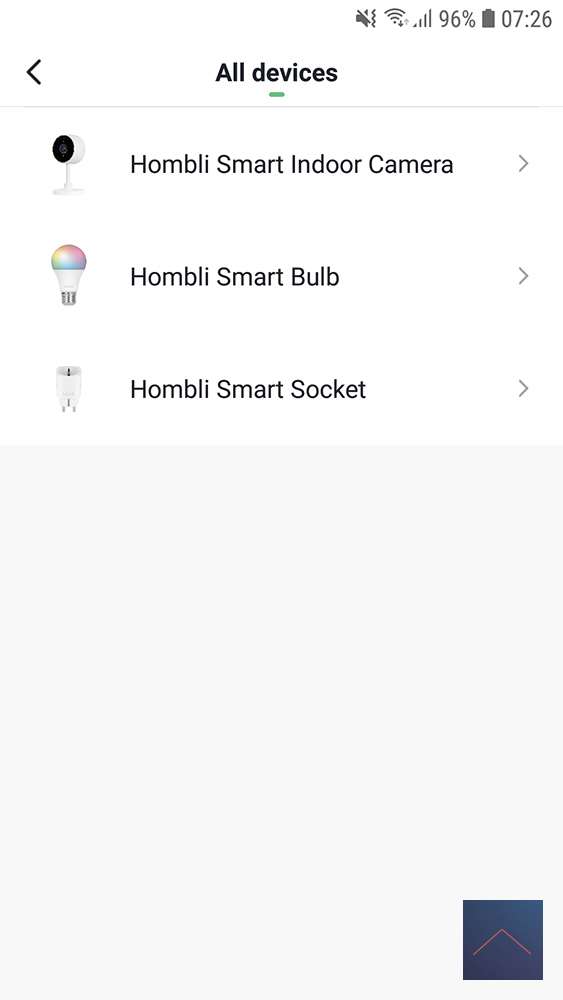
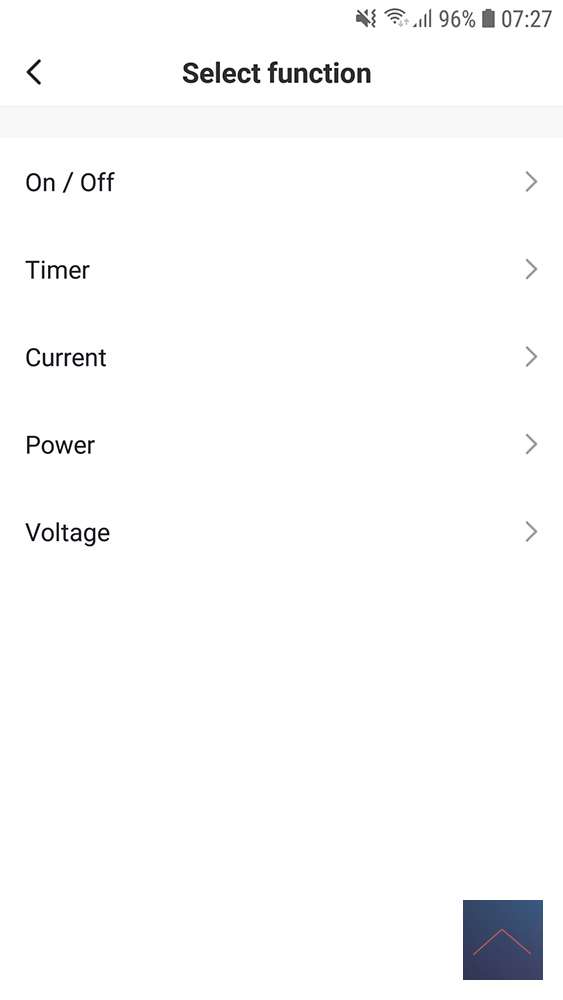
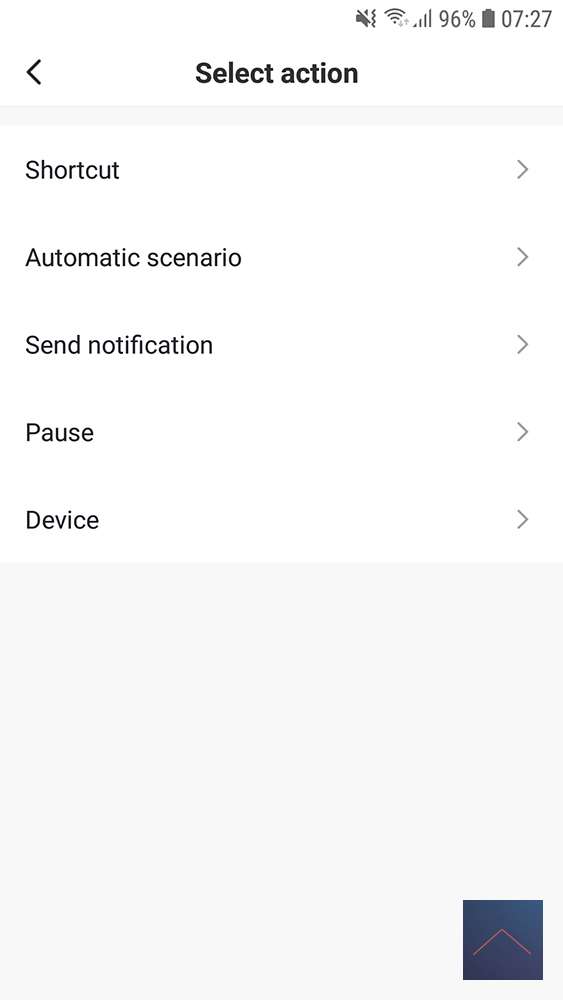
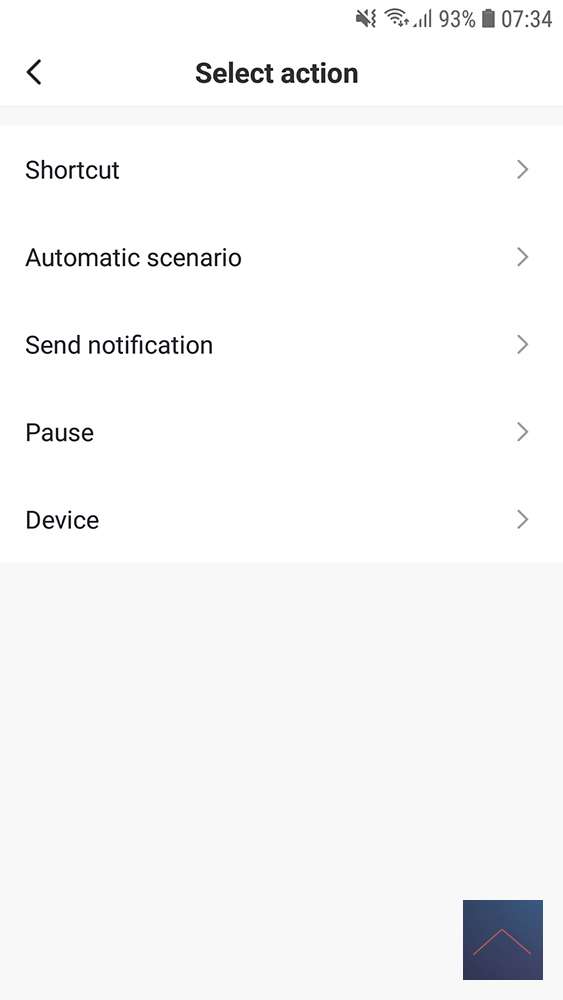
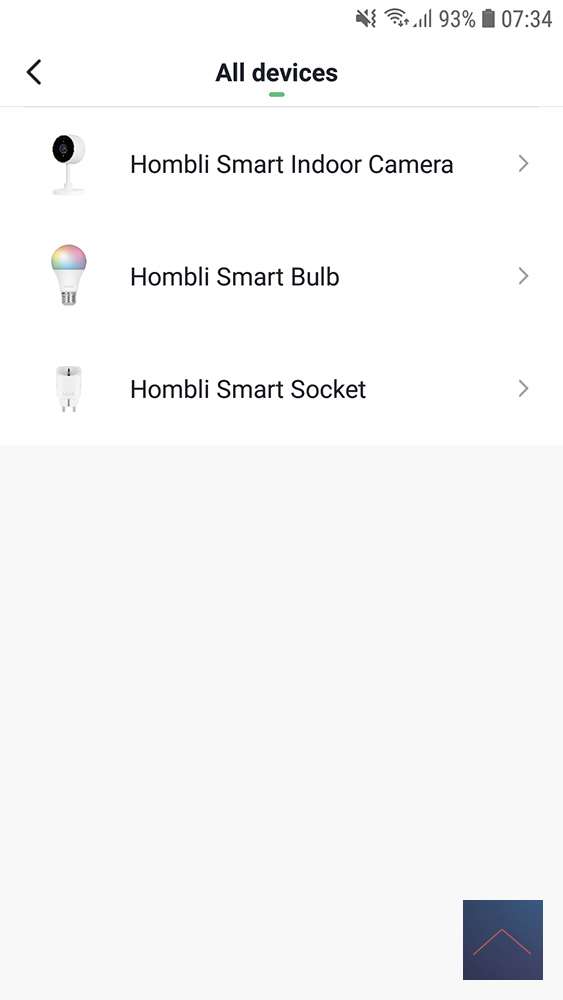
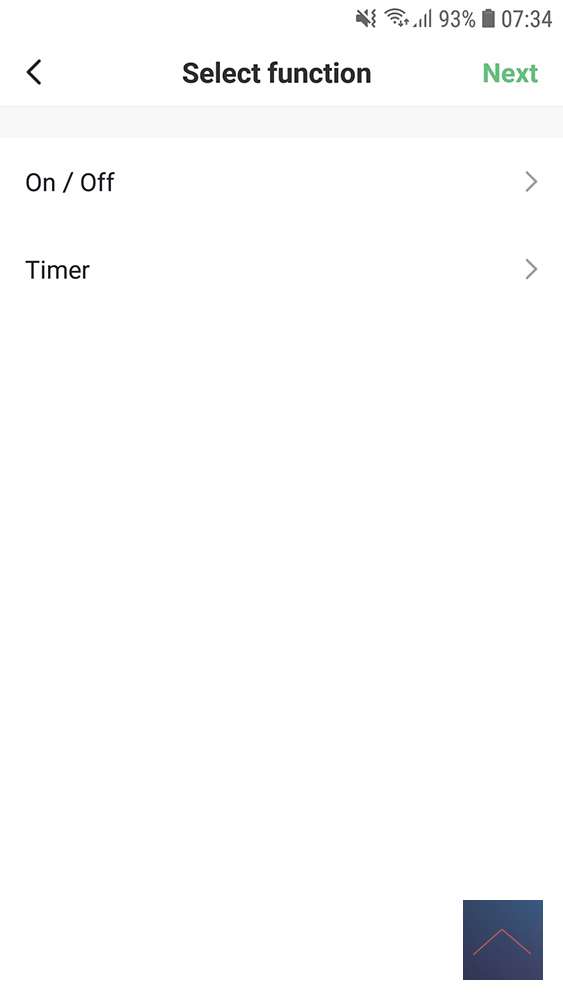
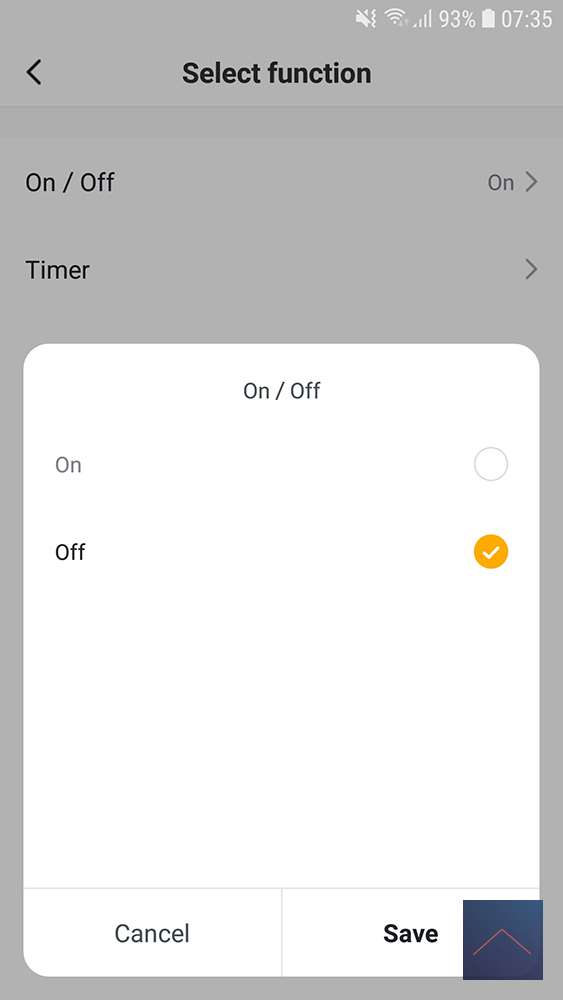
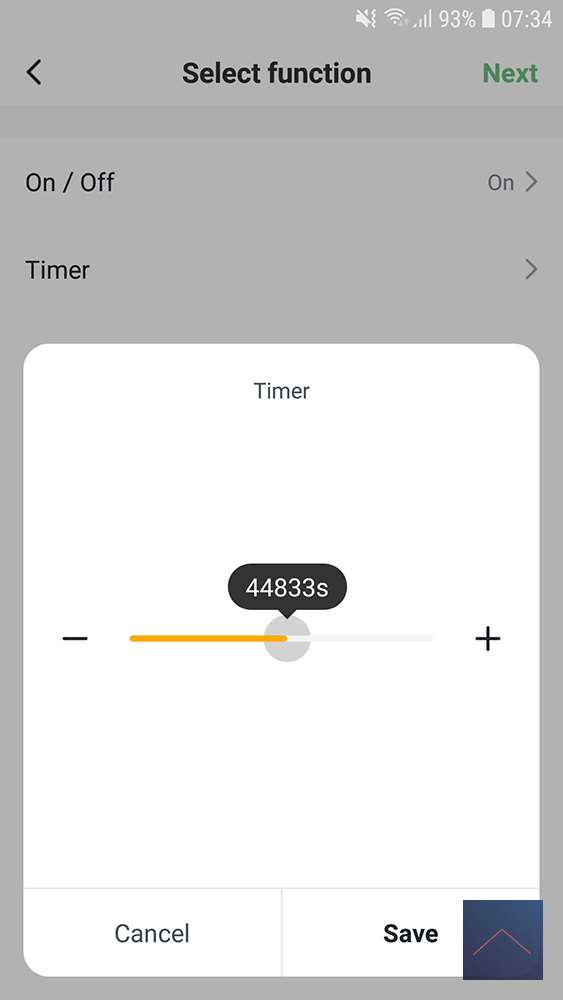
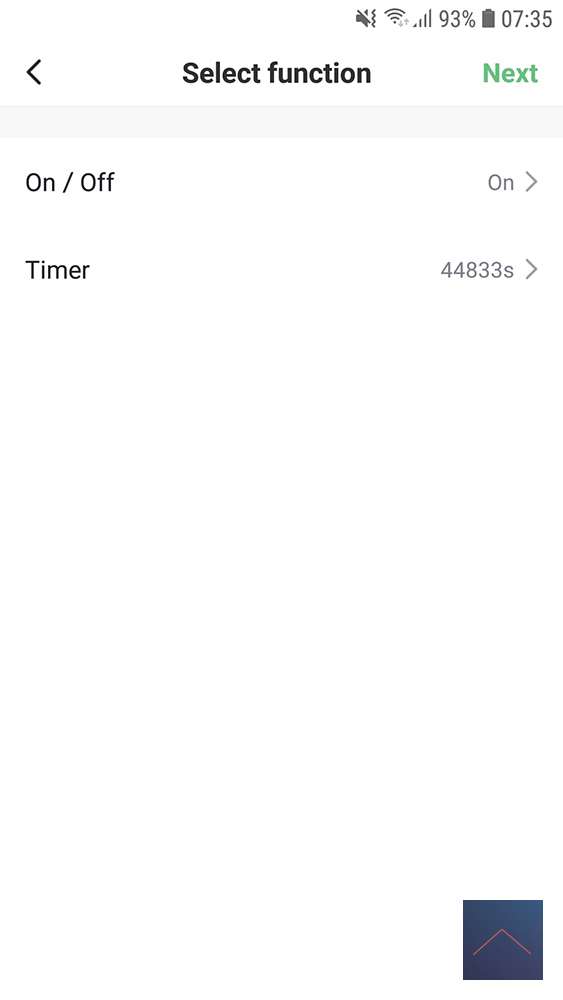
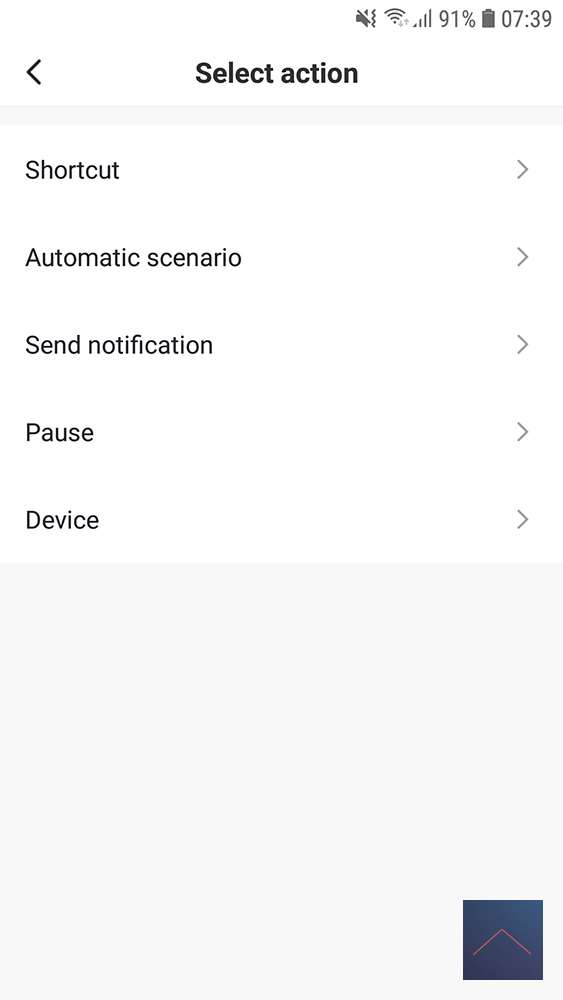
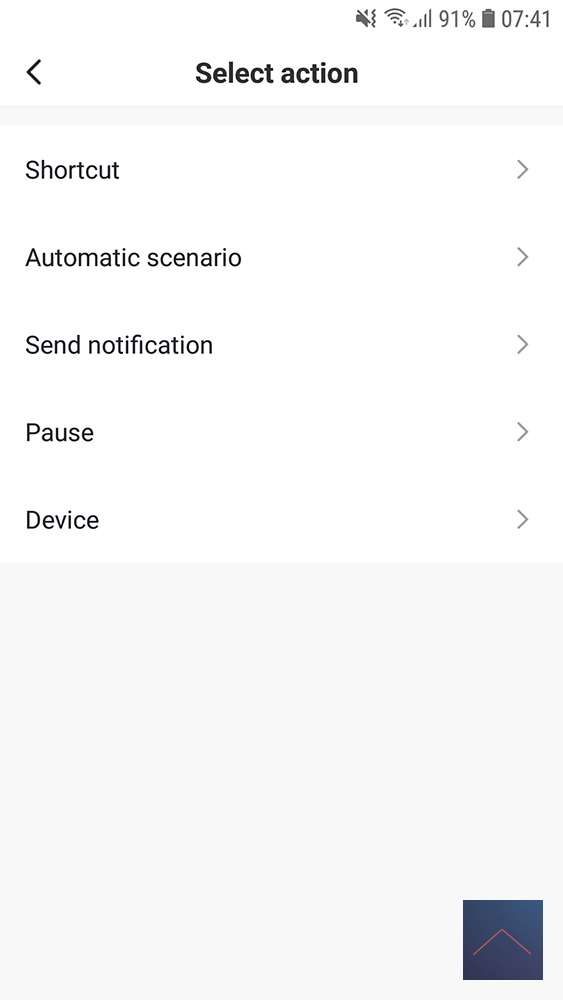
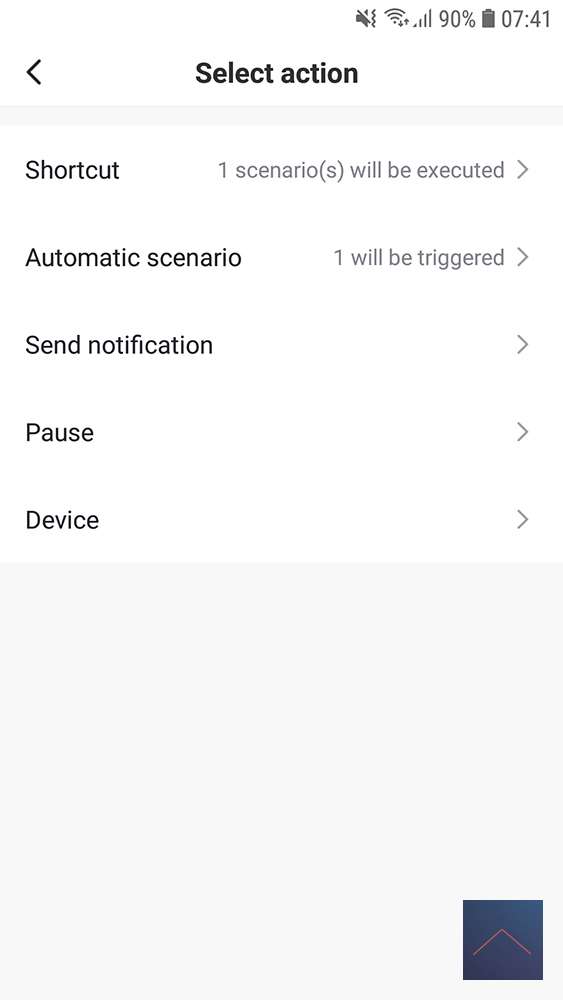
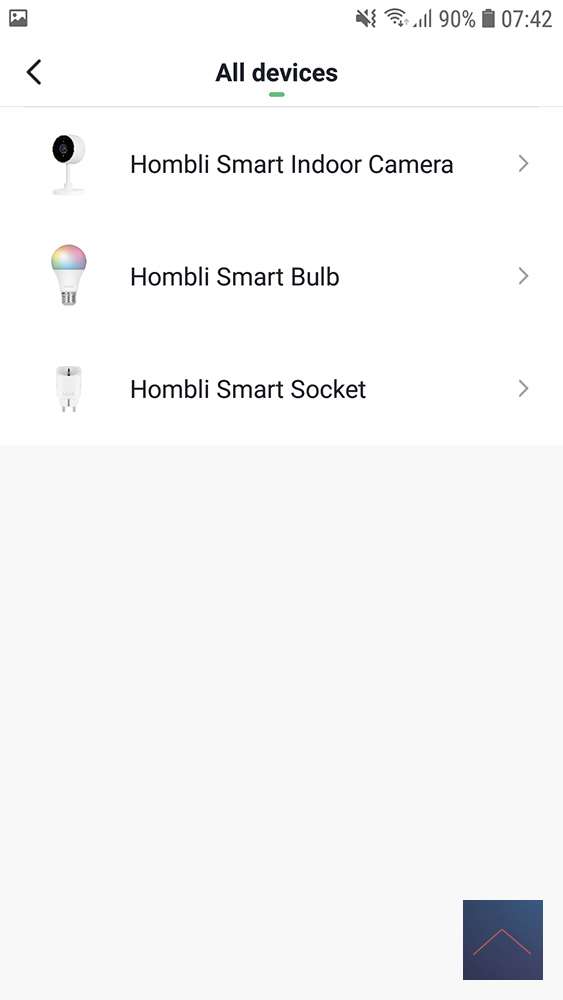
You can add 1 or more actions to actions. You click on add action or the + and then you have the choice between; Automatic scenario, Pause and Device. In this example we select Device and then the Hombli Smart Socket. We then get two options on or off and Timer, we select on and set the timer to x number of seconds.
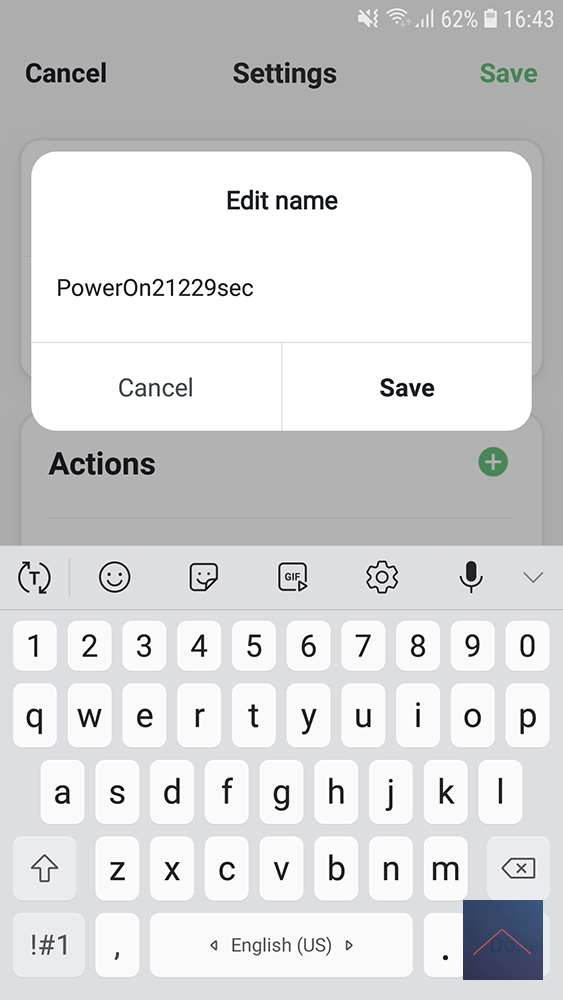
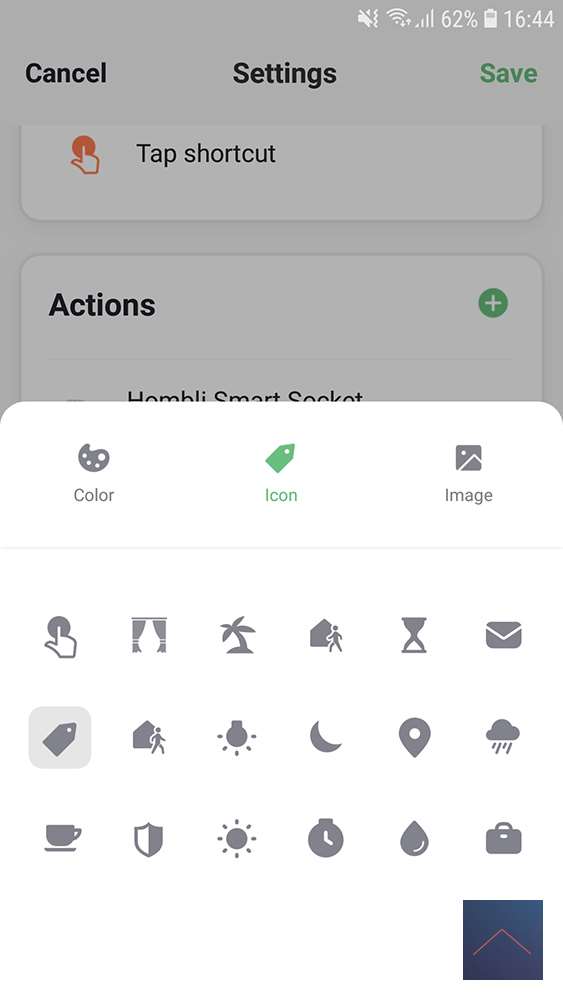
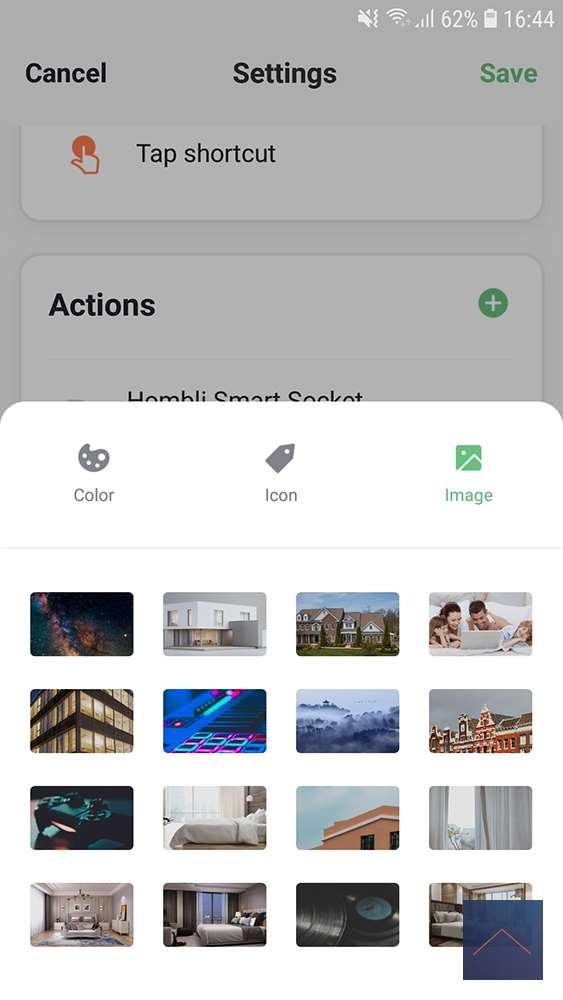
By clicking Next we return to the main screen and now add a name and give the icon a certain color and appearance.
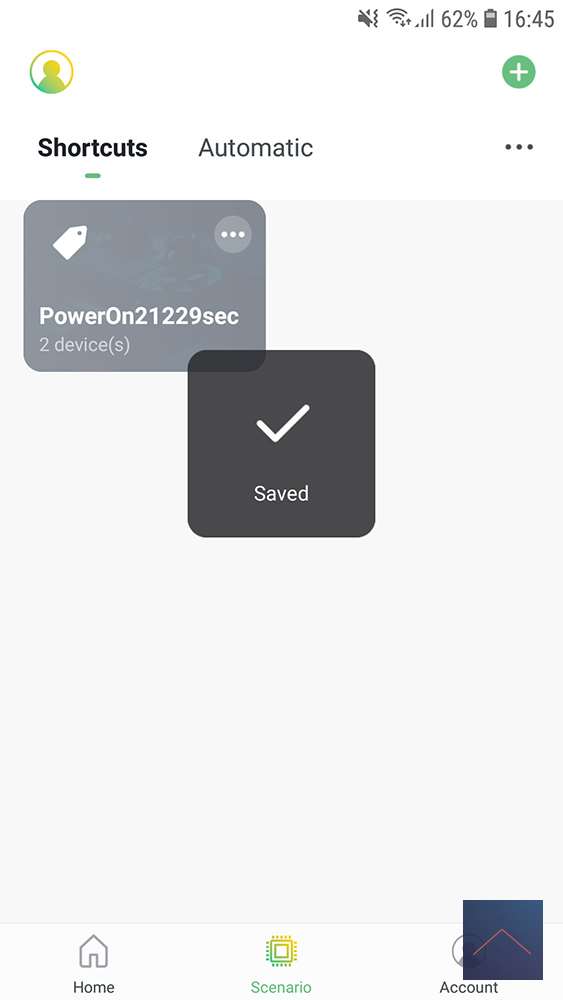
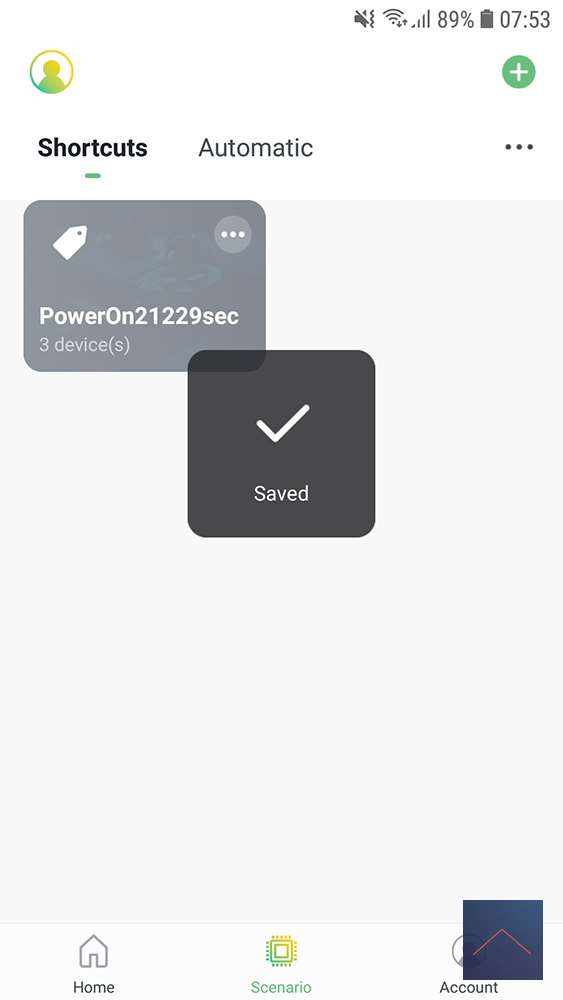
The last option is to also put the shortcut on the main screen of the Hombli App. We turn this on and click Save at the top right. The shortcut has been created and is ready to be used on the shortcuts tab and on the main screen. Where did the photo go that I chose?
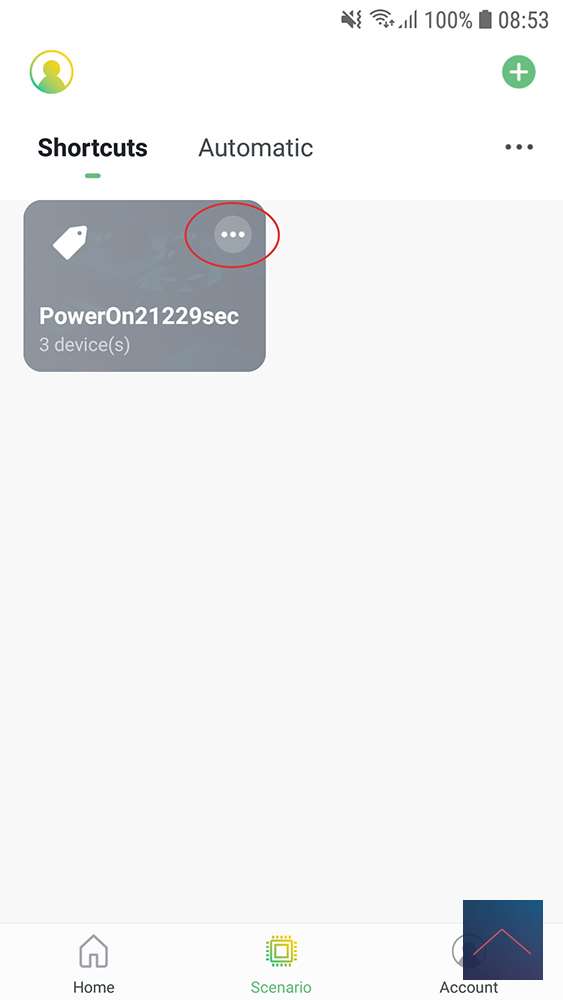
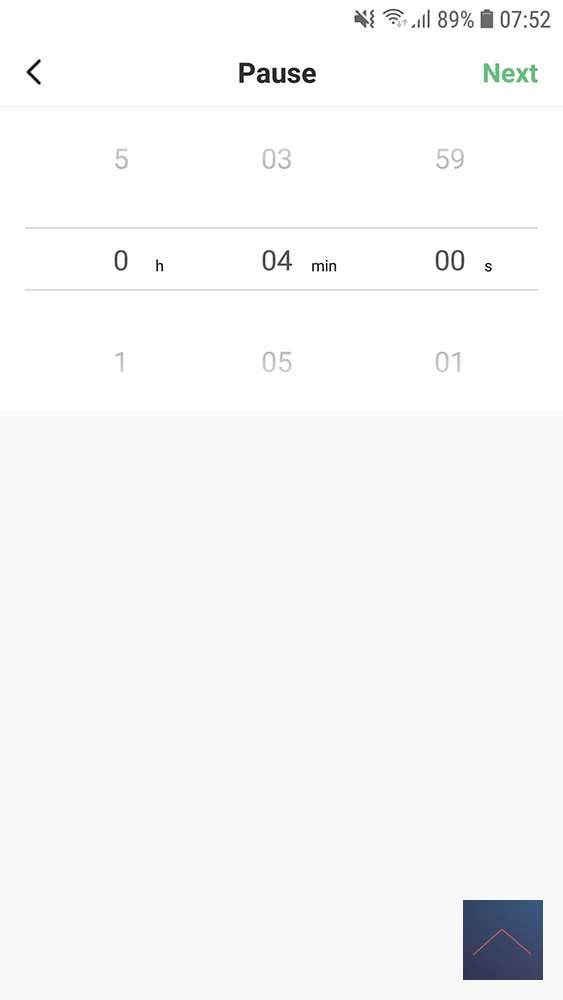
Ok the shortcut works fine when I click it. Now we also want to perform other actions in this shortcut, we click on the three points at the top right of the icon. At Action we can click on the + for the next step. We select a pause of 4 minutes and then we want the lamp to go out and save it again. If we implement this, this will also go according to the schedule.
Automatic voorbeeld 1:
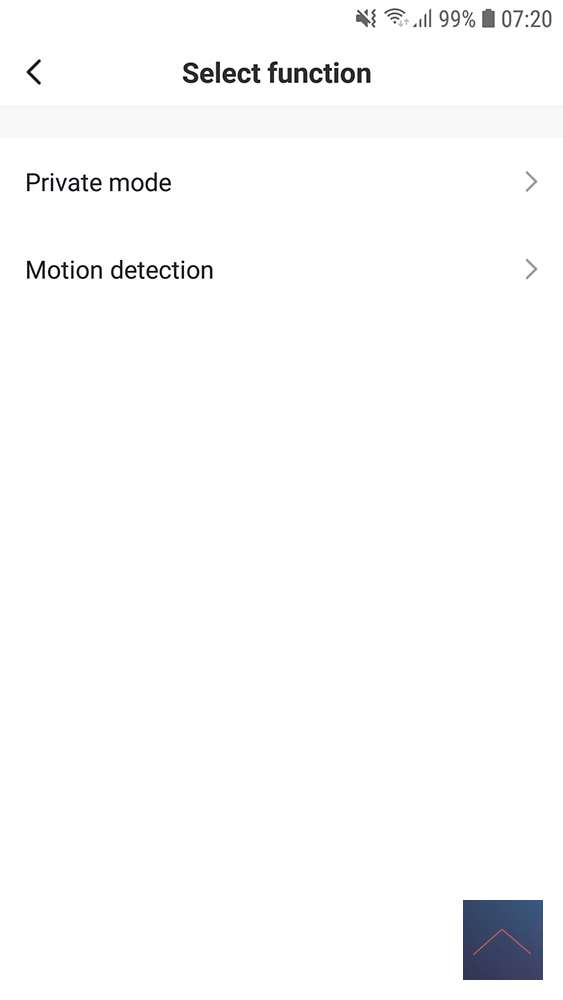
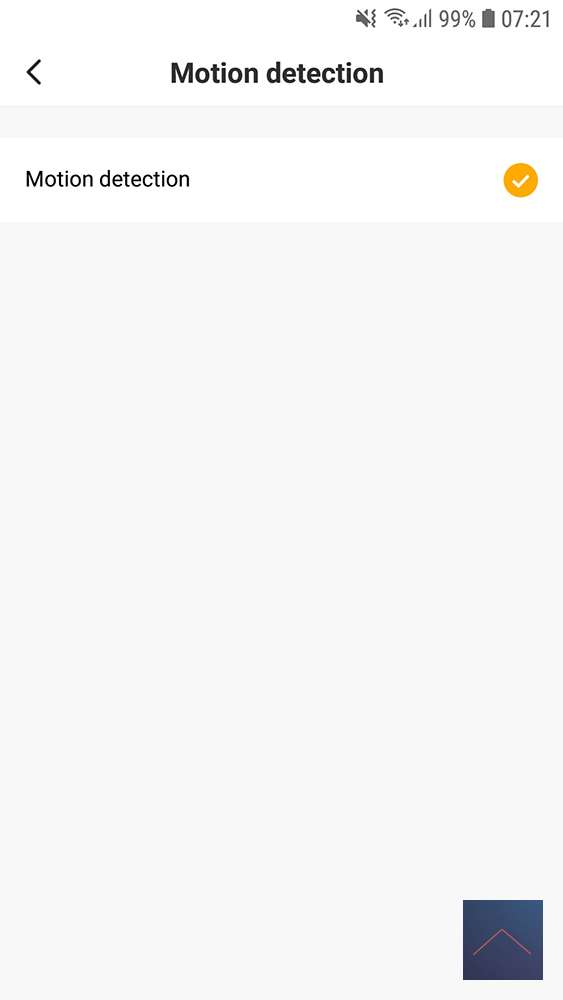
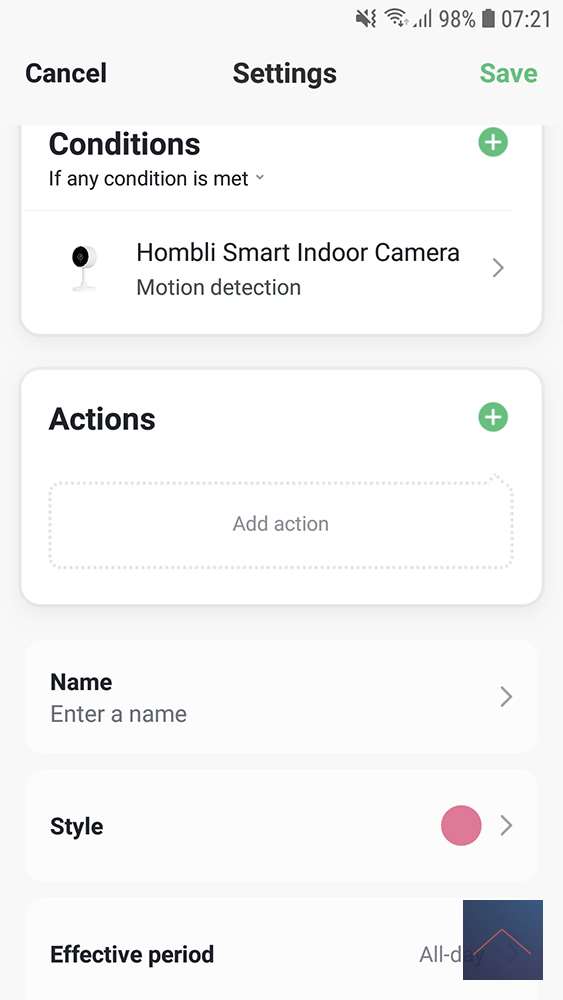
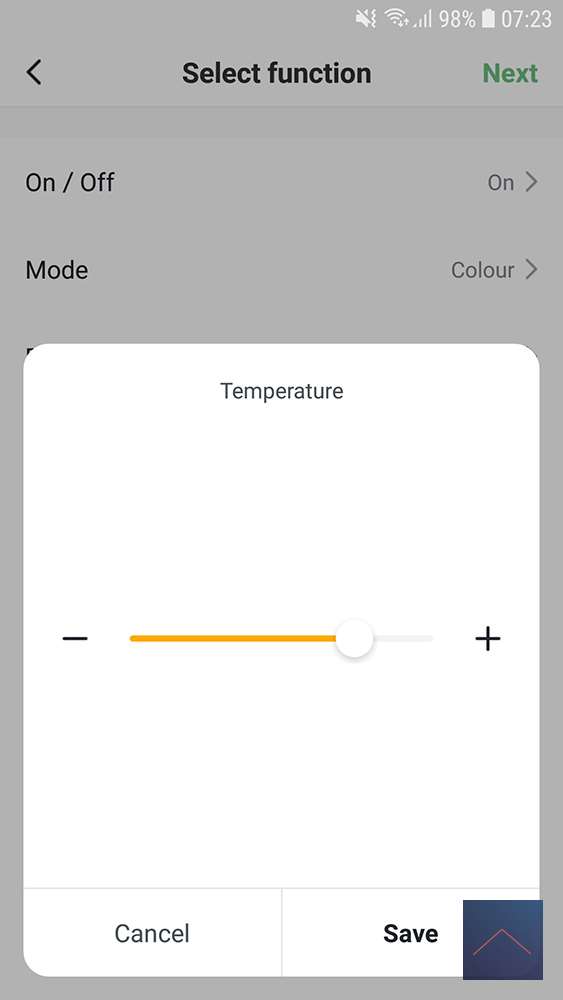
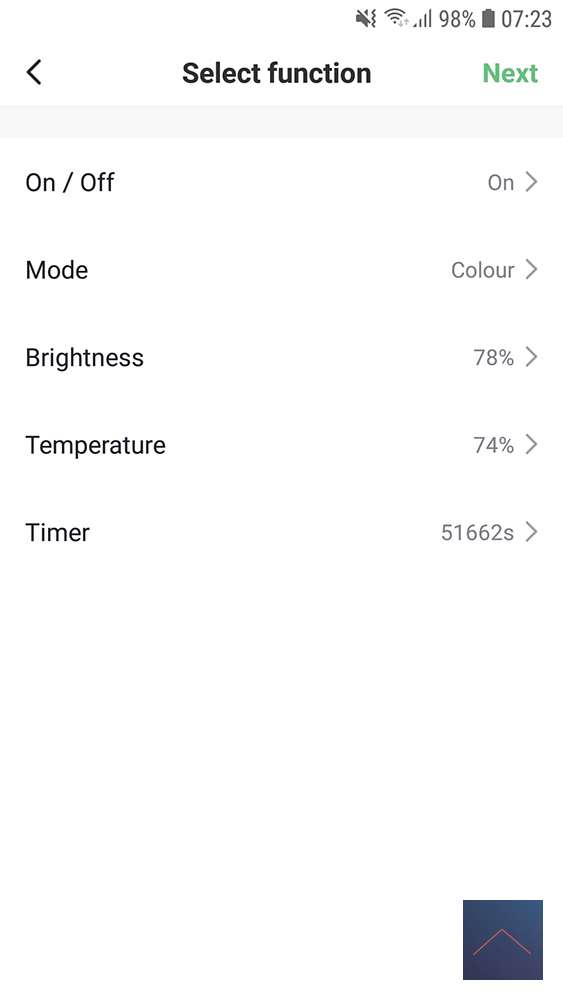
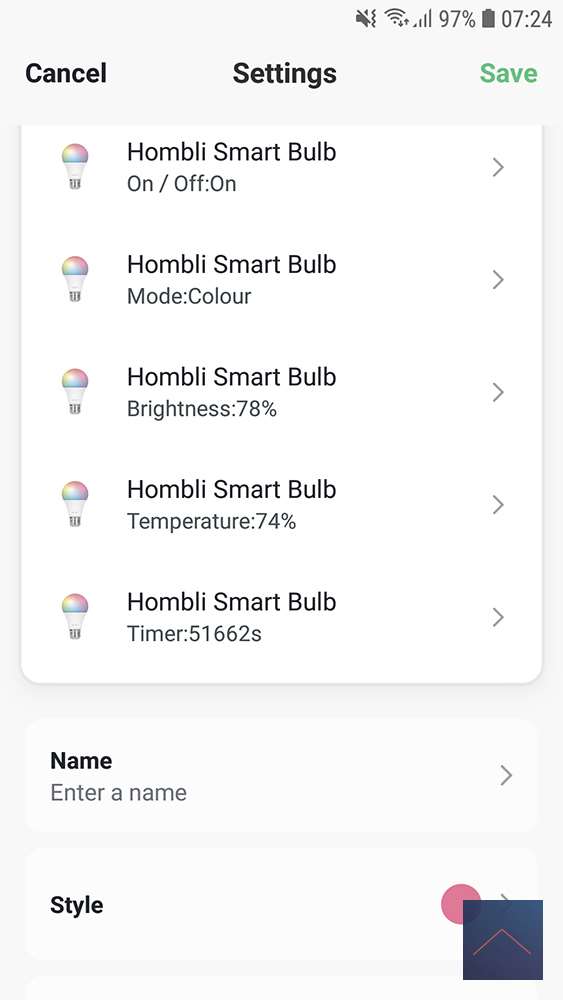
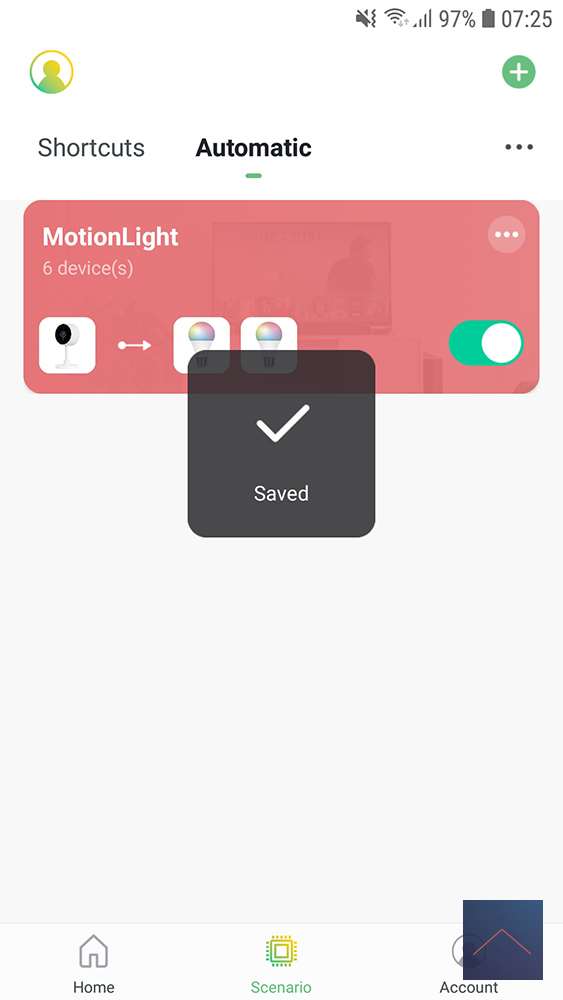
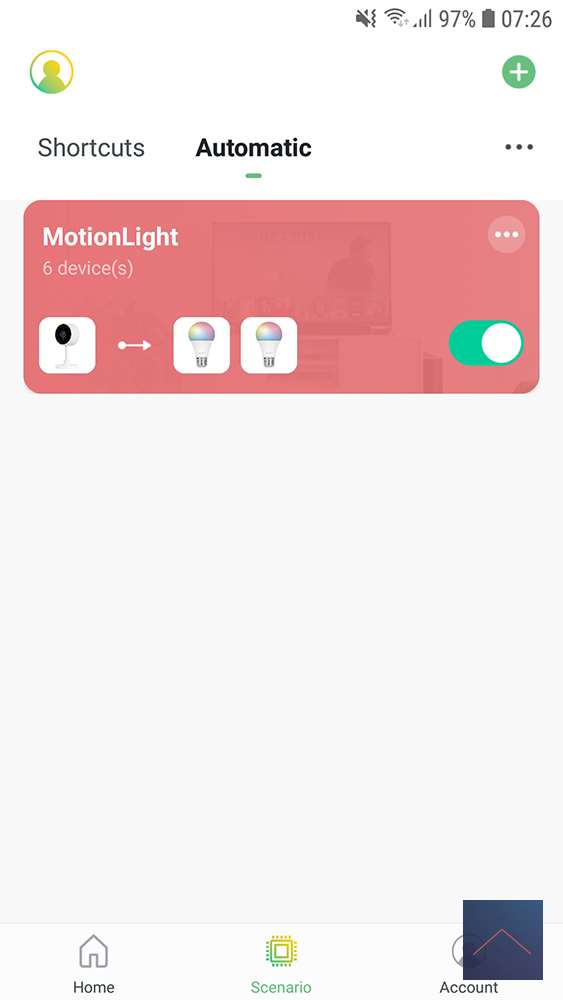
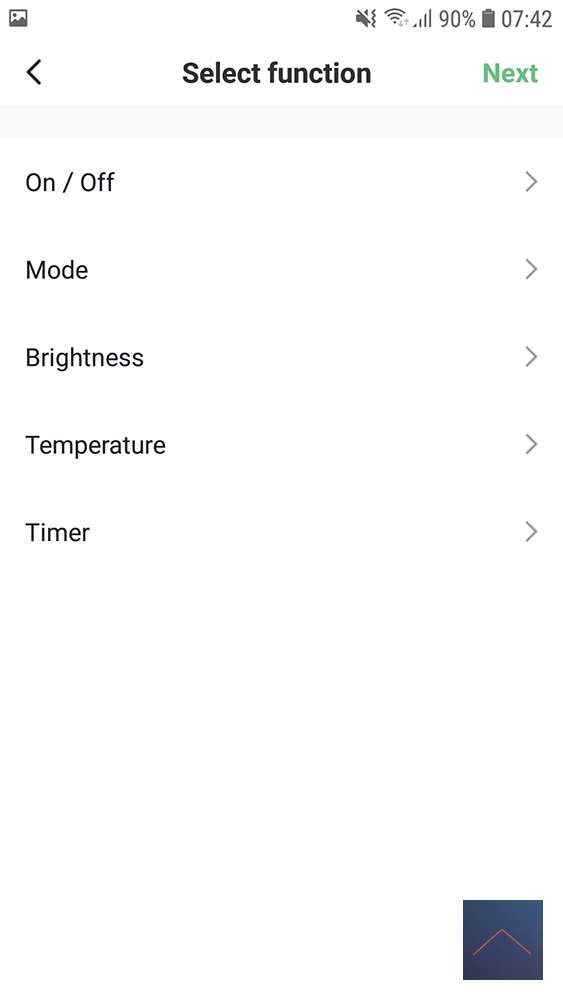
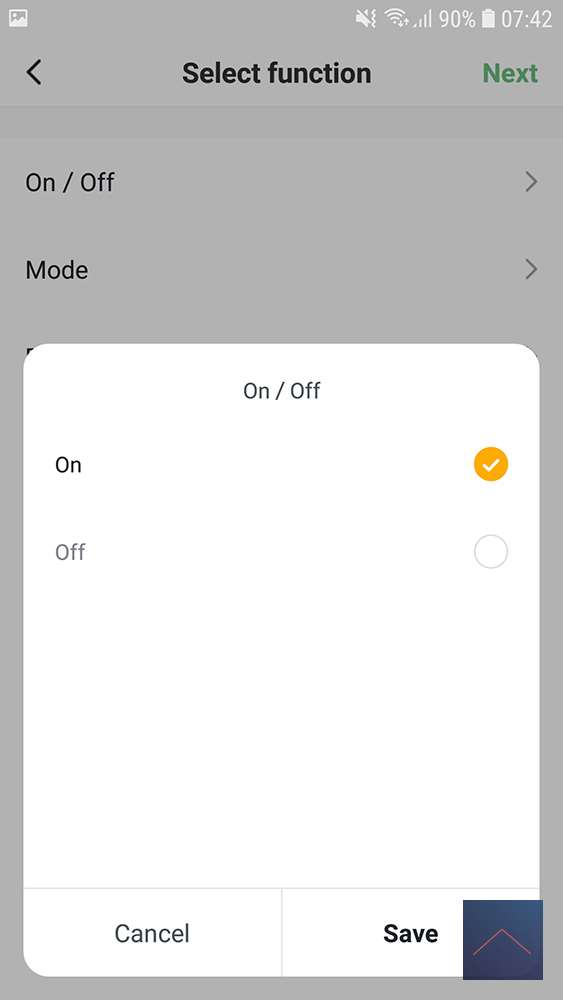
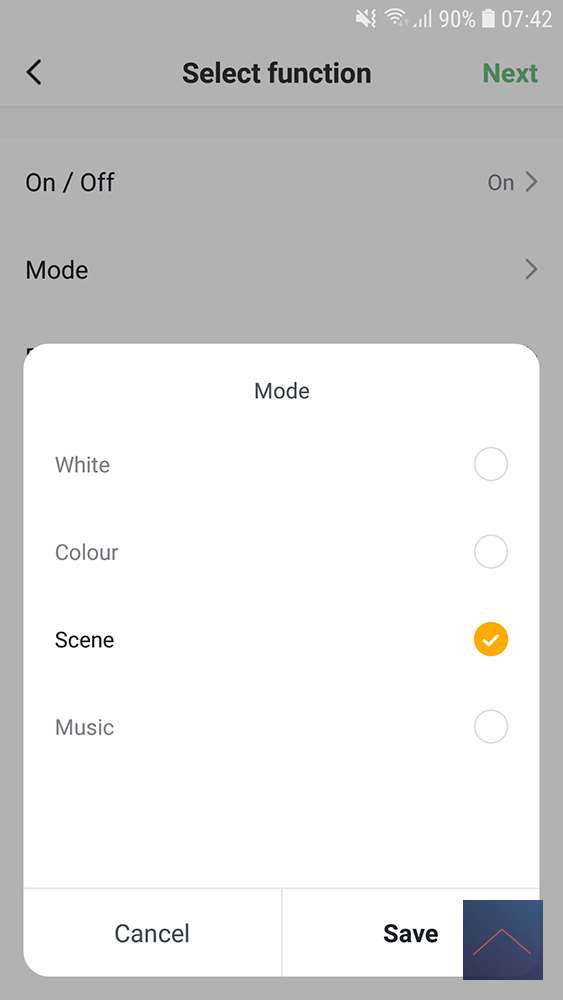
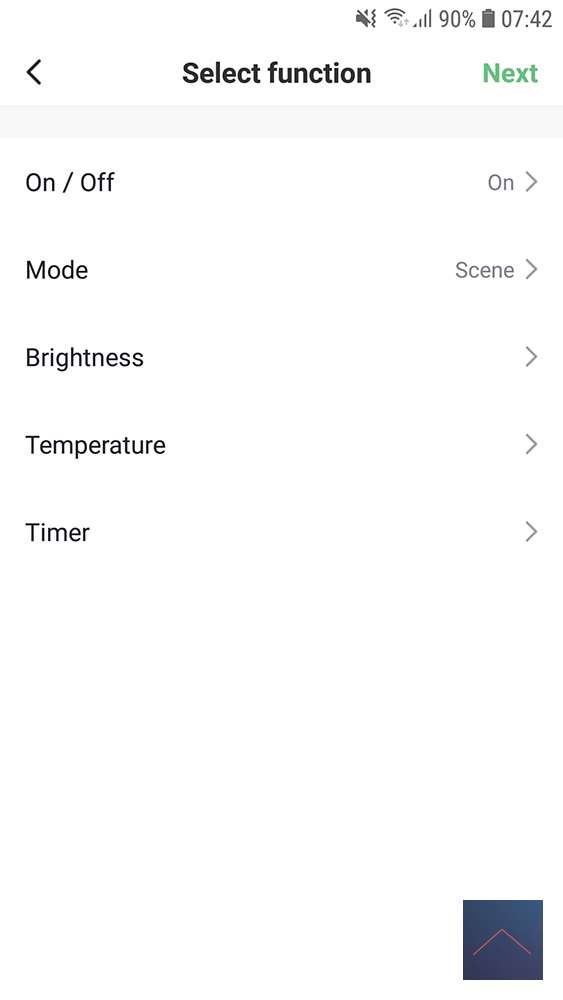
Nu gaan we een Automatic Scenario aanmaken in de tab Automatic. We komen in het zelfde scherm als bij shortcut, maar bij Condition kunnen we nu alles kiezen behalve shortcut. We selecteren de camera bij Device en zetten de conditie Motion detection. Nu willen we als de camera een beweging detecteert dat de lamp aangaat rood gaat branden. Dus bij Action selecteren we de bulb onder Device met de optie om aan te zetten en de mode wordt dus Colour. Alleen ik kan nu niet een specifieke kleur kiezen…. Goed ik selecteer de brightness, temperature en de Timer op een random aantal seconden.
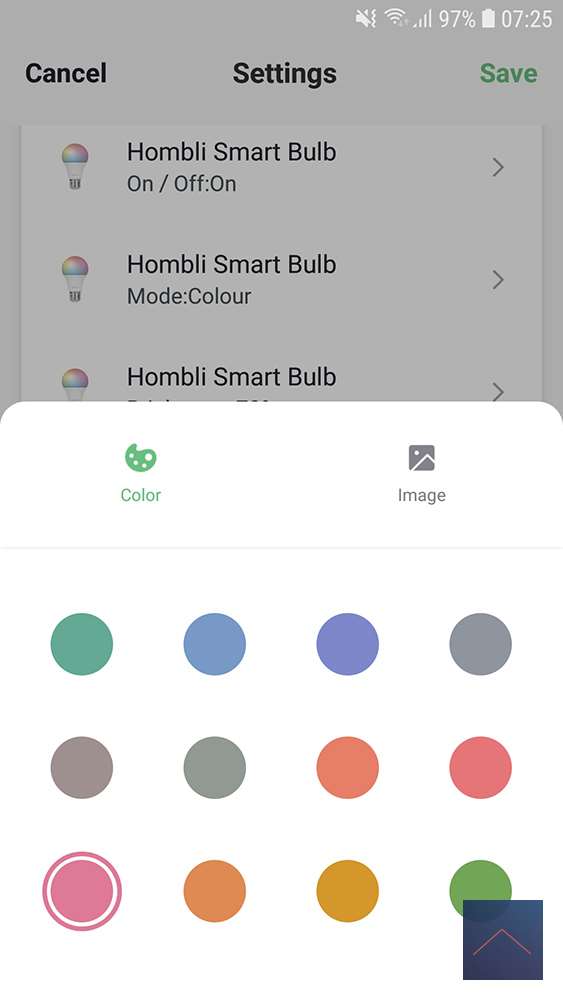
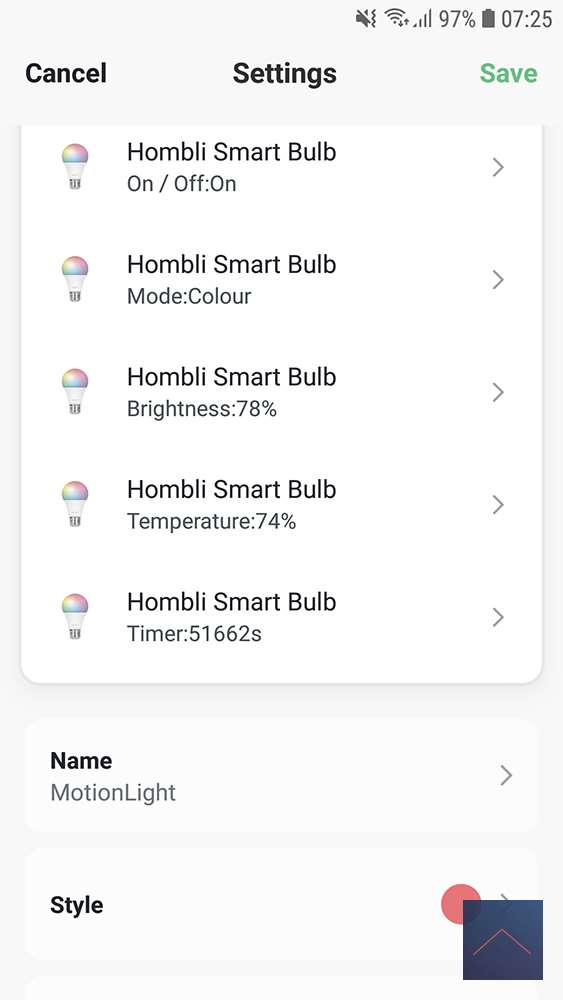
By clicking Next we come back to the main screen and give it a name and at Style a color and save it by clicking Save. We test this out and it works, but unfortunately we don't see the red color, but the color we used last.
Automatic example 2:
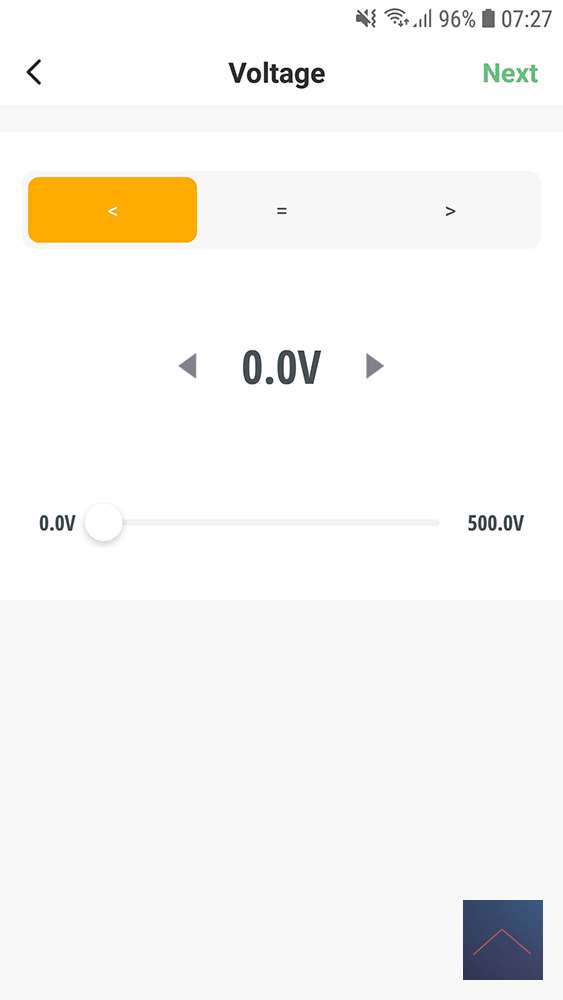
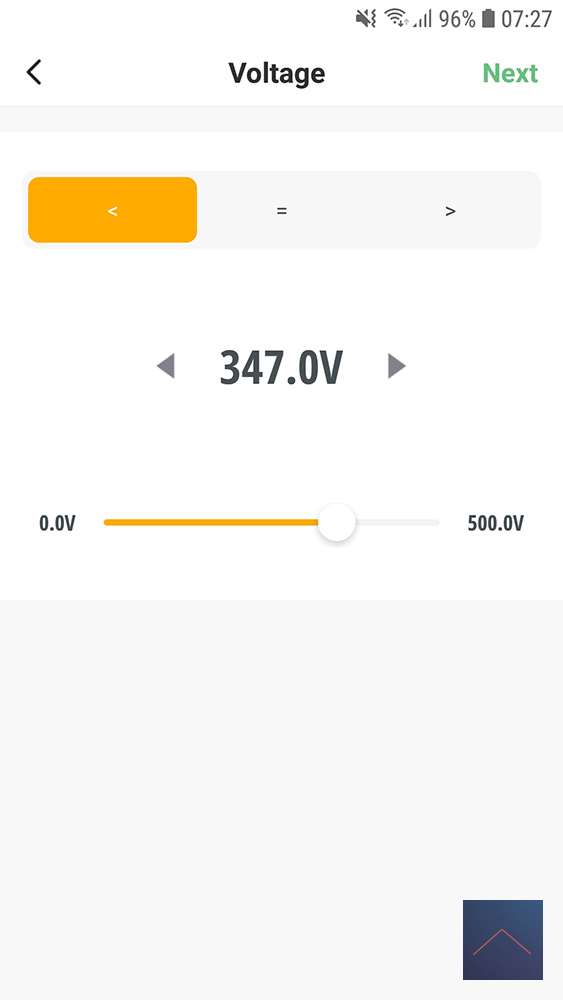
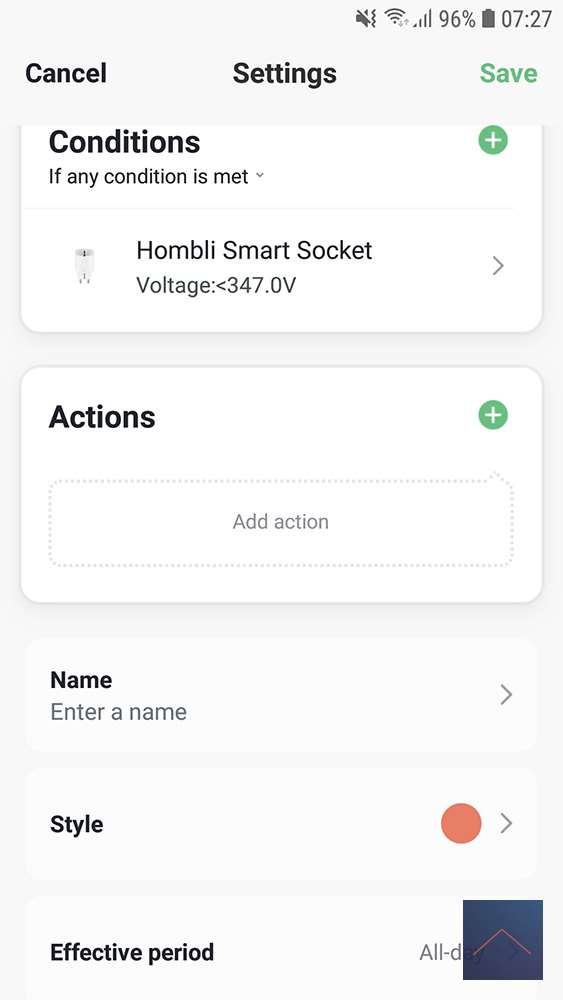
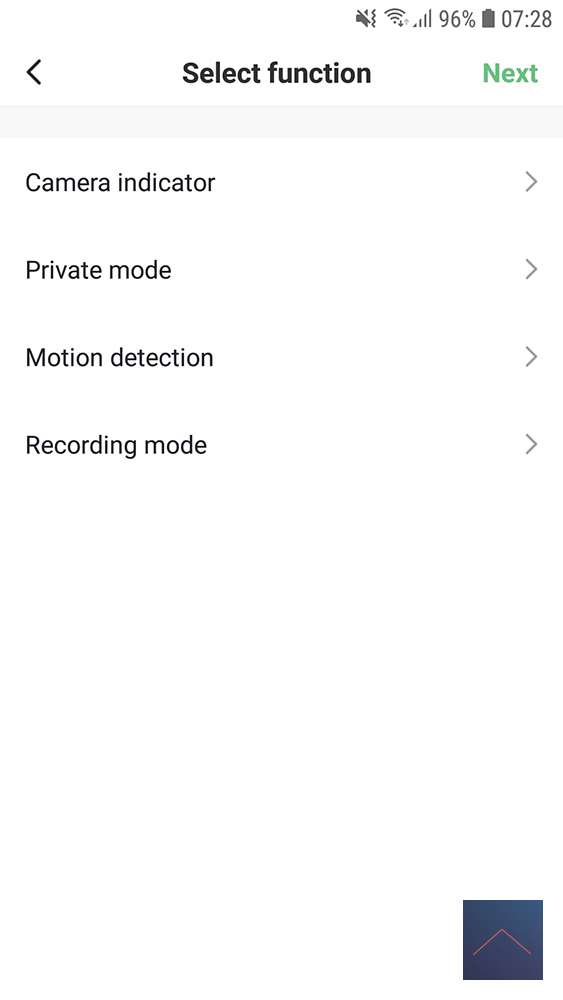
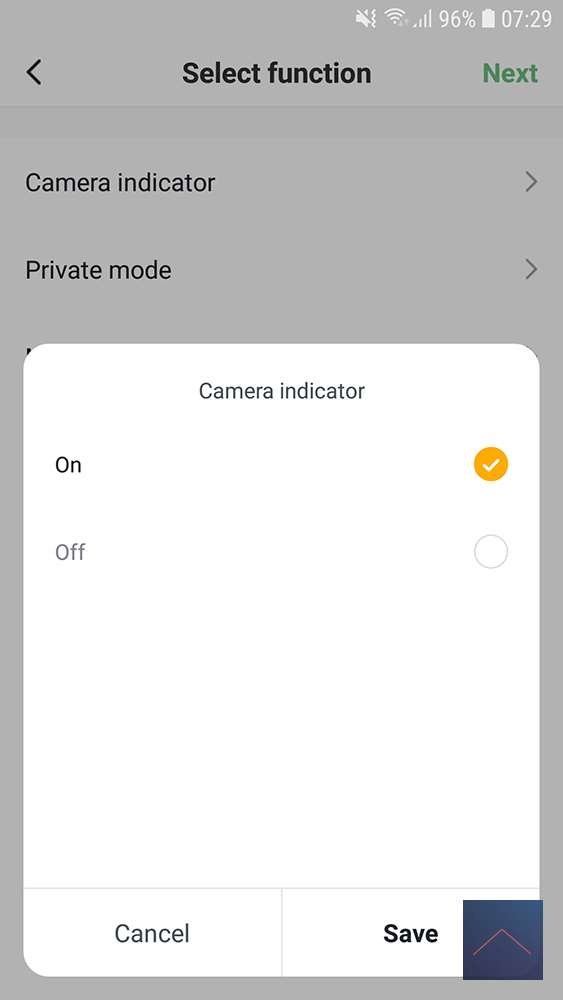
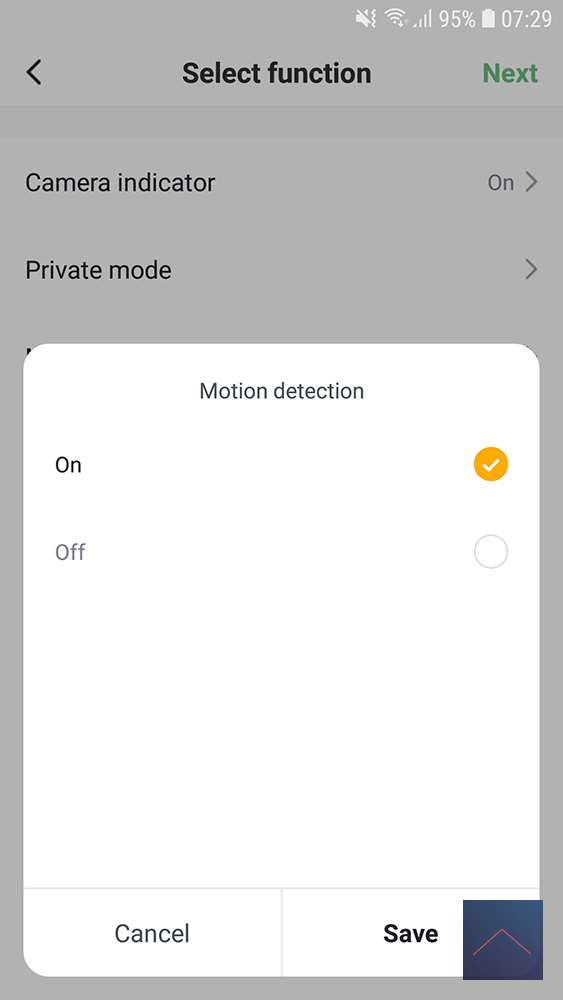
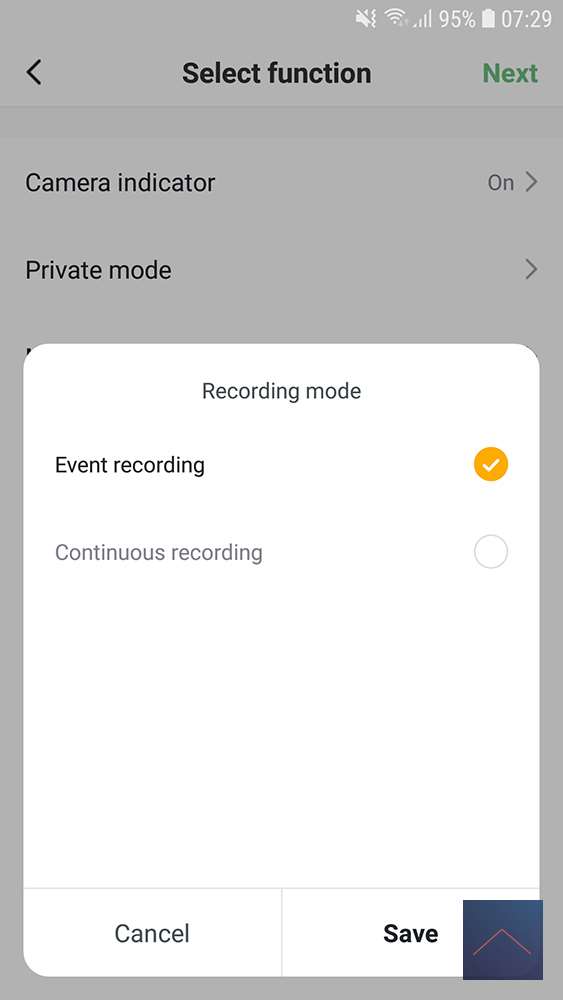
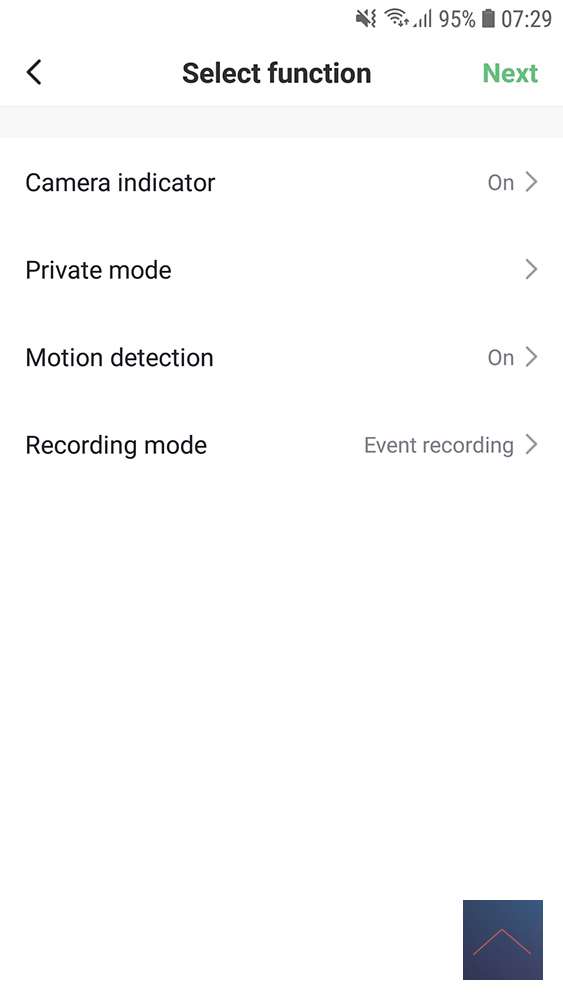
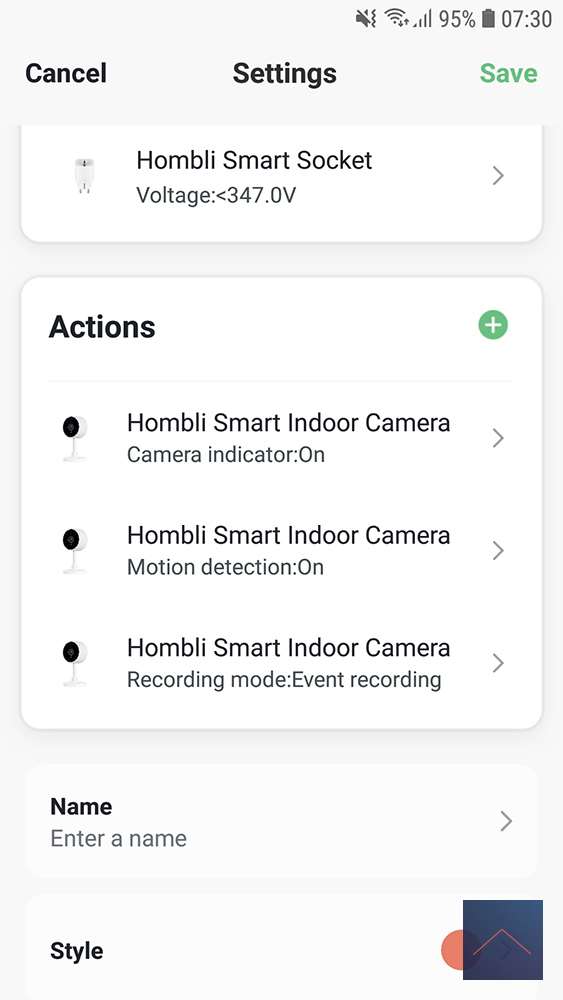
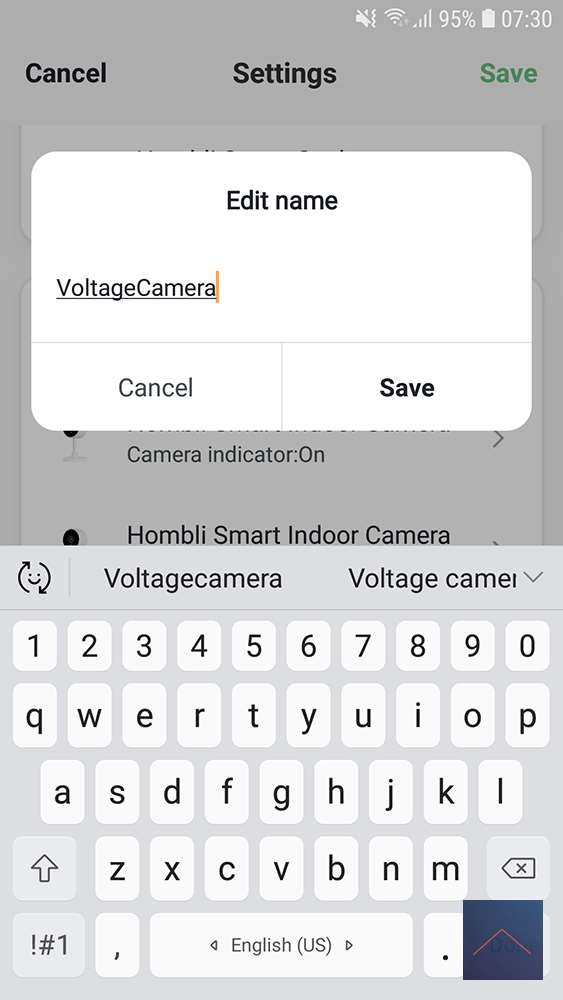
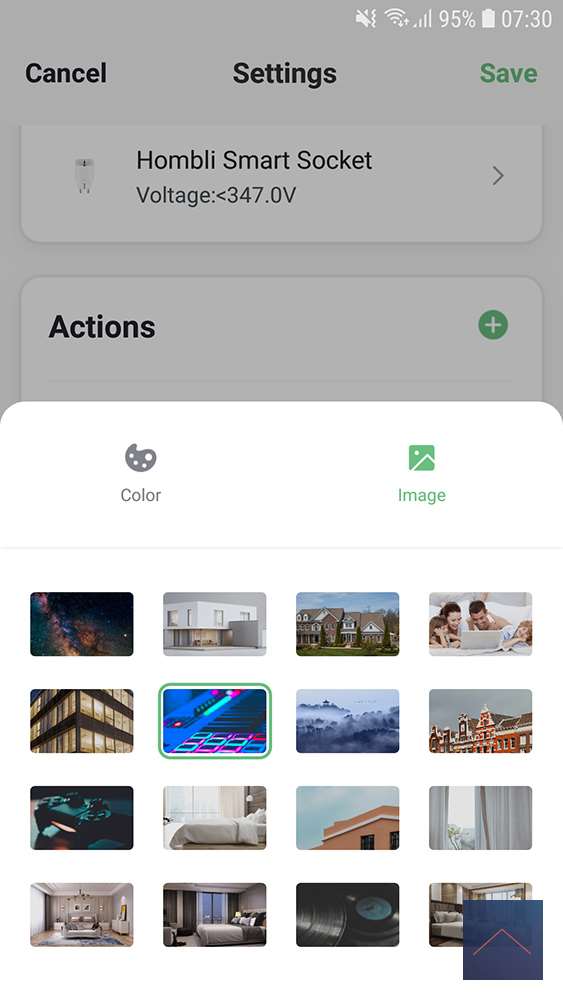
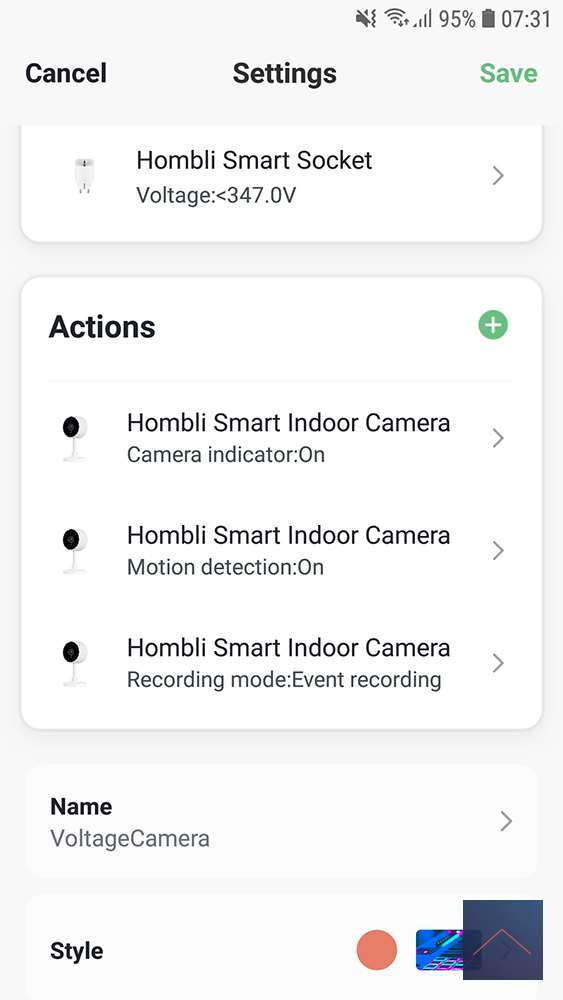
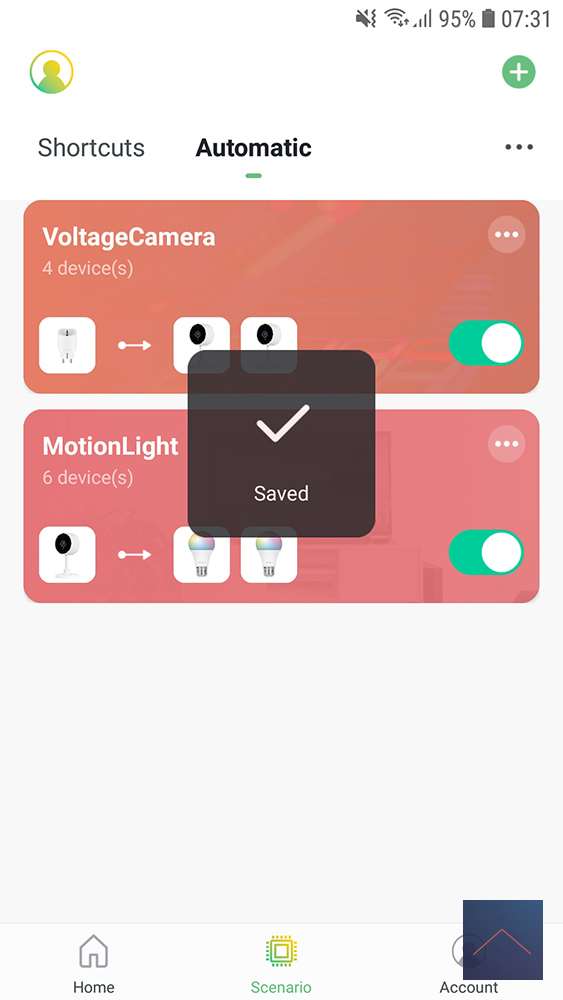
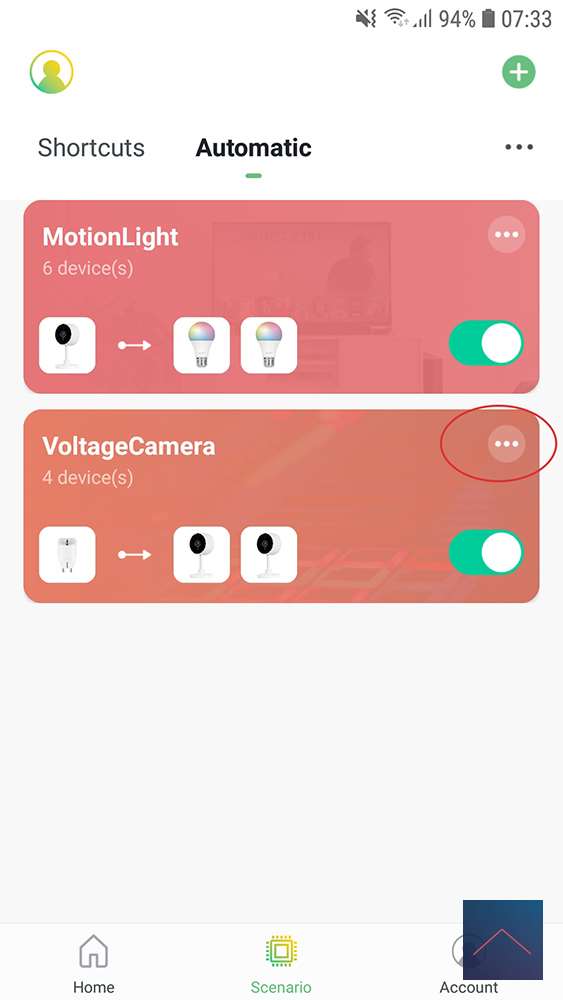
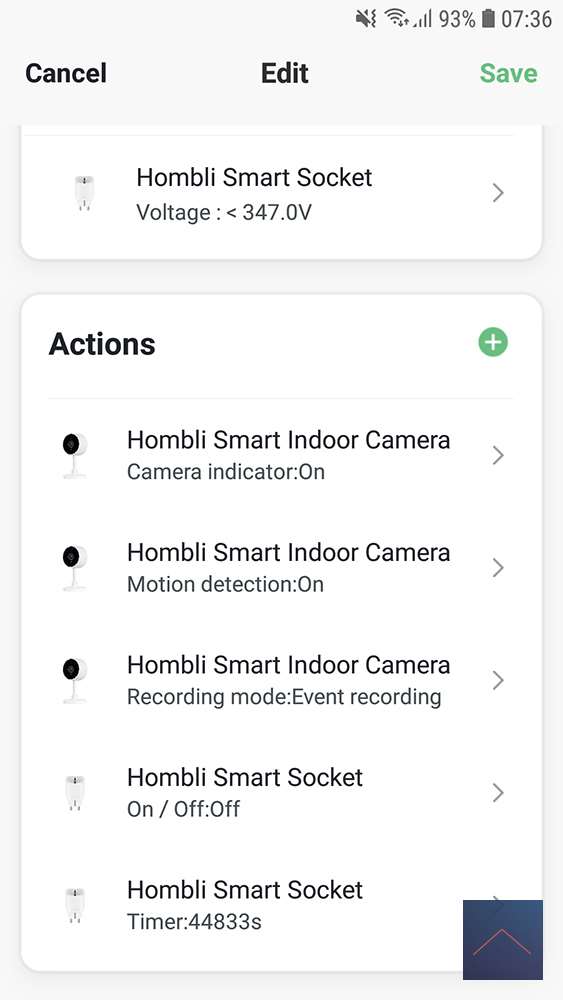
Good job so we make another automatic with the +. We set the condition that if the smart socket exceeds 110 Volt, we want the indicator light of the camera and motion detect to be on. We also want the camera to record this event. We give this a name in style, we give a color and photo and save this by Save.
Oops we forgot something and click on the three points. We add and store the action that turns the bulb on for 44833 seconds.
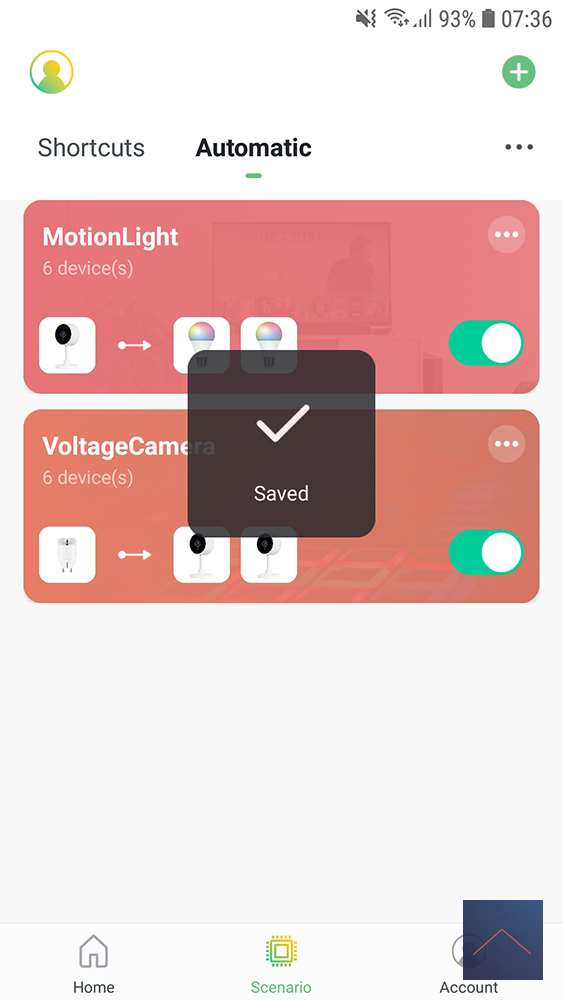
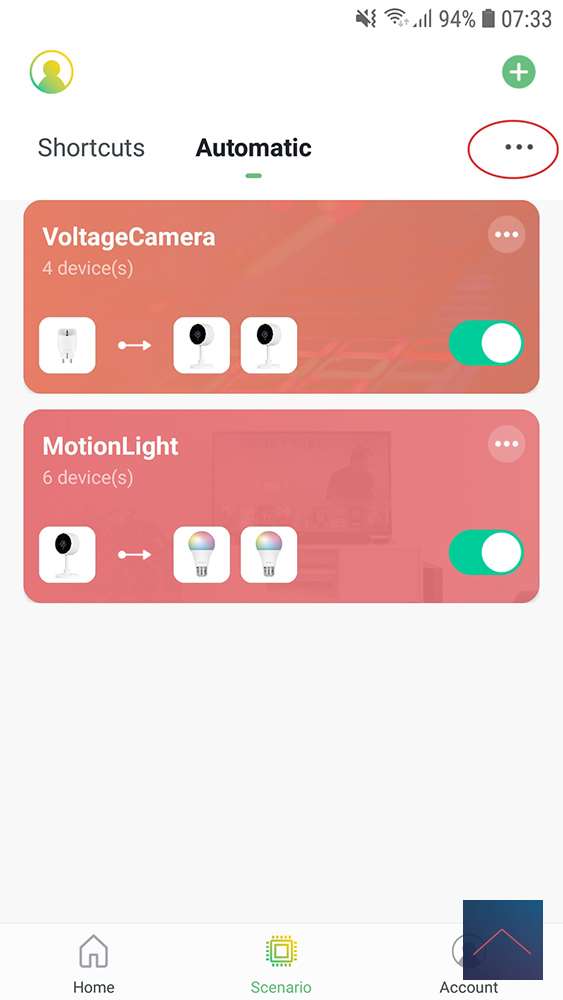
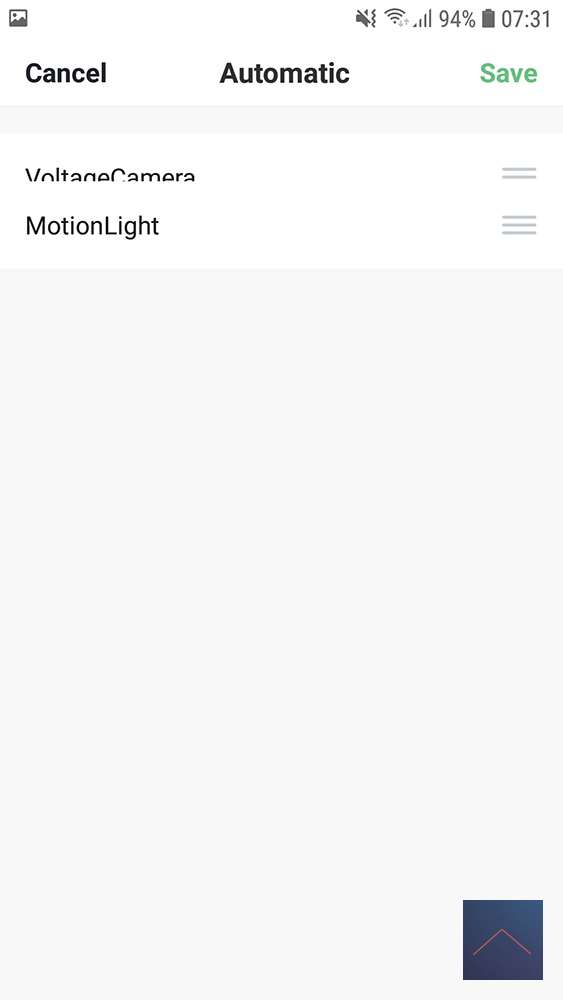
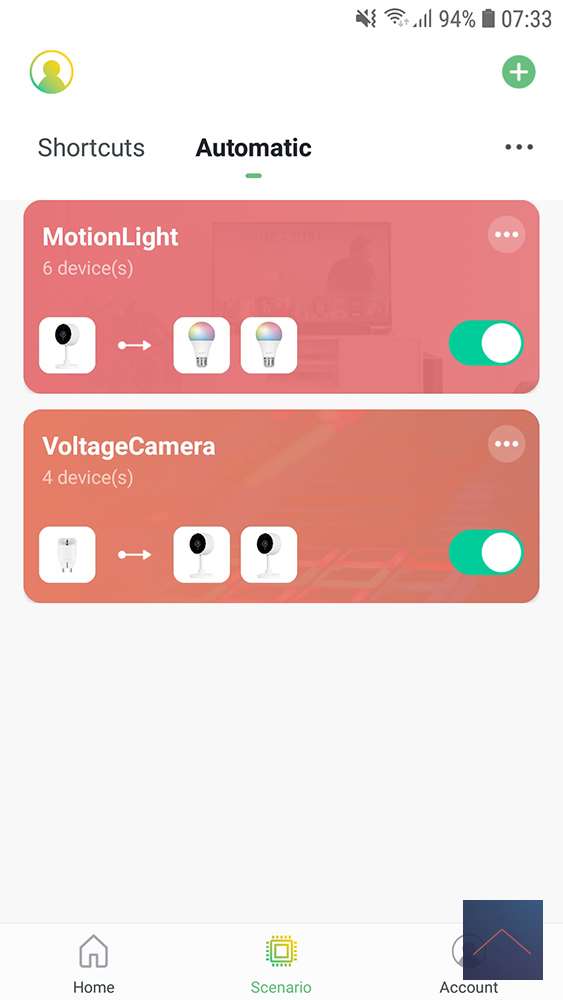
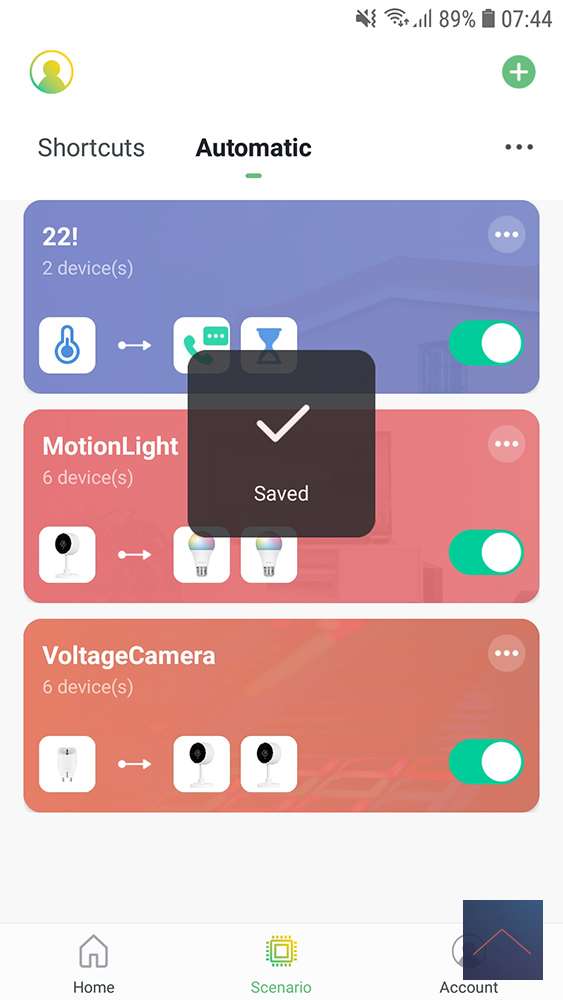
We can also adjust the order of the automatic scenes by clicking on the three points at the top right. On the right side you can take a name and place it up or down, save it as desired.
Automatic example 3:
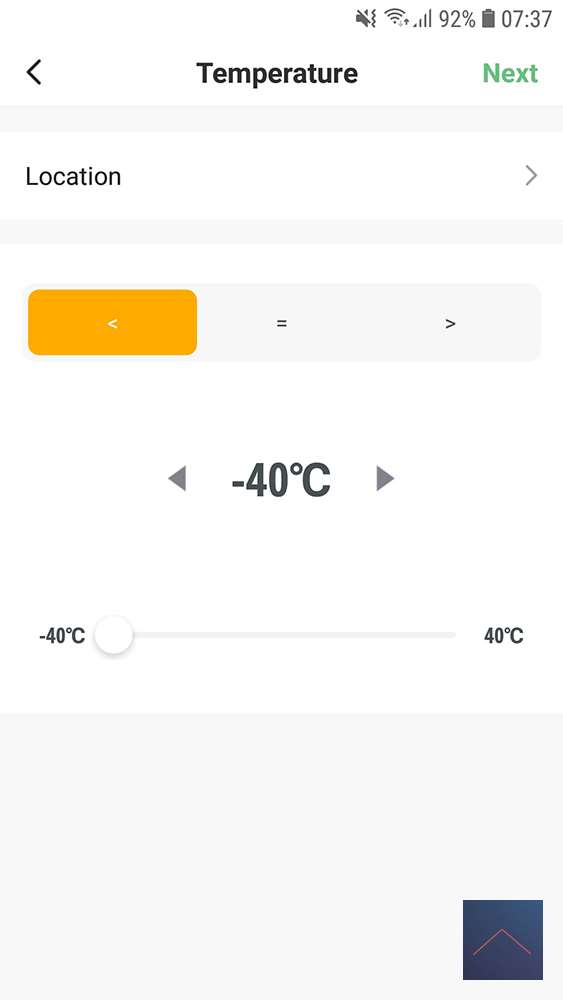
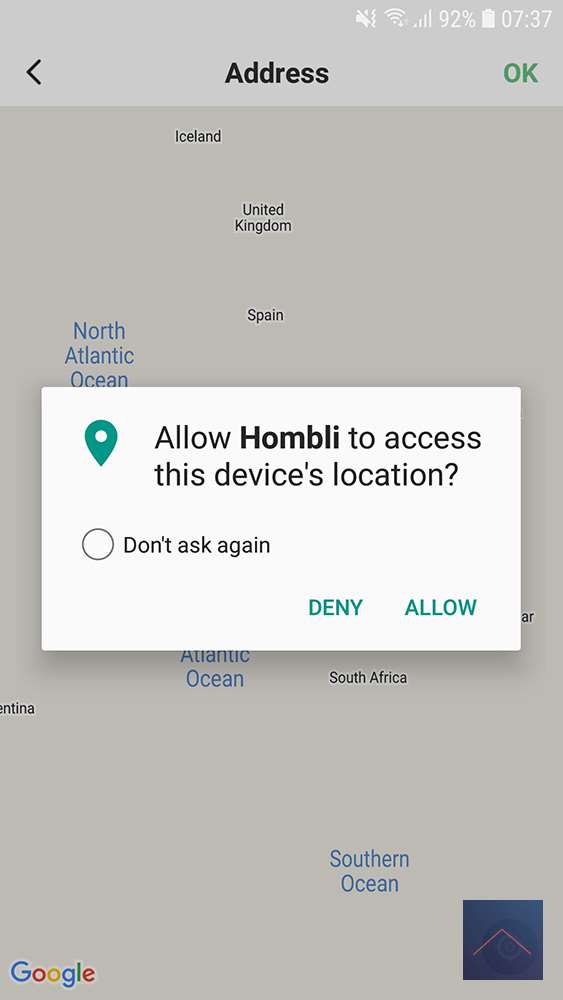
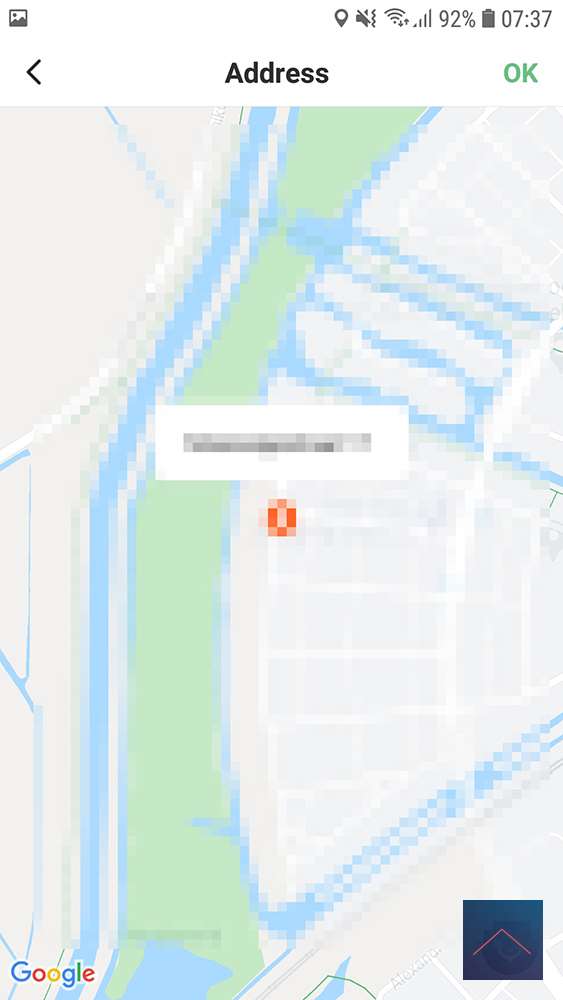
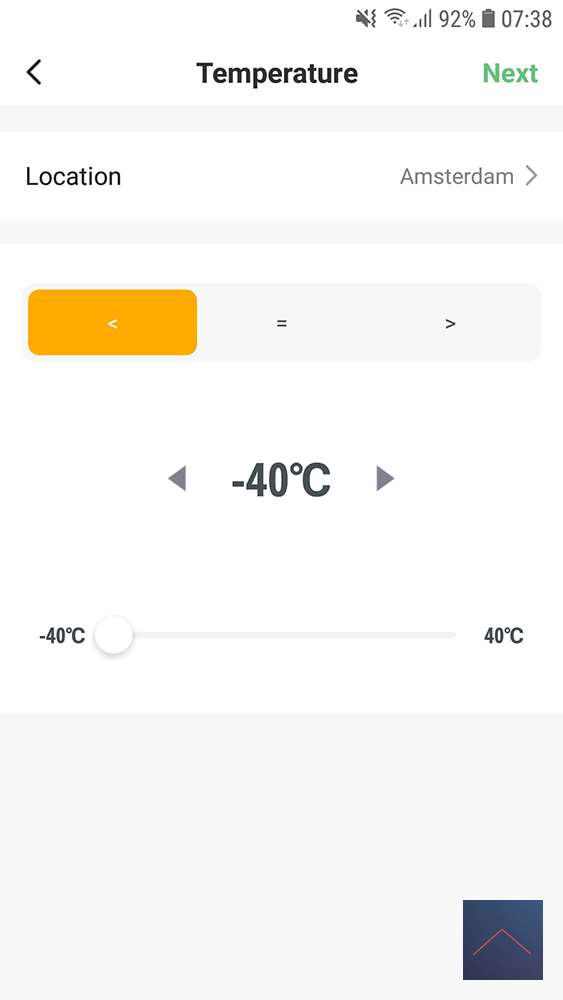
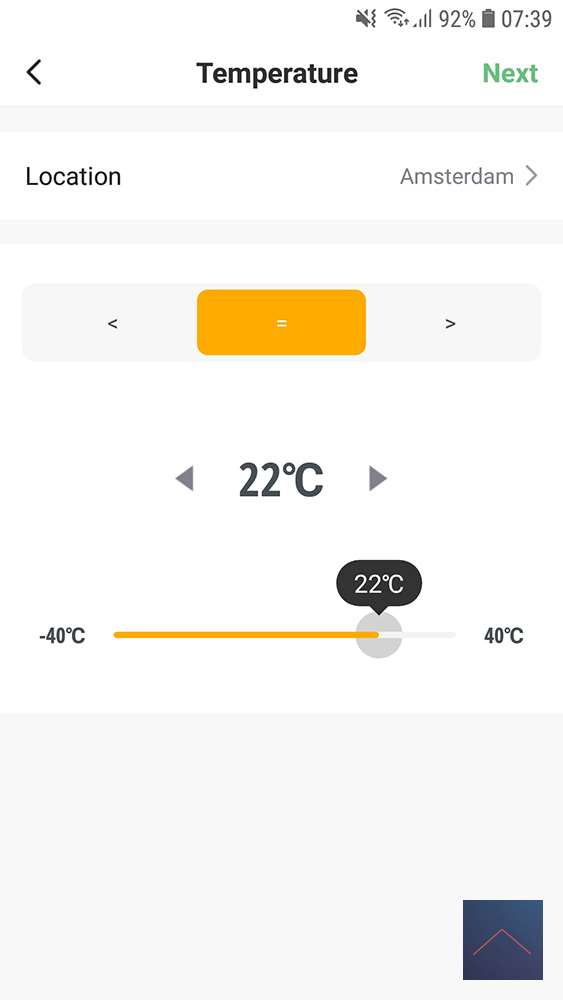
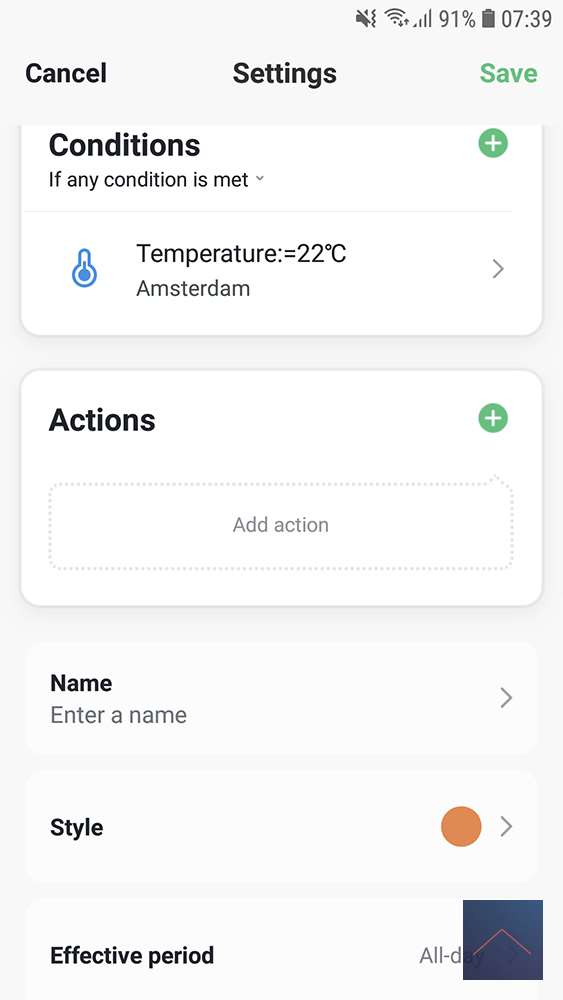
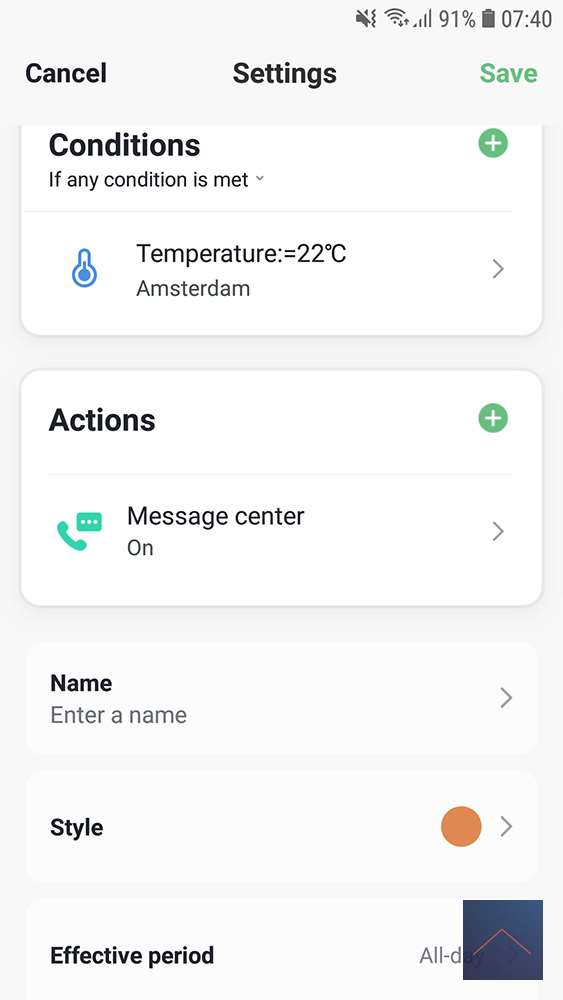
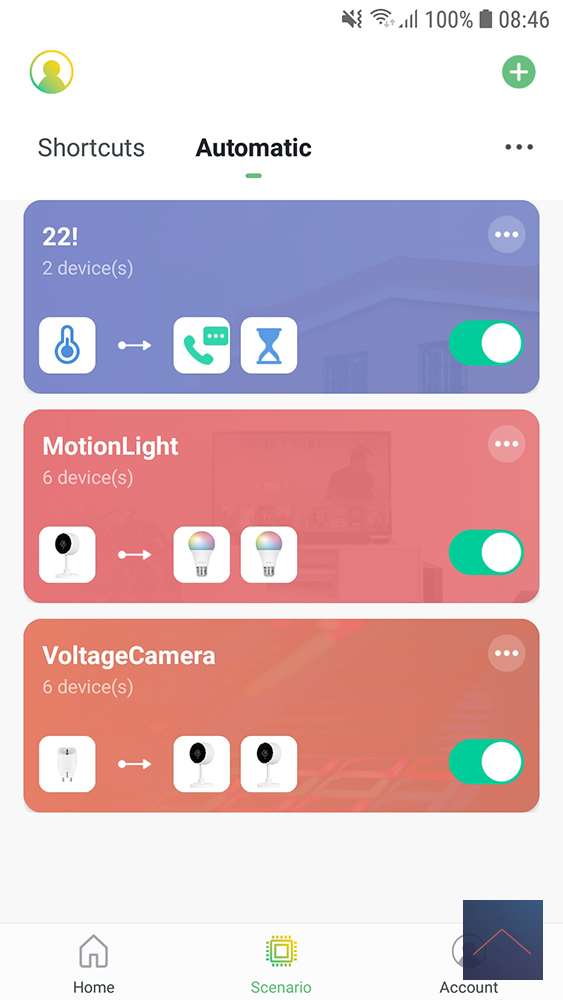
Ok we make 1 more to see if we can make nice combinations. As a Condition we want the action to be carried out when it is 22 degrees in Amsterdam. First of all, the Hombli APP wants to access your location, if you don't give it, it won't work. Well, we give access and then adjust the location to Amsterdam.
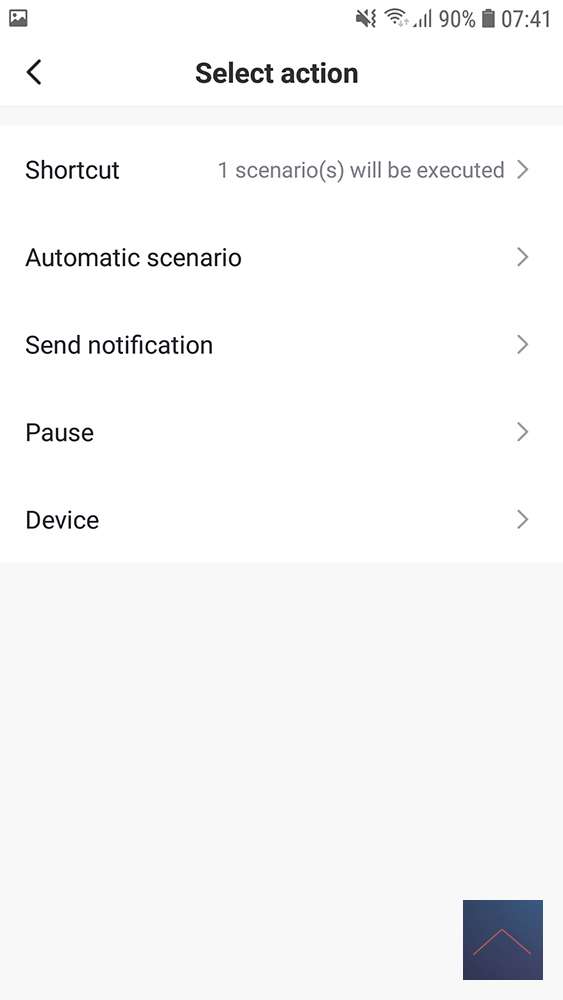
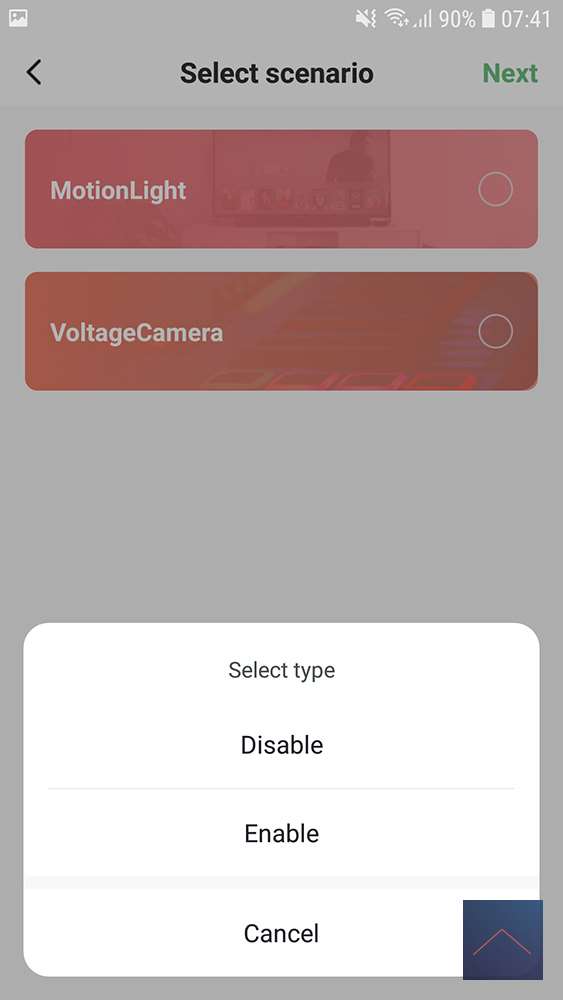
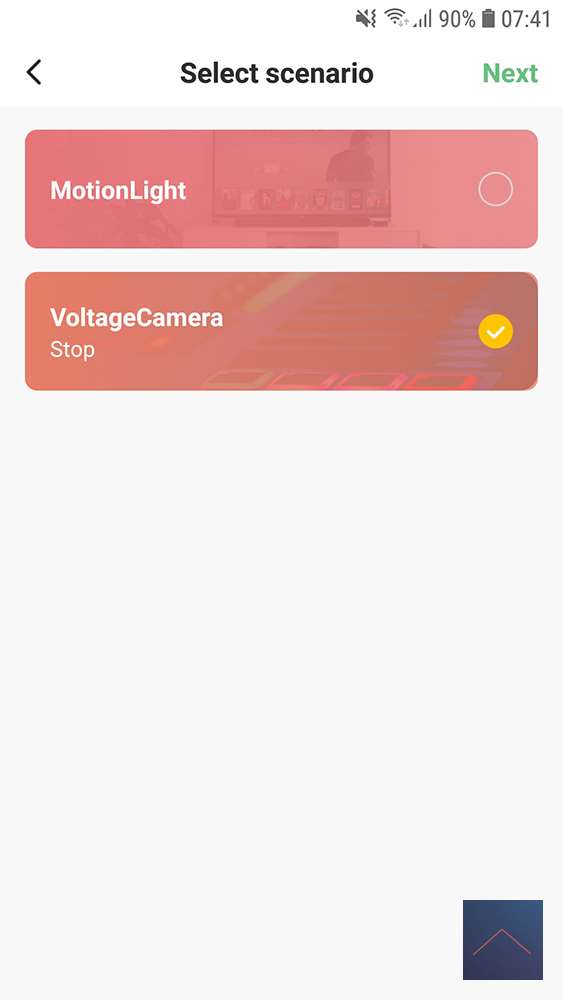
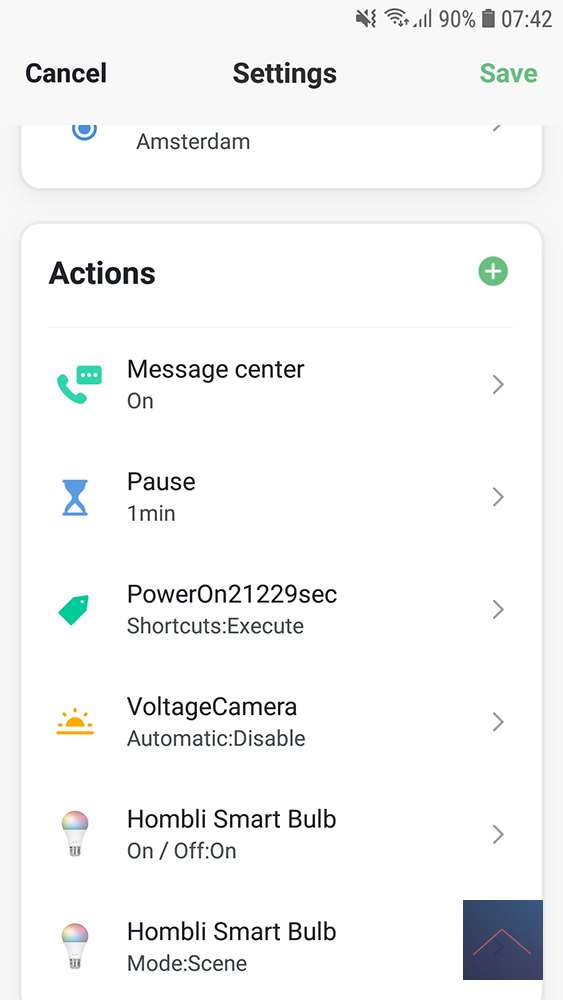
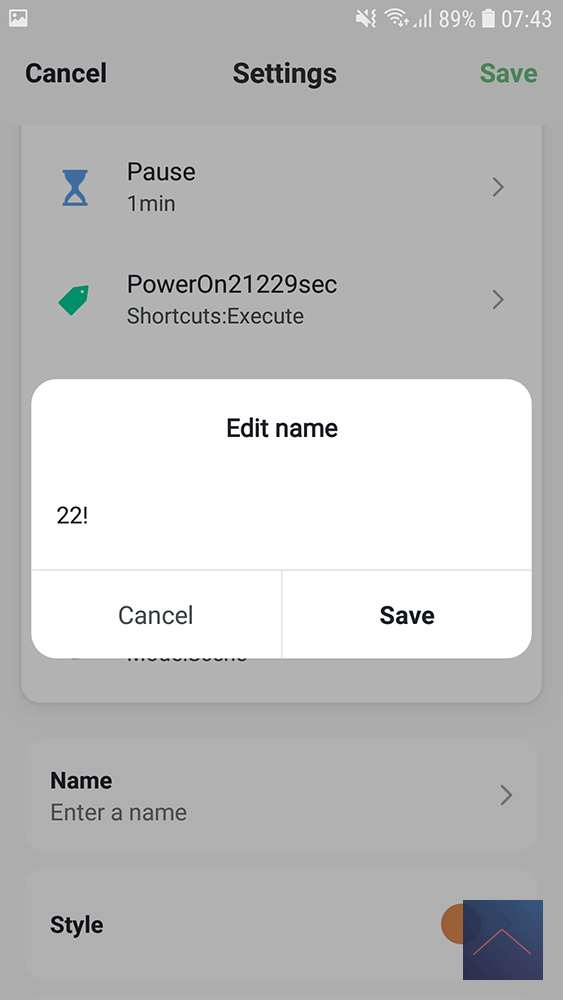
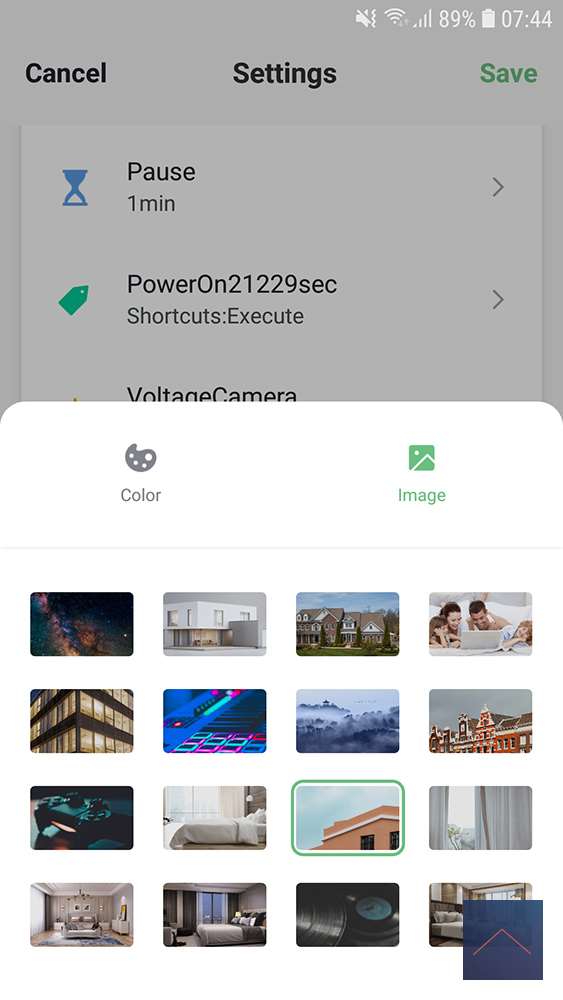
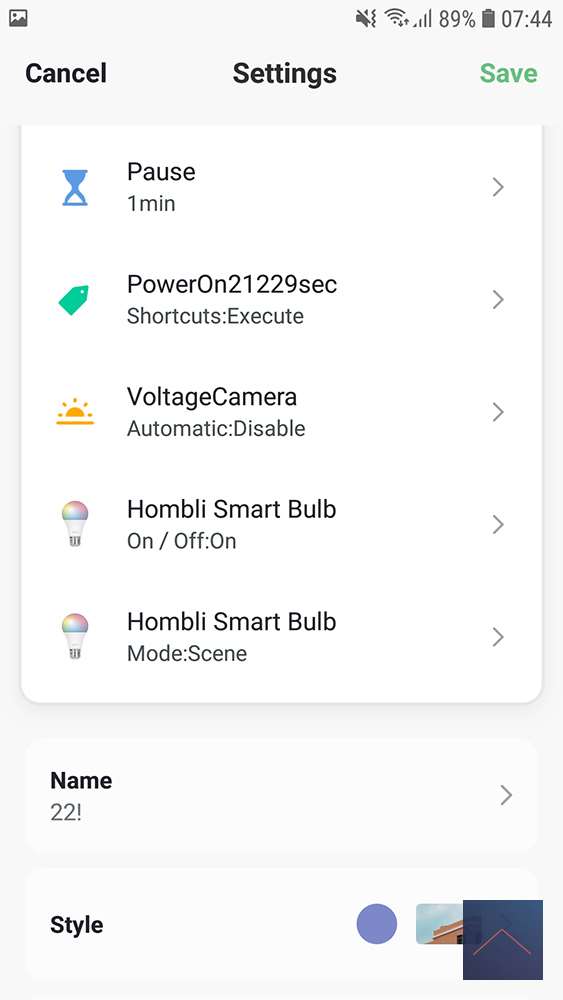
If I want to receive a message first, then a pause of one minute, then the shortcut PowerOn21229sec must be executed, then the automatic “VoltageCamera” must be switched off and finally the bulb must switch on with a certain scene. With scene we can not select which scene we want, finally we give it a name color and photo and save it.
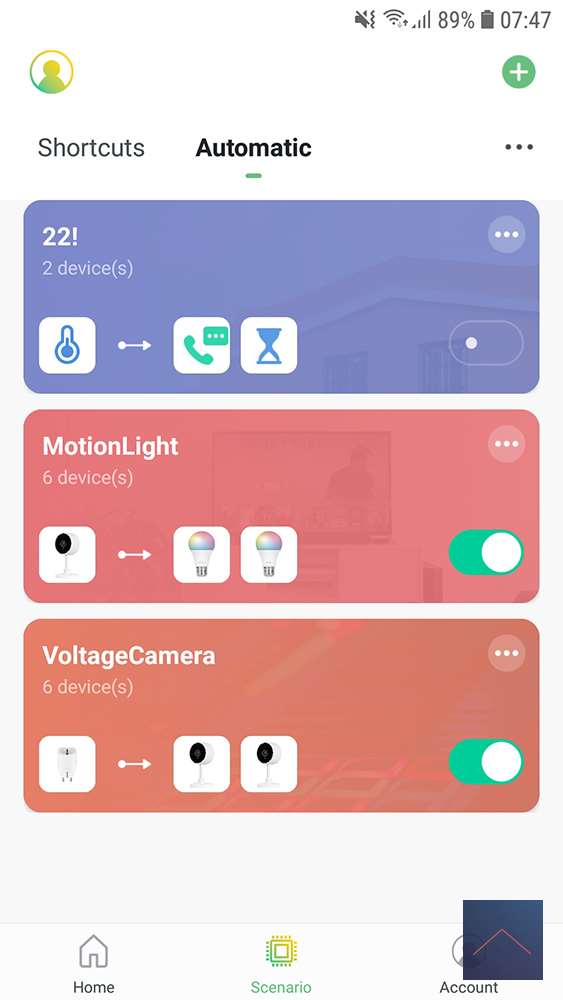
We can switch the automatic scene on and off by clicking on the slider.
So we can create nice automatic scenes, but it can't get more complicated than this in the Hombli App. Because the products go to the cloud via the internet and go back to another device, you occasionally notice that there is a delay. This is unfortunate but can be lived with.


