Review:
Home Assistant

Installation:
The first step is to ensure that you have a system to install HASS on.
We use a Raspberry PI 3 B + with a 16 GB memory card. This must be sufficient for the system to run smoothly. The tip is to use at least a 2.5A power supply, because it is more stable.
To start with, we ensure that the RPI is assembled.
Once you have done this, download the following software: Hass.io image for your device Etcher to put the image on the SD card
Then follow the following steps:
1. Insert the SD card into an SD card reader
2. Make sure you have Etcher installed and put the HASS.io image on the SD card
3. The easiest way is to connect the RPI to a UTP cable. You can also use a WiFi connection, but you must create a file on a USB drive for this. The USB must be called config, with a network and file named my-network on it. What should be in it can be found here: https://github.com/home-assistant/hassos/blob/dev/Documentation/network.md
4. Then make sure you have the SD card "Unmout" and put it in the RPI.
5. You then ensure that the UTP and power are connected. If you also want to see what happens (a few nice lines of text) then you also connect a monitor with an HDMI cable. The monitor is no longer needed later.
6. Give it a little time, because it can take up to 20 minutes. With me he was ready in a few minutes.
8. If you do not want to use the cloud environment, you must ensure that it is extra protected. If you want this, it is best to take a look at: https://www.home-assistant.io/docs/configuration/securing/
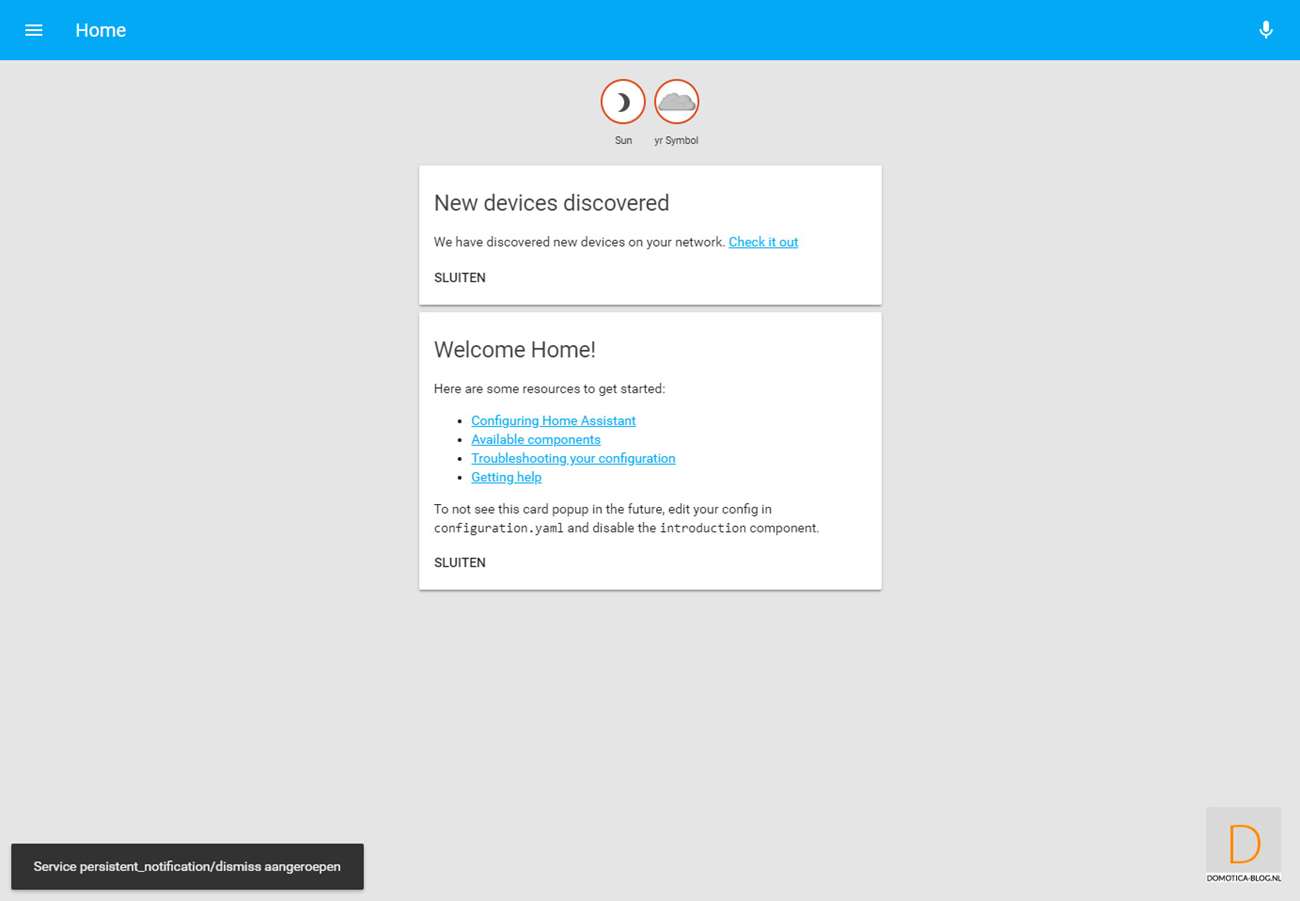
9. When everything is started up, enter a username and password. After this you have to log in with this data and go to the home screen.

The first steps:
HASS recommends that you first install the HASS configurator via add-ons. With this you can edit the configuration file (configuration.yaml) which contains all the settings.
Do you want this configuration manager to be easily accessible? Then you can add it with the following code:
panel_iframe:
configurator:
title: Configurator
icon: mdi: wrench
url: http: //hassio.local: 3218
You don't have to do this but it is nice for the test.


