Review:
INNR Smart Filament Bulb vintage (RF-261/RF-264)

Installation at the Homey:
The next controller is the Homey. The first step is to take the power off the old lamp and unscrew it. After this we screw the INNR back again. I always use a cloth to make sure that no dirty fingers get on the lamp. The lamp will flash briefly to indicate that it is in learning mode.
Now we can start the Homey APP and go to our devices. Then press the plus sign and look up the INNR. Just make sure you get the right version because there are quite a few. You will be asked to turn the lamp on and off again. After this, the lamp is immediately found and I see it flashing 2x.
I can now turn it on / off and determine the dimming level. Here too it dims nicely again.
Installation screens:
Configuration:
Control:
You get an on/off switch and you can dim the lamp. The nice thing about the Homey is that you can set the transition time in the settings (how long it takes from on to off).
Flow options:
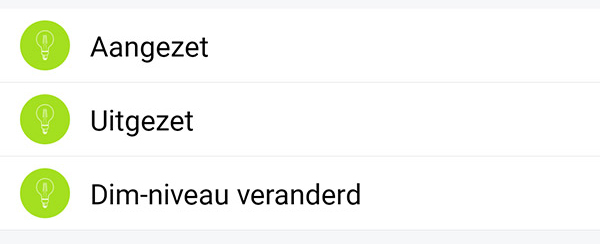
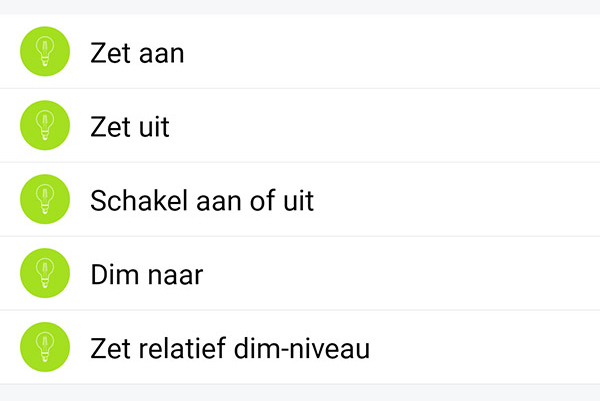
To create a flow you will have the following options available:
IF:

AND:

THEN:

Flow example:
With the Homey we can make many advanced flows than with the INNR bridge. Let's make the sunset a bit smarter, for example. It is useful that the lamp only switches on when there is movement/activity in the living room. This means that the lamp does not switch on unnecessarily. We use, among other things, a Fibaro Motion Sensor to register the movement.
We use the activity card at the trigger and at the DAN the lamp.


