Review:
Logitech Harmony

Installation:
Installing can be done in two ways. The first way is through the APP and the 2nd way is through the software you install on PC. The first method I tried but got the remote control not paired here. After a reset I started on the PC, which also works better.
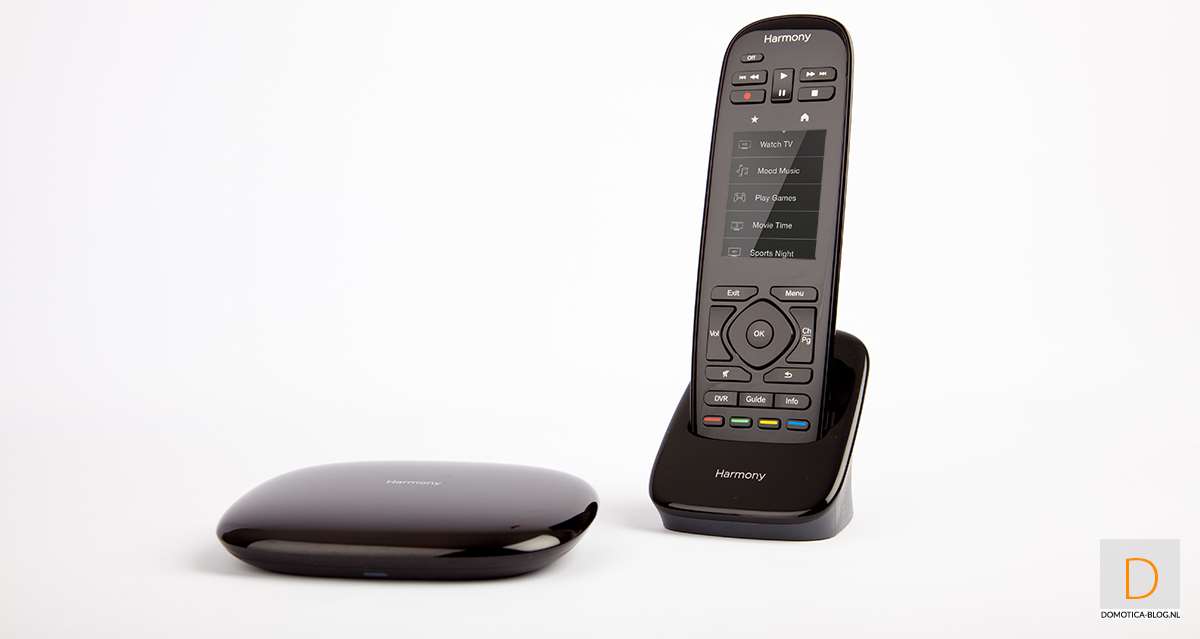
The first step is to download the software. You can find this on the Logitech website. Make sure the remote control is connected to your computer with the supplied cable. When you have started the software, you first create an account. It is best to create your own account (not facebook / google) if you want to link it to the Google Home, this works best. Then connect the remote control to your local WiFi.

Installation devices:
You can control 2 different types of devices with the Harmony. One is the infrared devices such as your TV, amplifier, etc and the other are so-called IP devices such as Philips HUE and Nest products. We start with the infrared devices.
IR
The Harmony has a very extensive device database at its disposal. According to Logitec, more than 270,000 devices are supported. So it shouldn't be a problem to add my Phillips television.
You can add this via the APP or via the PC software. We try it through the APP. Adding is very easy by entering the name of the device. Our Philips TV was found and all buttons are operable and transmit the correct signal. If you have added it completely, you can also immediately create an activity. More on this later.
Installation screens:
After adding I get various screens in the APP, with the channel numbers at the bottom, your forward / back / up / down buttons and a screen with various buttons such as the volume, channel up / down, etc.
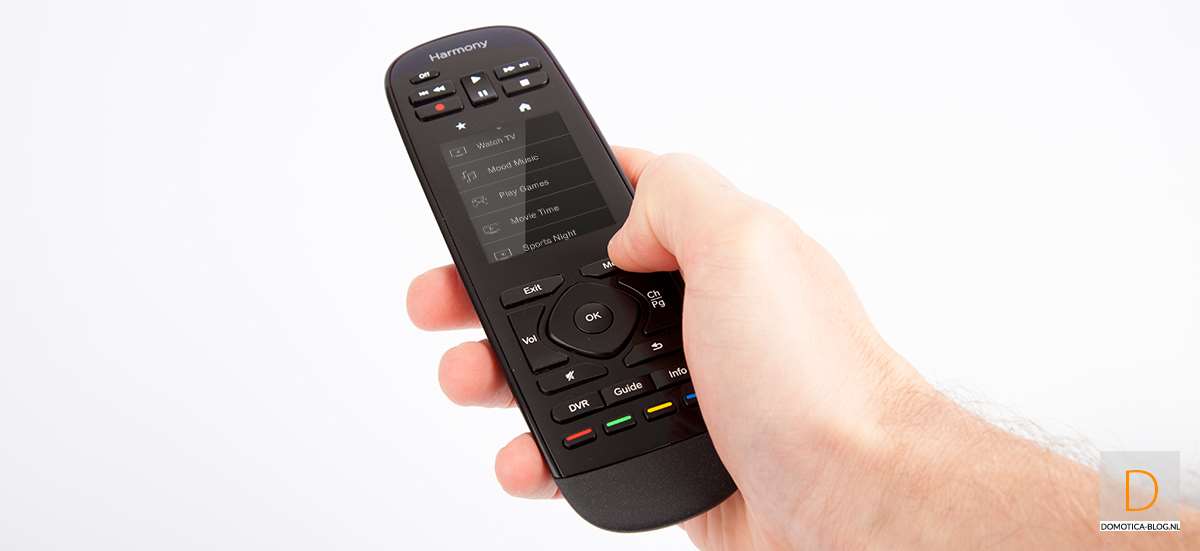
On the remote I see my favorite channels and of course all buttons. You can of course also use the physical buttons to adjust the volume and zap to another channel.


