Review:
Neo Coolcam Door sensor

Installation on Domoticz:
The next system where we will install the sensor is that of Domoticz. This is a free open source smart home system that can run on different hardware. We use an RP2 with an Aeotec USB Z-Wave stick.
The first step is to remove the cap from the sensor and remove the tab near the battery. Now we can log in via the Domoticz web interface. We go to the menu item "setup" and to "hardware". Then press the setup at the Aeon Labs controller and press "include node secure". There will be a pop-up that the controller is in learning mode. Now press and hold the add button for 5 seconds until the LED lights up white. When we release it, I see the LED flashing blue indicating that it has been added, this is also the case because I see a message in Domoticz that it was successful.
Now I can install the sensor in its final location. Make sure that the distance between the sensor and the magnet is no more than 2 cm apart.
Installation screens:
Control:
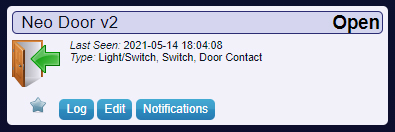
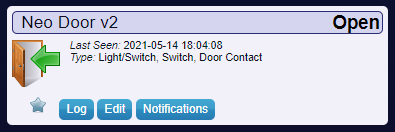
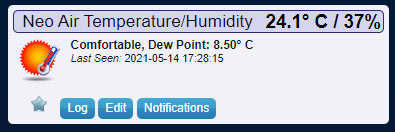
I get a door/window, temperature and humidity sensor. As usual with Domoticz, I have to change the type to door/window sensor in the configuration. After this I see open and closed coming in.


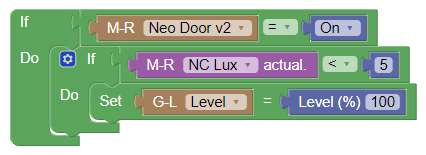
Example event:
We ensure that when the door is opened and the lux value is lower than 5 (it is dark), the lamp in the hall is switched on.


