Review:
Neo Coolcam Door sensor

Installation on the Fibaro Home Center 2:
Now that we've had 2 controllers, we move on to the HC2. This controller also has a Z-Wave chip built in so should be compatible with this sensor. We will of course add it to see if this is the case.
We first log in to the web interface of the HC2 and go to our devices. After this we click on "add/remove device" and then on "add". Now we need to remove the tab by the battery and hold the add button for 5 seconds until the LED turns white. The HC2 gives a message that the addition has started and I see the LED flashing blue on the sensor. This indicates that he is "adding". After a few seconds I see it appear on my devices.
I notice that it is registered as a motion sensor. This does not matter for the operation because the values are all entered correctly. Now I can install the sensor in its final location. Make sure that the distance between the sensor and the magnet is no more than 2 cm apart.
It strikes me that there is no configuration (parameters) present, so you will have to add it by hand. See further in the article.
Installation:
Configuration:
Operation:
I get a door/window, temperature and humidity sensor. It is noticeable that the sensor reacts very quickly.

Scene options:
Example scene:
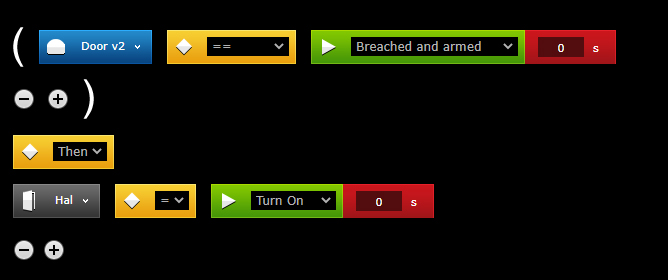
We would like if the alarm is on and the door is opened, then all the lights in the hall will turn on. We use the trigger "Breached and armed" for this and make sure that the "Hal" is turned on.


