Review:
Neo Coolcam Motion Sensor (5in1)

Installation on the Vera Edge:
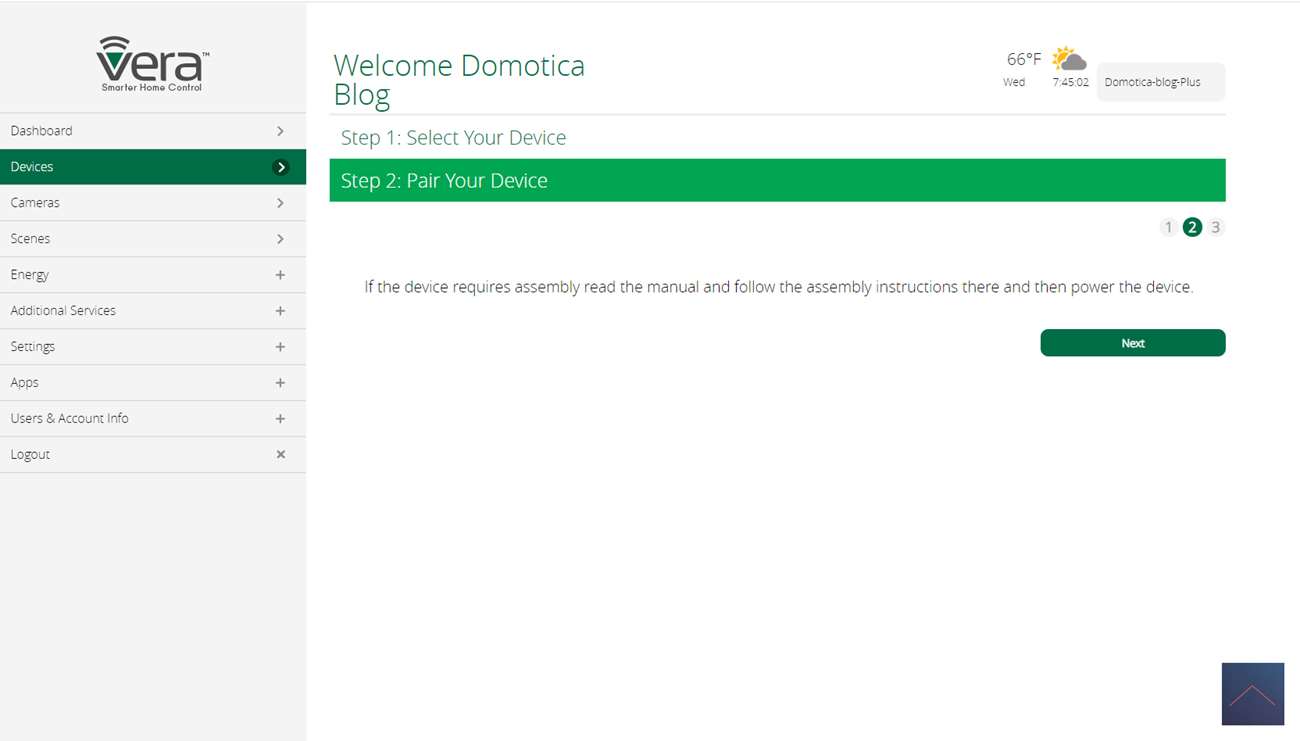
The next controller is from Vera. This one has a Z-wave chip built in so adding it shouldn't cause too many problems. First we unscrew the cover on the back of the sensor and remove the tabs near the batteries.
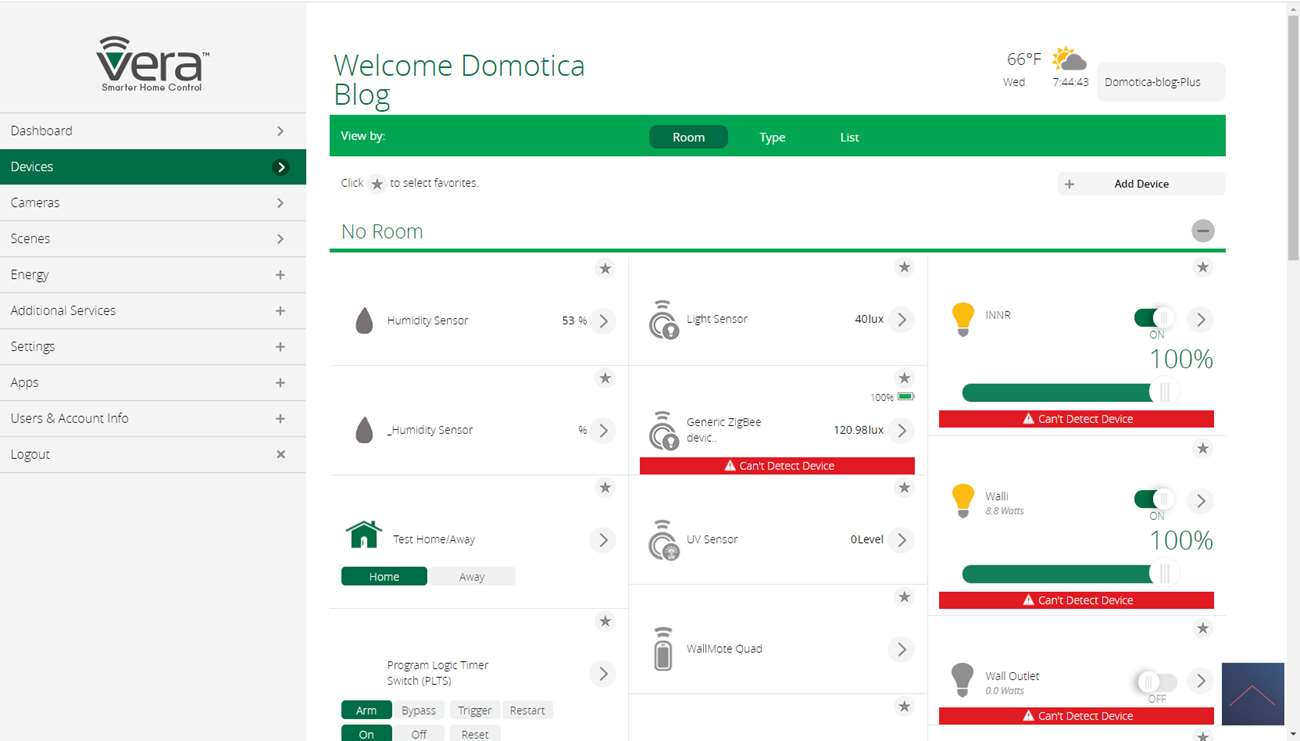
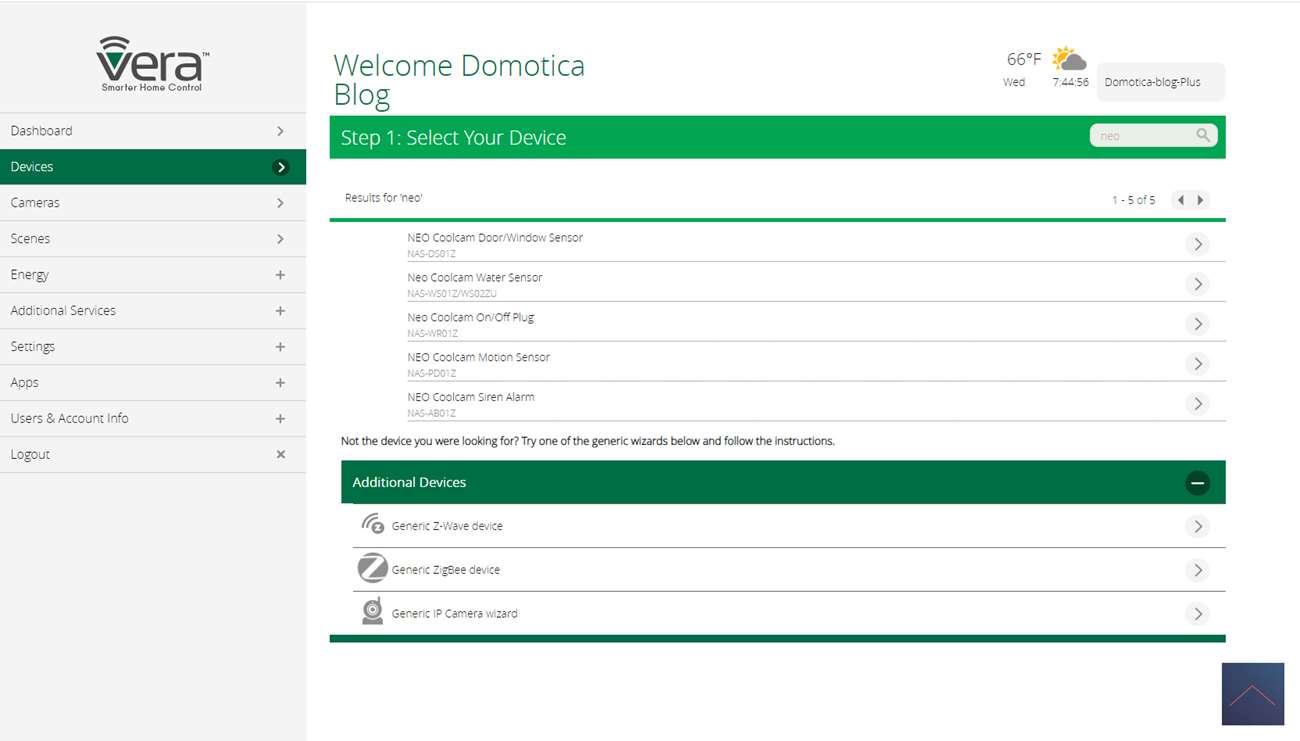
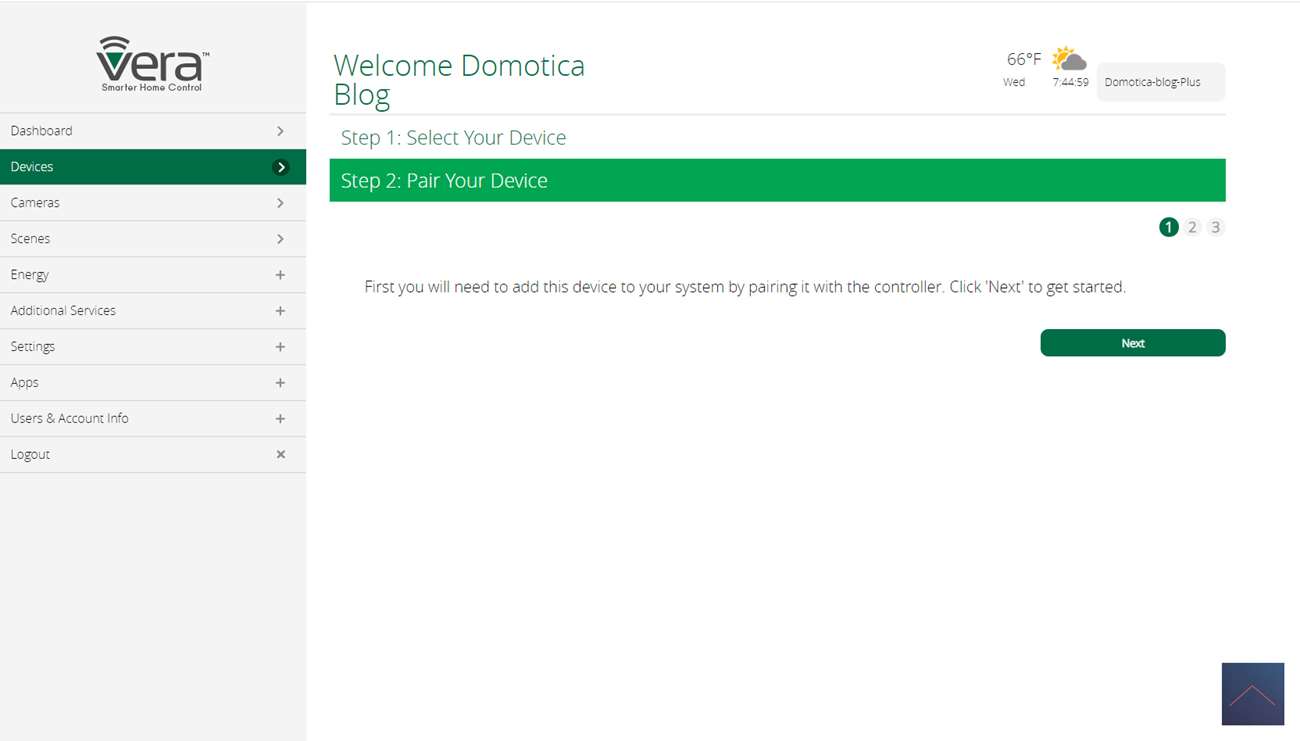
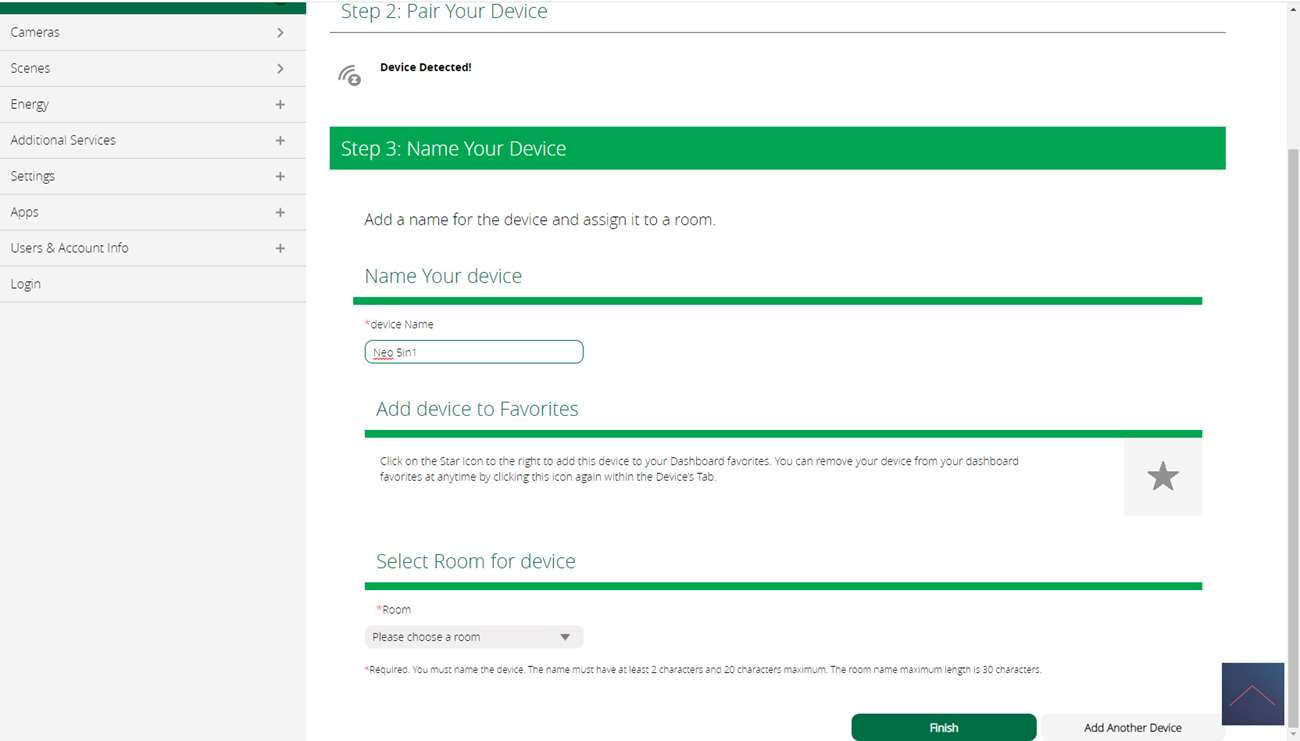
Now we log in to the Vera and go to our devices and click on "add device", now we look for the motion sensor. Unfortunately I can't find it so we'll try to add it as a generic sensor.
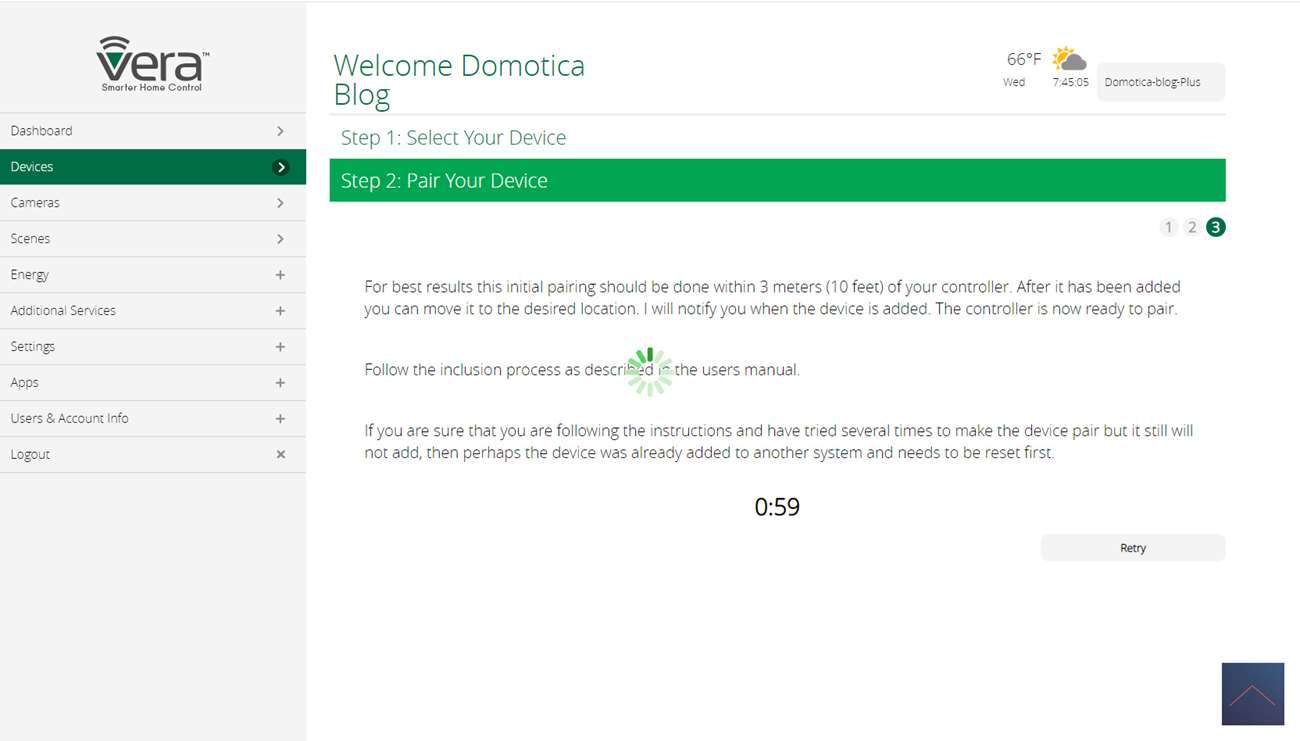
After some steps, the Vera asks to put the sensor in "learning mode". You can do this by holding down the button on the back of the sensor until the LED turns white. We release the button before the LED goes out again.
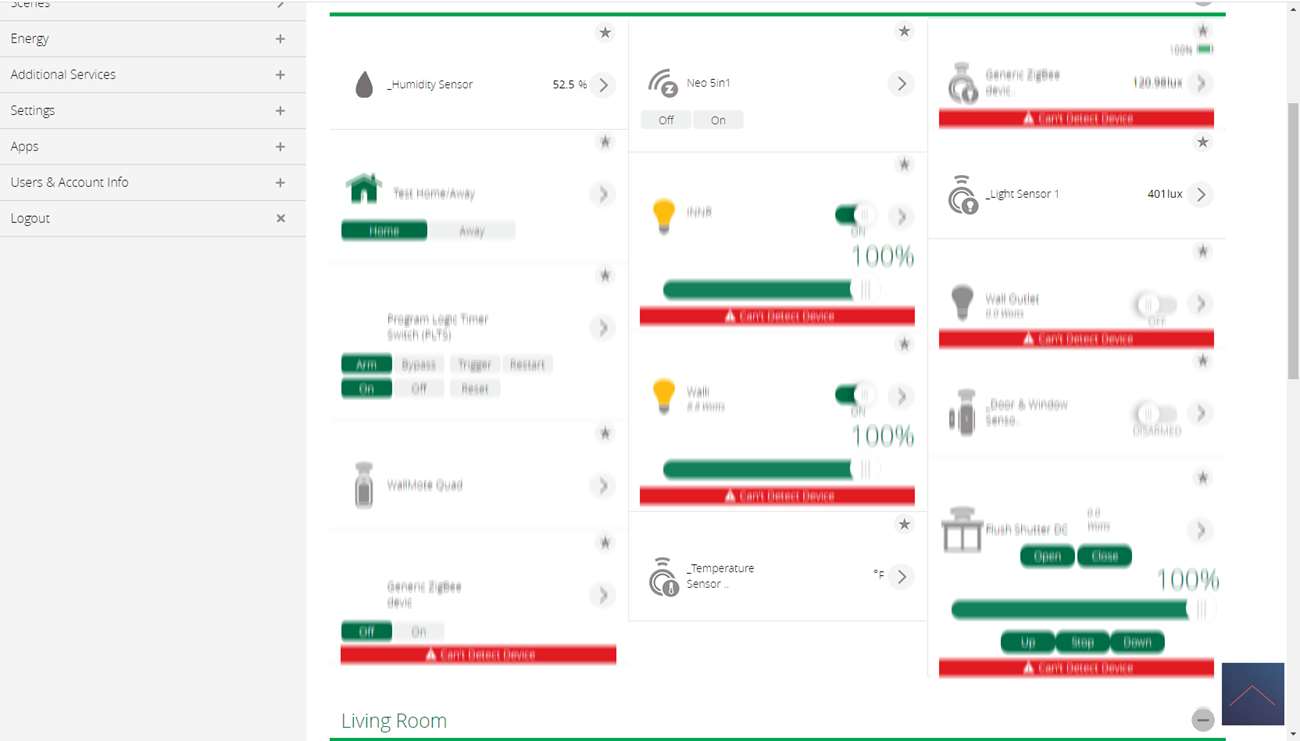
Now I see the LED flashing blue, turning green and then flashing red. After a while I see it also appear on my devices. It just strikes me that it takes a long time for the temperature to come in. I can see the lux value and humidity immediately.
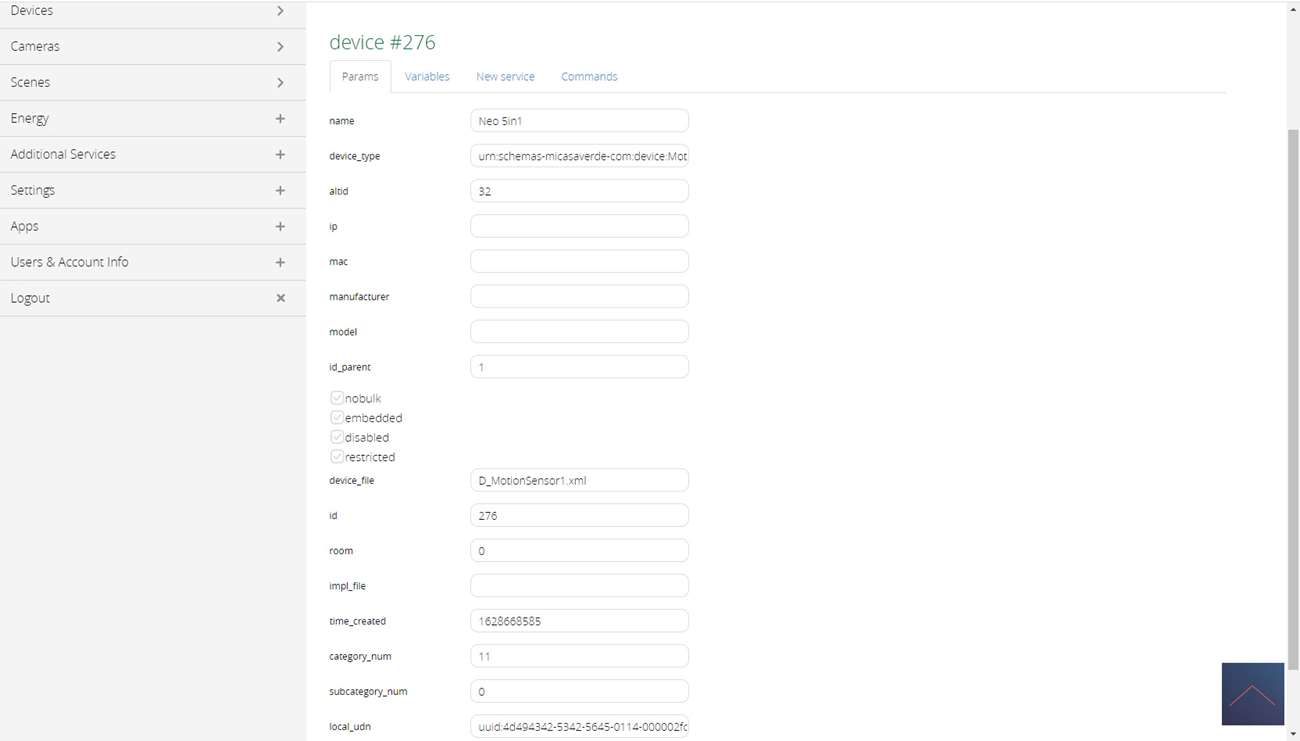
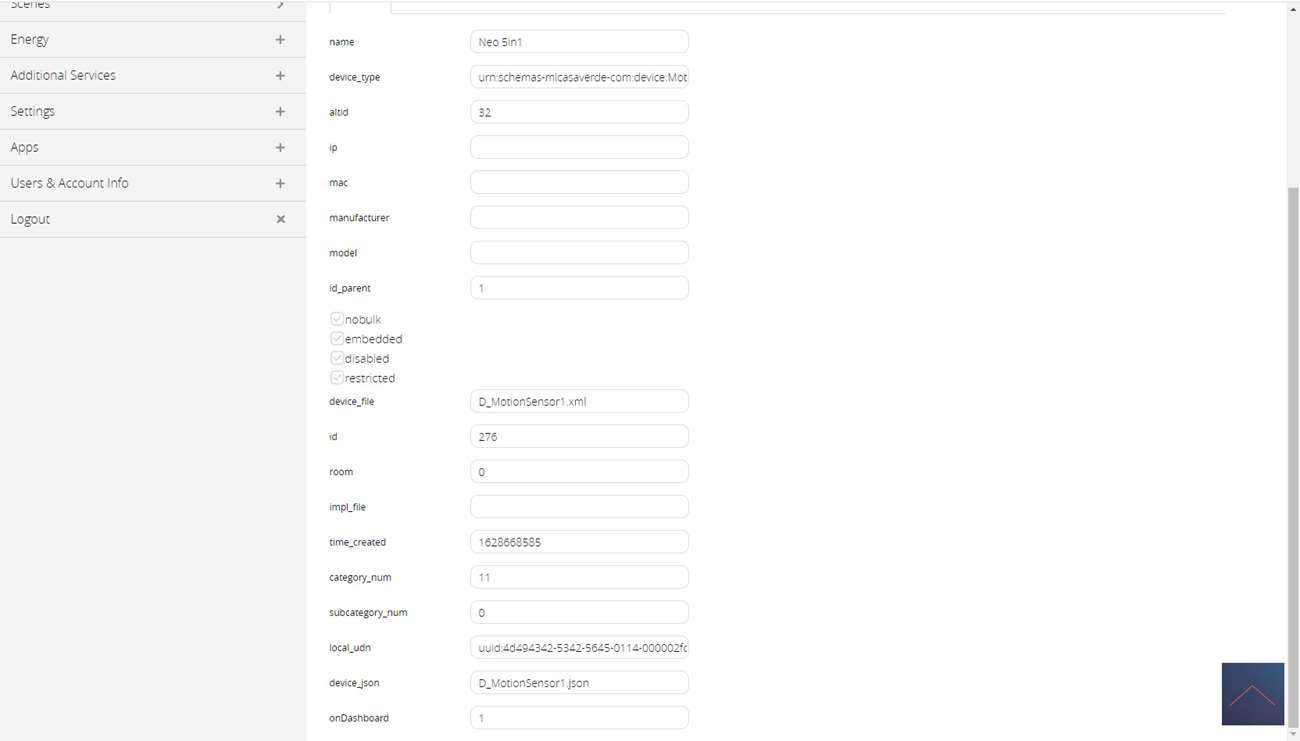
The motion detector is found as an on/off switch. We can change this by going to the device configuration. Enter the following values:
device_type: urn:schemas-micasaverde-com:device:MotionSensor:1
device_file: D_MotionSensor1.xml
device_json: D_MotionSensor1.json
Installation screens:
Configuration:
Operation:
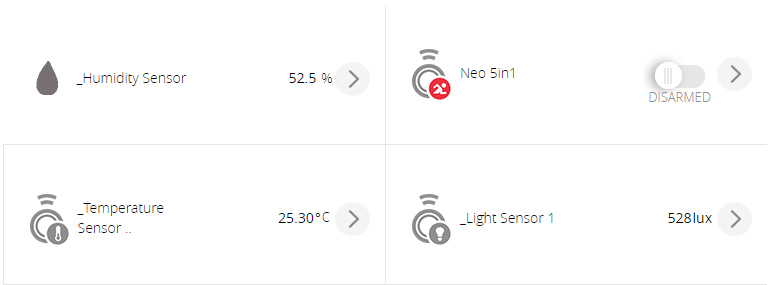
You get a motion detector, temperature, light and humidity sensor. When there is movement, the LED lights up blue, you can also turn this off via the parameters (see here). The temperature sensor gives a value of 26.2 degrees while my calibrated sensor (which is next to it) gives 27.1 degrees. So it is quite accurate.
Example scene:
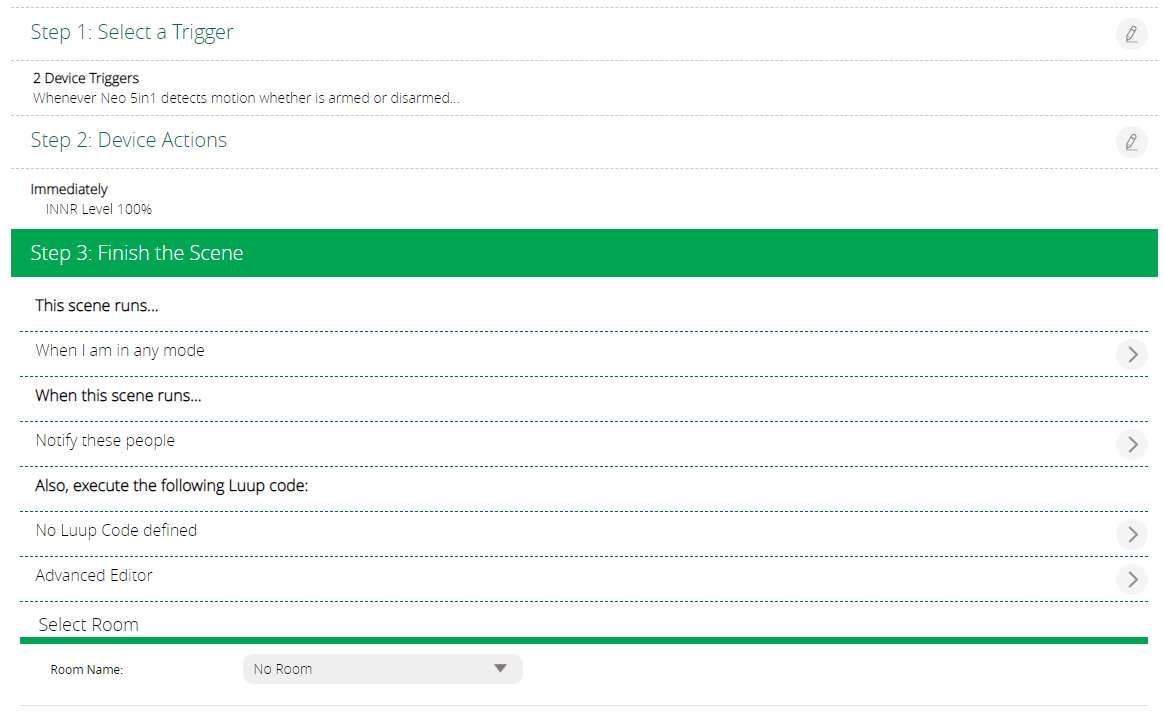
We create a scene where if movement is detected and the lux value is lower than 5, the lamp in the hall is switched on.


