Review
Power plug Wifi - Neo CoolCam
Custom Firmware:
With the custom firmware you replace the existing software on the Neo Coolcam Power Plug, so you can no longer use the Smart Life App. But you do get a web interface and API options in return. You therefore have everything in your own hands and are no longer dependent on the Smart Life App and your data and your use should not be stored and used by a Chinese company. In my network, I see at least no traffic from the Power Plug to the internet.
To put the custom firmware on it you need some computer skills, because you do this on a linux computer with a WiFi connection. I use a Raspberry Pi with a Kali operating system for this.
If you have the Raspberry Pi Kali running, open the terminal emulator and first make sure everything is up to date via the following instruction:
apt update && apt upgrade –y
Now we can start to get the application from grithub, more information you can read at https://github.com/xoseperez/espurna/wiki/Hardware-NEO-COOLCAM-NAS-WR01W
In the terminal emulator enter the following command for you:
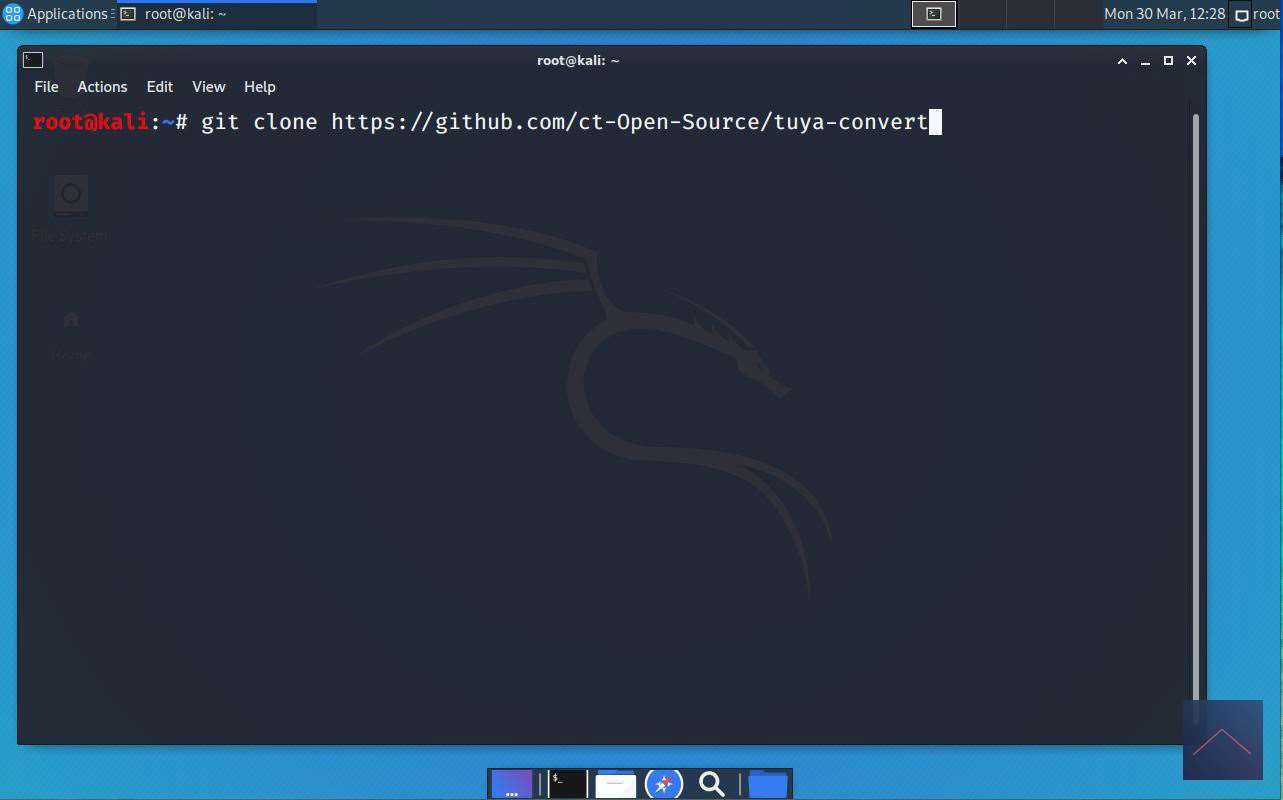
# git clone https://github.com/ct-Open-Source/tuya-convert
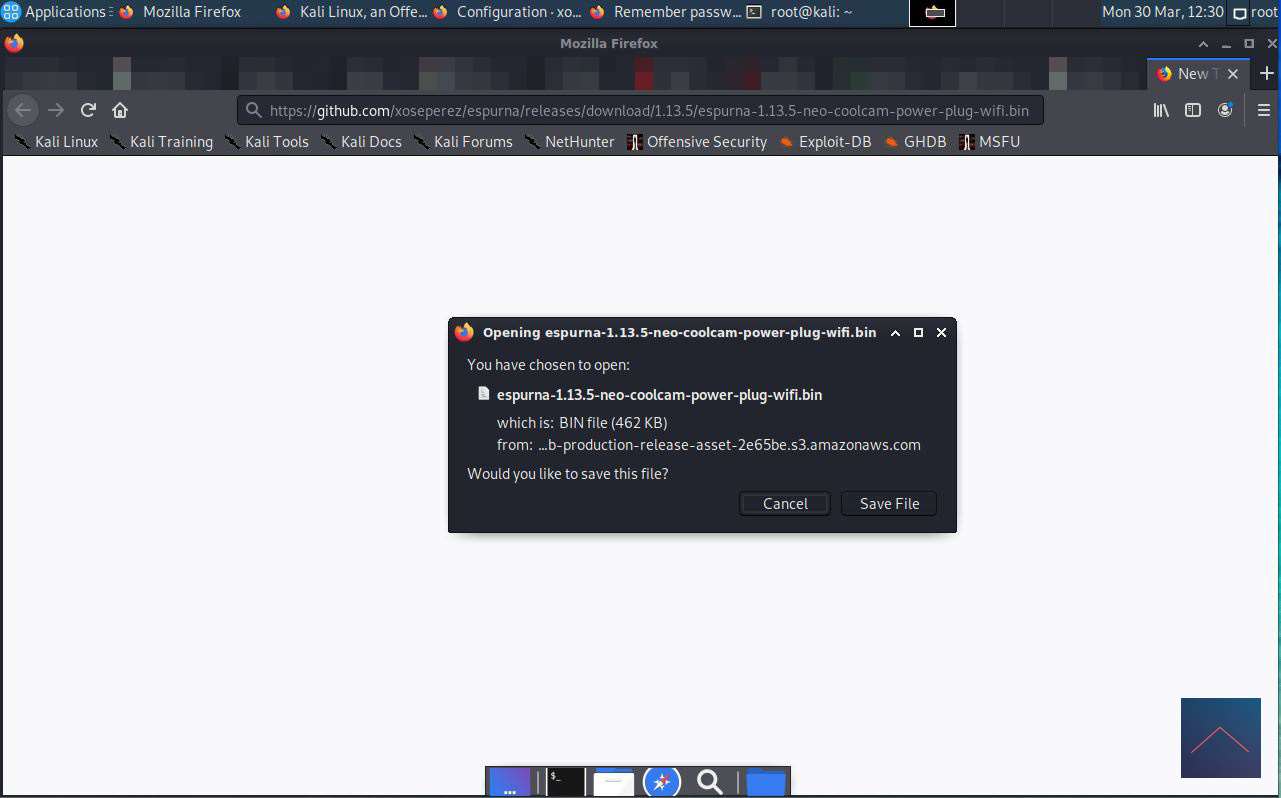
When finished, download the following file “https://github.com/xoseperez/espurna/releases/download/1.13.5/espurna-1.13.5-neo-coolcam-power-plug-wifi.bin” in the browser and copy it to the folder “tuya-convert”.
Then you go back to the terminal emulator and execute the following commands:
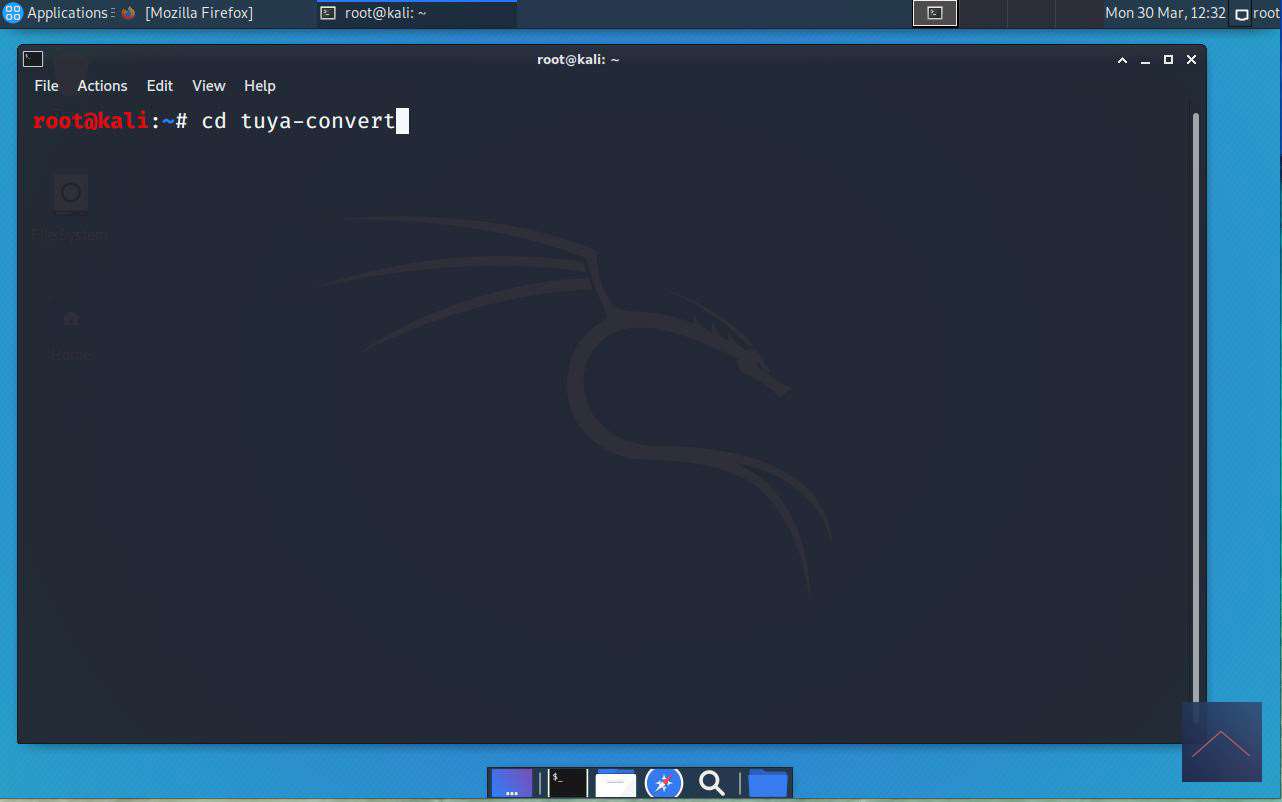
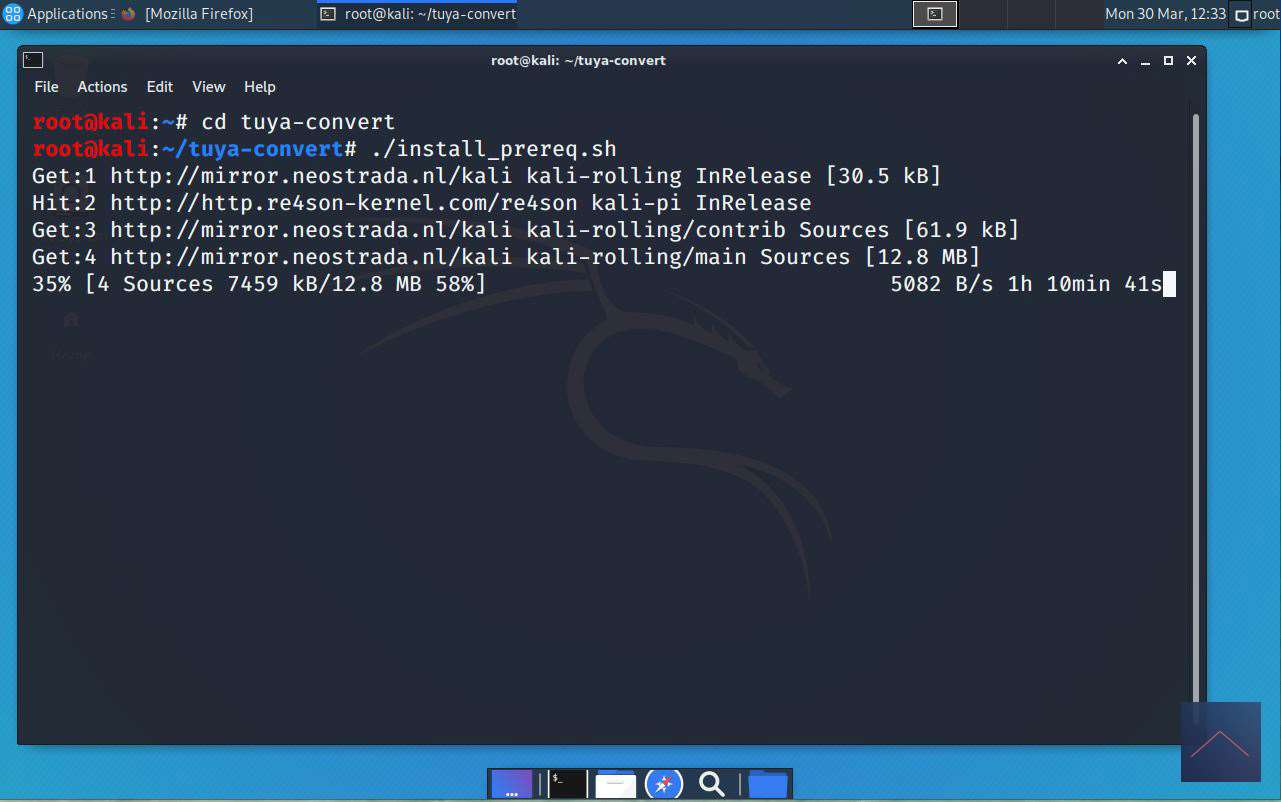
# cd tuya-convert (this will take you to the tuya-convert folder)
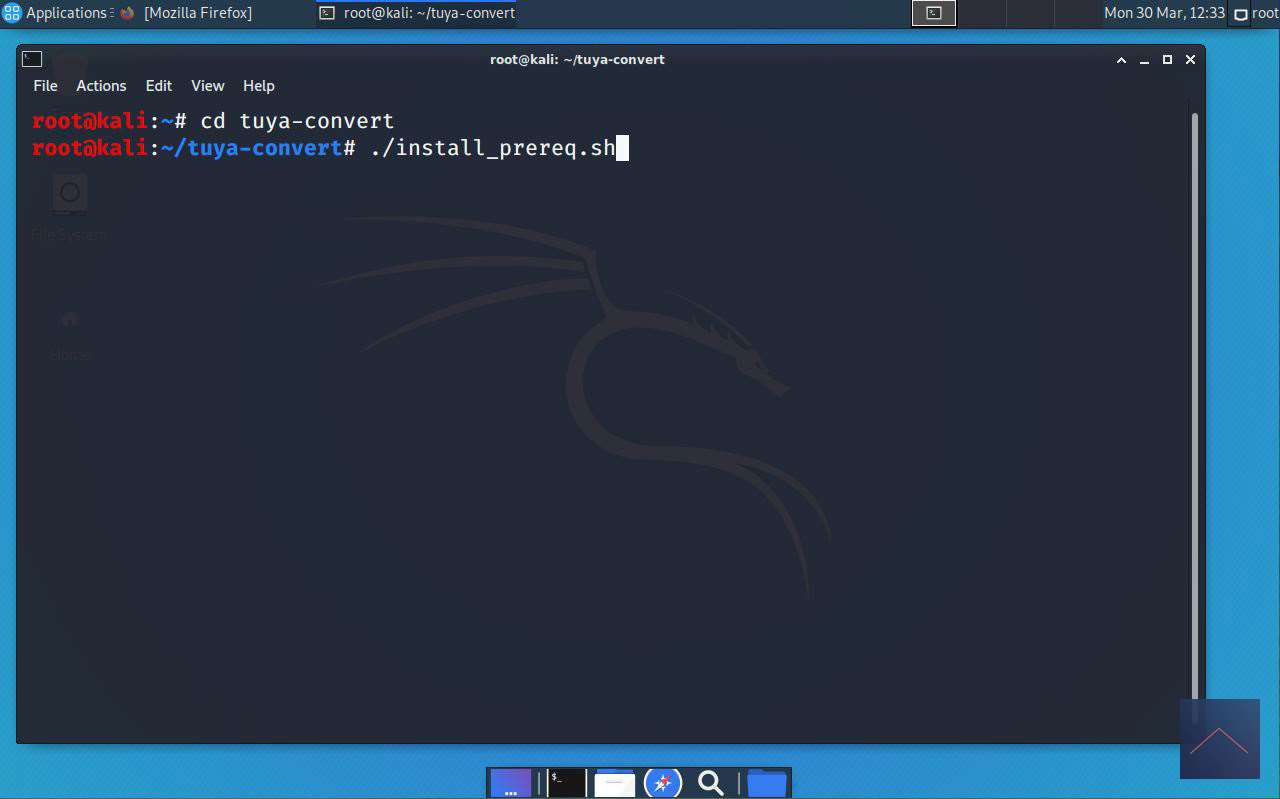
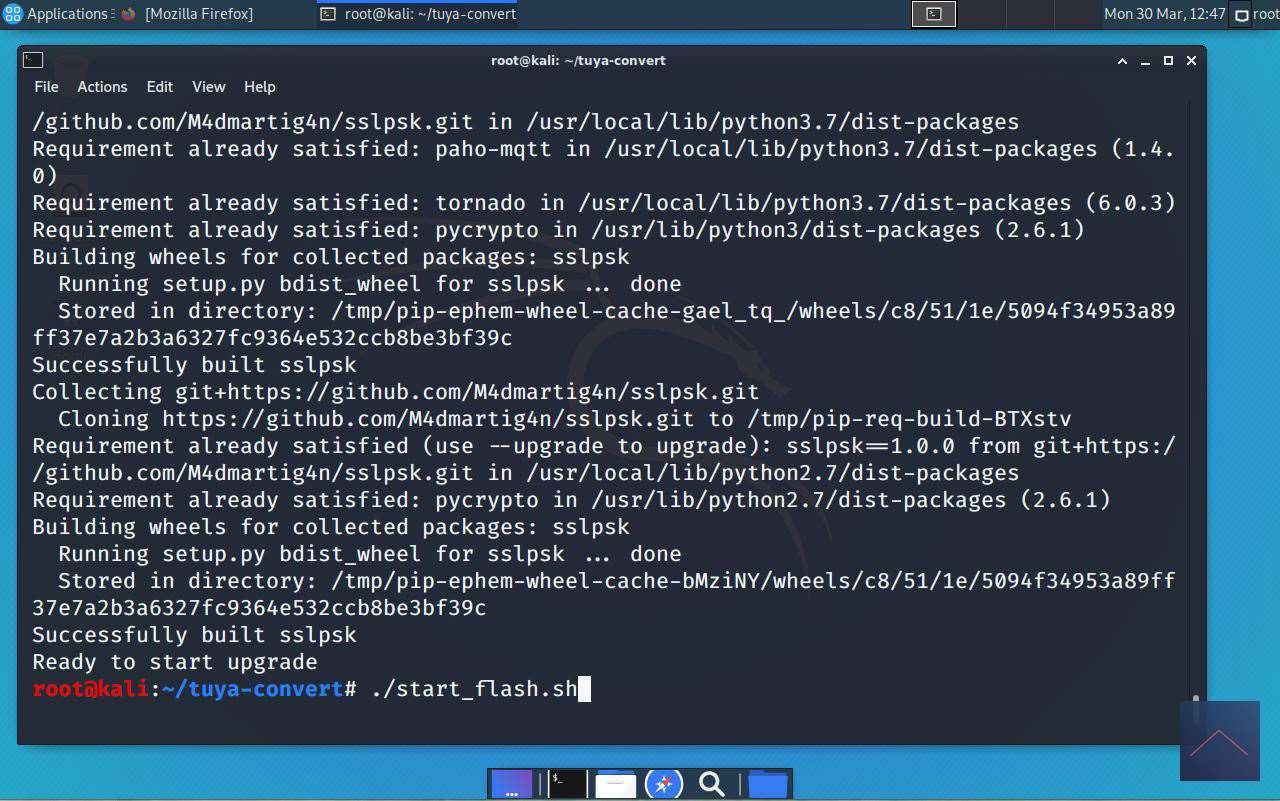
# ./install_prereq.sh (this installs the application and takes some time)
# ./start_flash.sh (this will start the application to make it connective)
If you don't see anything on your screen or get an error after running # ./start_flash.sh, reboot and run this command in the terminal emulator:
# cd tuya-convert
# ./start_flash.sh
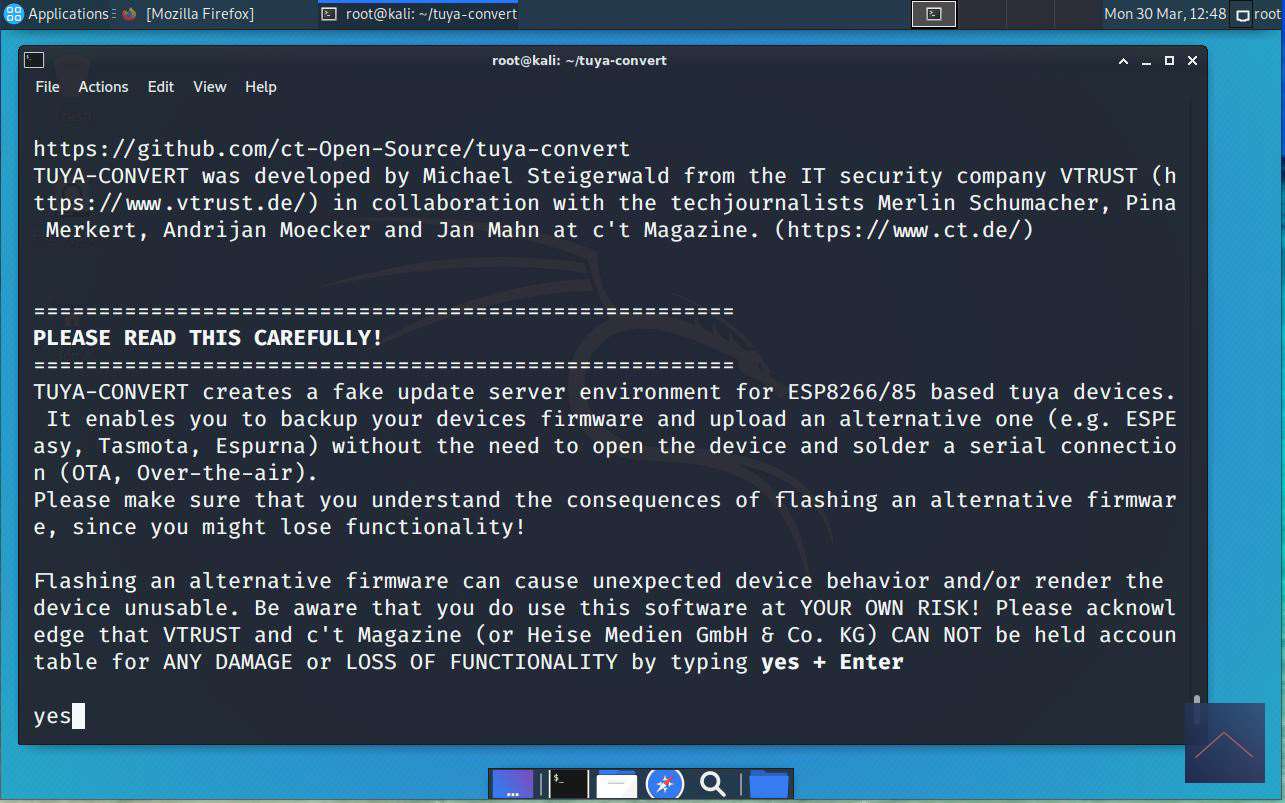
You will then be presented with the option on your screen to accept the risks by entering yes.
Then you will be prompted to put your Power Plug in pairing mode by pressing and holding the button on the Power Plug for 5 seconds, if the LED flashes quickly you can press enter. Now your WiFi will search for your Power Plug and when it is found you will see several options to put or stop the new firmware on it. In the background, the wifi connects to: WIFI: vtrust-flash PASS: flashmeifyoucan IP: 10.42.42.42
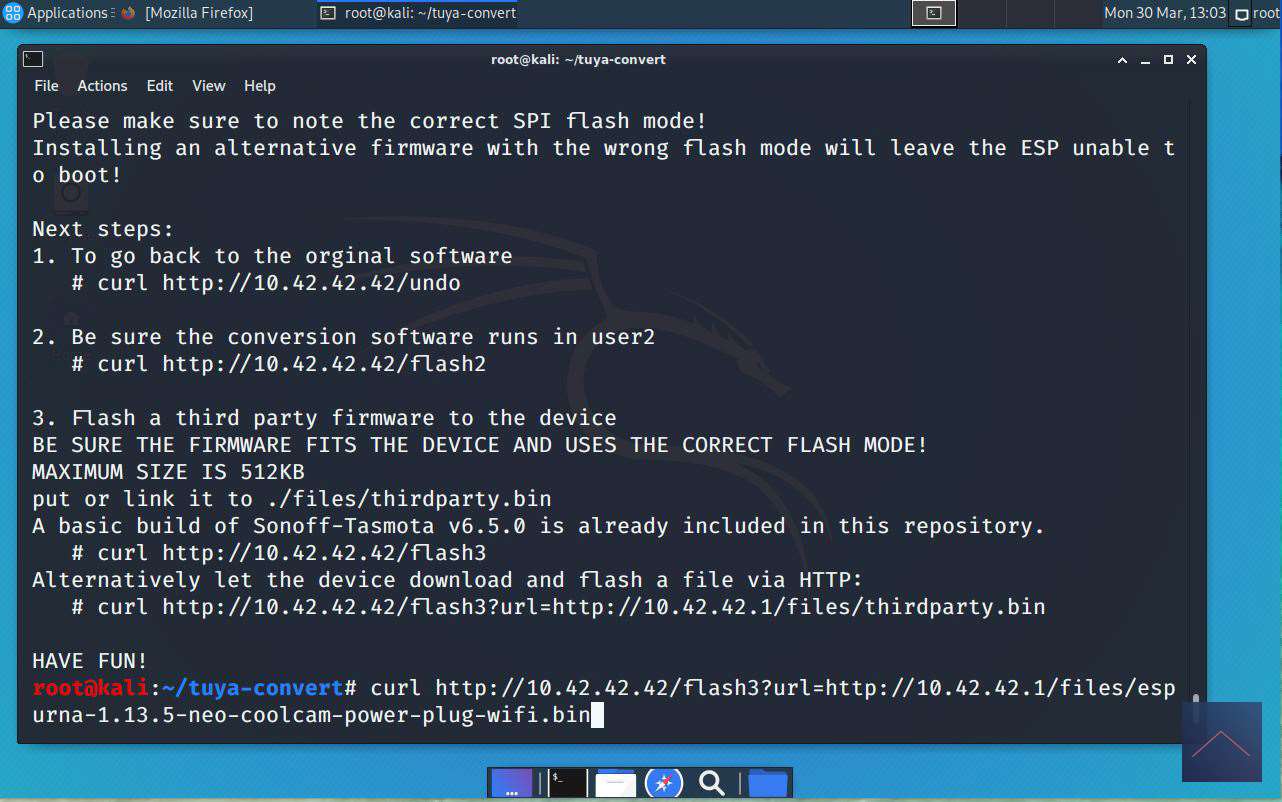
Now we are going to put the new firmware on it, hereby I enter the following command:
# curl http://10.42.42.42/flash3?url=http://10.42.42.1/files/espurna-1.13.5-neo-coolcam-power-plug-wifi.bin
Here is an overview of the commands in Linux:
Installation on your WiFi:
You are now going to connect it to your WiFi.
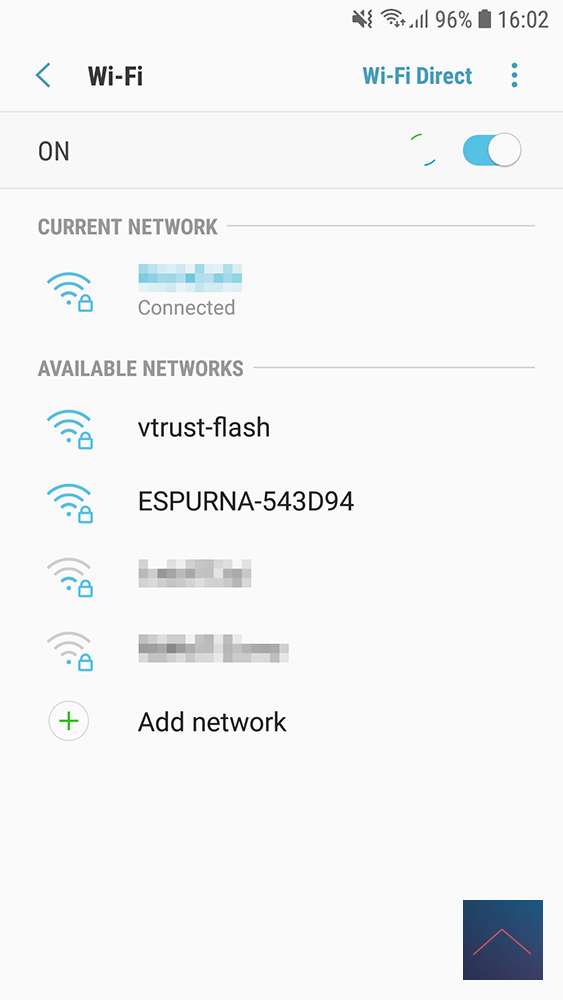
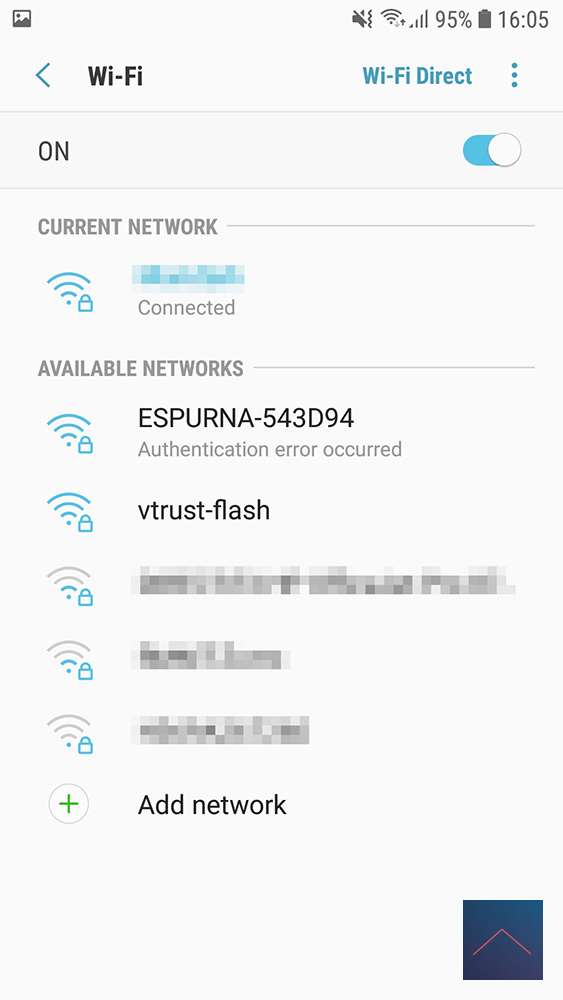
The installation takes some time, take your phone and go to your wifi setting and see if there is a new network named: ESPURNA-xxxx (the xxxx are different numbers)
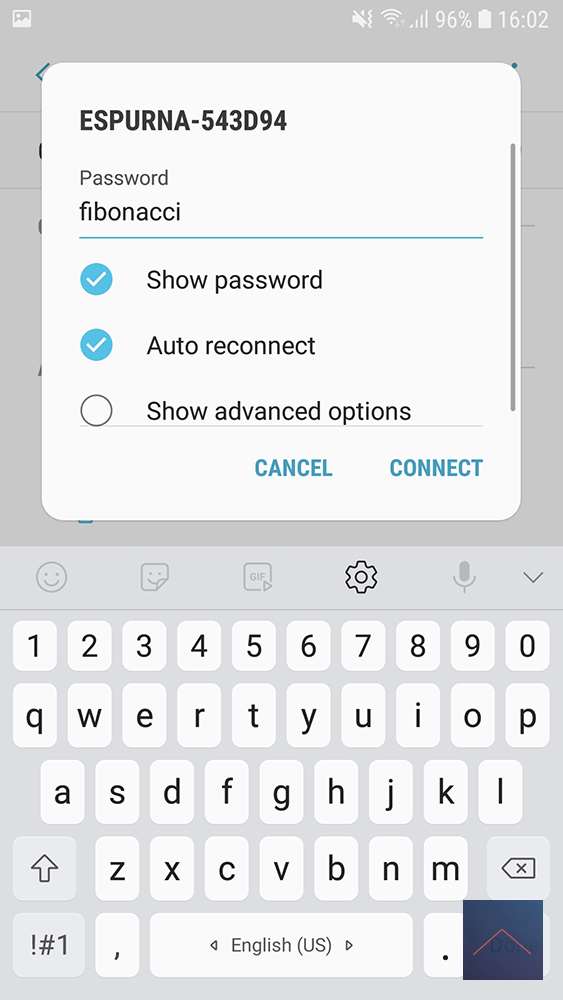
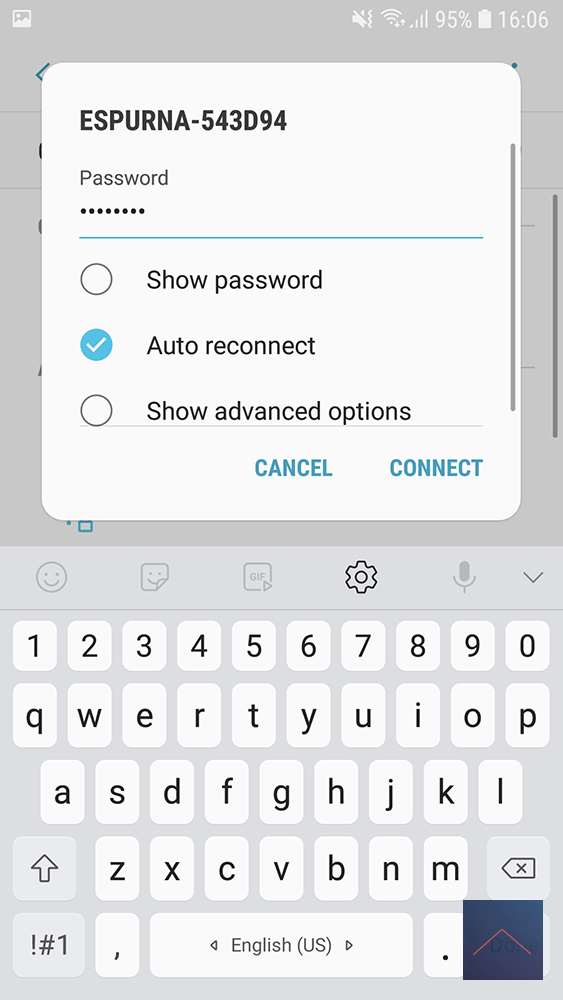
With your wifi on your phone, laptop, tablet or raspberry pi you log in to the network: ESPURNA-xxxx
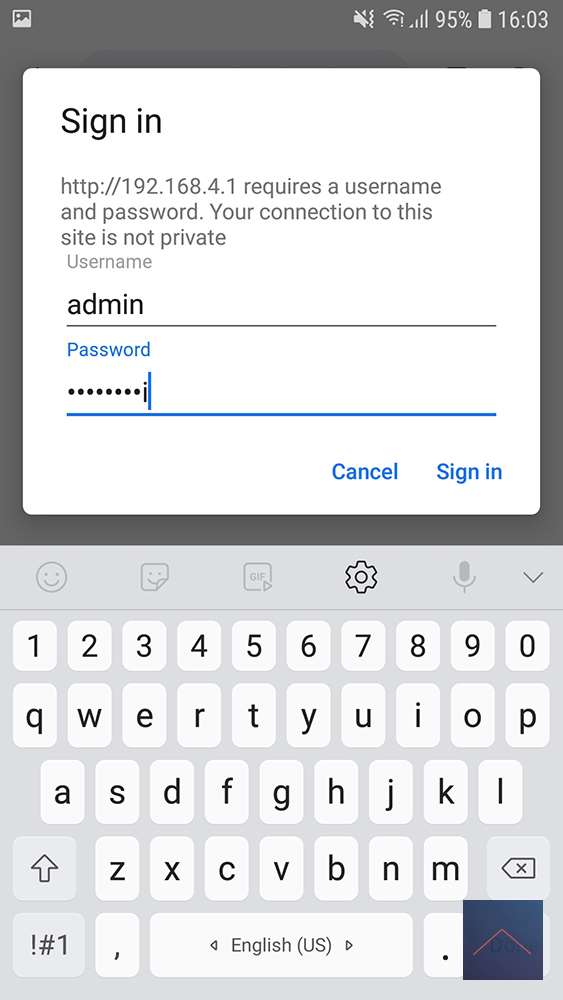
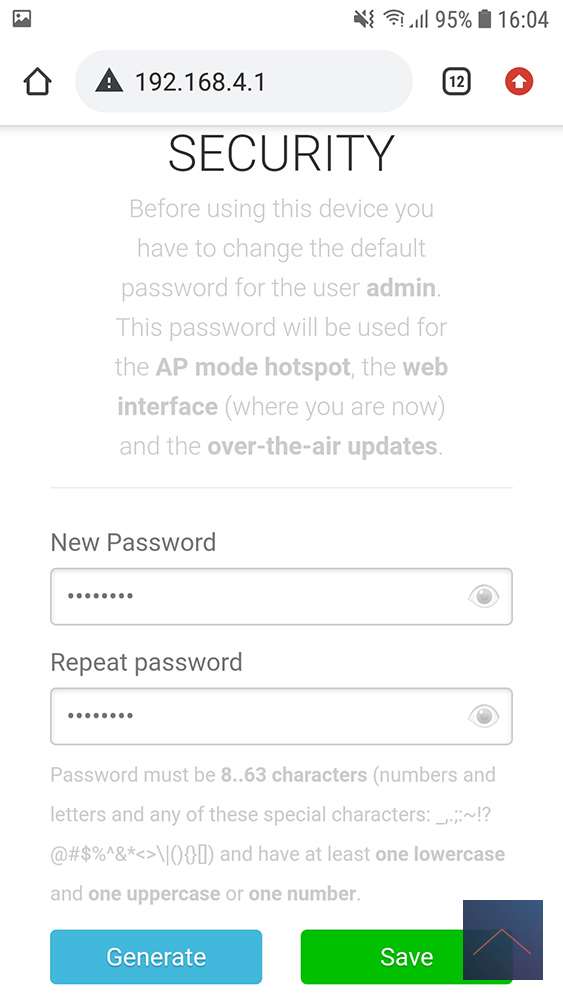
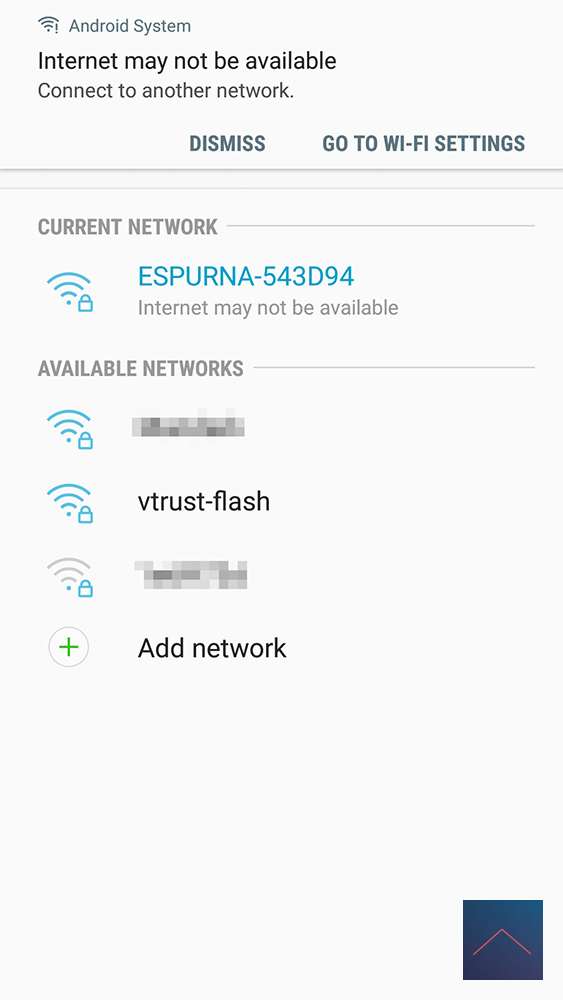
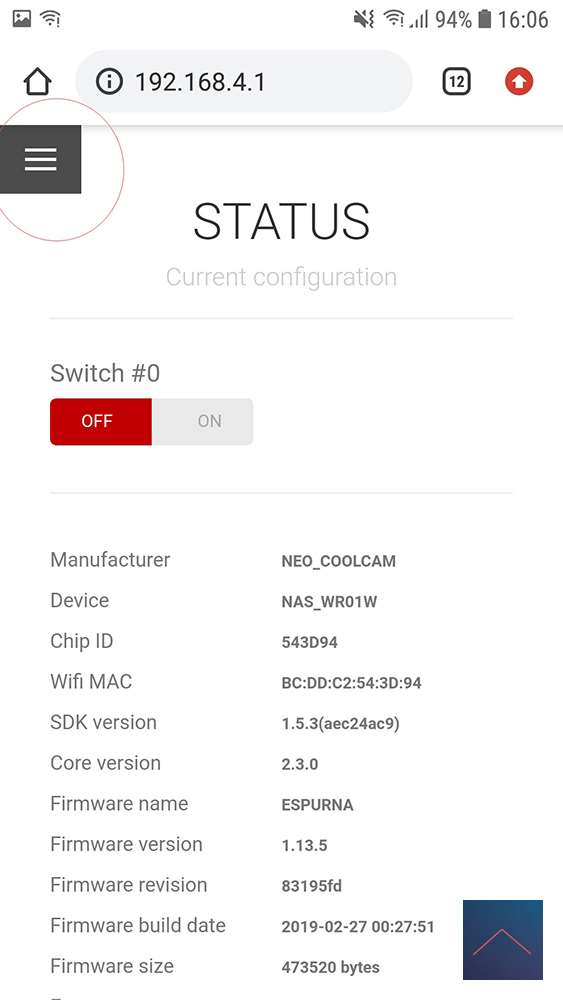
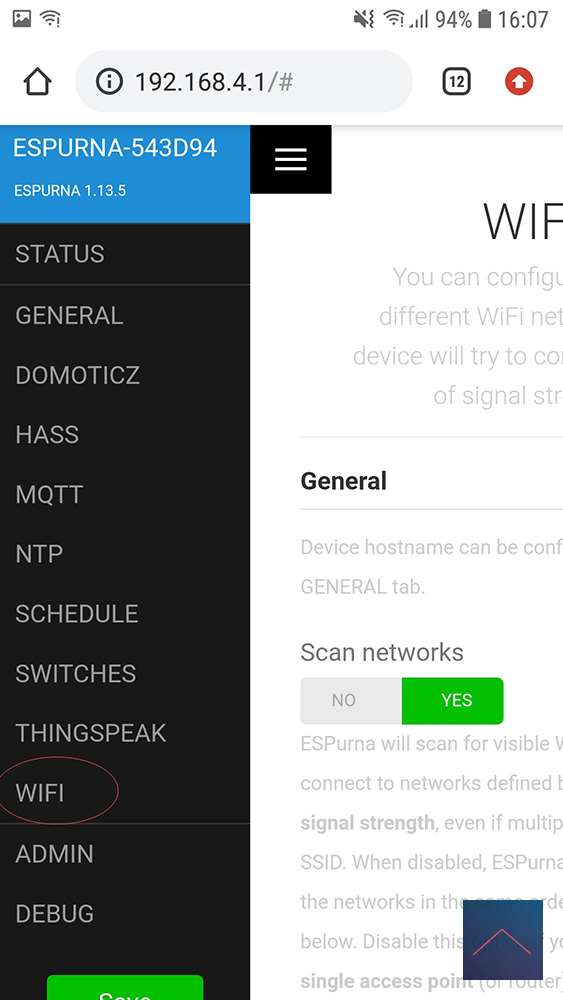
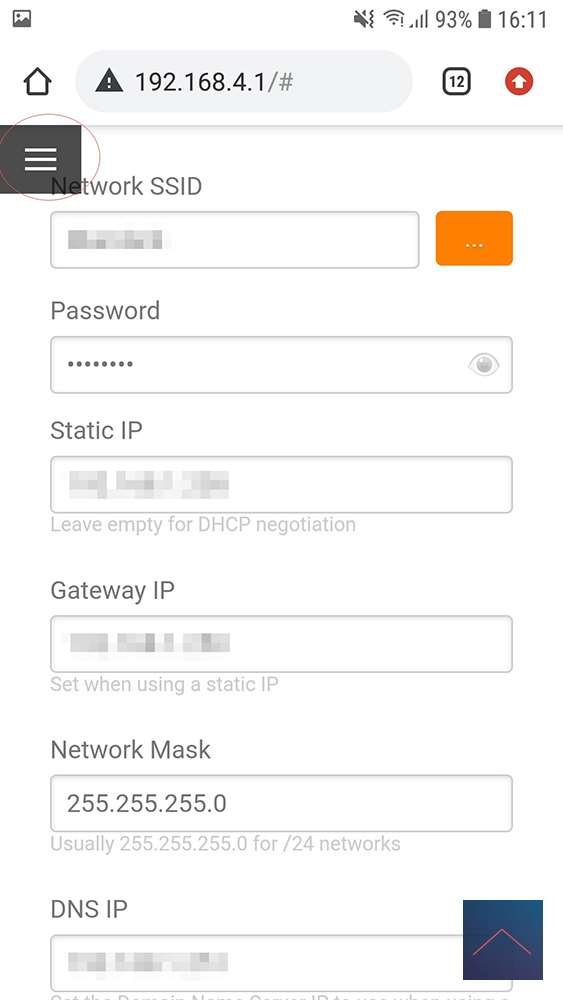
The password is “fibonacci” and then you open a webpage and type 192.168.4.1, after that you have to change your password. After this, you will have to log in to WiFi again with your new password. Go to 192.168.4.1 and put in your WIFI network. It is useful to take a static IP, so that you can immediately access it on your own network. Reboot and you can find it on your network. That's it.
Here is an overview of all screens to connect to the WiFi and adjust password:
Web interface:
The web interface is not really made for a mobile, so the most convenient is to open a browser on your computer to the IP you entered.
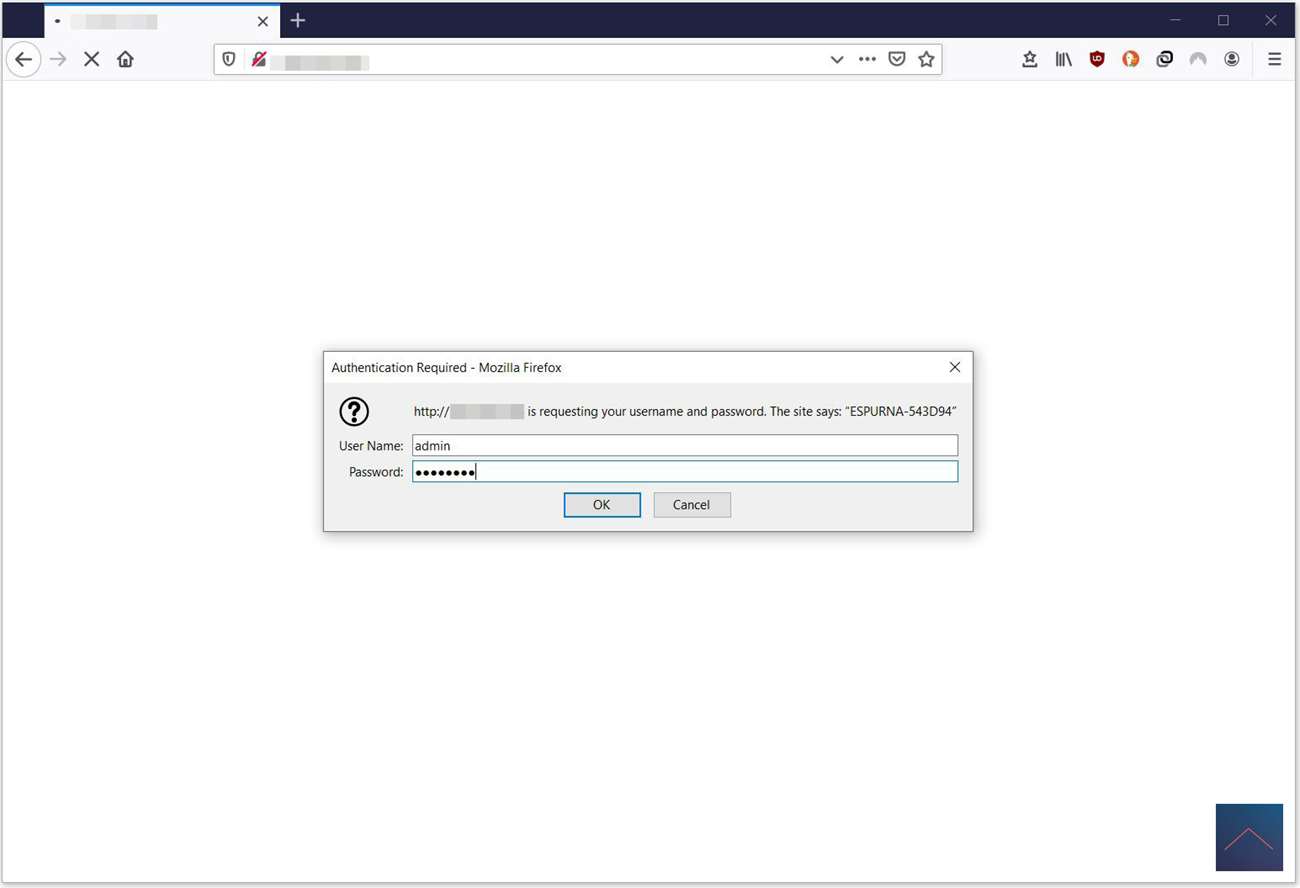
Login with admin and your custom password and you will be taken to the status page.
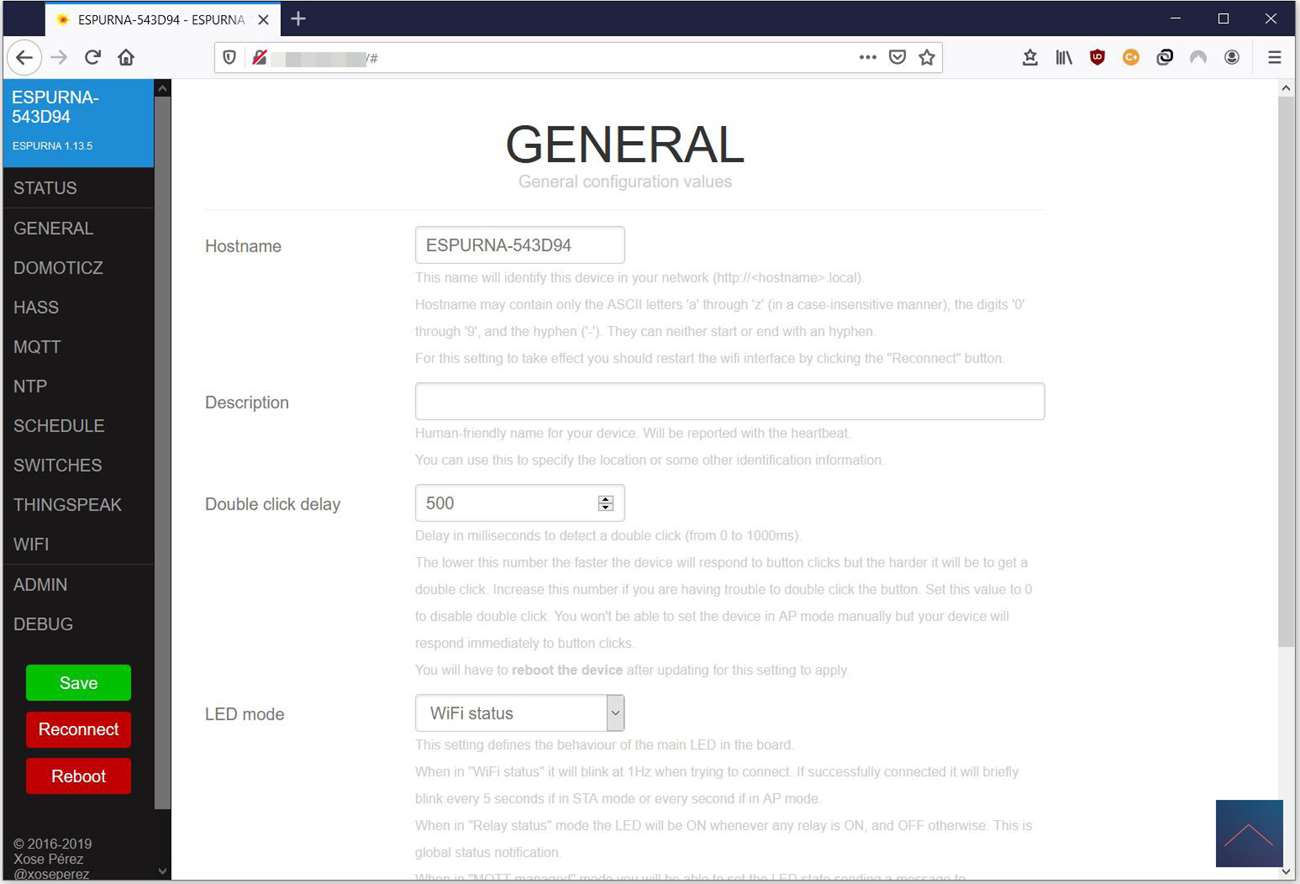
You now have the following options:
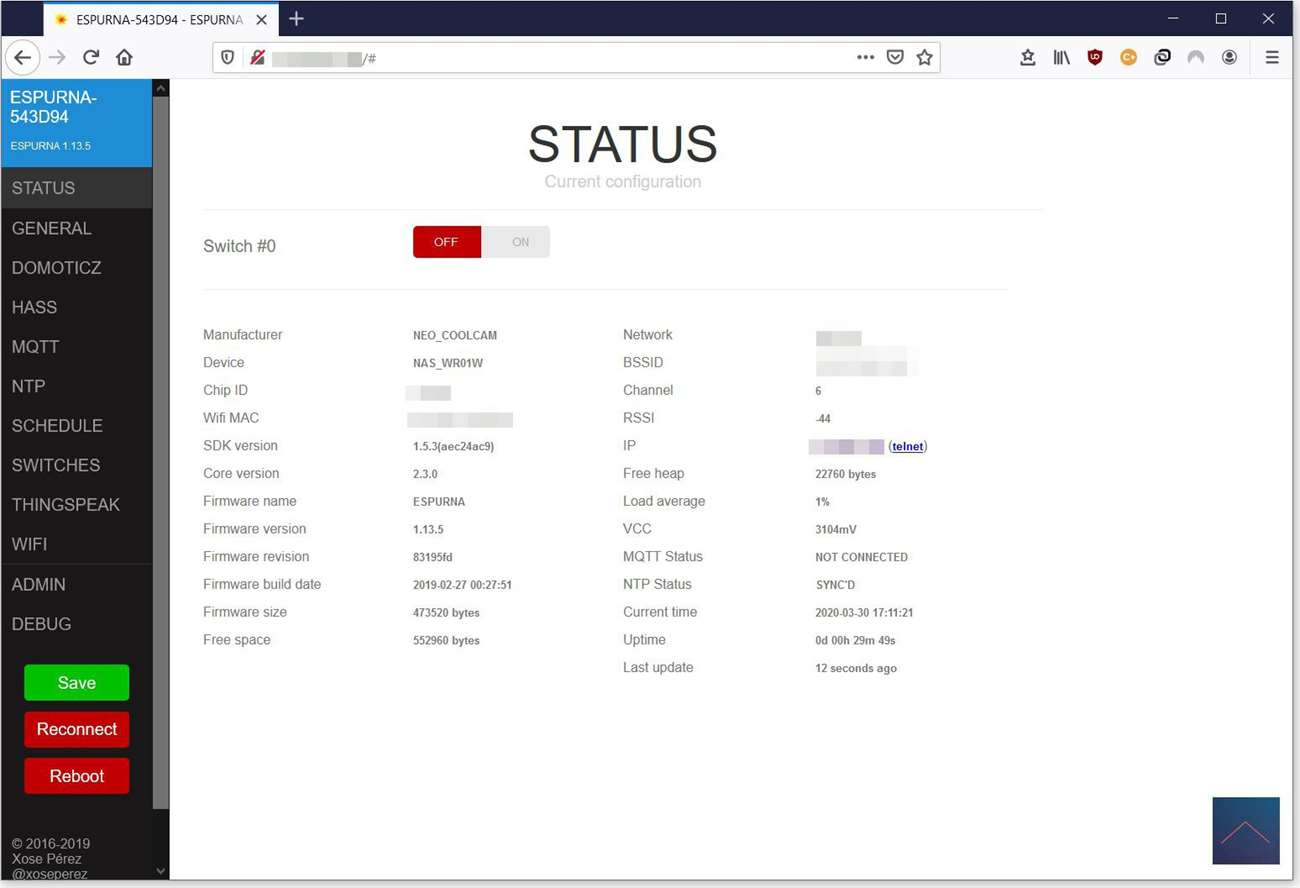
Status - Overview of default settings
General - The name of your device and settings of the LED light.
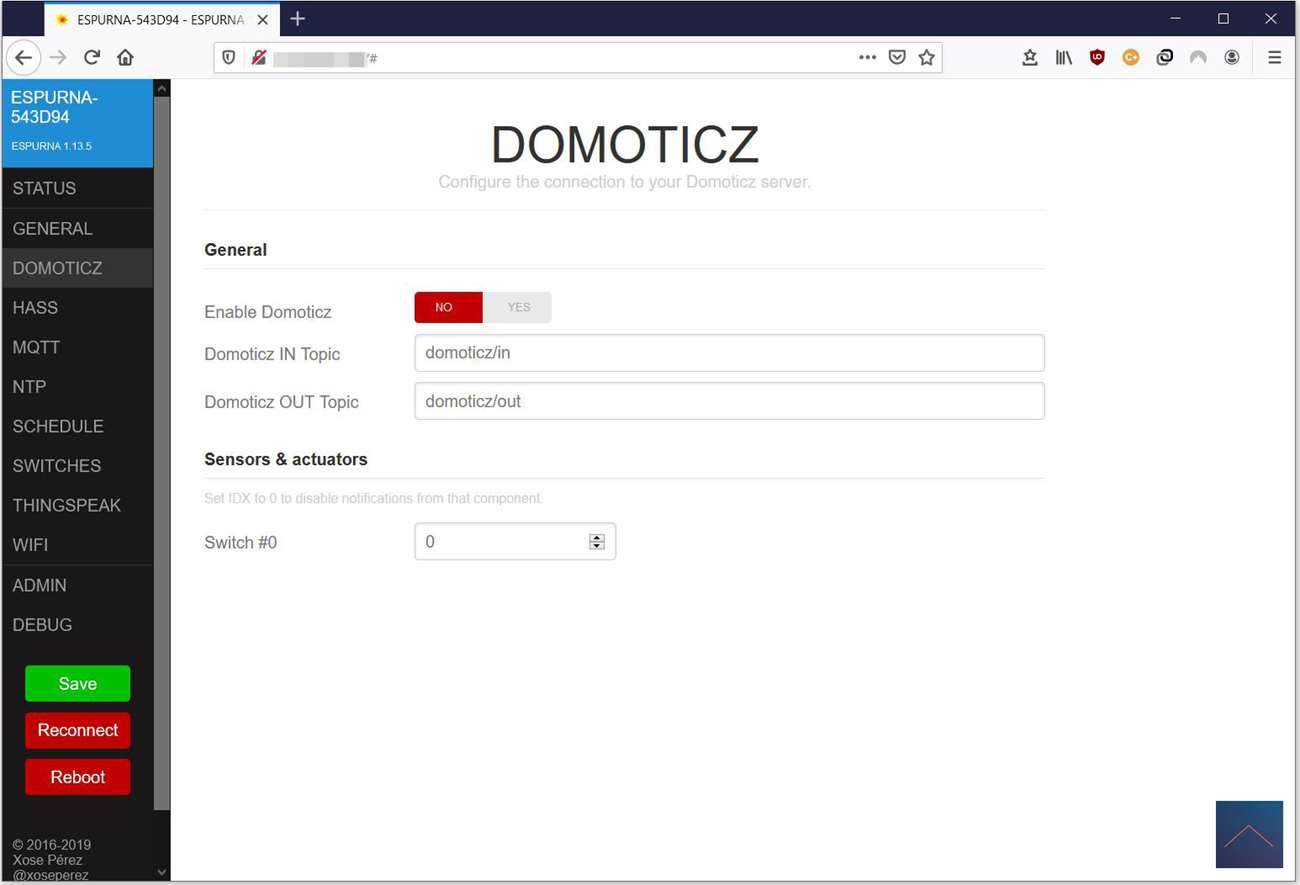
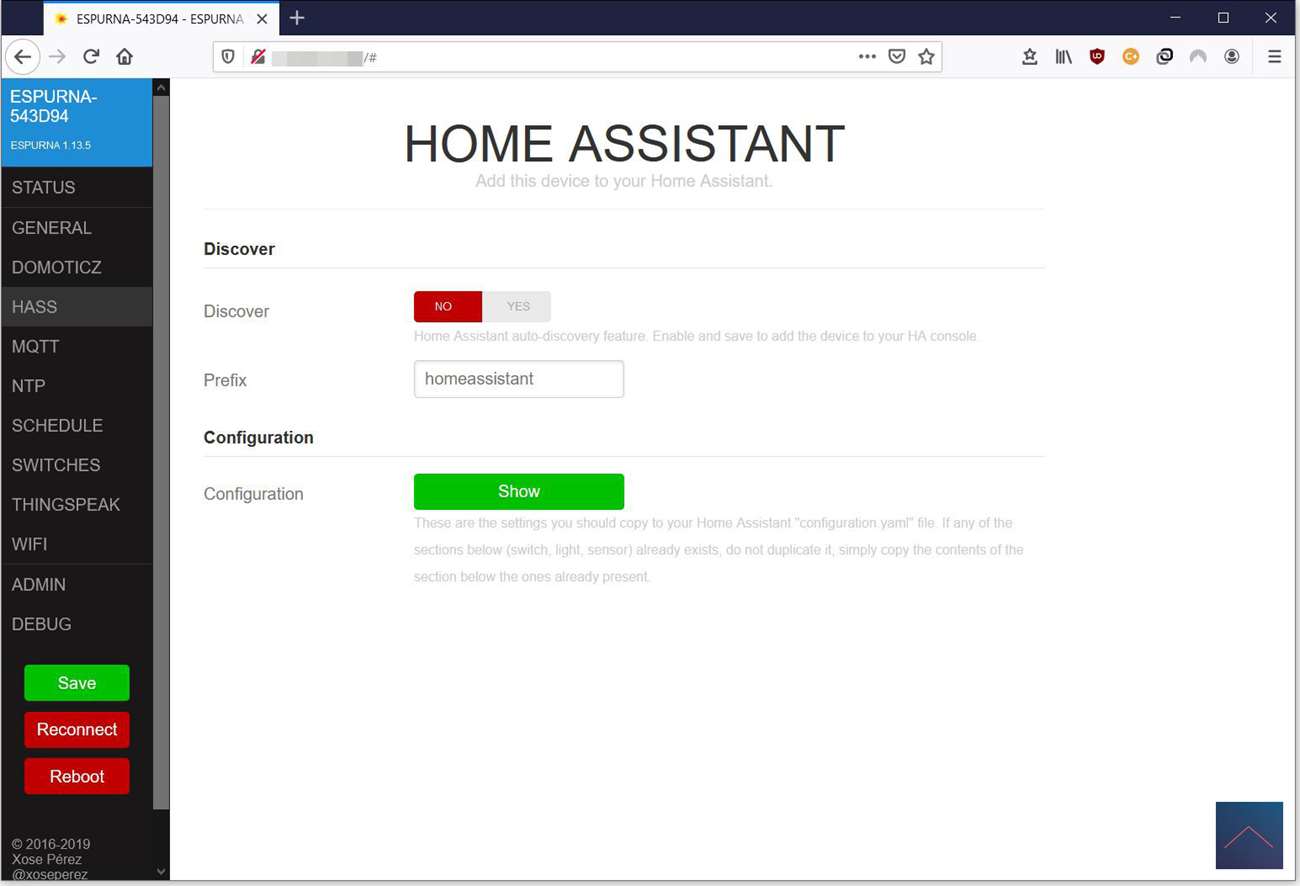
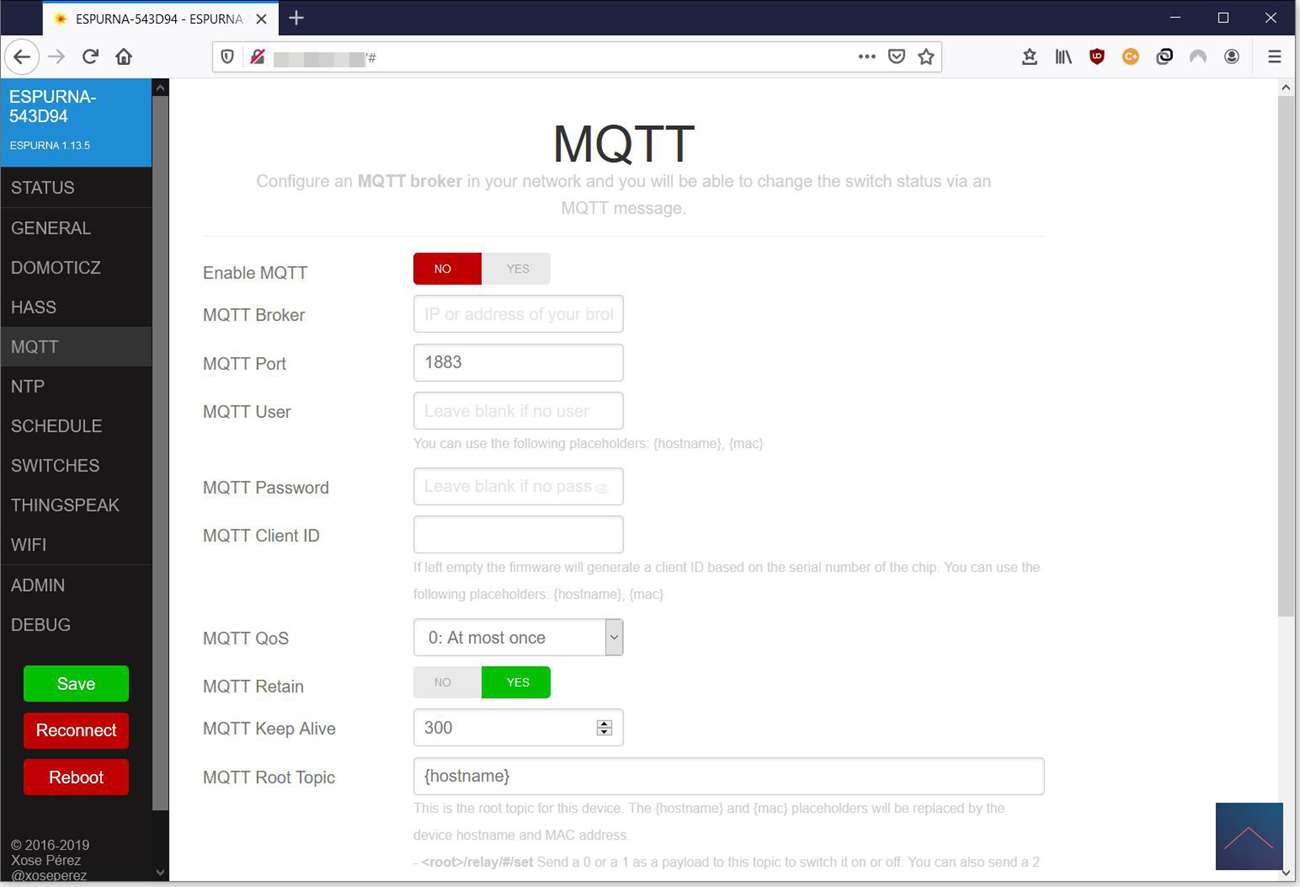
Domoticz, HASS and MQTT - The supported controllers
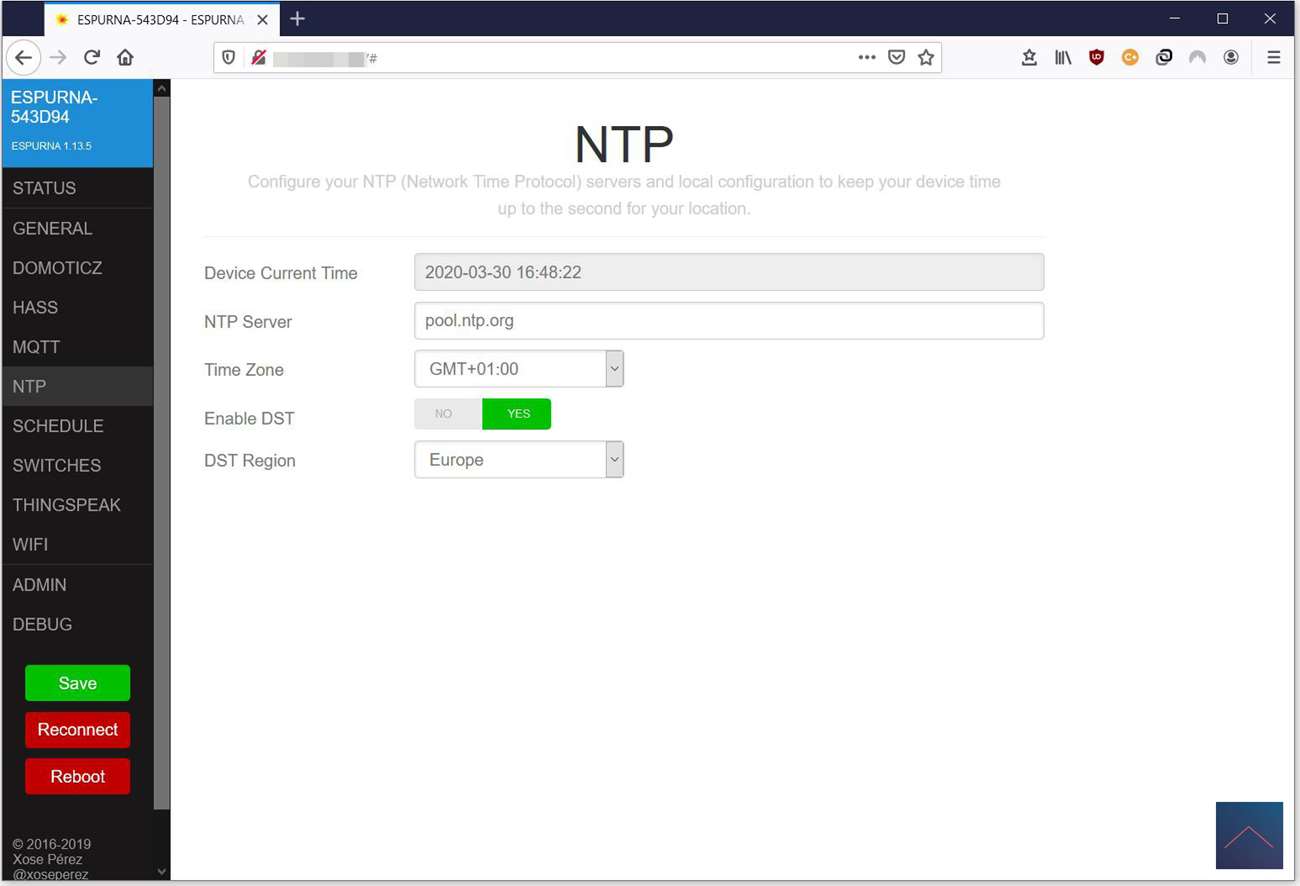
NTP - This is where the time server is located, the default is fine
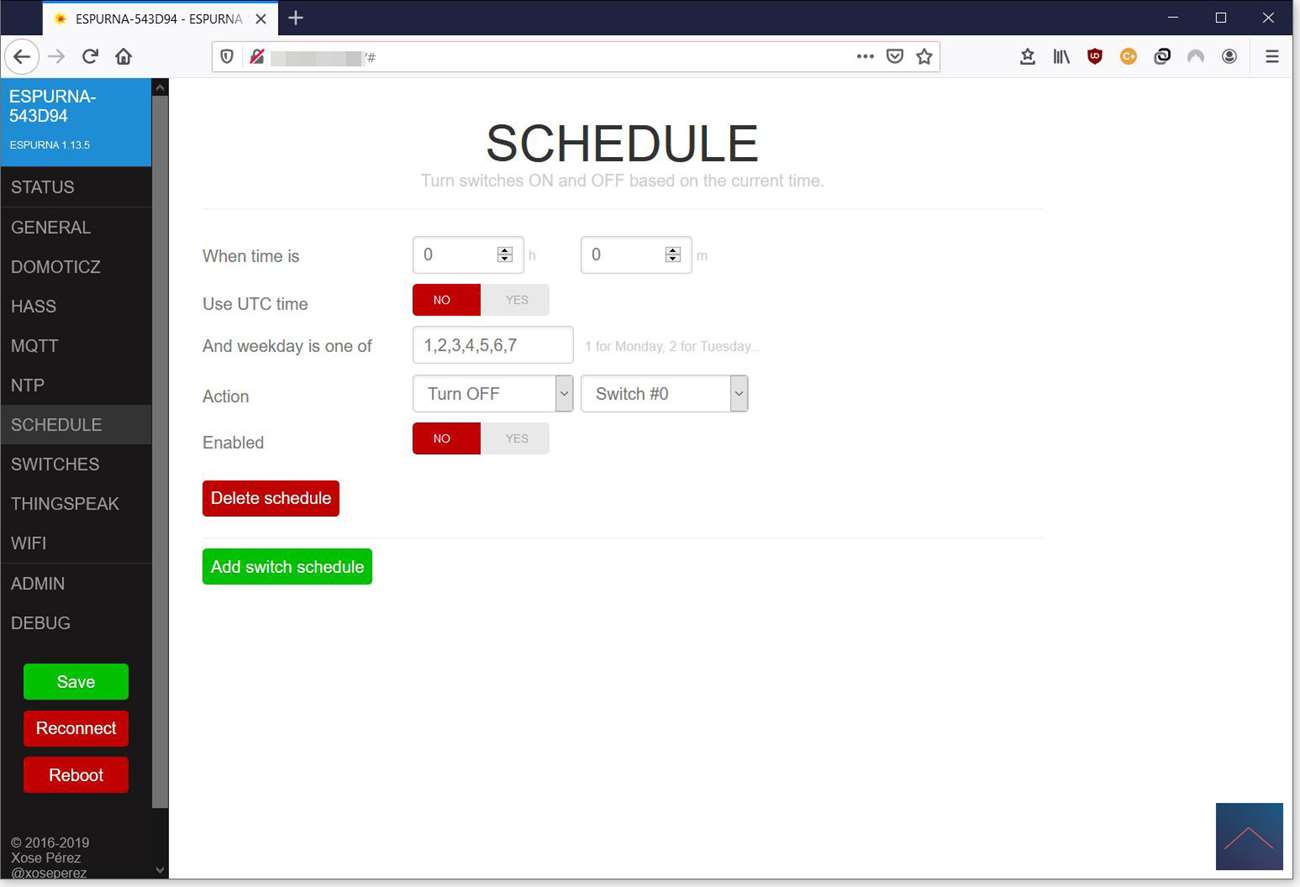
Schedule - Here you can create time schedules to turn on and off.
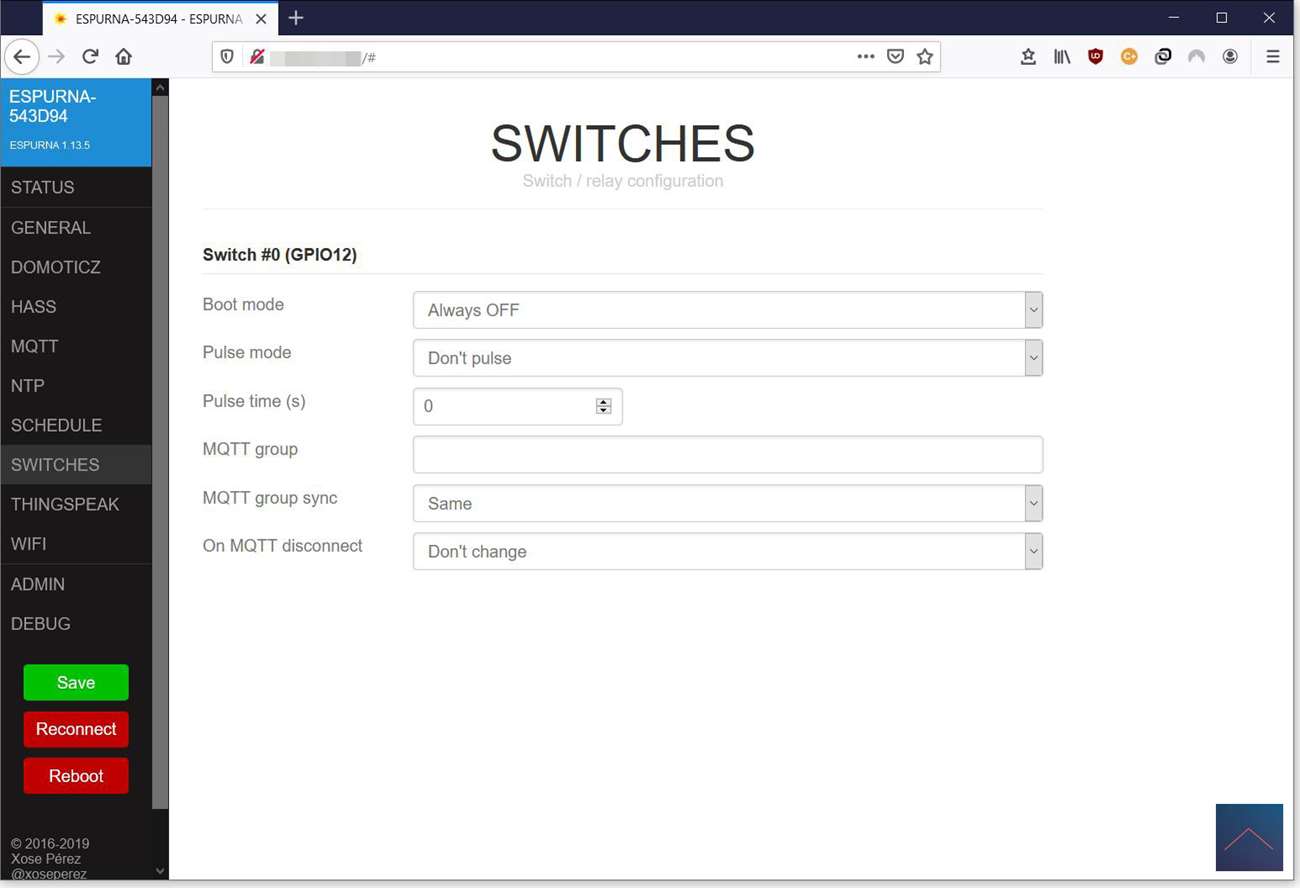
Switches - Here you can indicate which position it should be when power comes on.
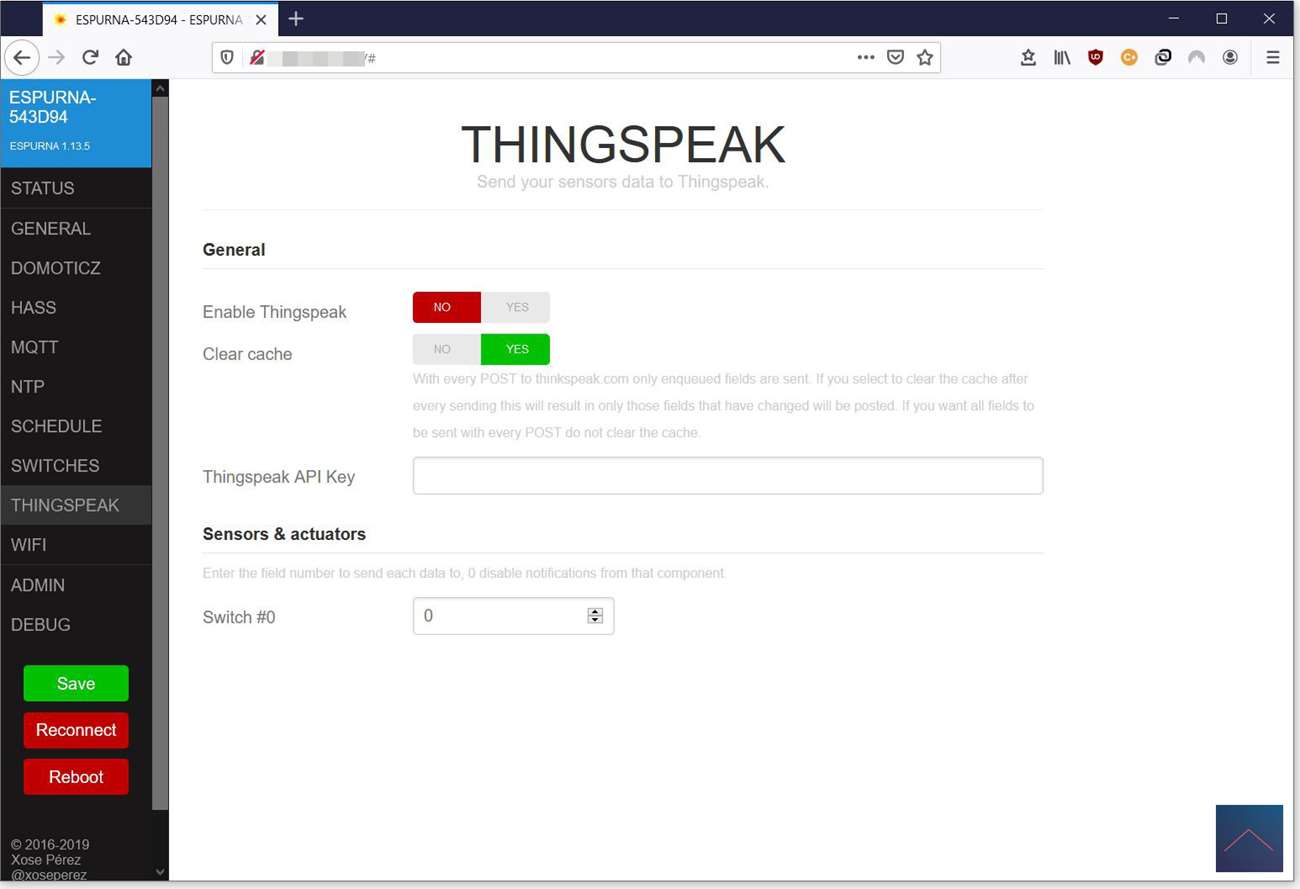
Thingspeak - ThingSpeak is the open IoT platform with MATLAB analysis.
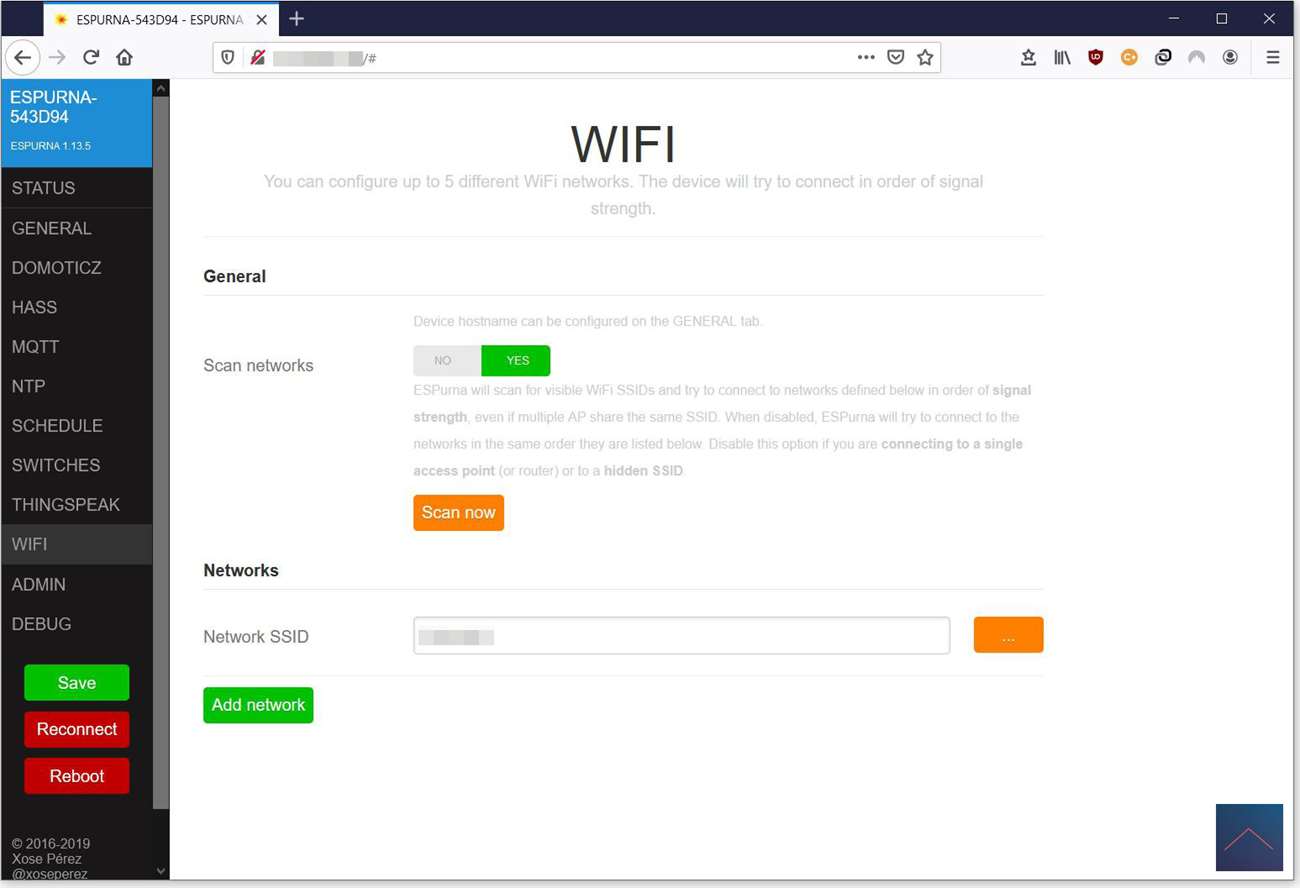
Wifi - Here is the entered wifi network.
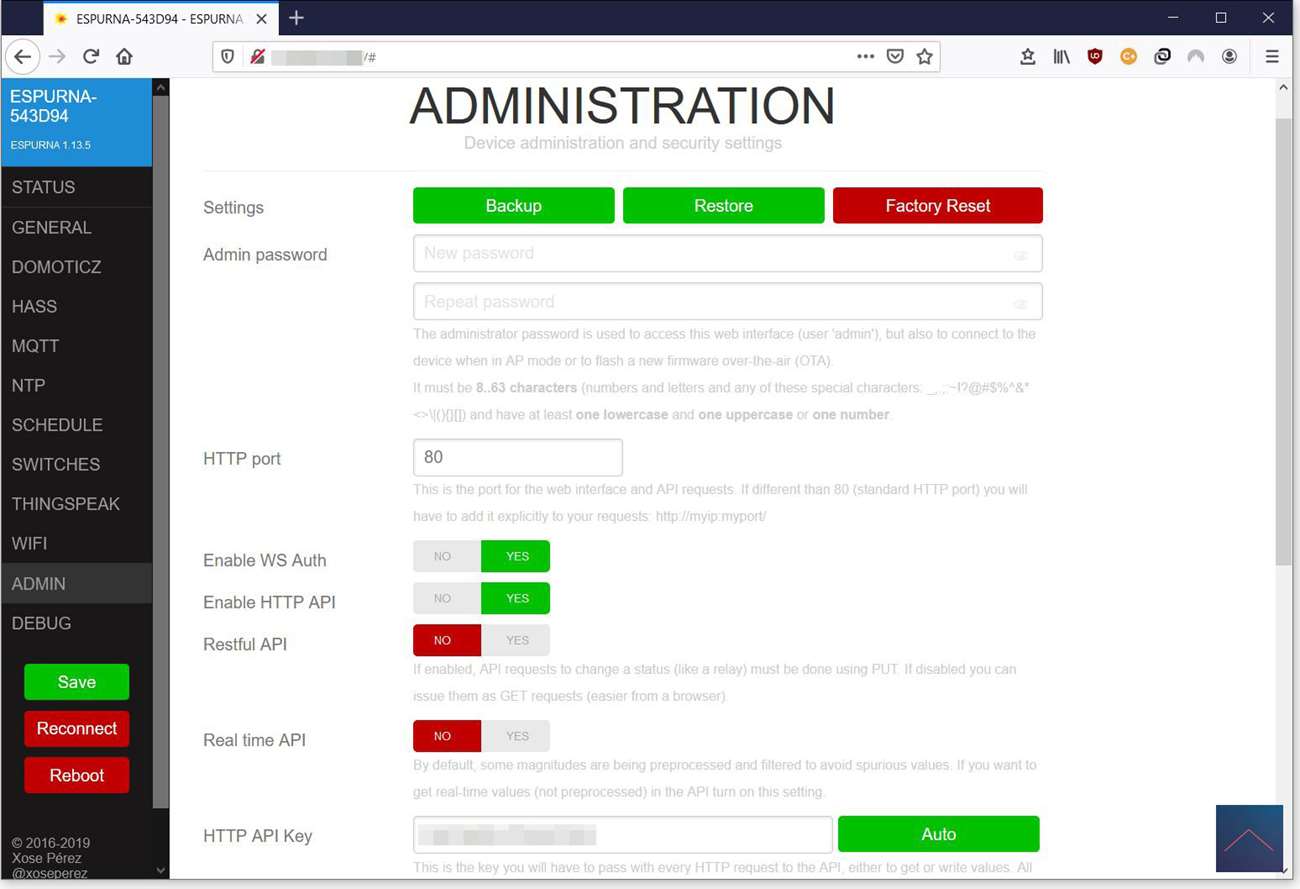
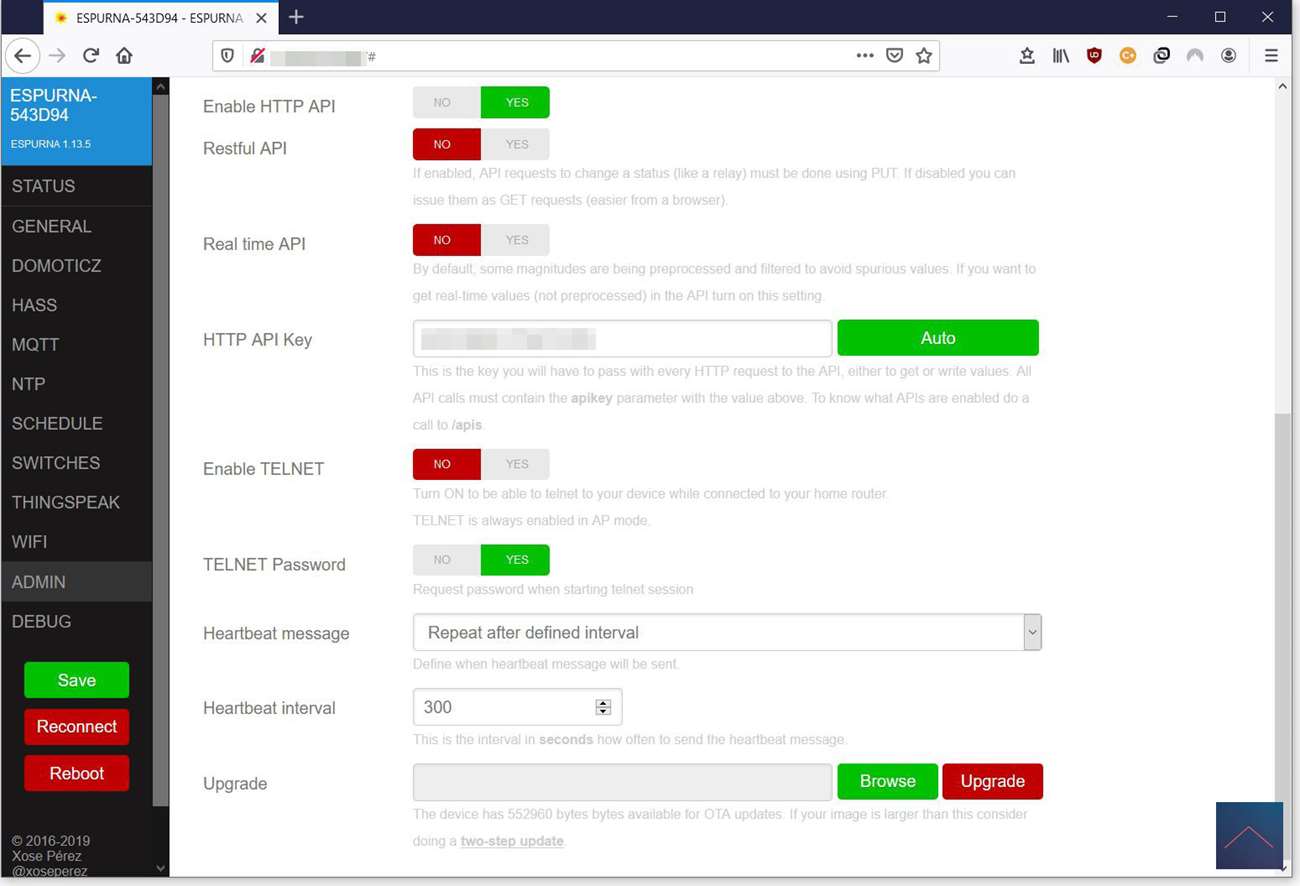
Admin - Backup, API, TELNET and upgrade options.
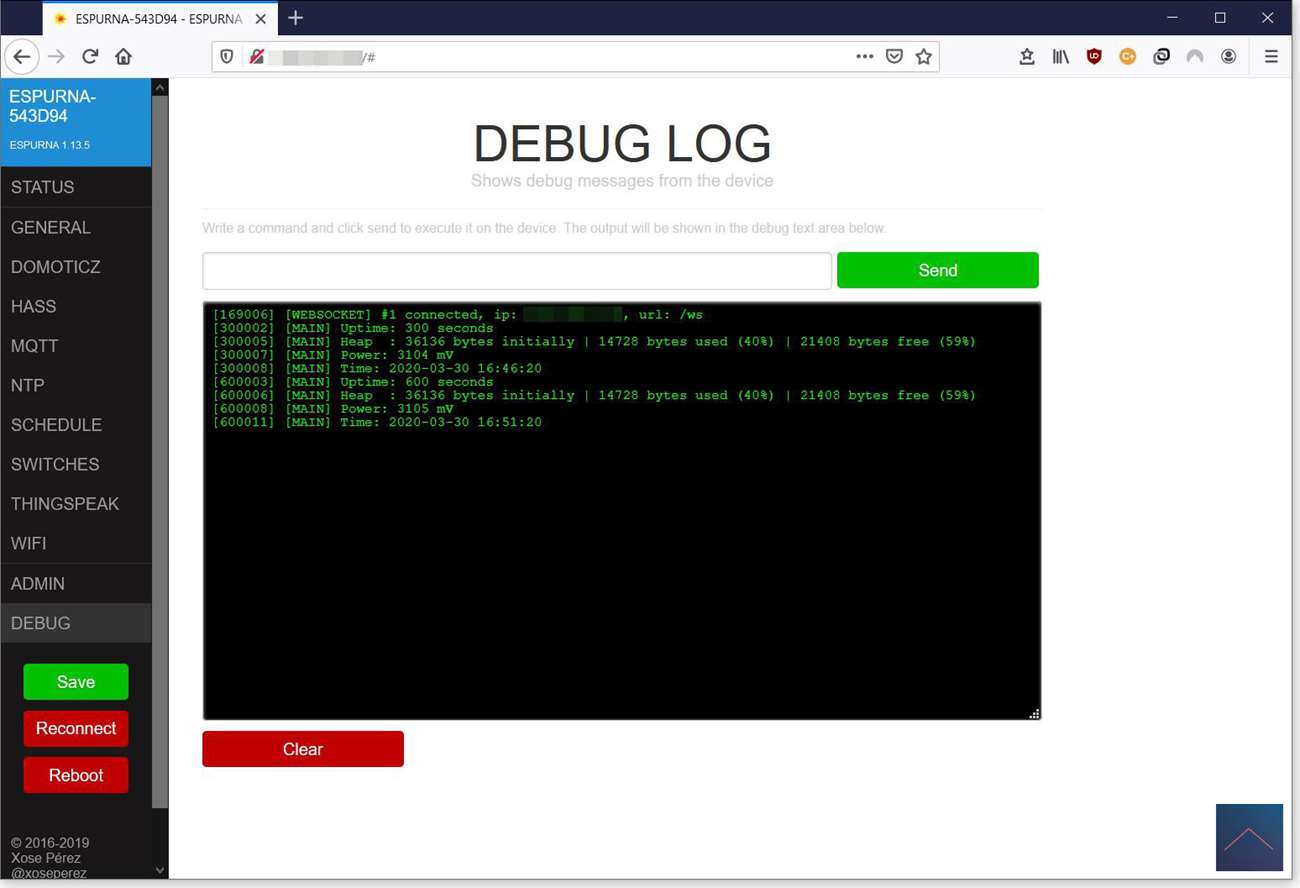
Debug - An overview of actions performed with Telnet capability.
I myself use the URL string to turn the Power Plug on or off via Luup code. I do not see the device and its status in my controller, but I do not think it is important. I only turn the Power Plug on or off via my controller, so if I have corrected all the rules I know the status. If you take over the settings I made in Admin (see screenshots) you can switch the Power Plug on and off via a URL. In Luup I use for:
local status, result = luup.inet.wget ("http://ip number/api/relay/0?apikey = 25CFB1D044XXXXX&value = 1",10)
And for out:
local status, result = luup.inet.wget ("http://ip number/api/relay/0?apikey = 25CFB1D044XXXXX&value = 0",10)
Change the IP number to your own IP number from the Power Plug and Admin contains the apikey string that you can use.
You can now also turn on your Power Plug via a web browser with "http://ip number/api/relay/0?Apikey=25CFB1D044XXXXX&value=1" or switch it off with "http://ip number/api/relay/0?apikey=25CFB1D044XXXXX&value=0"


