Review:
Qubino Luxy Smart Light

Installation via the Homey:
The first controller with which we will test the Luxy Smart Light is the Homey. We will first provide the Luxy with electricity. To do this, make sure there is a blue (N) wire in your wall socket. The wall socket must be 50mm deep (Qubino even recommends 60mm).
Make sure you work safely and get the power off. If you have connected everything according to the supplied schedule, we can provide it with power again. You can test whether it works by pressing the panel.
When he does, we can log in to the Homey and go to your devices. Then press the plus sign and find the Luxy. You will probably have to install the APP first, after which you will be asked to reset / remove the Luxy. You can do this by pressing 1x right and 1x at the bottom on the panel of the luxy. The "White mode" will now be started, then keep the right button pressed for 4 to 9 seconds. When you release it, the LED will flash red and then light up. I also see in the Homey APP that it has been reset. Now we repeat the whole story again to actually add it. The LED will now light up green.
It was neatly added and I see an on/off switch, the dimmer can select the colors and I can turn the buzzer on/off and set the volume level. So completely complete.
Installation screens:
Configuration:
Control:
I get an on/off switch, a dimmer and I can change the color of the LED. You can turn the buzzer on or off and it is possible to adjust the volume.
LED panel:
Buzzer:
Flow options:
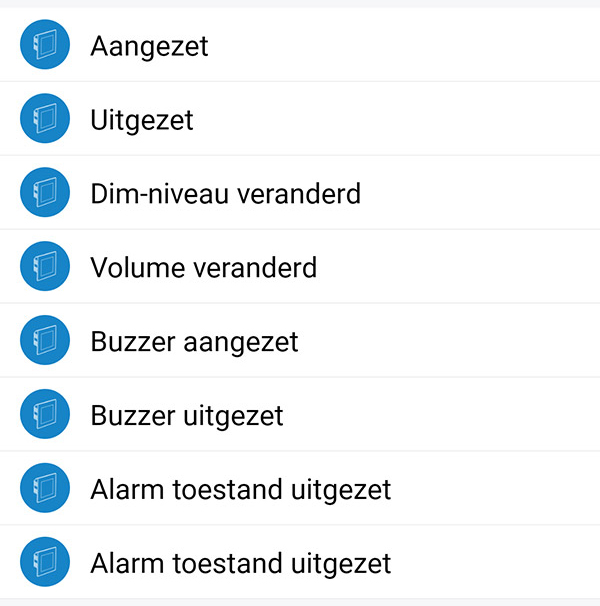
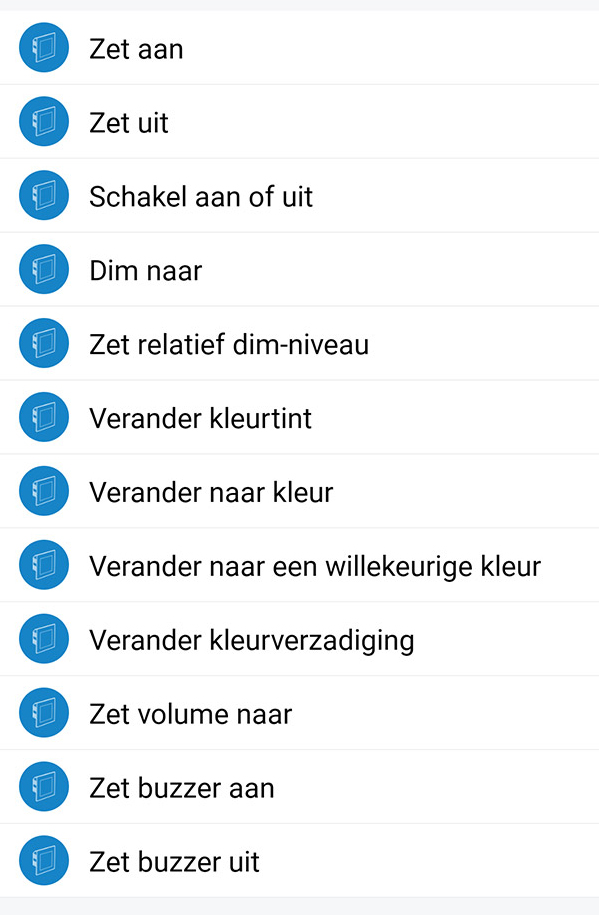
The following options are available to create a flow:
IF:

AND:

THEN:

Flow example:
As an example, we will make a mini alarm system. We use the activity card in the Homey as a trigger. We say if there is activity in the house and we are not at home, the buzzer should go off.


