Review
Qubino Luxy Smart Switch

Installation on the Fibaro Home Center 2:
We will of course also install this switch on the Fibaro Home Center 2. The first step is to remove the old switch. Make sure that the power is off. You only have to connect 4 wires, so that should work. Qubino includes a diagram in the manual. Make sure you have a blue wire in your wall socket, otherwise you cannot use it.
Small tip for connecting the wires, don't strip too long otherwise you will have a piece of bare wire. Another tip: screw everything in tight, because the wire will loosen fairly quickly if you don't do this.
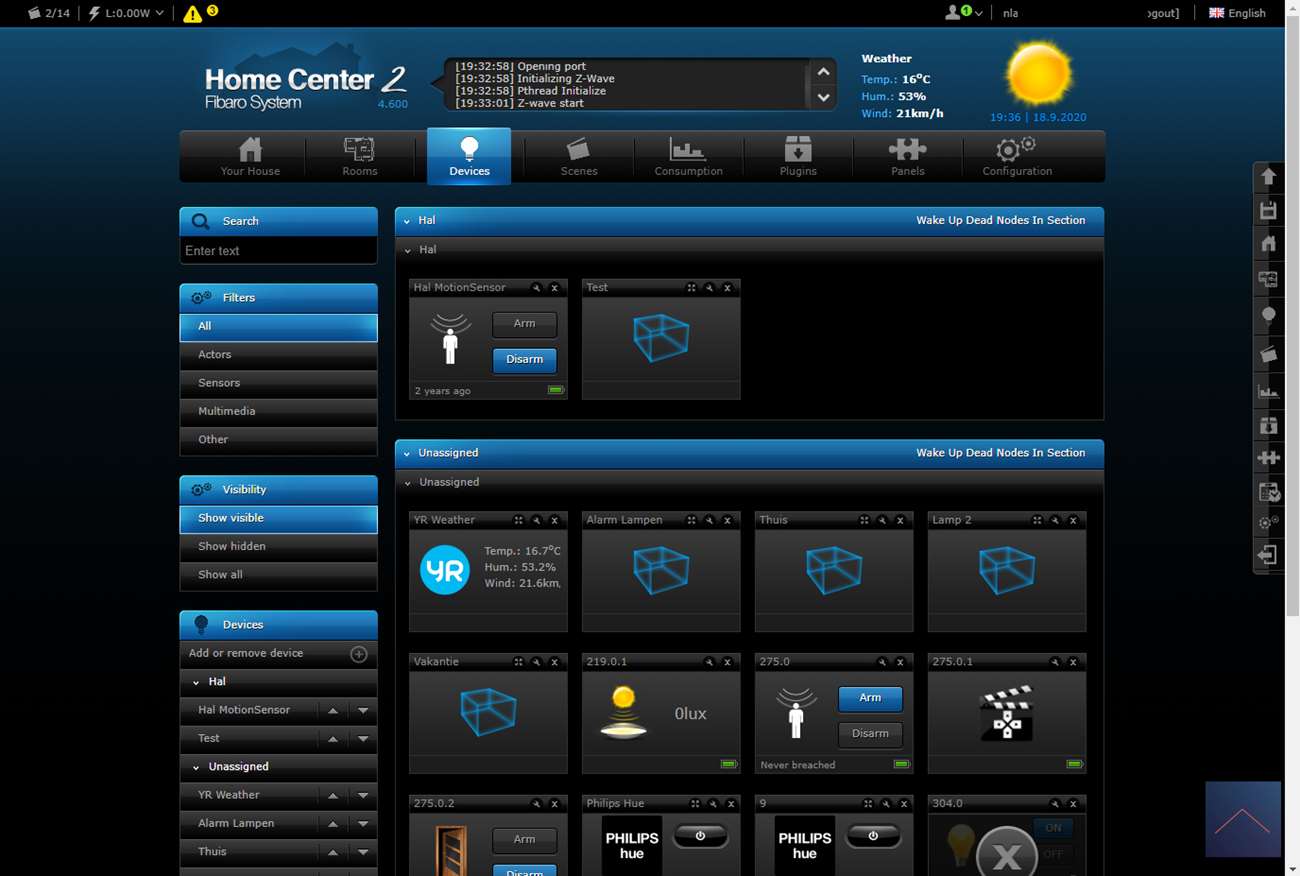
I would wait a while before turning the power back on. It is better to log in to the HC2 first and go to your devices.
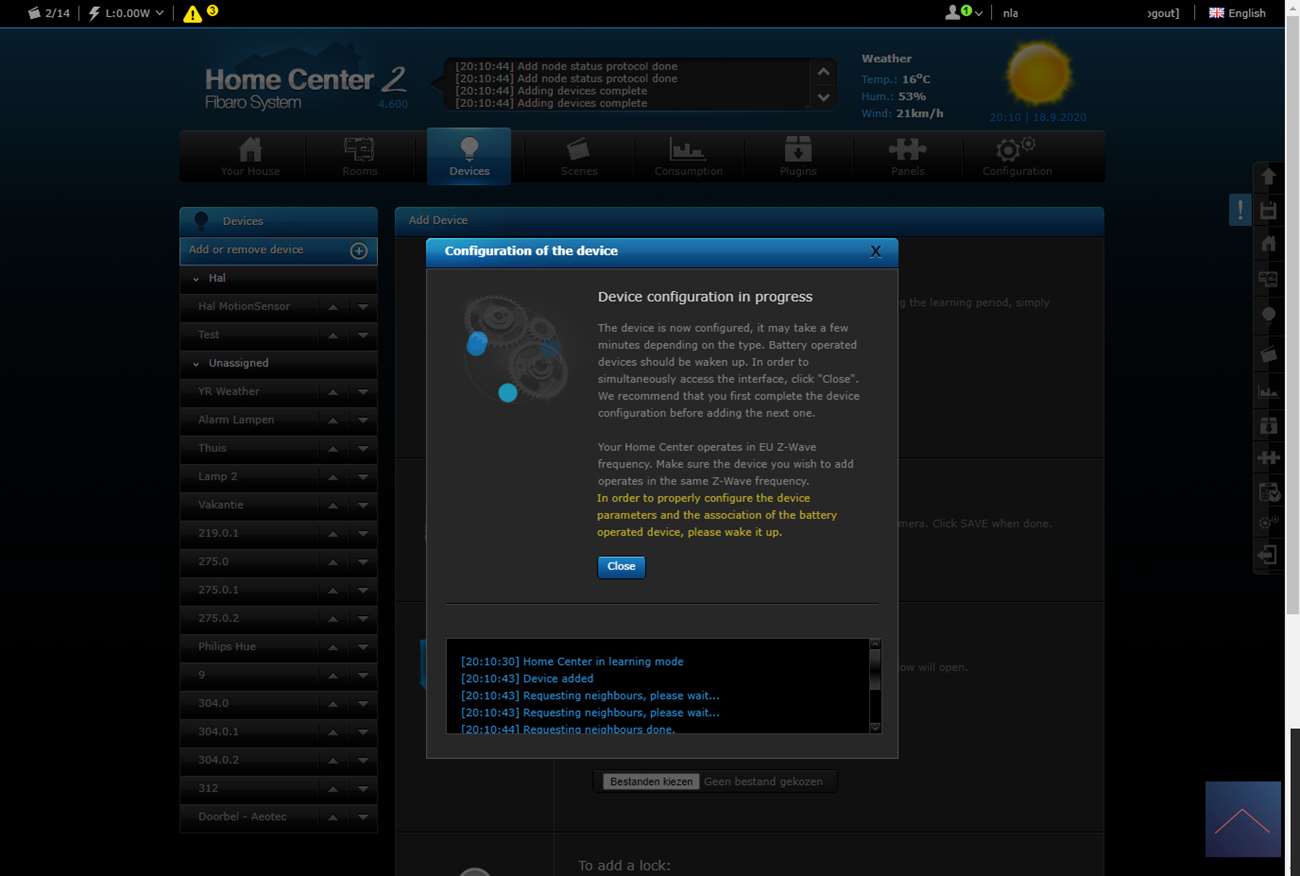
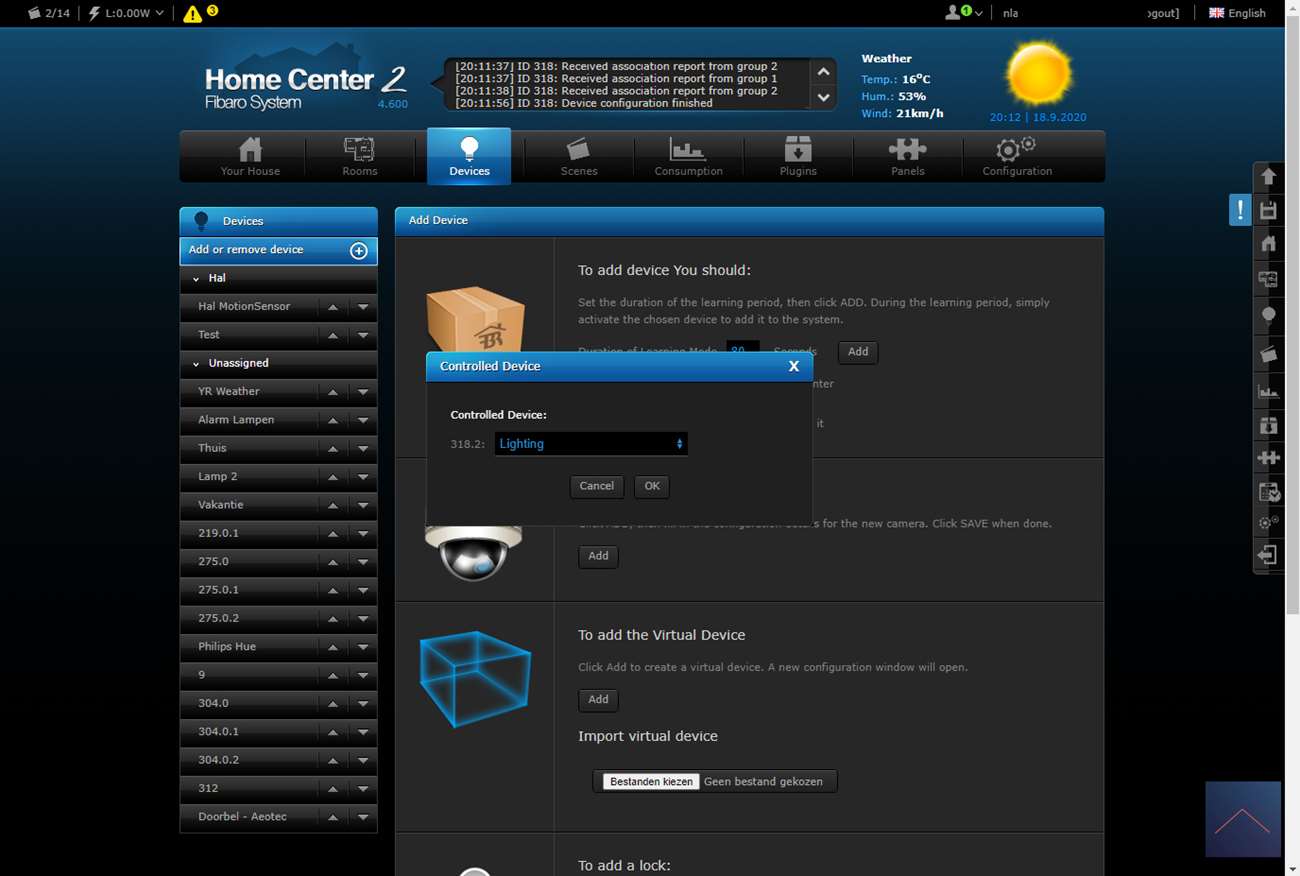
Then tick "add node secure" and press "add". The HC2 will now go into learning mode. Now supply power to the Qubino, the LED will fade in color to indicate that it has power. Then first press the right button (3) and then down (button 4). The LED will now light up white, then press and hold the right button (3) for 4 to 6 seconds. The LED will now flash for 6 seconds, and will light up green after 10 seconds.
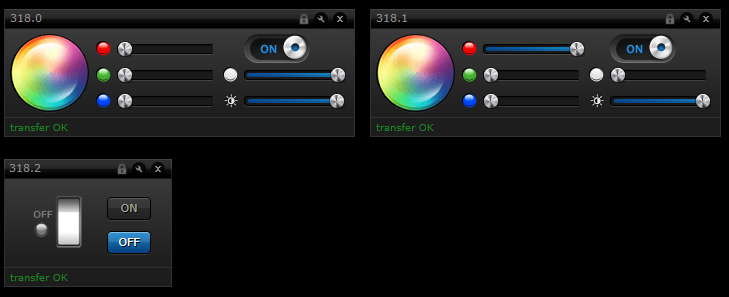
I had to do this a few times but eventually it was added to the HC2. When I look at my devices I see an on/off switch, the total consumption and the current consumption. I also get 2x an RGBW controller for controlling the LED. This is because the configuration of the Luxy is not properly configured, because the "Lifeline" is not set correctly. As a result, the status is not updated properly when you operate it manually.
Qubino indicates that it is in contact with Fibaro to resolve this problem.
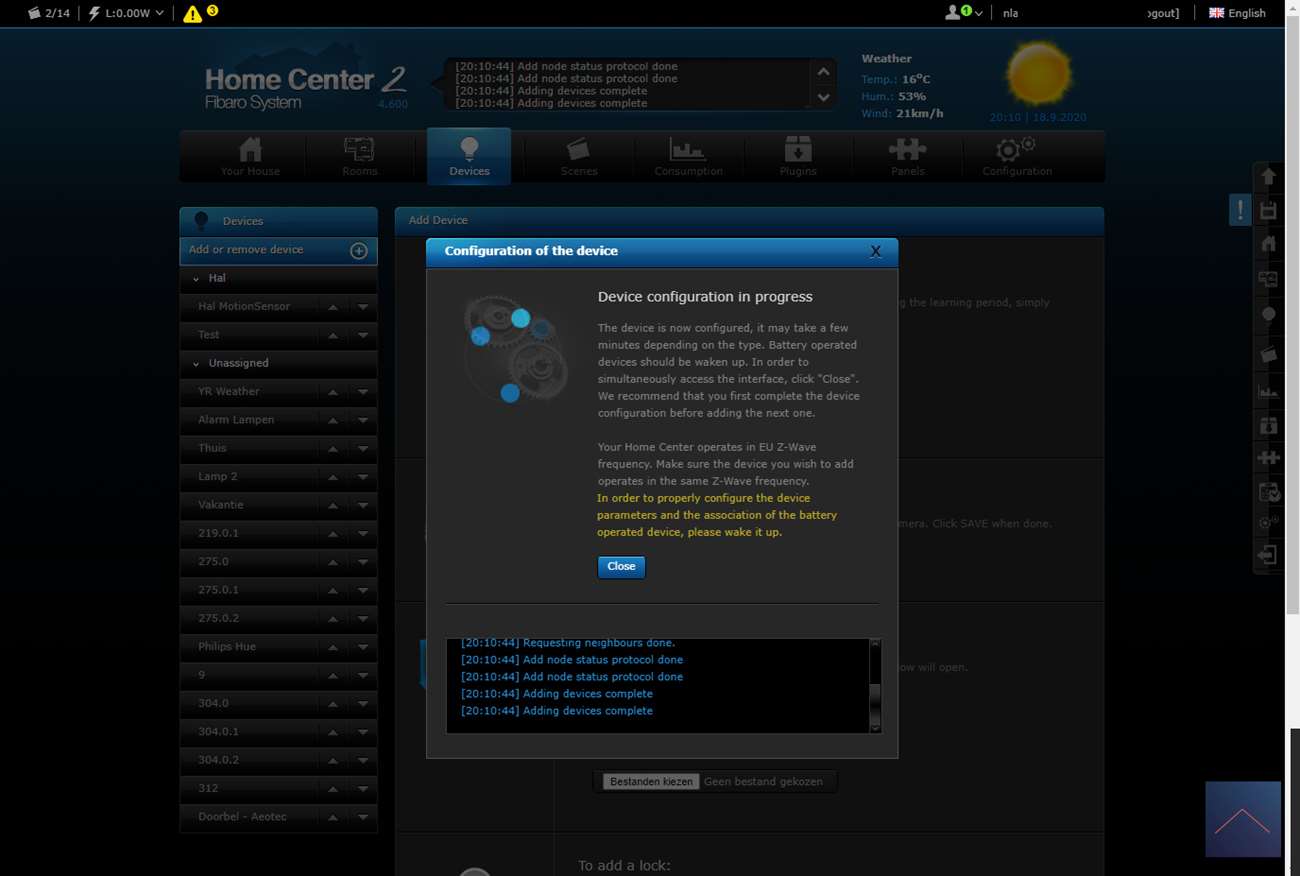
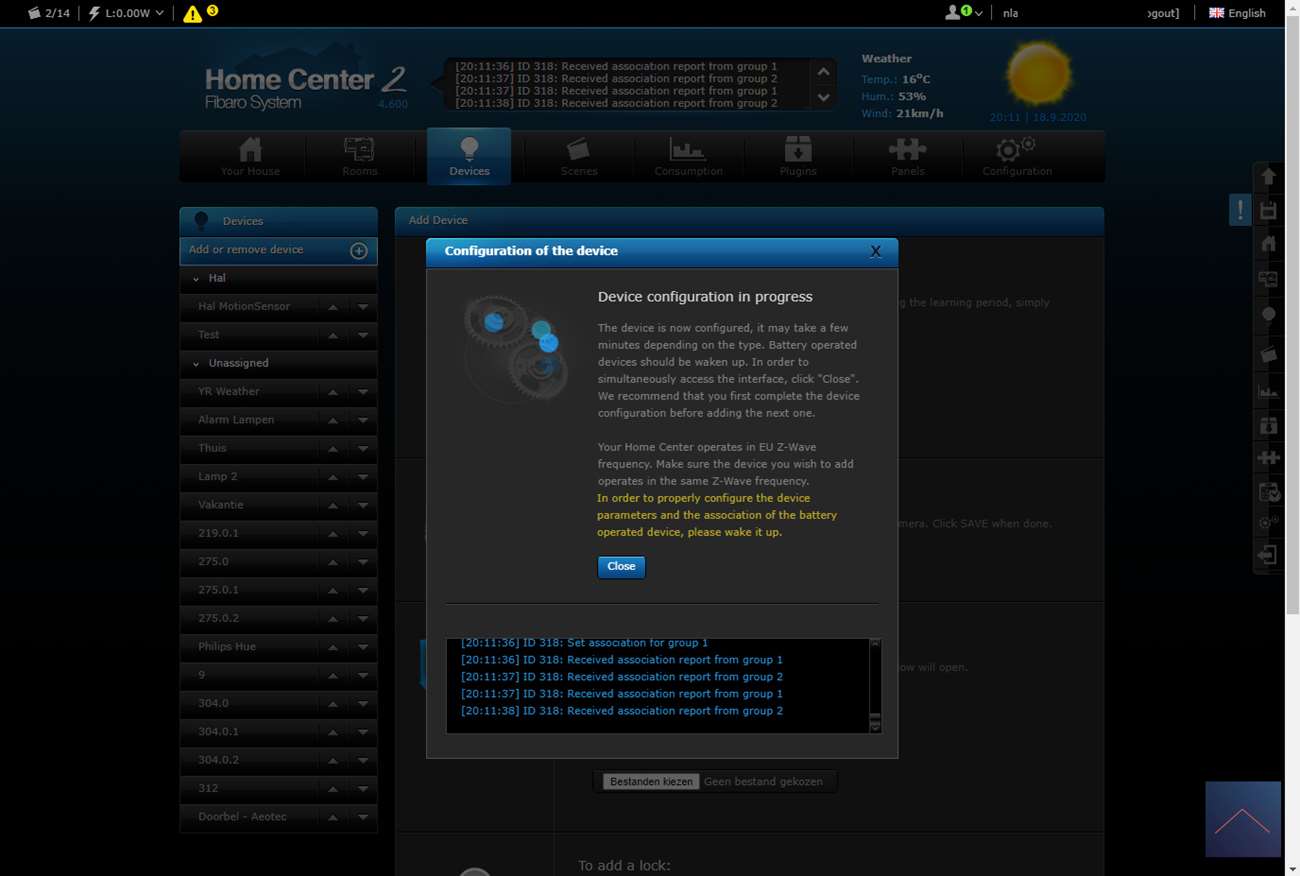
Installation screens:
Control:
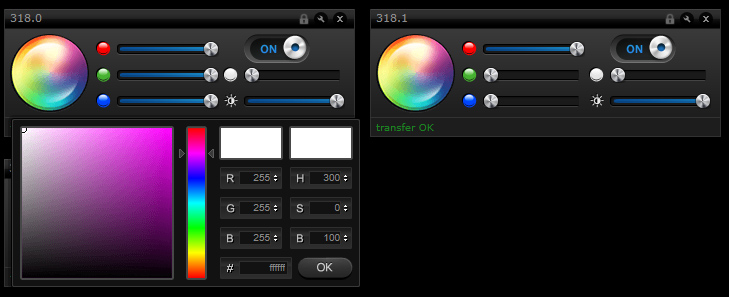
You get an on/off switch for the relay and 2x an RGB controller for the LED.
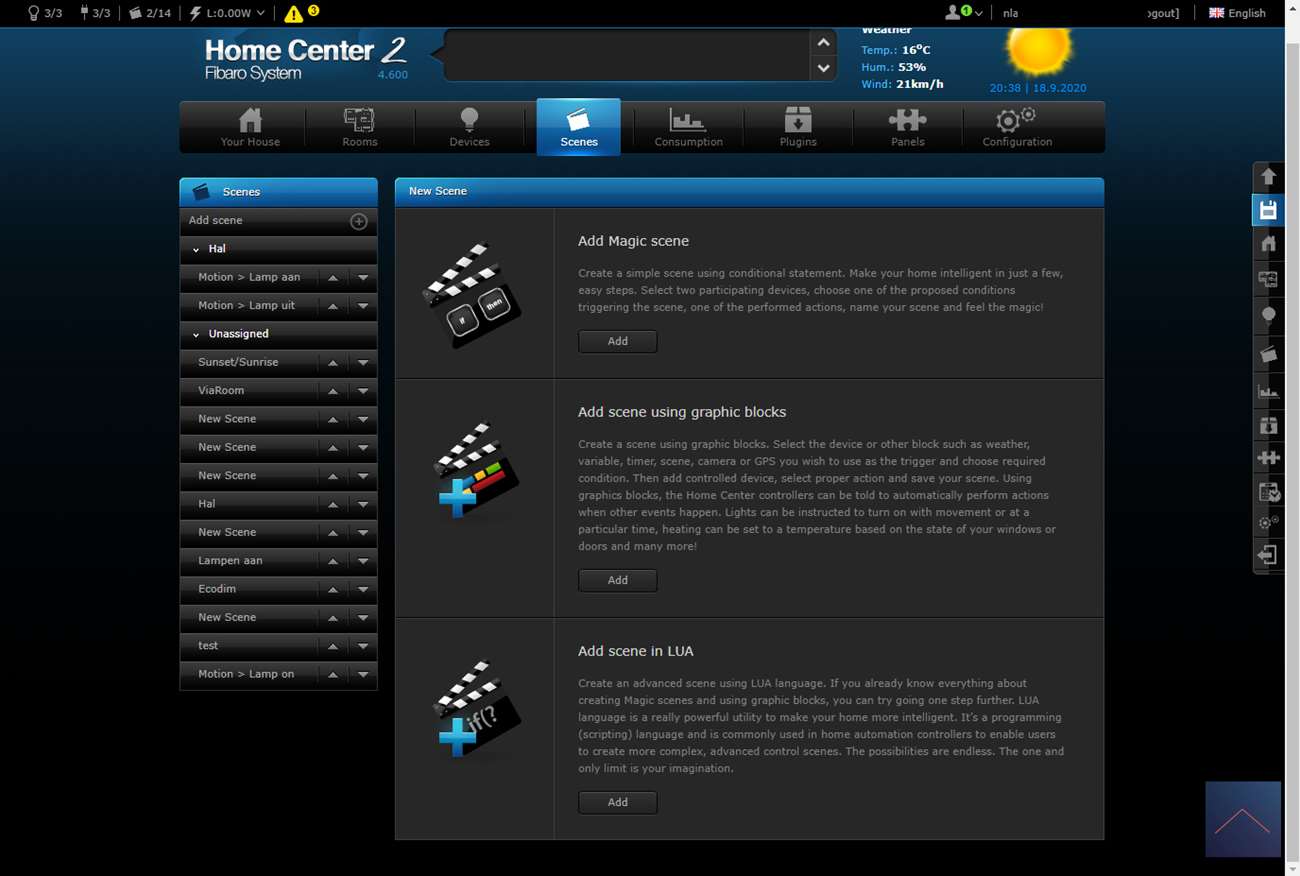
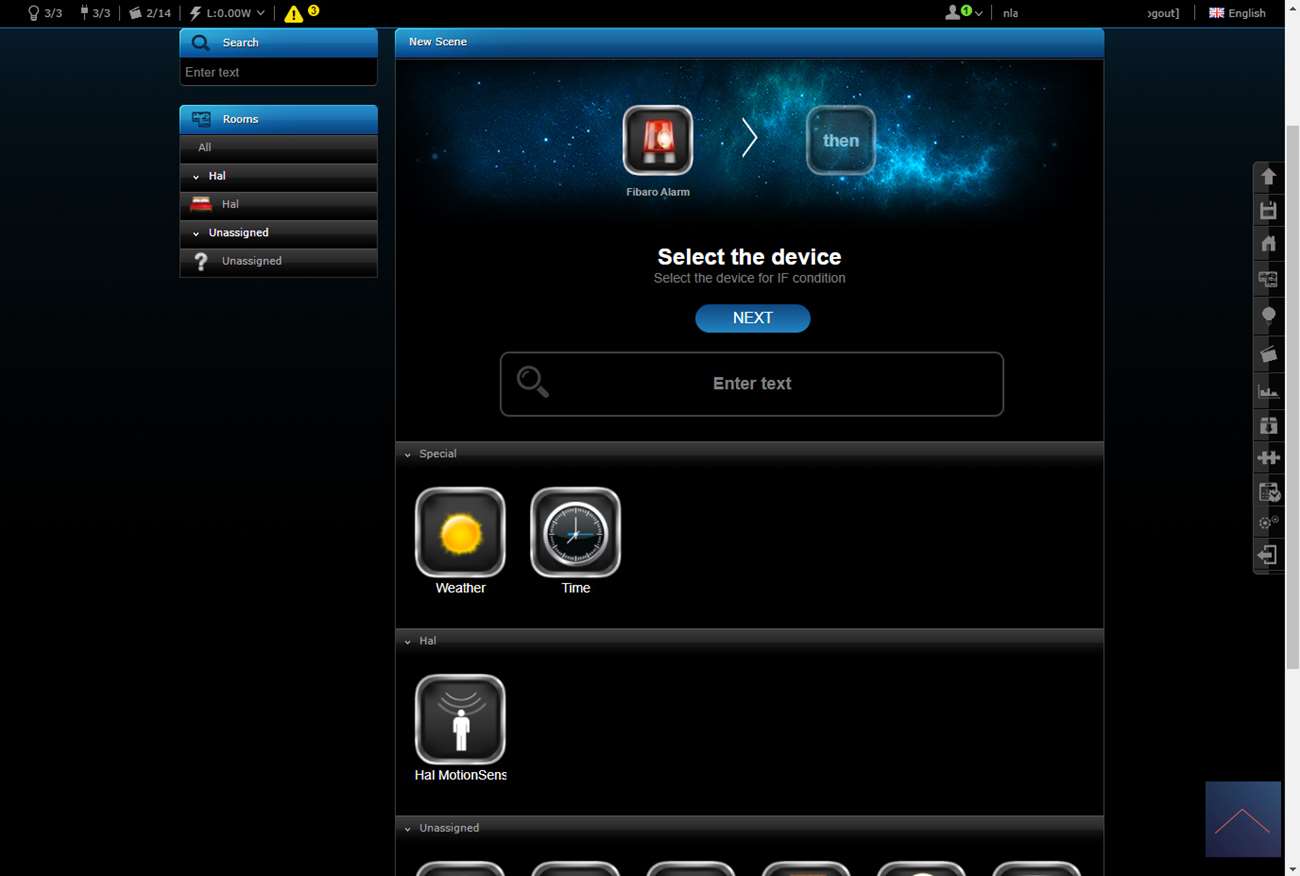
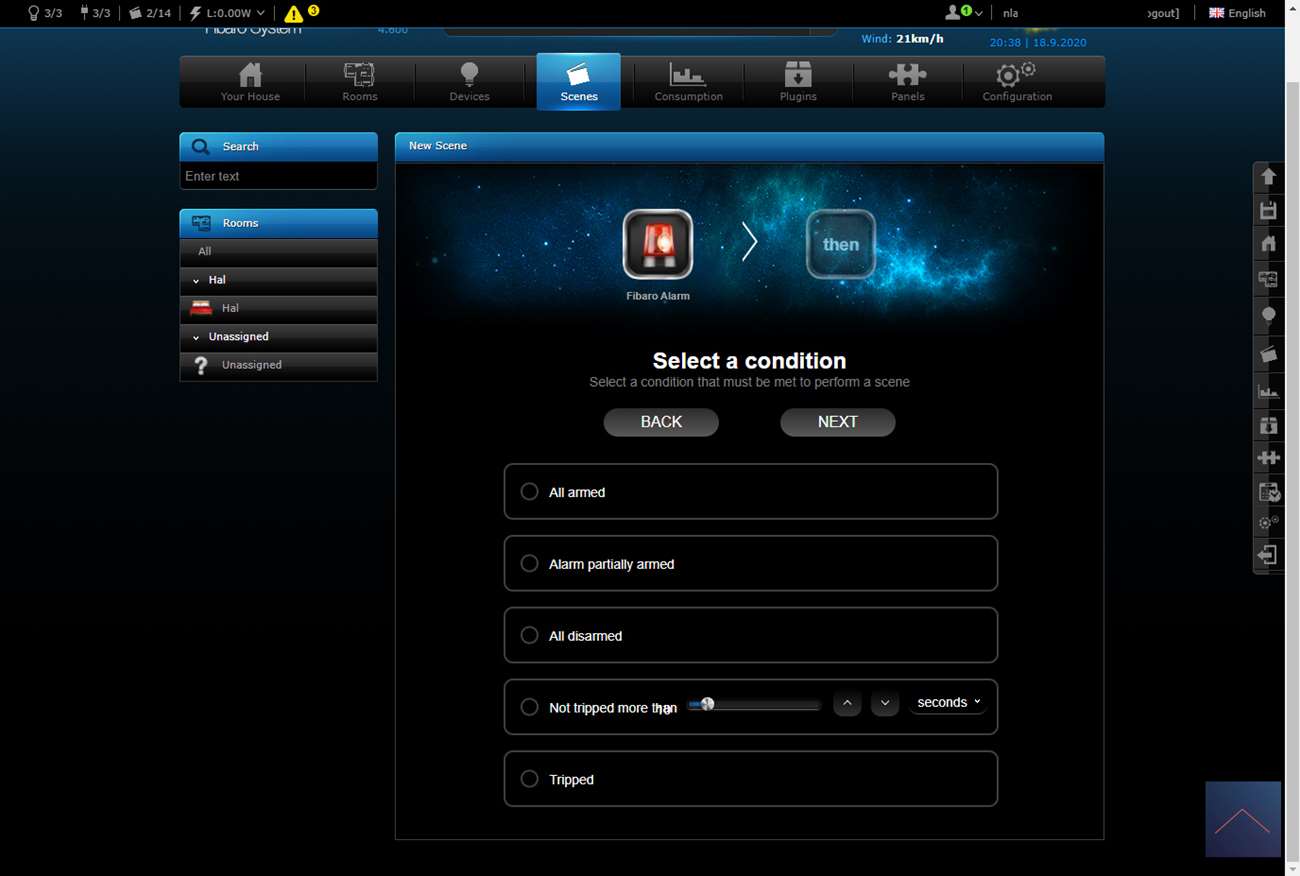
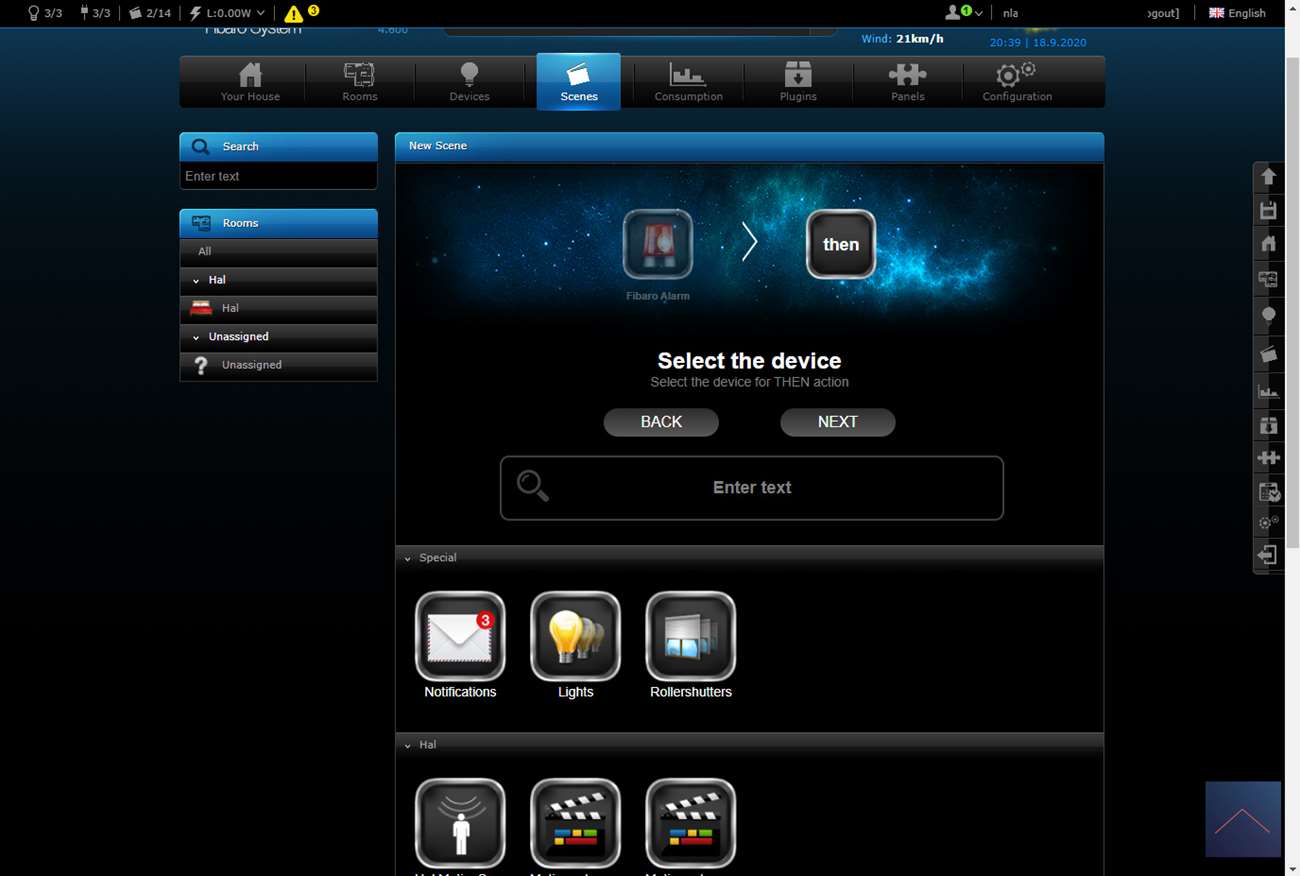
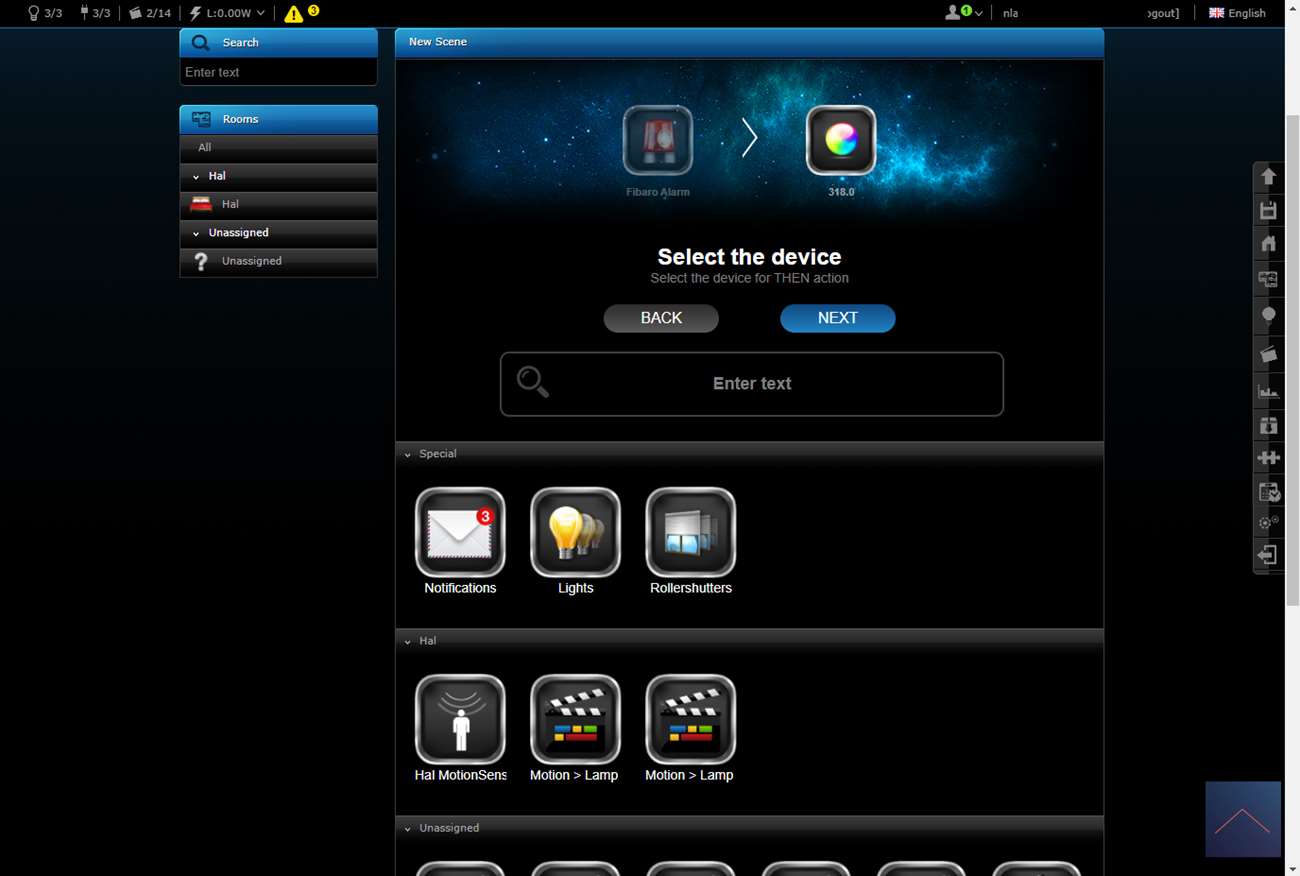
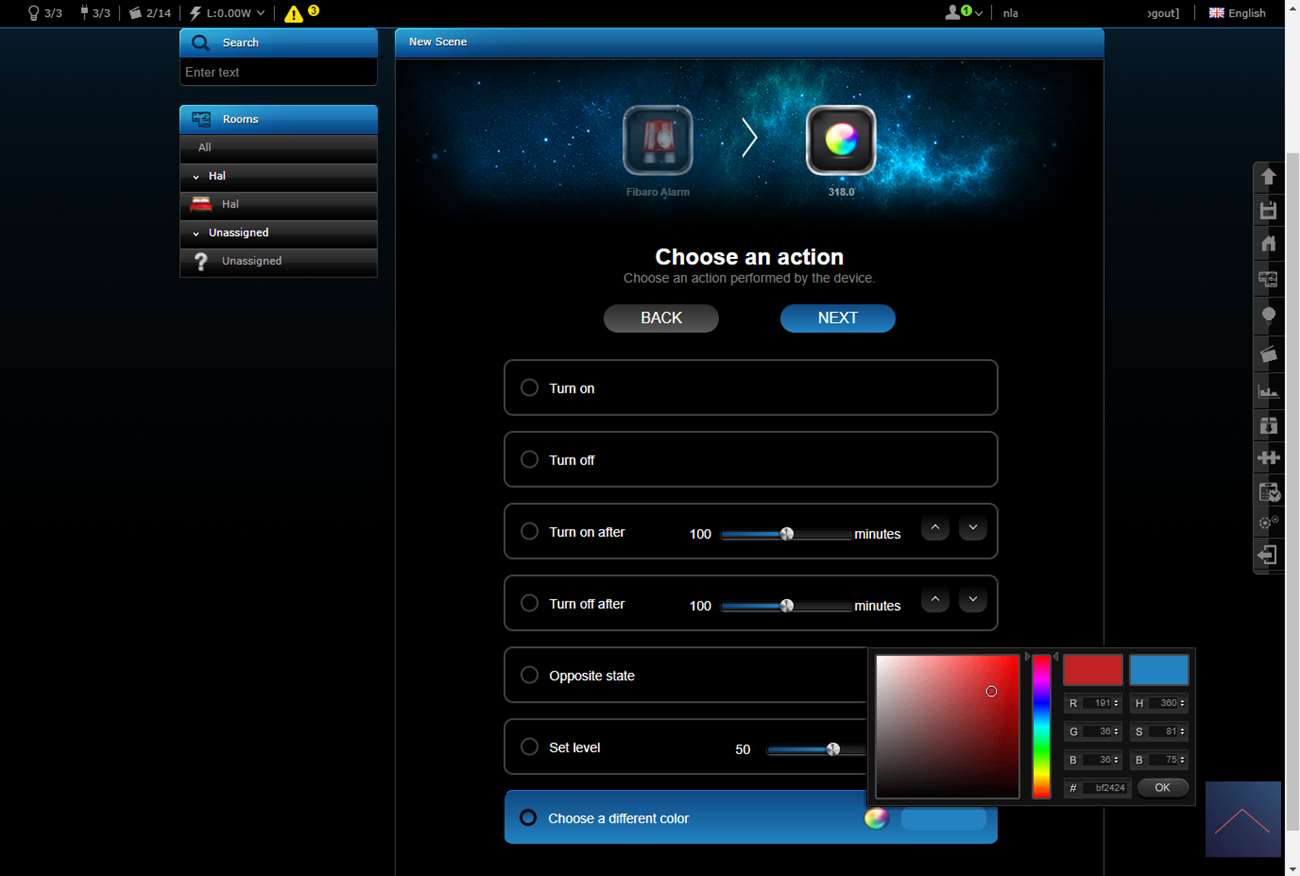
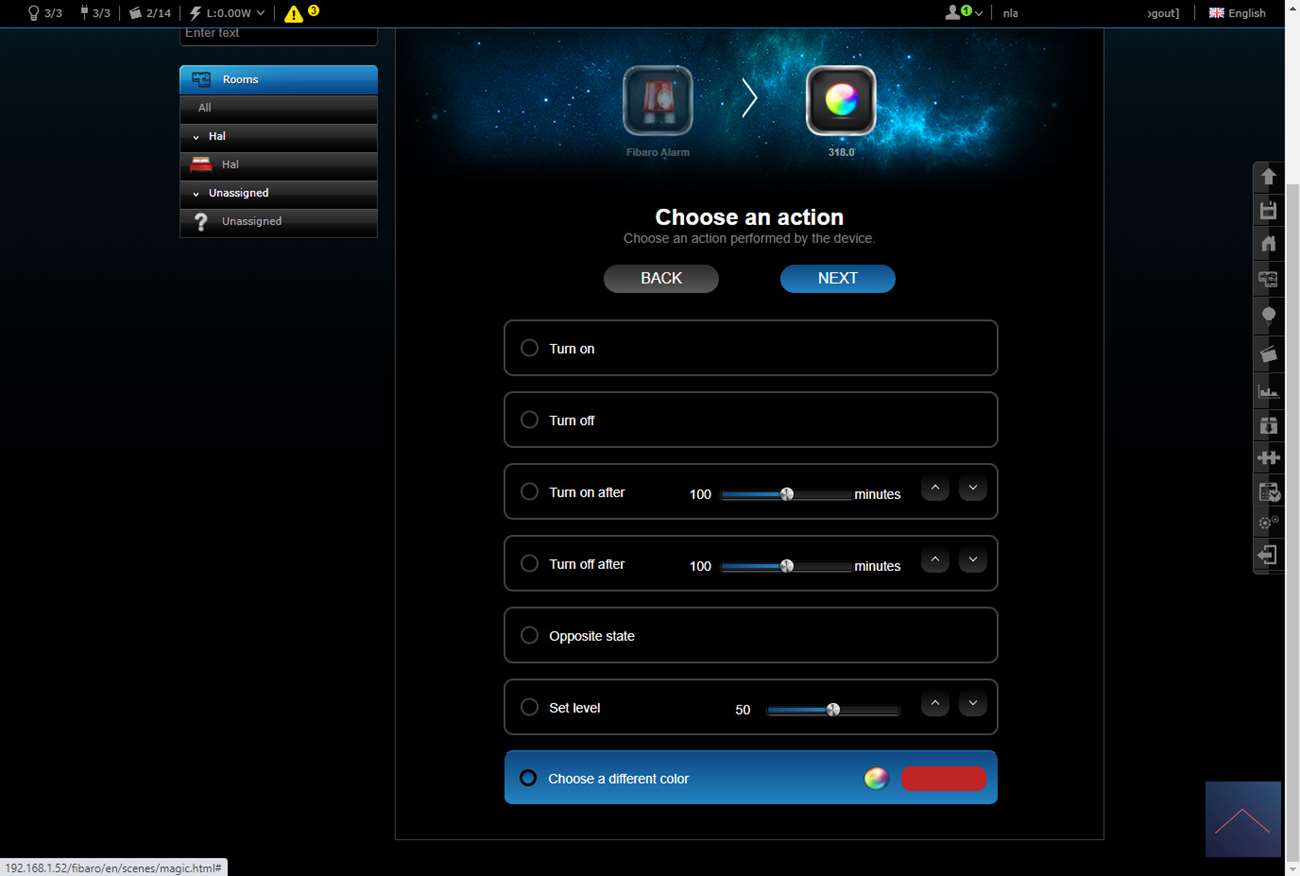
Example scene:
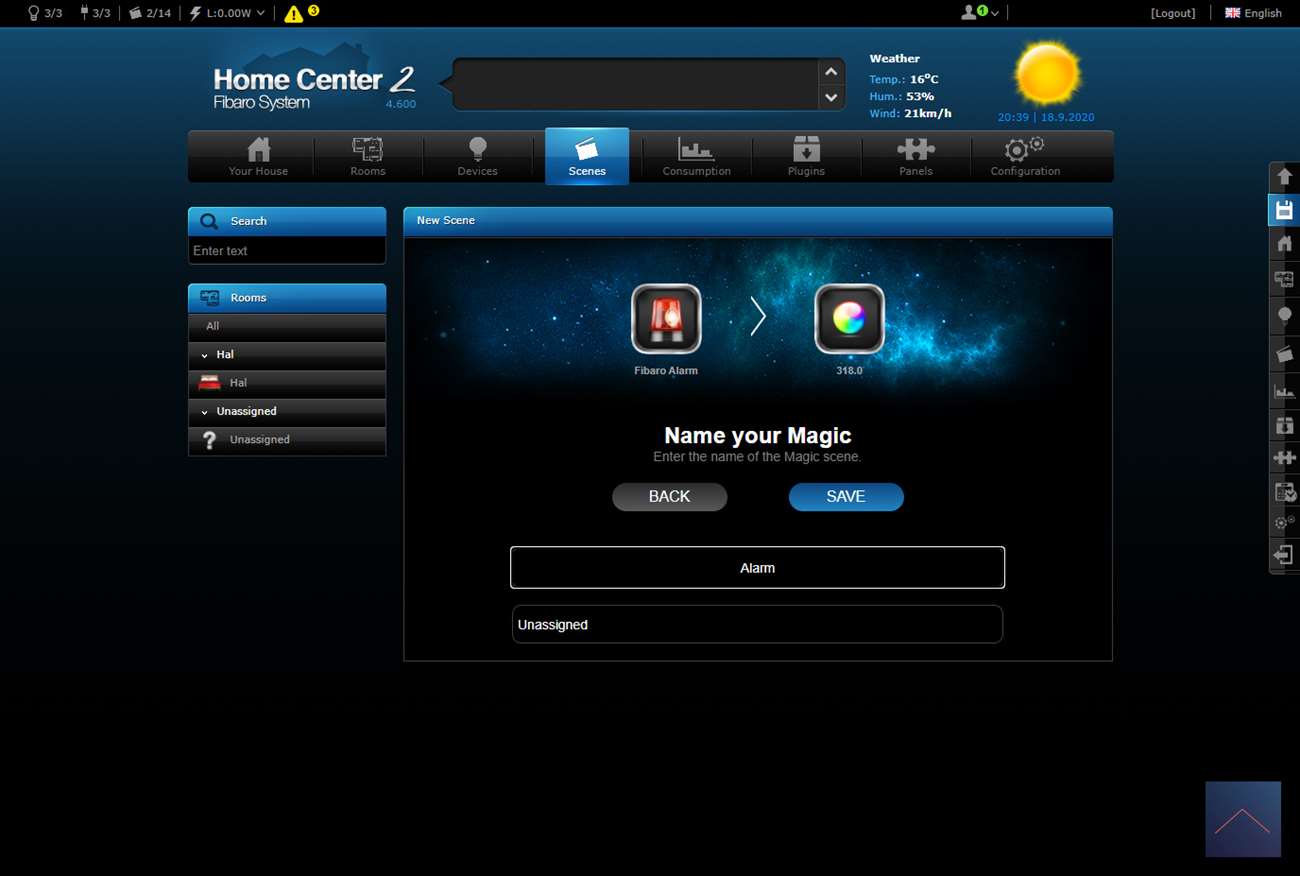
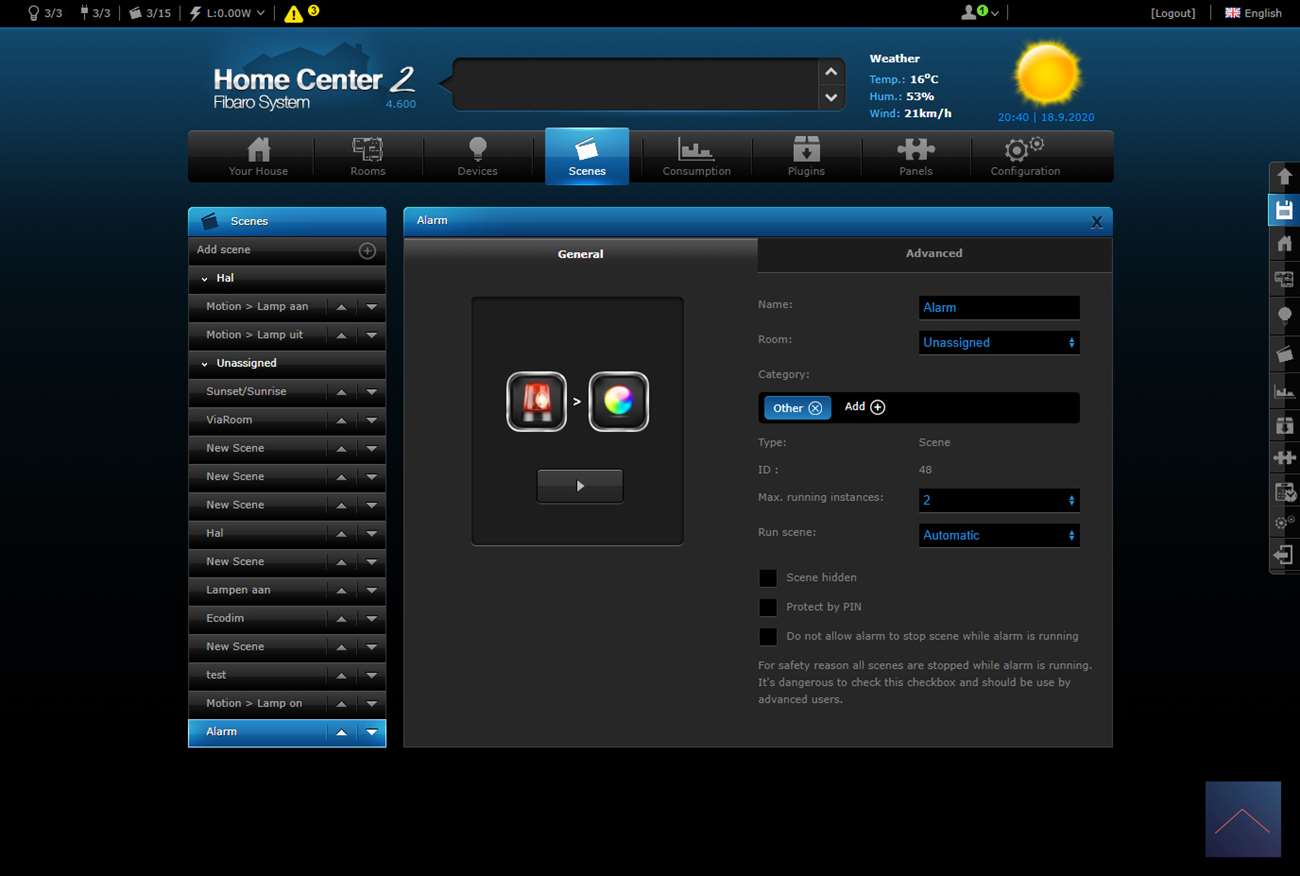
As already mentioned, this smart switch can be easily combined to create an alarm. So as an example set the Luxy to red when the alarm goes off.


