Review:
Shelly 1

Installation with Domoticz:
The last controller where we will install the Shelly 1 is the Domoticz. You can run this free software on different systems. We ran it on a RaspberryPi 3.
The first step is to connect the whole. First we take the power from the wall socket, unscrew it and remove the old switch. Then we connect the Shelly via the supplied diagram. I do not find this very clear so I made the following diagram:
When we have screwed everything back up and supplied it with power, we install the shelly APP to do the installation there. This has to be done this way because you cannot install it via Domoticz.
There are several ways to get the switch in Domoticz. One is to start working with MQTT. This is a communication protocol. This is quite a hassle to install. An easier way is to work via the http request function of the Shelly and Domoticz.
The first step is to create a virtual switch. You can do this by going to setup and then to hardware.
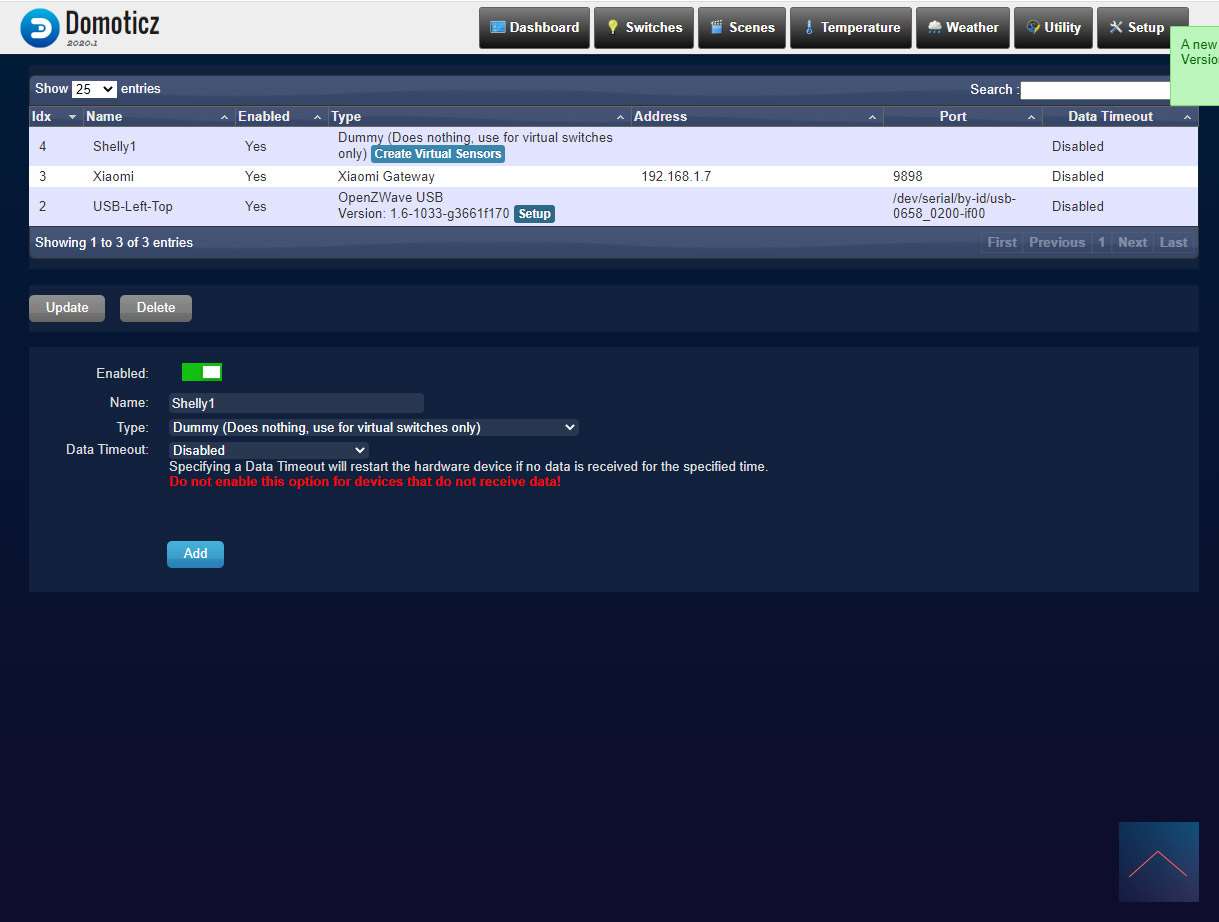
Then enter a name at the bottom in Dummy and select dummy as the switch.
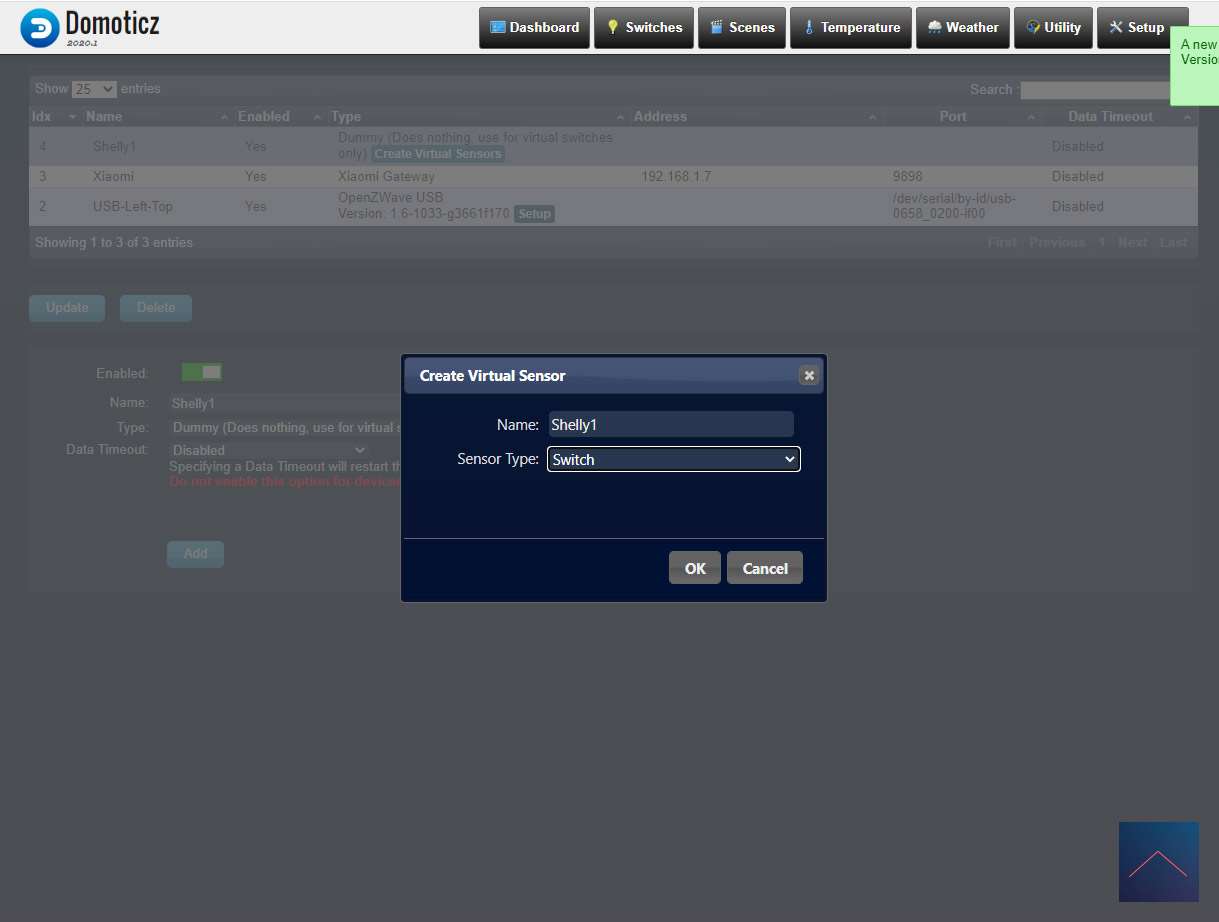
After that, click on create virtual sensor, name it "Shelly" and select switch as type and press ok.
Now we have to make sure that this virtual switch will work with the Shelly 1 and we want the Shelly APP to continue to work properly. We first go to the dashboard "switches" and click on edit at the Shelly.
We can switch on the Shelly via a URL. You call this in the following way:
http://[internal-ip]/relay/0?turn=on in my case so: 192.168.1.250/relay/0?turn=on
We enter this value in "On action". Now when I turn on the virtual switch, it sends a command to the Shelly to turn it on. For the outing we do the same but enter http://[internal-ipl]/relay/0? Turn=off.
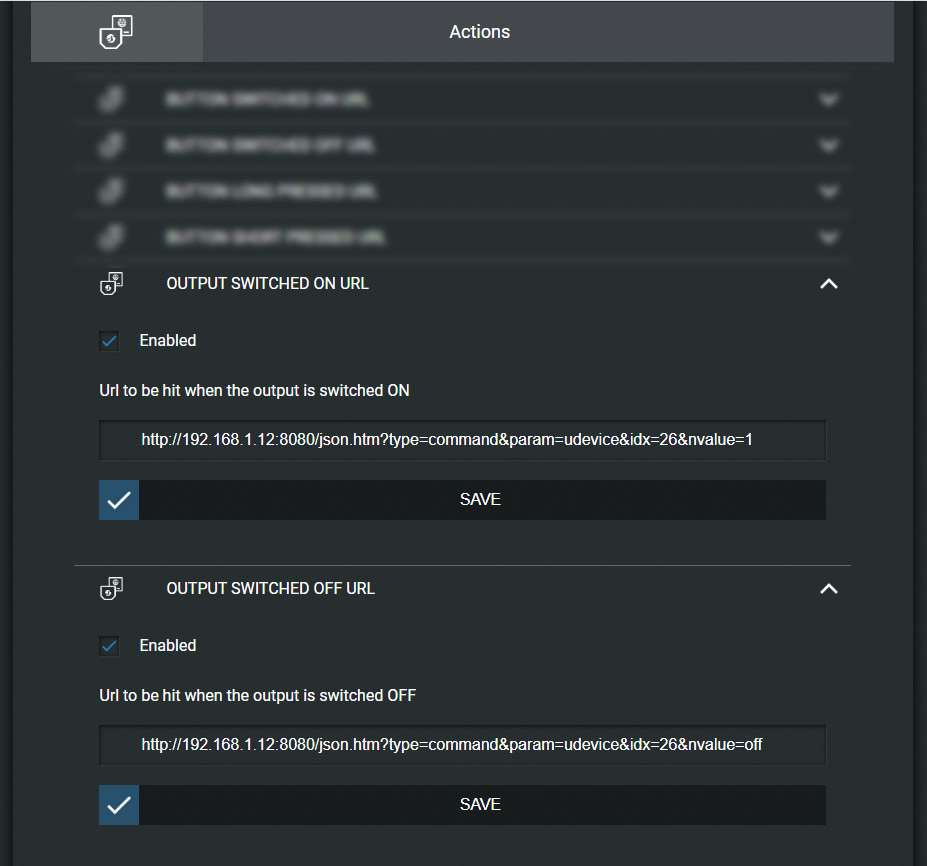
All of the above works flawlessly and quickly. Now we still want if we operate the Shelly bv via Google Home that it also gets the correct status in the Domoticz. You can solve this by entering the following in the Shelly "Actions" at "Button Switched on Url:
http://[interne-ip]:8080/json.htm?type=command¶m=udevice&idx=26&nvalue=1
and at the off:
http://[interne-ip]:8080/json.htm?type=command¶m=udevice&idx=26&nvalue=off
Now the switch in Domoticz is also updated.
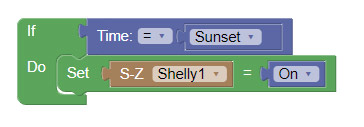
Example event:
When the sun goes down I want the Shelly 1 to go on. You can achieve this by using the time and sunset puzzle.
