Review:
Shelly 1

Installation with Home Assistant:
We are also going to install this switch on Home assistant. This free smart home package is of course the ideal partner of the Shelly if you want to save money. We are the first to ensure that everything is connected via the supplied diagram. Of course, make sure you get the power from the wall switch. I do not find the supplied schedule very clear so I made the following for clarification.
Once you have screwed everything shut and supplied it with power, install the switch via Shelly's APP. You can read this here. You must follow these steps to connect it to your network. The advantage of this is that you can also operate it via this way and all configuration options are available. You can also turn off the cloud function if you really want to keep everything internal.
After this we will ensure that he works in Home Assistant. There are several ways to do this. You can put your own firmware on the Shelly, work via MQTT or use the REST Api. I go for the latter option because no special manuals are needed. Very easy.
To install the Shelly we open the configuration.yaml file via the file editor. You can easily install this via the Add-on store. When we have file open we put the following configuration in it:
switch:
- platform: rest
name: "Shelly1"
scan_interval: 5
resource: http: //192.168.1.x/relay/0
body_on: 'turn = on'
body_off: 'turn = off'
is_on_template: '{{value_json.ison == true}}'
headers:
content-type: application / x-www-form-urlencoded
All you have to change above is the IP address of your Shelly. You can find this in the APP (ddfs) or of course in your router. You must then ensure that the configuration is loaded. You can do this easily via: Settings> Server management> Check configuration. If all is well, do a restart of HASS (Settings> Server management> restart).
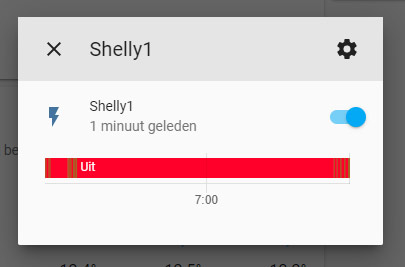
After the restart I see the Shelly 1 appear on my dashboard and more importantly I can also operate it. Because everything goes locally, he reacts very quickly.
Control:
You get an on and off switch.


Flow example:
To make a flow (to automate) I use Node Red. This is an add-on in Home Assistant that allows you to create flow through a "drag and drop" system. The nice thing about this is that you don't need any programming knowledge.
I would like that when the Shelly 1 is switched on and the sun is down, another lamp is also switched on.

01)
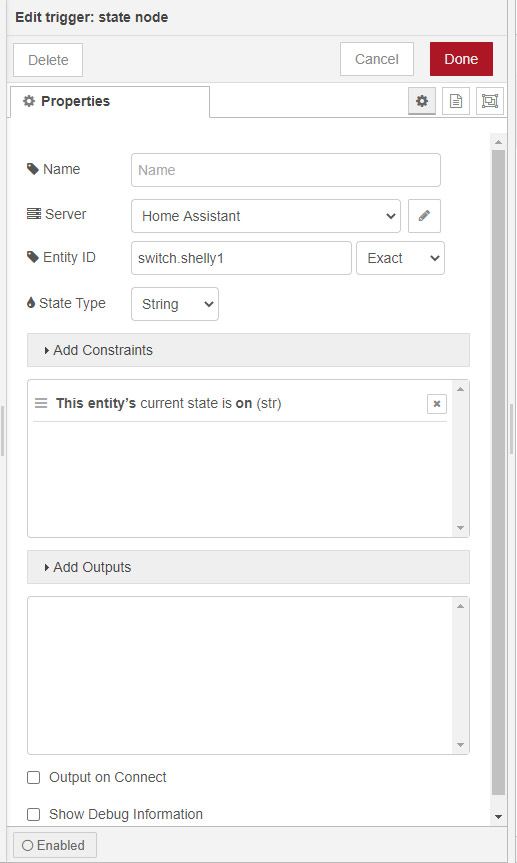
First drag the "trigger-state" node in the flow plane. Then double click on it and enter the following value:
- Name: give a clear name
- Entity ID: This is the ID of the sensor. So I fill in here: switch.shelly1. After this I give up the condition and in our case this is "on". Then click on "Done". So we have now created a trigger.

02)
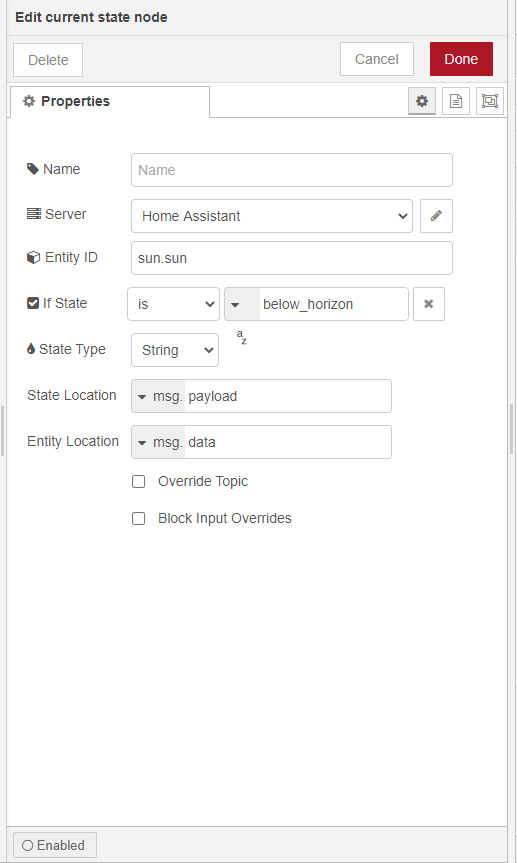
As a 2nd step, we will check whether the sun is ours. This is a built-in functionality in HASS. So it's a matter of getting the status and checking it. For this we use the flow "current-state". For the entity ID we enter sun.sun, and for the if state: below-horizon.

03)
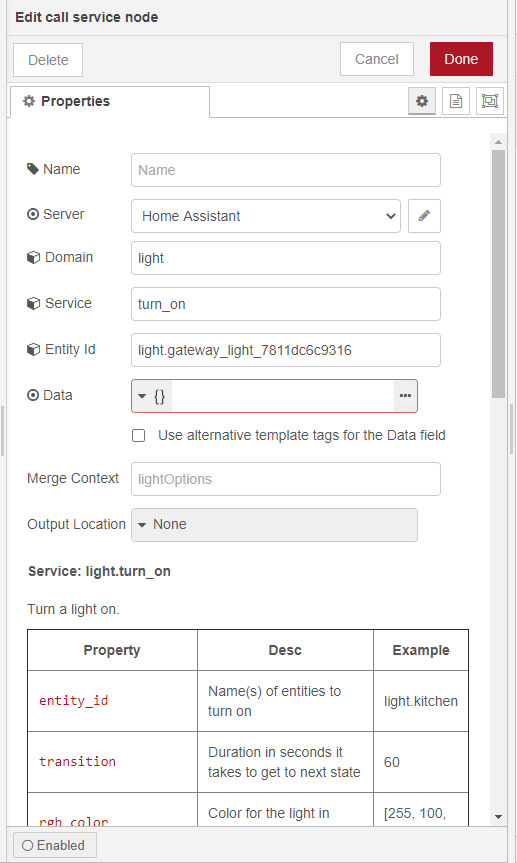
The last step to ensure that the lamp is switched on is via the flow "call service node".

Of course, this is just an example of what is possible and more to show that you can do something with the shelly in Node-RED.


