Review:
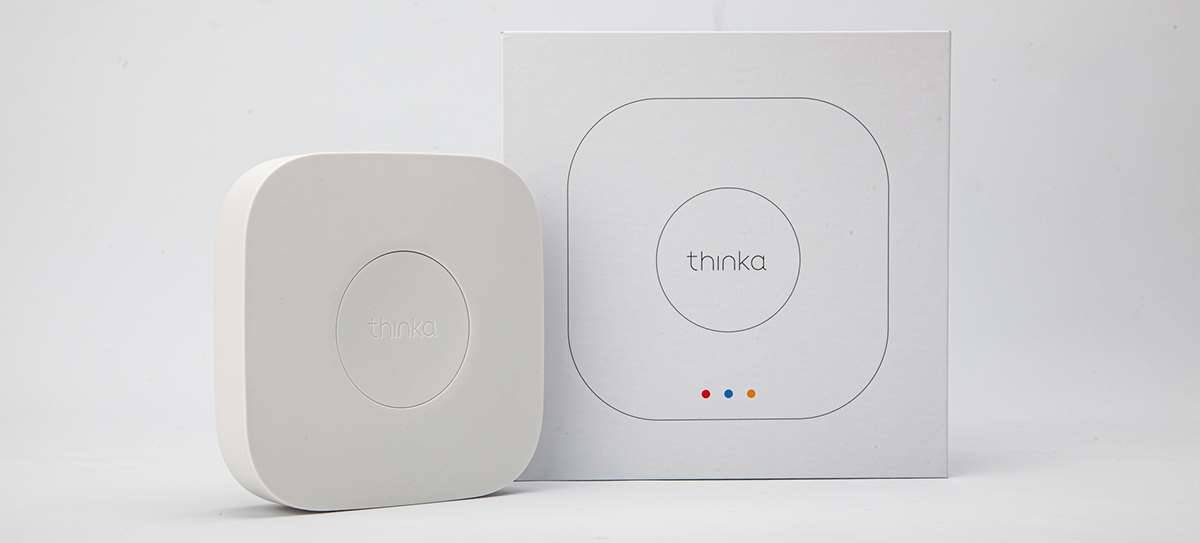
Thinka

Add Z-Wave device:
Without devices, the hub is useless, so time to add some. We'll start by adding Z-Wave devices. We try some different brands/types.
It's good to know that the Thinka supports the new Z-Wave 700 chip, so you can use smart start. This is the new way to add devices. You used to have to hold down all kinds of buttons. That is no longer necessary today.
It is of course true that your device must support this way/new chip. You can recognize this by the S2 logo on the packaging.

Fibaro Dimmer:
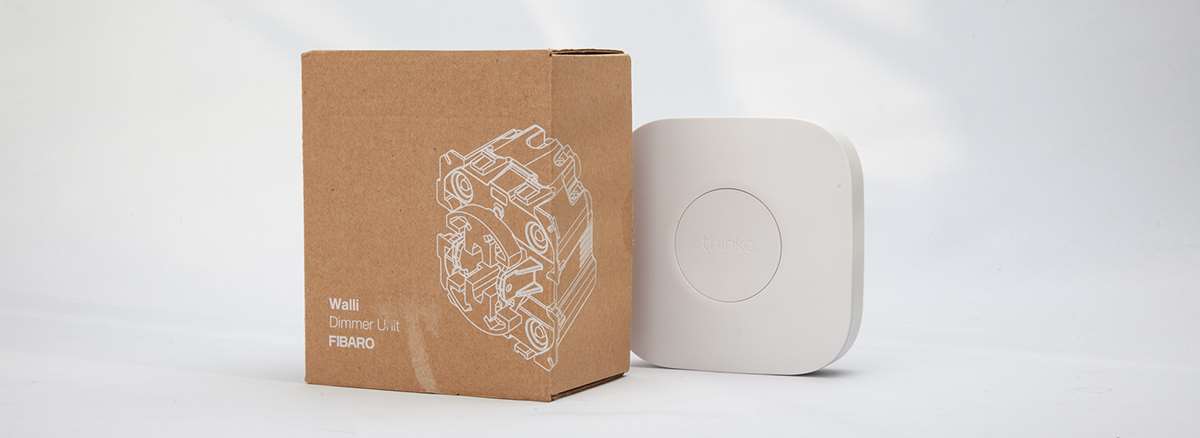
We'll start by adding the Walli Dimmer from Fibaro. Fibaro is a manufacturer that has been making Z-Wave devices for several years. They are the market leader in this area. So a new controller should support this dimmer without any problems.
You can connect this dimmer to your lamp to make it smart. This product is an all-in-one solution. You just need to replace your existing switch with this one. You don't have to pull extra wires and you can continue to use your old lamp. If you follow the manual, it doesn't have to be too complicated.
Now that we have everything supplied with power, let's start adding. We are going to do the adding via the web interface first. So we press the green plus sign, after which we are asked to put the dimmer in learning mode. How to do this differs per device and can be found in the manual. In the case of the dimmer, we press the switch three times in succession.
We see the LED light up yellow and then turn white in color. With this it indicates that the addition was successful and I see indeed appear.
Operation:
I get the option to switch the dimmer on or off and of course I can also dim it. I also see the energy consumption. The great thing about this solution is that you can also continue to use the wall switch. This also sends a signal to the Thinka so that the correct status can also be seen there.
To add:
Configuration:
Add to the Home Kit:
Now that we have a device, you should expect an explanation of the next steps. This is not the case, but after clicking back and forth in the web interface I find out that I have to install the Thinka APP to connect the Thinka to Home Kit.
After starting the APP (which only works on iOS) it will search for the hub. This took a very long time for me and when he found it I sometimes couldn't connect or the connection was broken. I raised this problem with Thinka and they indicated that this is probably due to my network. Which in itself is strange because there is nothing special about it.
After sending a new copy and doing the installation again, I still had connection problems, but I was eventually able to continue with the installation. After that everything ran stable.
If the hub is found, you will first be asked for a password. I then give this one up, but there is no message that it is okay. So let's move on.
Now we need to pair Home Kit with our Thinka. You can do this by going to the APP and selecting "Choose a home". You will then be asked to scan the code on the bottom of the Thinka. It was found almost immediately and indicates that we have a dimmer.
Now we can start the Home Kit App and there I also see my dimmer and we can operate it.
After adding, I see my lights and sensors in Home Kit.

Aeotec door sensor:
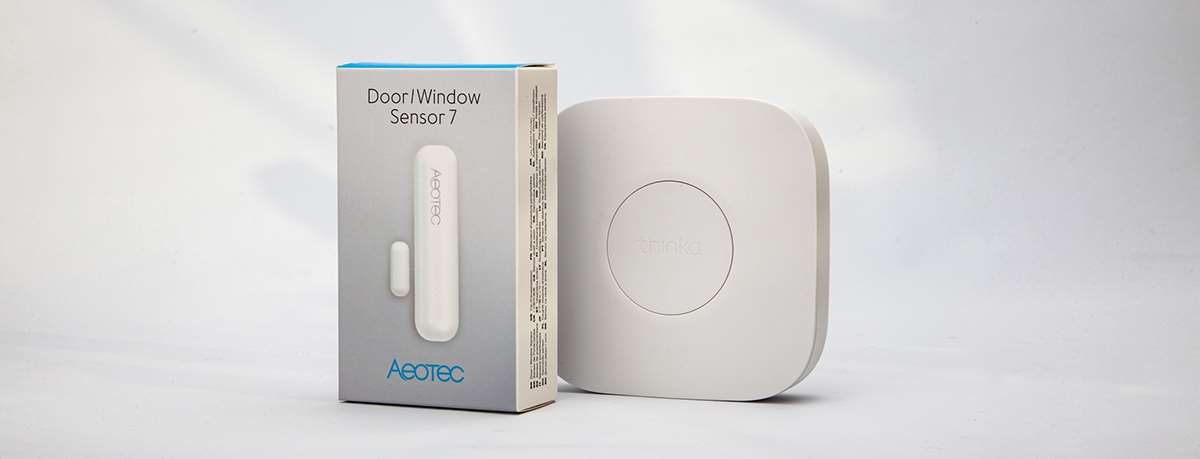
The next device we are going to add is one from Aeotec. This manufacturer has been making Z-Wave products for quite some years, ranging from motion sensors and door contacts to built-in switches.
In our case we are going to add a door sensor. This sensor has the new 700 series chipset and supports Smart Start. So you can scan a code and then it will be added automatically. We have to arrange this via the Thinka APP. So we start it up and go to "Add a smart device" and scan the code on the bottom of the box. Unfortunately, a message will immediately appear that it cannot be added.
Of course we don't let ourselves be caught by a hole, so try again via the web interface.
We click on the plus again and remove the cover from the sensor, because we have to press the small button on the side 3x in a row. As with the dimmer, it was quickly found again. Only a message will appear that there is no information available in the database. We just go ahead and see the sensor on the dashboard.
After a few minutes the sensor works as it should if I remove the magnet from the sensor.
To add:

Neo Coolcam Motion Sensor 5 in 1:
We have now added a lamp and a door sensor. But a smart home is of course nothing without a motion detector. With such a sensor you can really make your house smart by switching on a light when there is movement. This way you never have to touch the wall switches again.
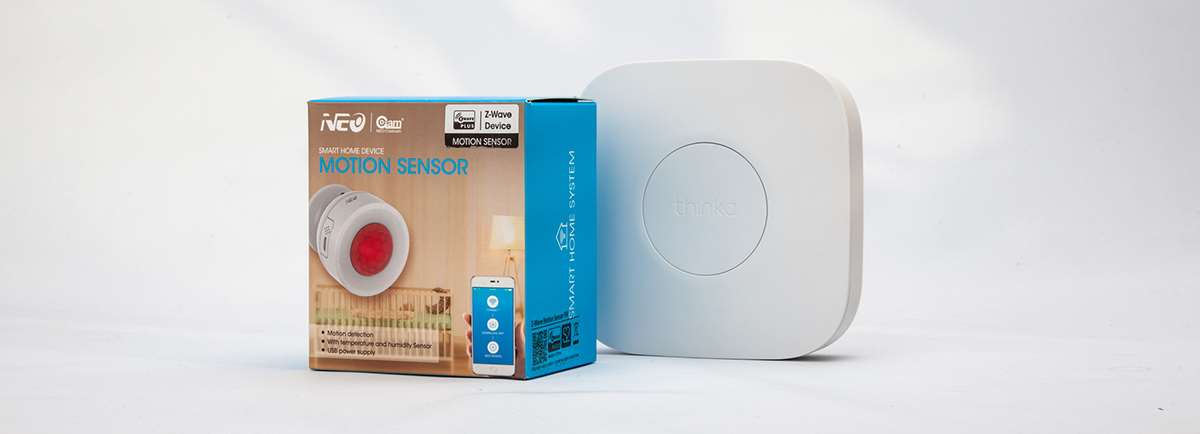
Neo Coolcam is a Chinese manufacturer of smart home products. They distinguish themselves by a wide range and the products are cheaper than the competitors. For example, you could already buy a door sensor for around 25 euros.
This sensor has 5 sensors built in; a motion, humidity, temperature and light sensor. Finally, it also has a tamper alarm, which prevents the burglar from sabotage the sensor.
Because the smart way hasn't worked yet, we're going to try it again. I know that this worked with other controllers.
We start the APP again and press "Add a smart start device" and scan the code. After a few seconds, the APP will indicate that it has found it. We give a name, and a room, here comes a message that it was successful.
But when I'm in Home Kit or on the dashboard, it's not there. We may also have to be patient because the APP gives a message that the device needs to be switched on. After a few minutes, the sensor will come forward.
In addition to the above devices, we have added a number of Z-Wave devices. The results of this were mixed. We often had to wake up the device or add it again.
It's not quite plain sailing, but to be honest, more controllers suffer from this, and this is often not always due to the controller itself, but to the manufacturer.


